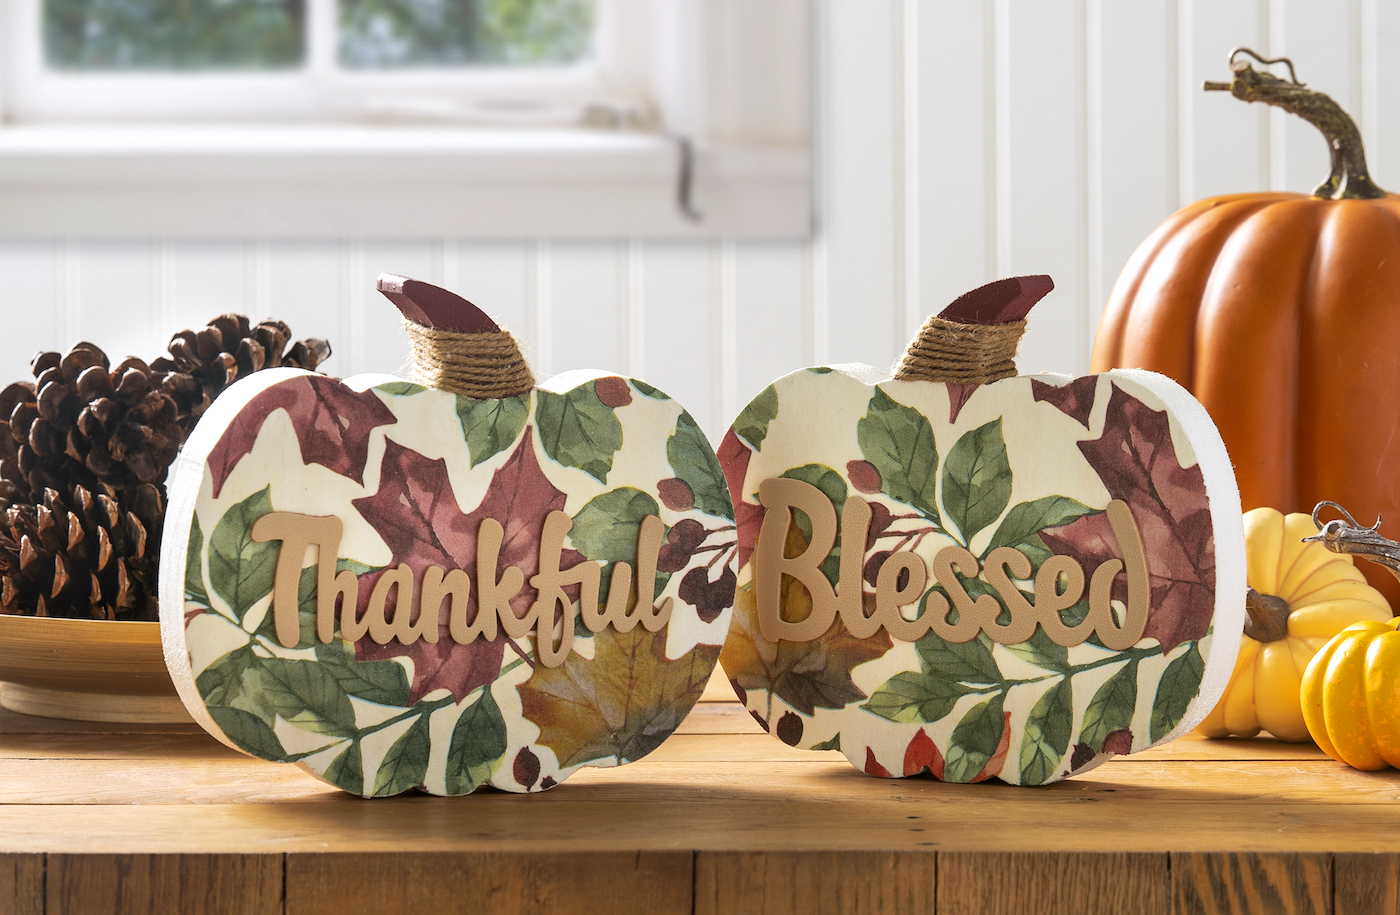
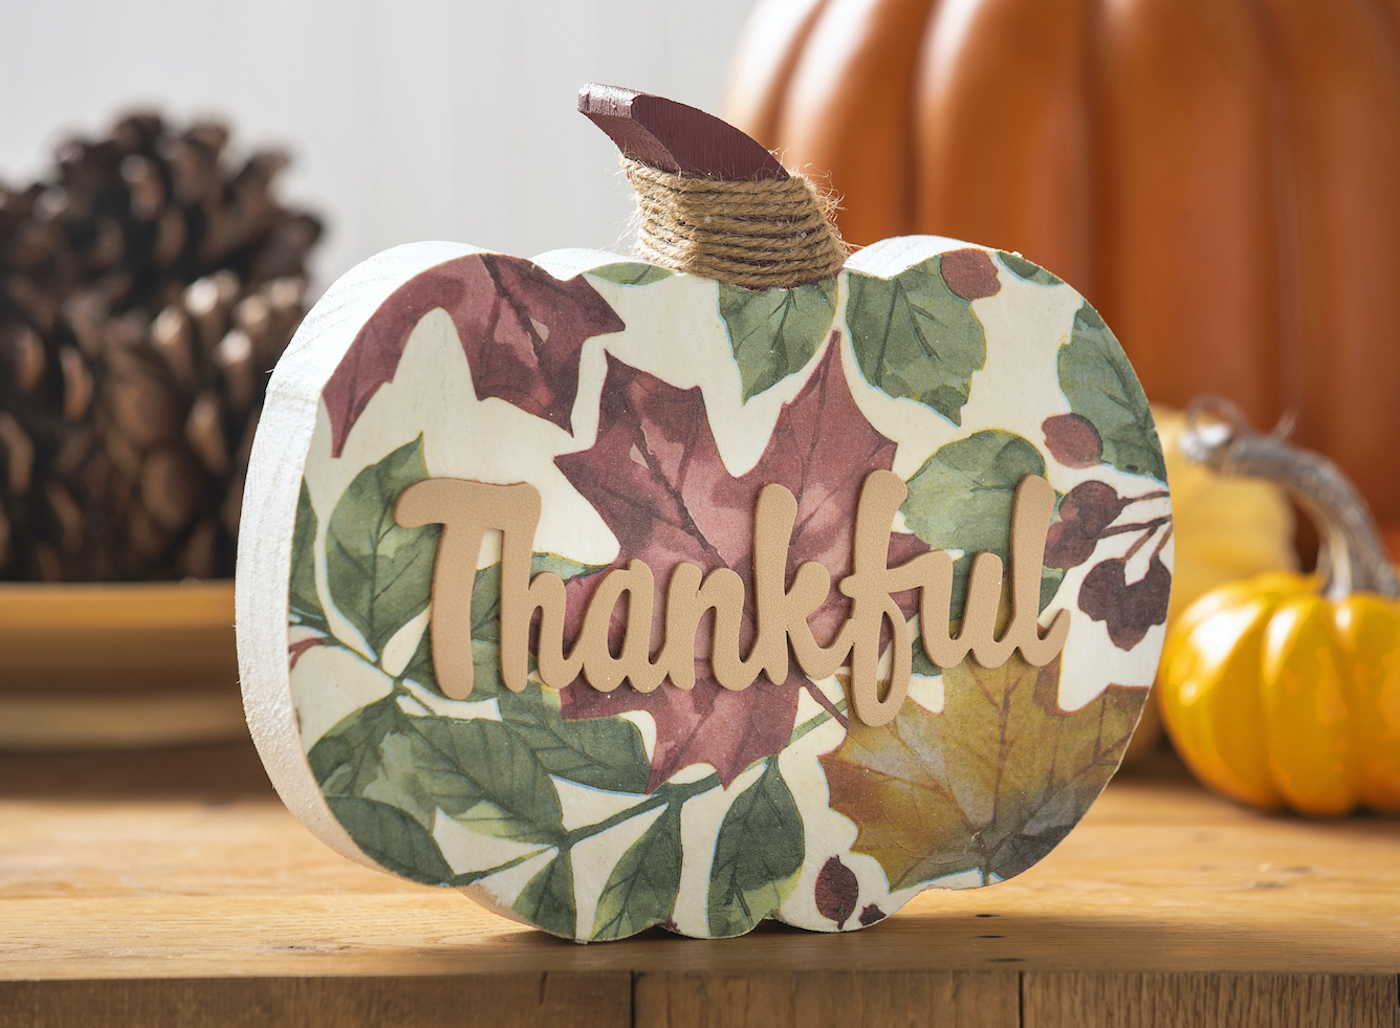
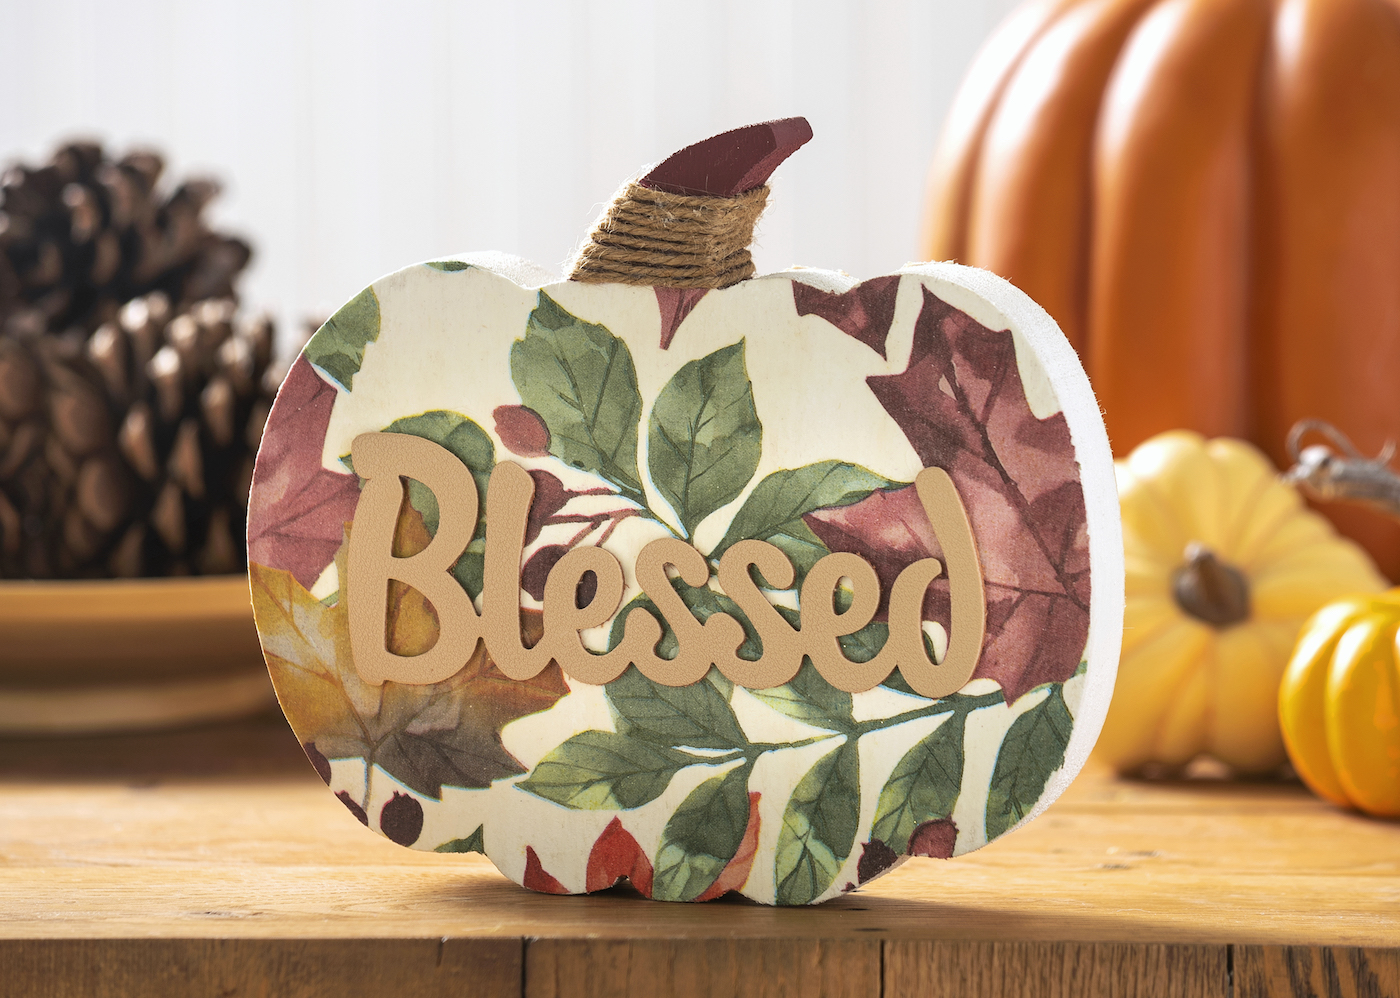
Learn how to make wood Thanksgiving decor using wood pumpkins, paint, Mod Podge, napkins, and other embellishments. Perfect for autumn!
Skills Required: Intermediate. It’s easy to paint the wood and add embellishments. The only challenging part is ironing the napkins into the Mod Podge, since napkins are fragile. It might take some practice, so work on a sample first.
I’d like to start with a little thankfulness story for today’s Thanksgiving craft. After I graduated from college, I had no idea what I was doing. I had just gotten a Forestry degree from the University of Washington, and I wasn’t really sure where to go next.
There were a lot of options. I had a professor who wanted to work together on a master’s degree program, and I also had a potential job offer from the US Forest Service (for a job that was “eh” in terms of appeal).
I also had a boyfriend, but things were rocky. It was time to start my life and figure it all out. Ah, the trials and tribulations of being 22 years old!
As a stop gap, I worked at a construction company for the summer with my mom’s friend Christie, who I’ve known since (almost) birth. She saw how much I was struggling and decided we would do an exercise together every single day.
What we did was quite simple, and we did it every morning right when I walked in the door: write down five things you are thankful for today. That’s it. That’s the assignment.
While it might seem too simple, you’d be surprised at how much your mood or demeanor can be determined for the day when you start off with what you are grateful for. It helps greatly!
It’s a great exercise that I stopped doing a long time ago, but it’s what I thought about when I made this wood Thanksgiving decor. I thought about those times with Christie, and everything I am grateful for this year. While life can be challenging, there’s always something to say “thanks” for.
Thanksgiving crafts just hit different, to be honest. They always make me sit and think about what I have. Maybe it’s because you’re working with words like “blessed,” so there’s a constant reminder. Either way, it’s very peaceful.
This year I decided to add this wood Thanksgiving decor to my holiday decorations based on some cute word embellishments I found at Dollar Tree. I knew that I wanted to make something with napkins, so that’s how this fall decor was born into the world. Here’s how you make it.
Thanksgiving Wood Decorations
Gather These Supplies
- Wood cutouts – I used chunky ones from Michaels
- Craft paint – white and the other colors of your choice
- Mod Podge Gloss
- Inspirational words – mine are from Dollar Tree
- Twine
- Napkins
- Parchment paper
- Hot glue gun and hot glue
- Paintbrushes
- Craft knife
- Scissors
- Sandpaper (fine grit) or a nail file
- Mini iron
- Craft glue
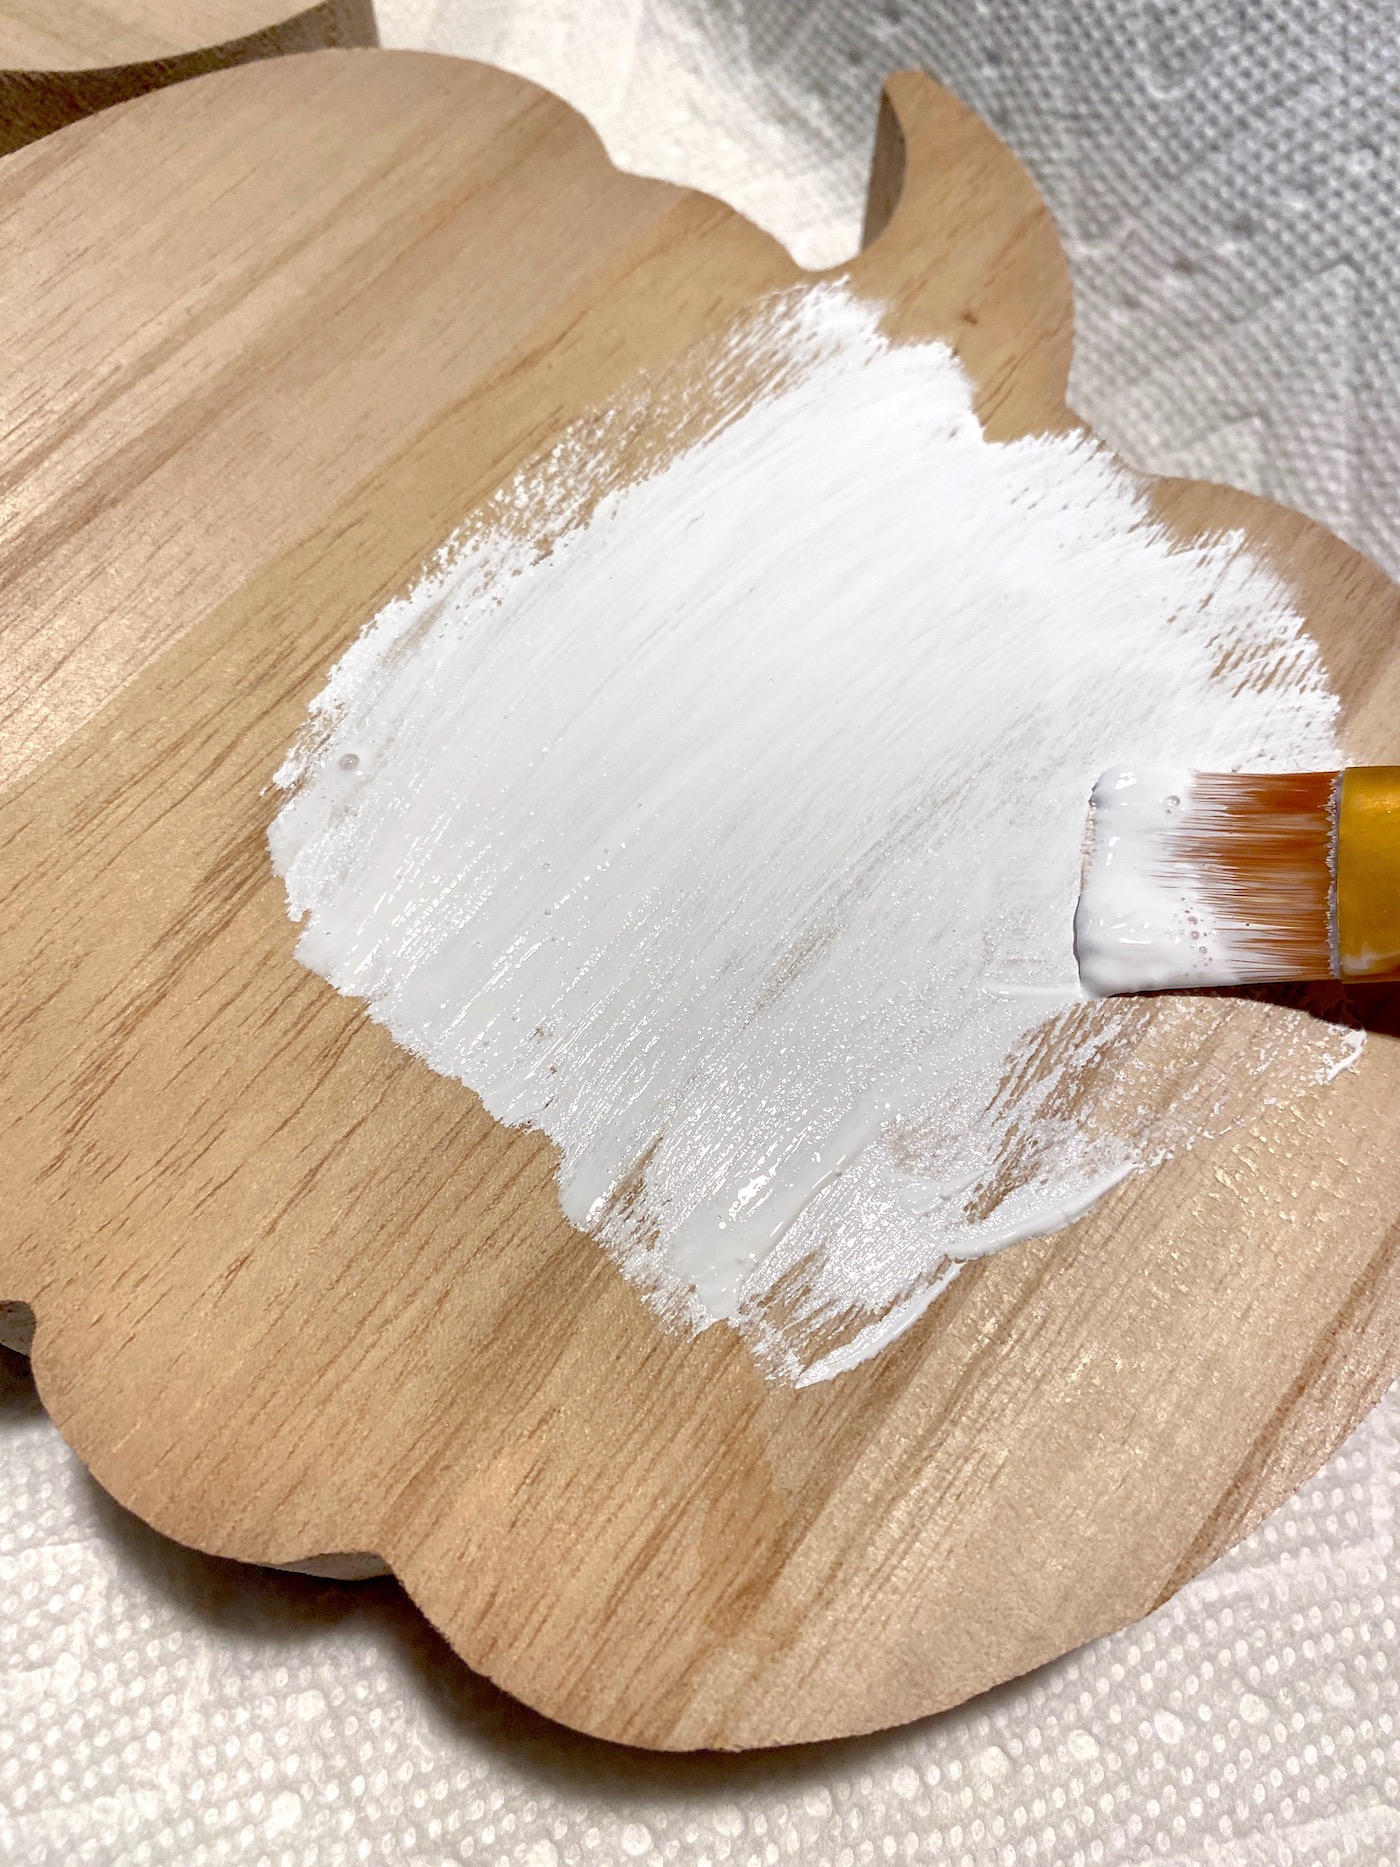
Paint the Cutouts
Paint all of the wood cutouts with white. There’s two reasons for this. First, you’re going to leave the front white because that is where the napkin is going and you want the design to pop off.

The second reason is because I’m noticing that sometimes with the wood it takes a lot of coats to cover, and sometimes the wood color even ends up coming through the paint and napkins (maybe due to how the wood is produced?). I like to prime the wood so the pieces look their best.
Paint both pumpkins, all sides and edges, and let dry.
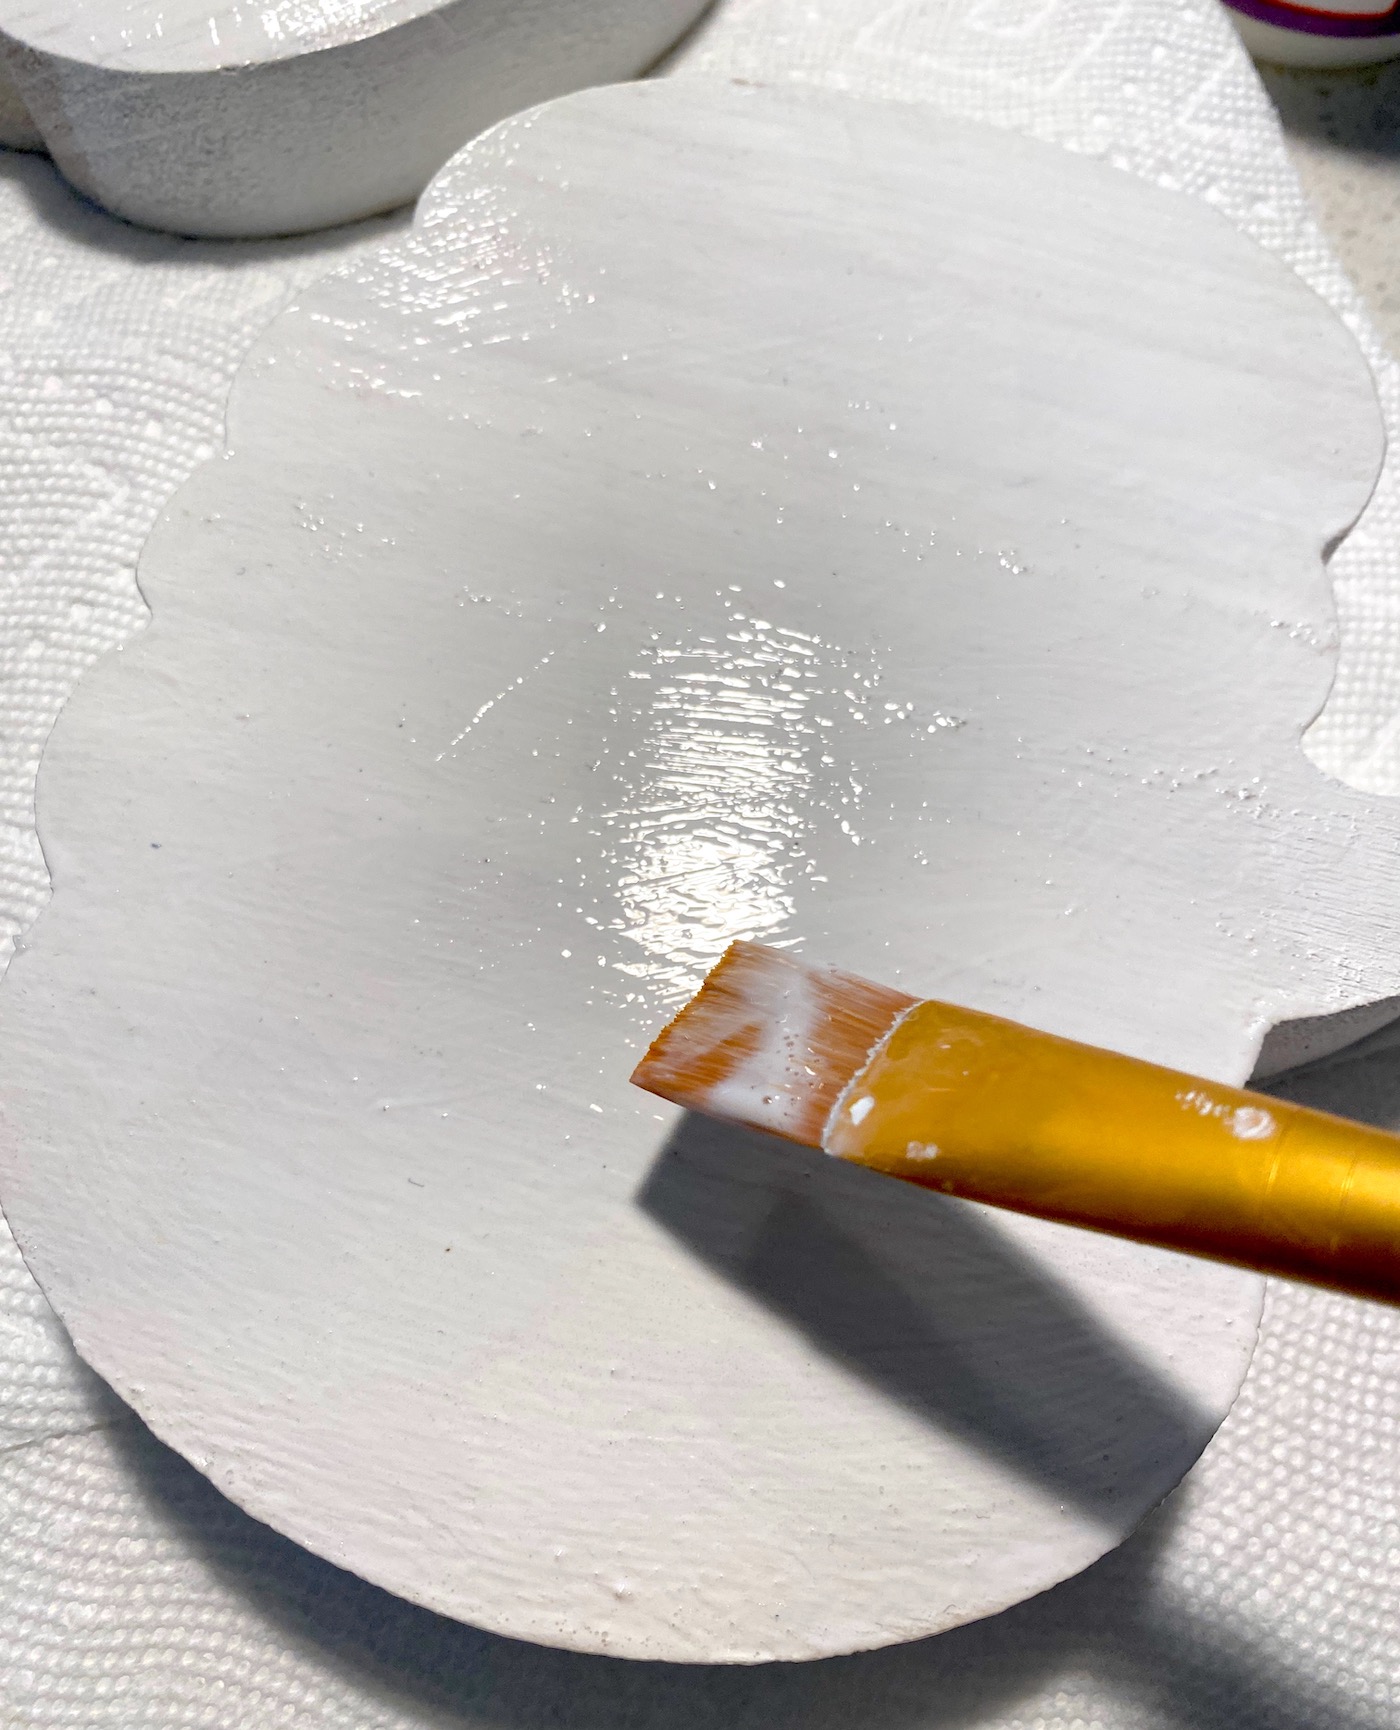
Add the Mod Podge
Once the paint has dried, paint two coats of Mod Podge over the front of the wood pieces. You will paint a coat, making sure to get all the way to edges, and let dry. Then you’ll paint a second coat and let dry.
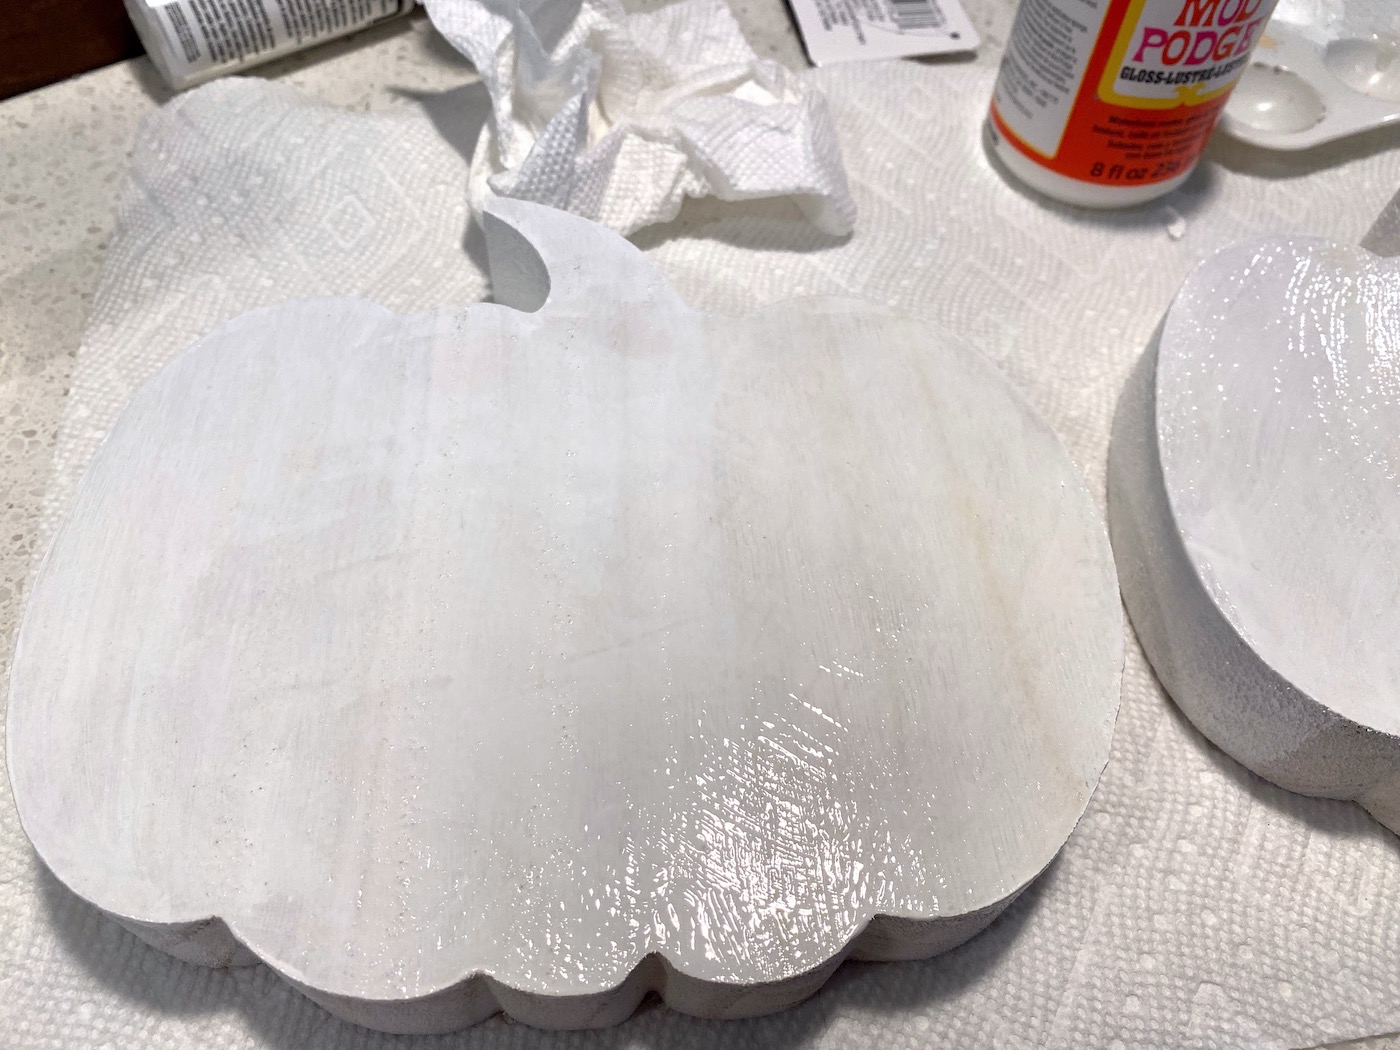
Don’t paint the stem with Mod Podge. You’re going to leave that to paint over with a different color. Although if you already painted the stem with Mod Podge, don’t worry – it’s fine.
Let the Mod Podge dry.
Apply the Napkins
While the Mod Podge is drying, separate the layers from your napkins. The reason you’re going to do this is because napkins are made of 2-3 layers typically, and you just want the top layer with the design. If you use the napkin without separating it, it will wrinkle because the layers will operate independently of each other.
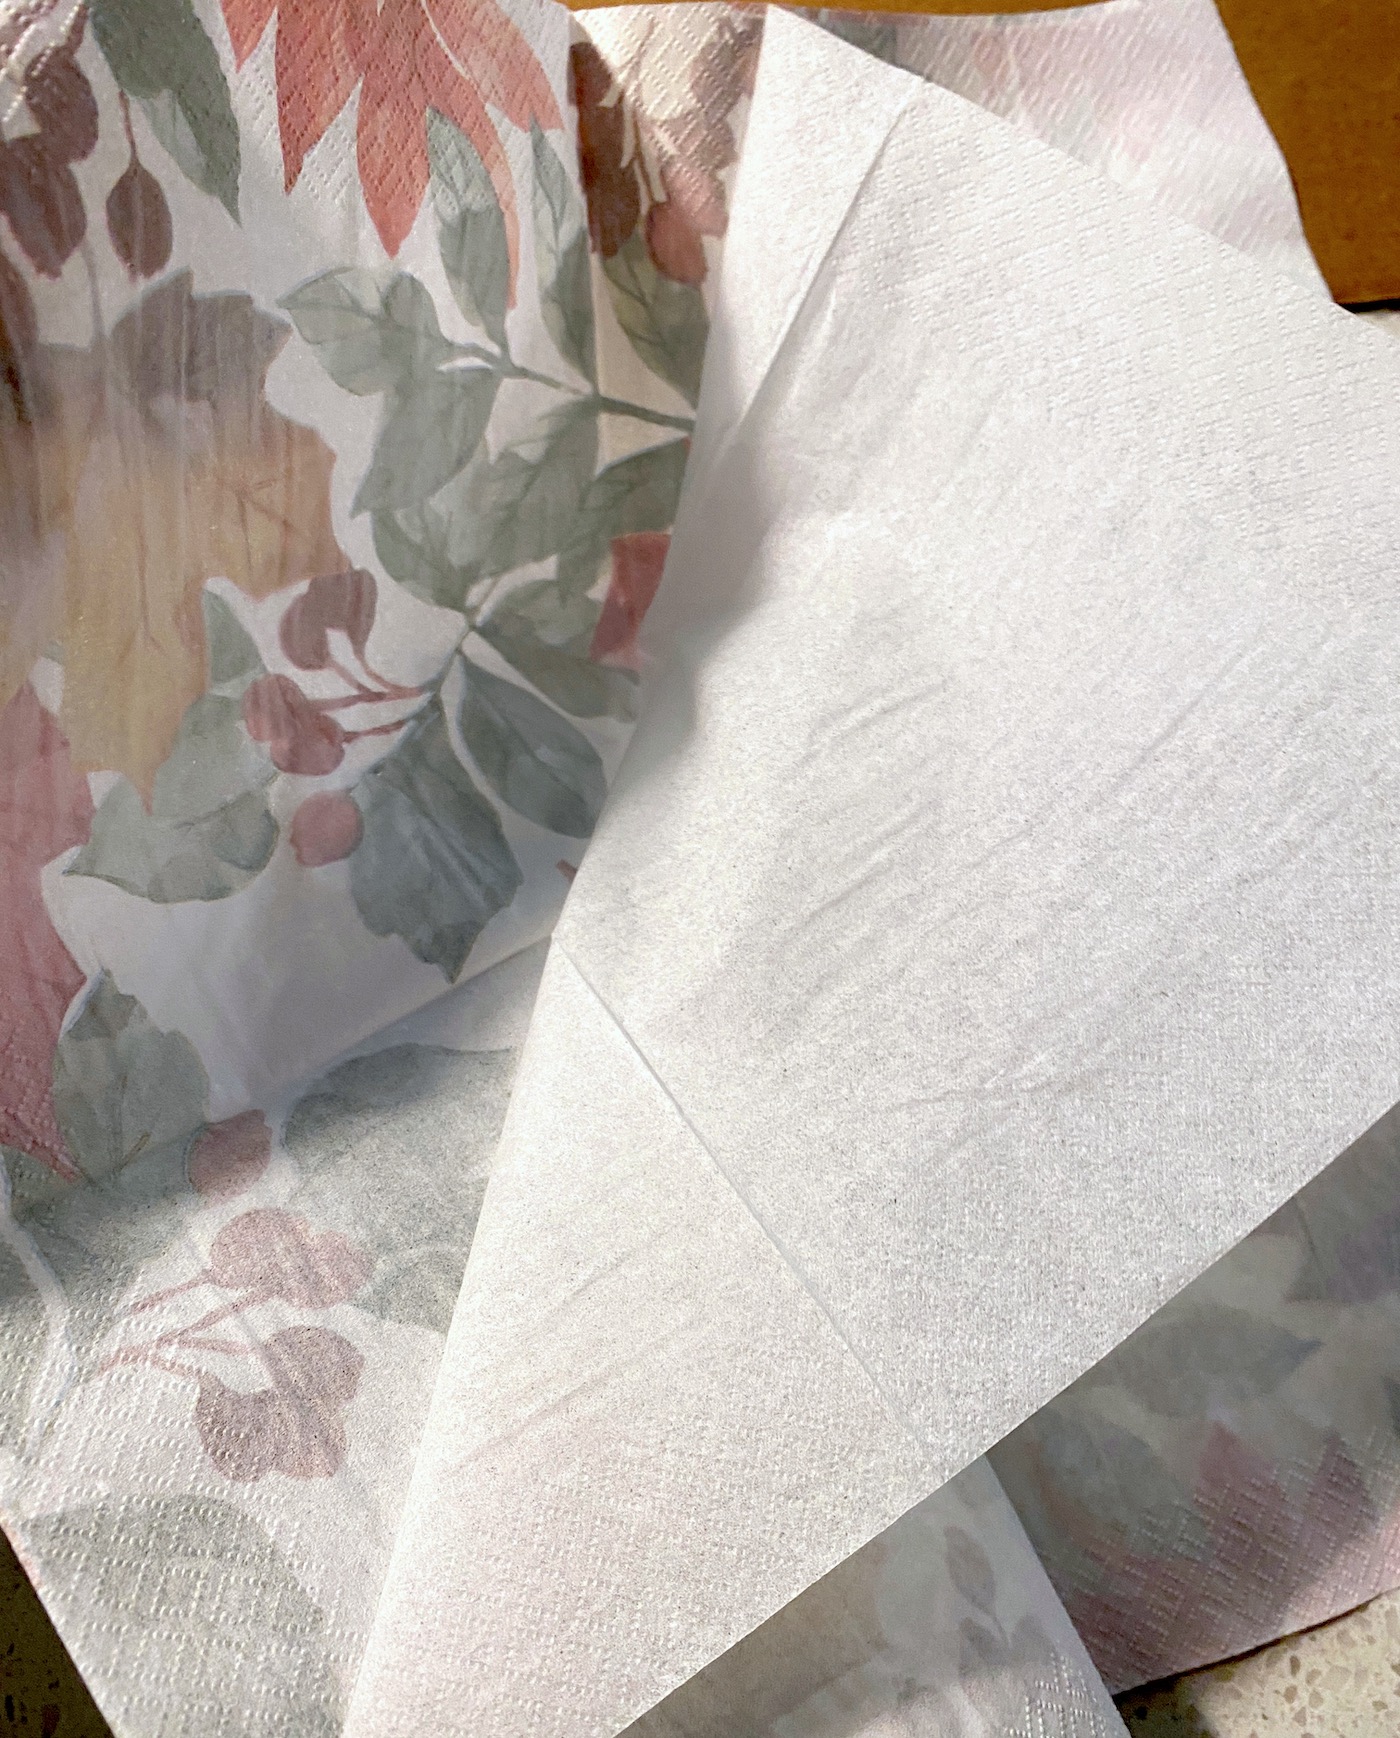
Cut the napkin slightly larger than the wood shape, and gently rub the layers together to separate. You can also use a piece of Scotch tape in one corner on the white portion and pull.
The wood piece should be on your work surface with the Mod Podge side up. Place the napkin down on the pumpkin (for example) and situate it the way you like. Turn your mini craft iron up to the top level (level three). If you use a real iron, go to medium heat with no steam.
I like to have an iron just for crafts.
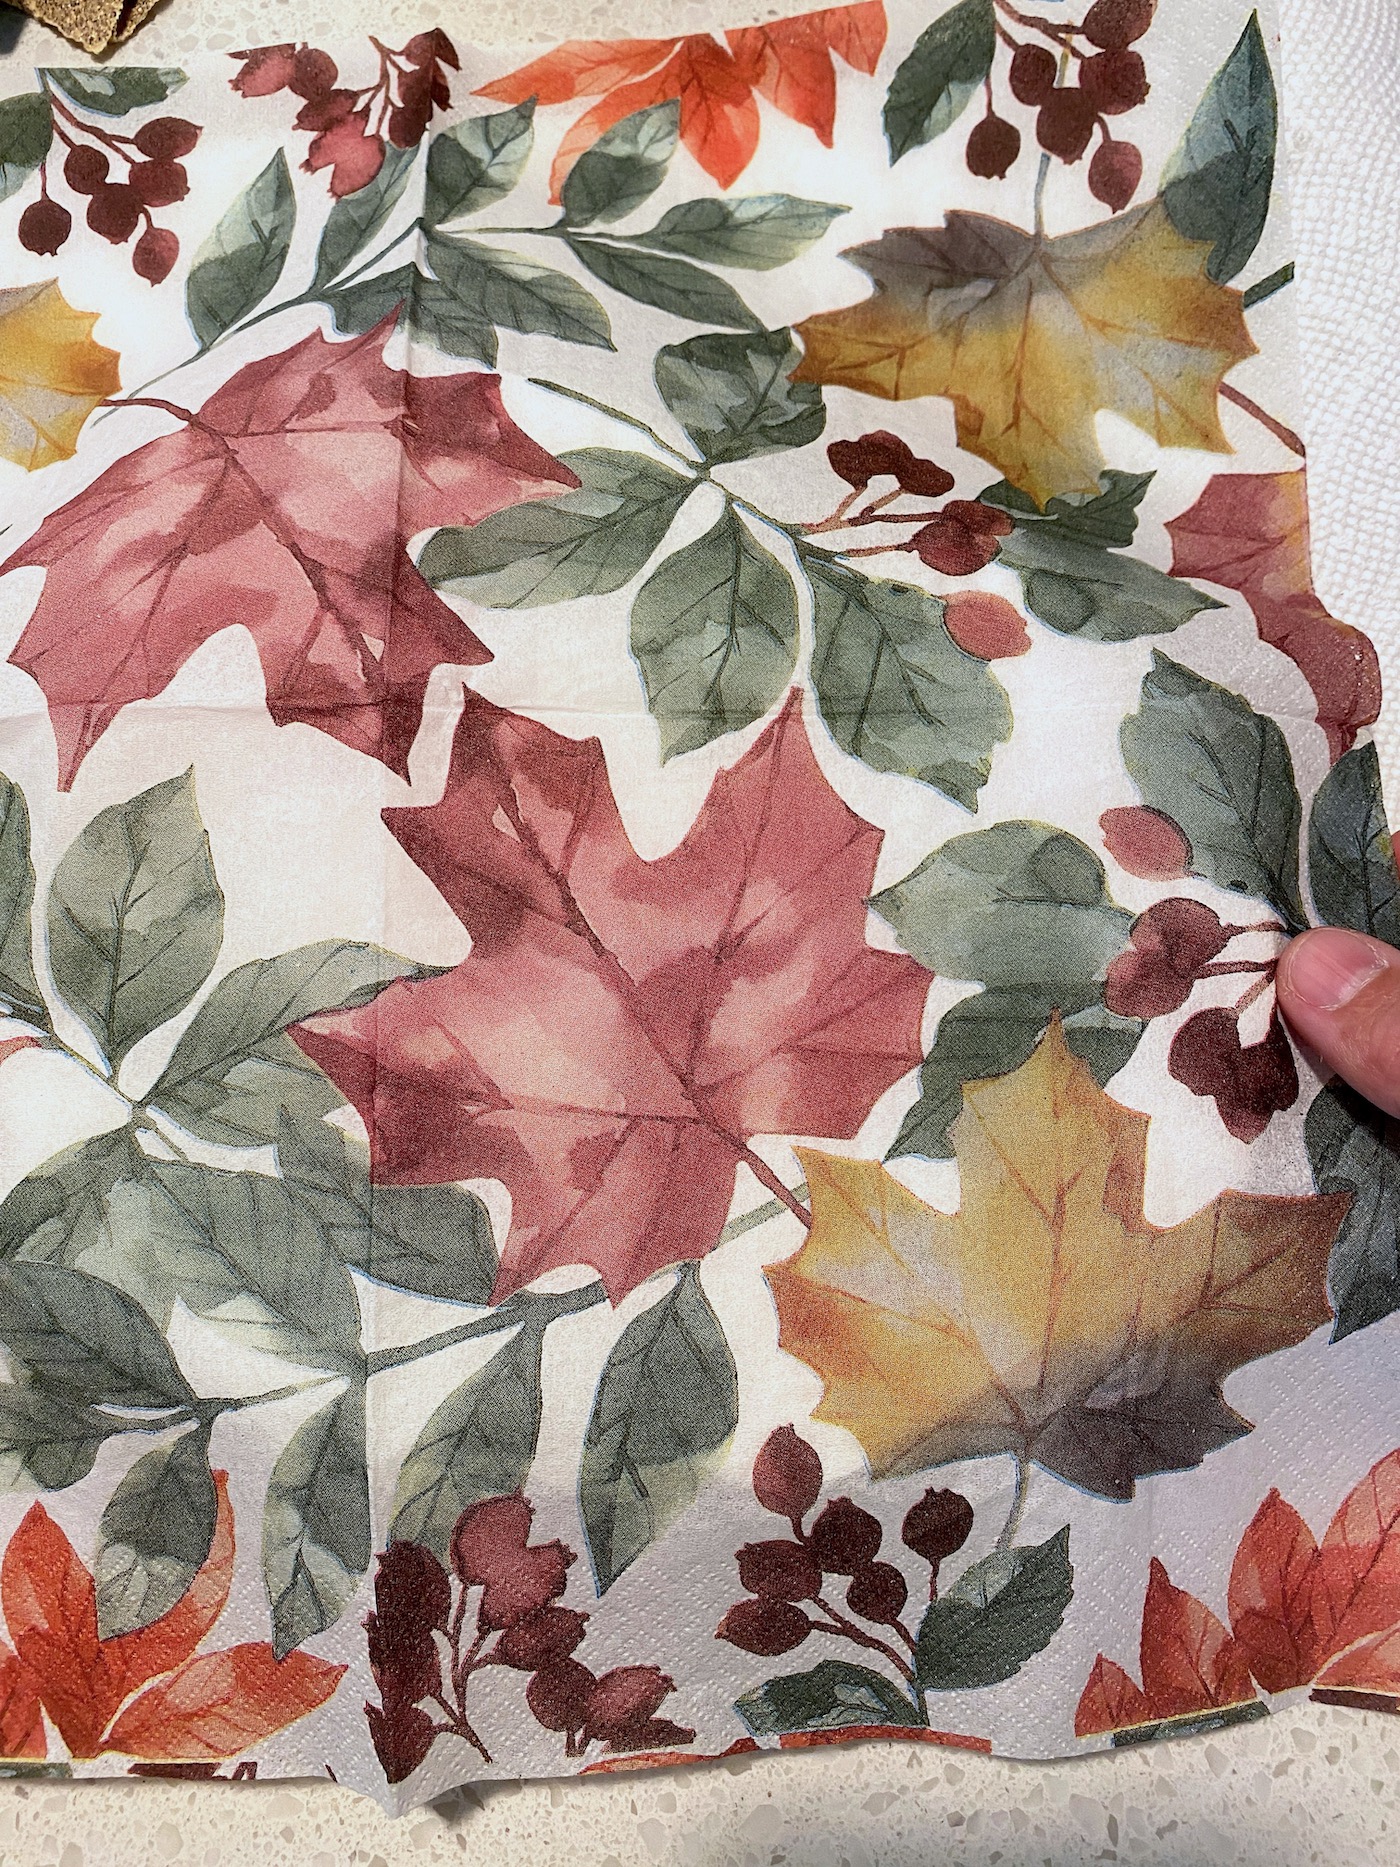
Place a piece of parchment paper on top of the wood shape with the napkin on top, and run the craft iron across the top several times. While you are doing this, the Mod Podge is melting below the napkin, and the napkin is adhering.

Keep going until the napkin is fully adhered. It should just take a minute or two on a surface this small. Lift up and check under the parchment paper to see if you missed anywhere, especially around the edges
Once you’re done, remove the parchment paper and let cool. It should be pretty smooth.
Trim and Seal
This is where the sandpaper or nail file comes in handy. If you lightly sand the edges of your wood piece, the napkin will separate very easily.
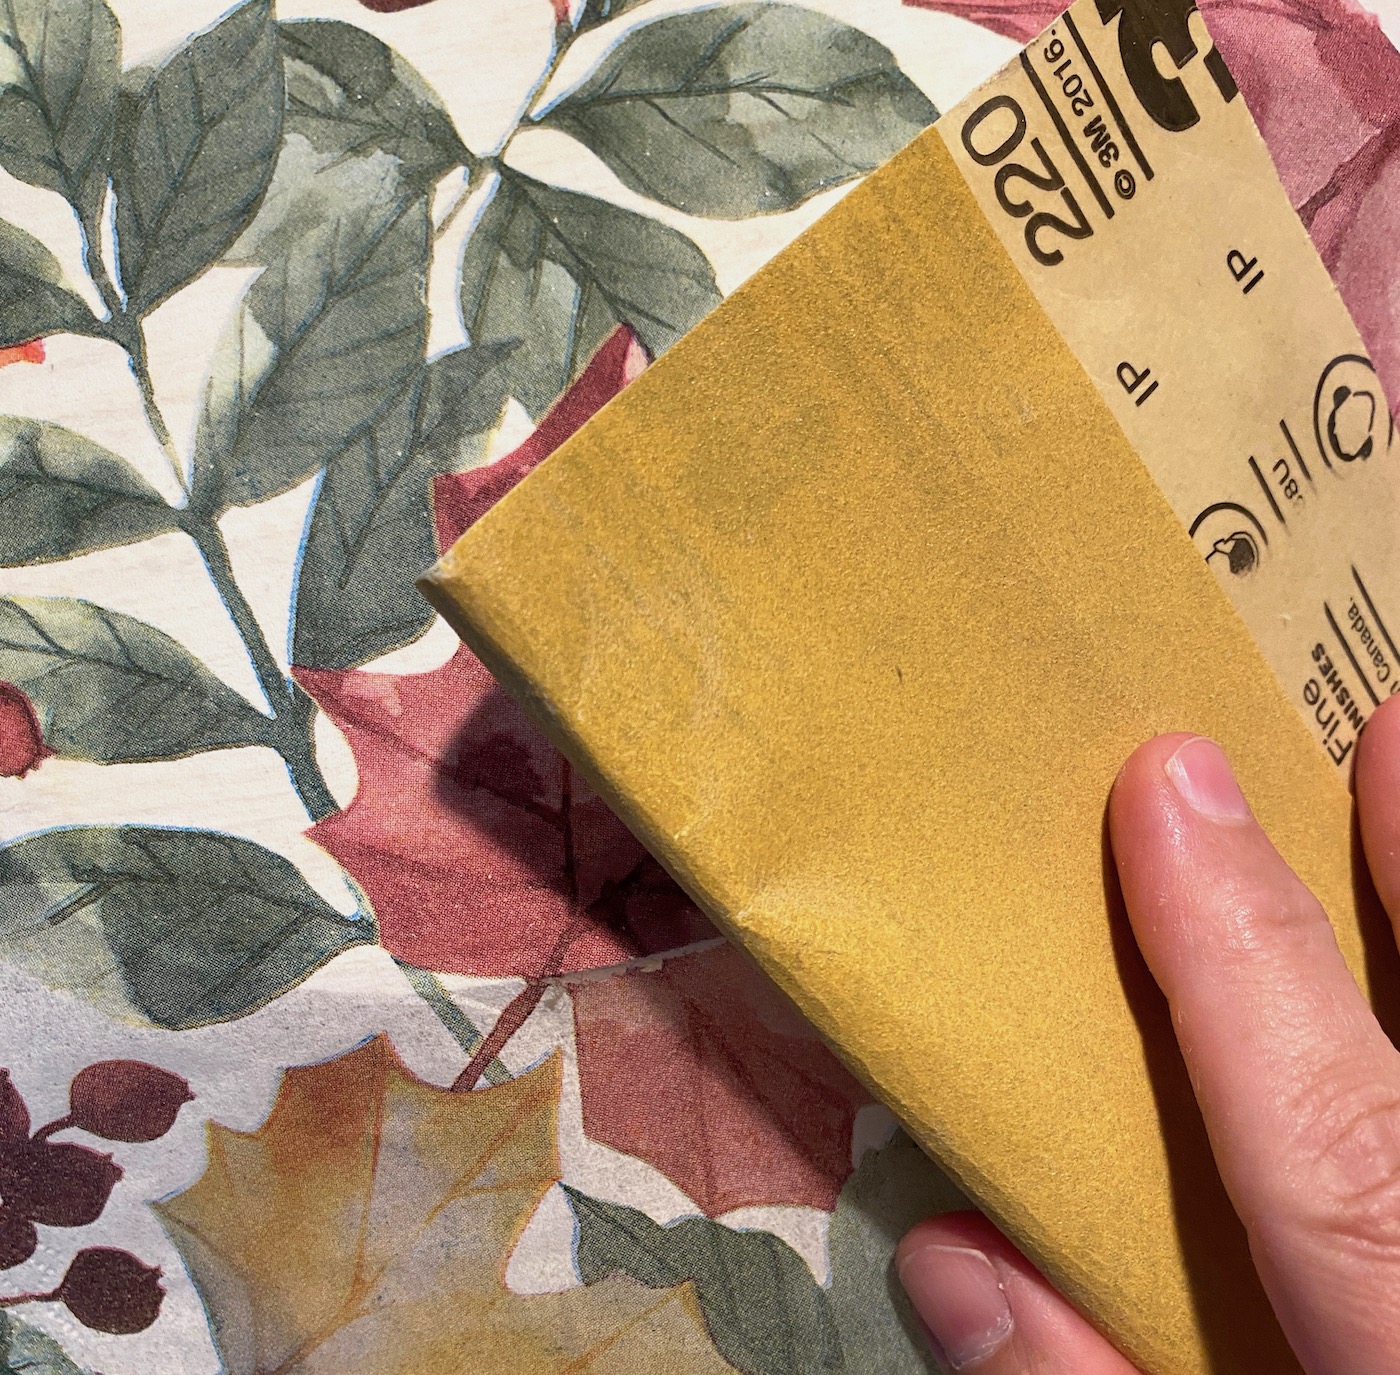
This is how the edge looks as you sand, and the napkin just pulls away. Many people use a nail file or emery board from the dollar store for this purpose and say it works great.
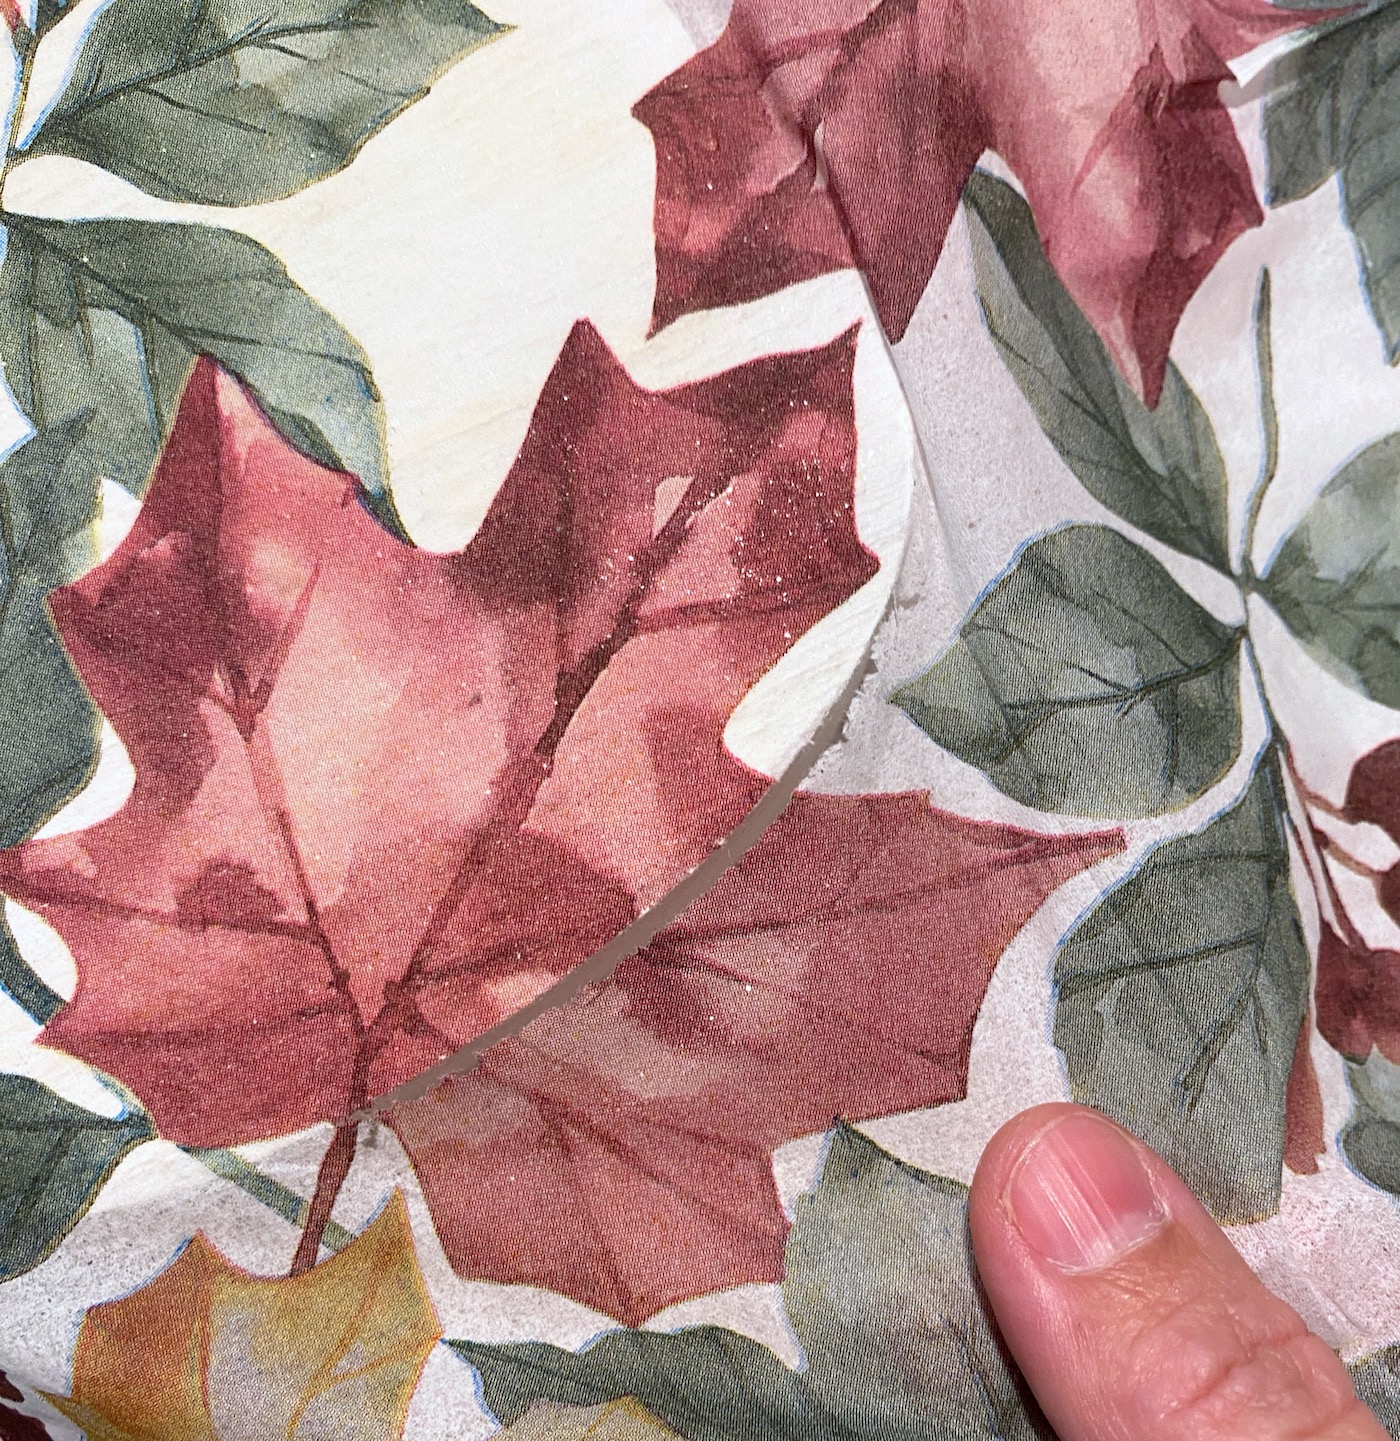
Remove all the excess napkin from around your wood Thanksgiving decor.
Paint and Seal
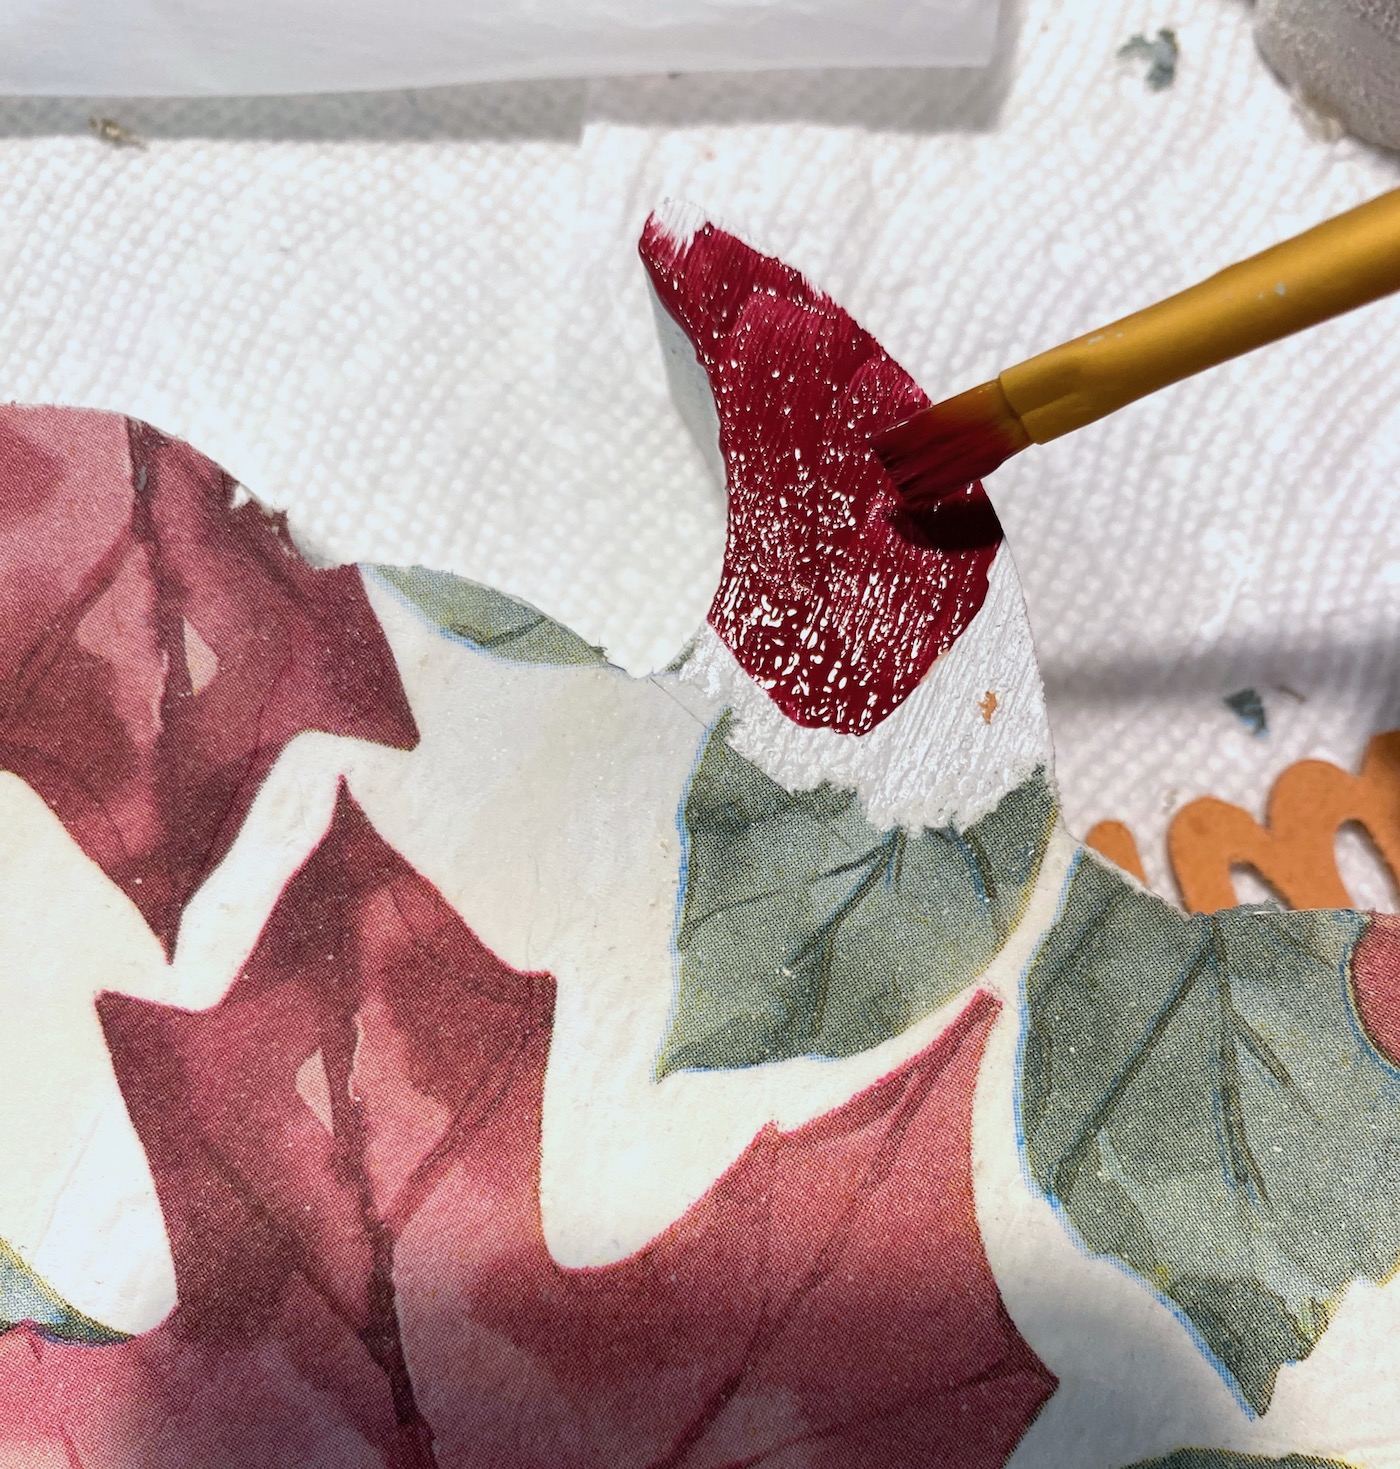
Now that the napkins are down on the fronts of your wood, you can paint the stems. I used a color to coordinate with my napkins. I left my edges white, but you can paint those as well. Let dry.
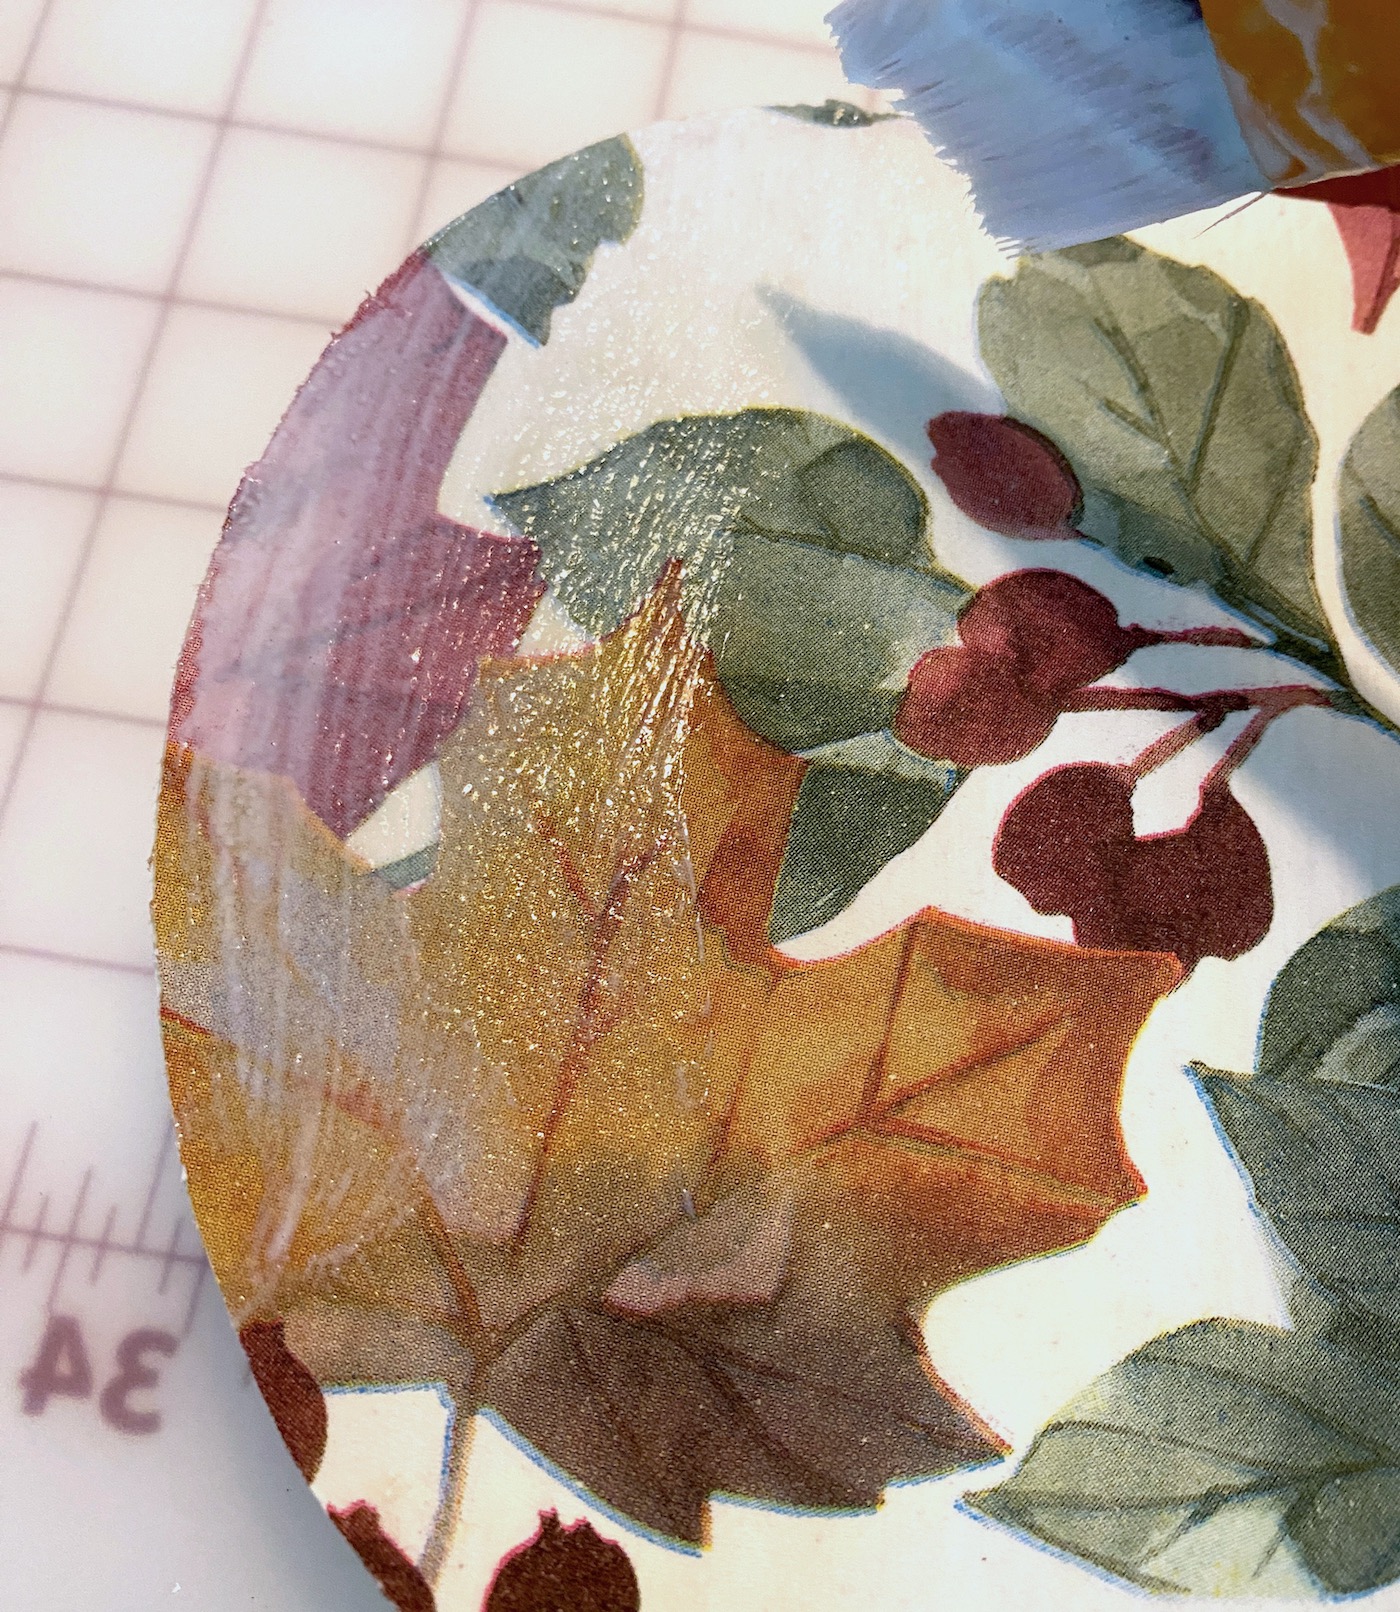
Once the stems are dry, paint the fronts of your pumpkins with Mod Podge and let dry completely.
Add Embellishments
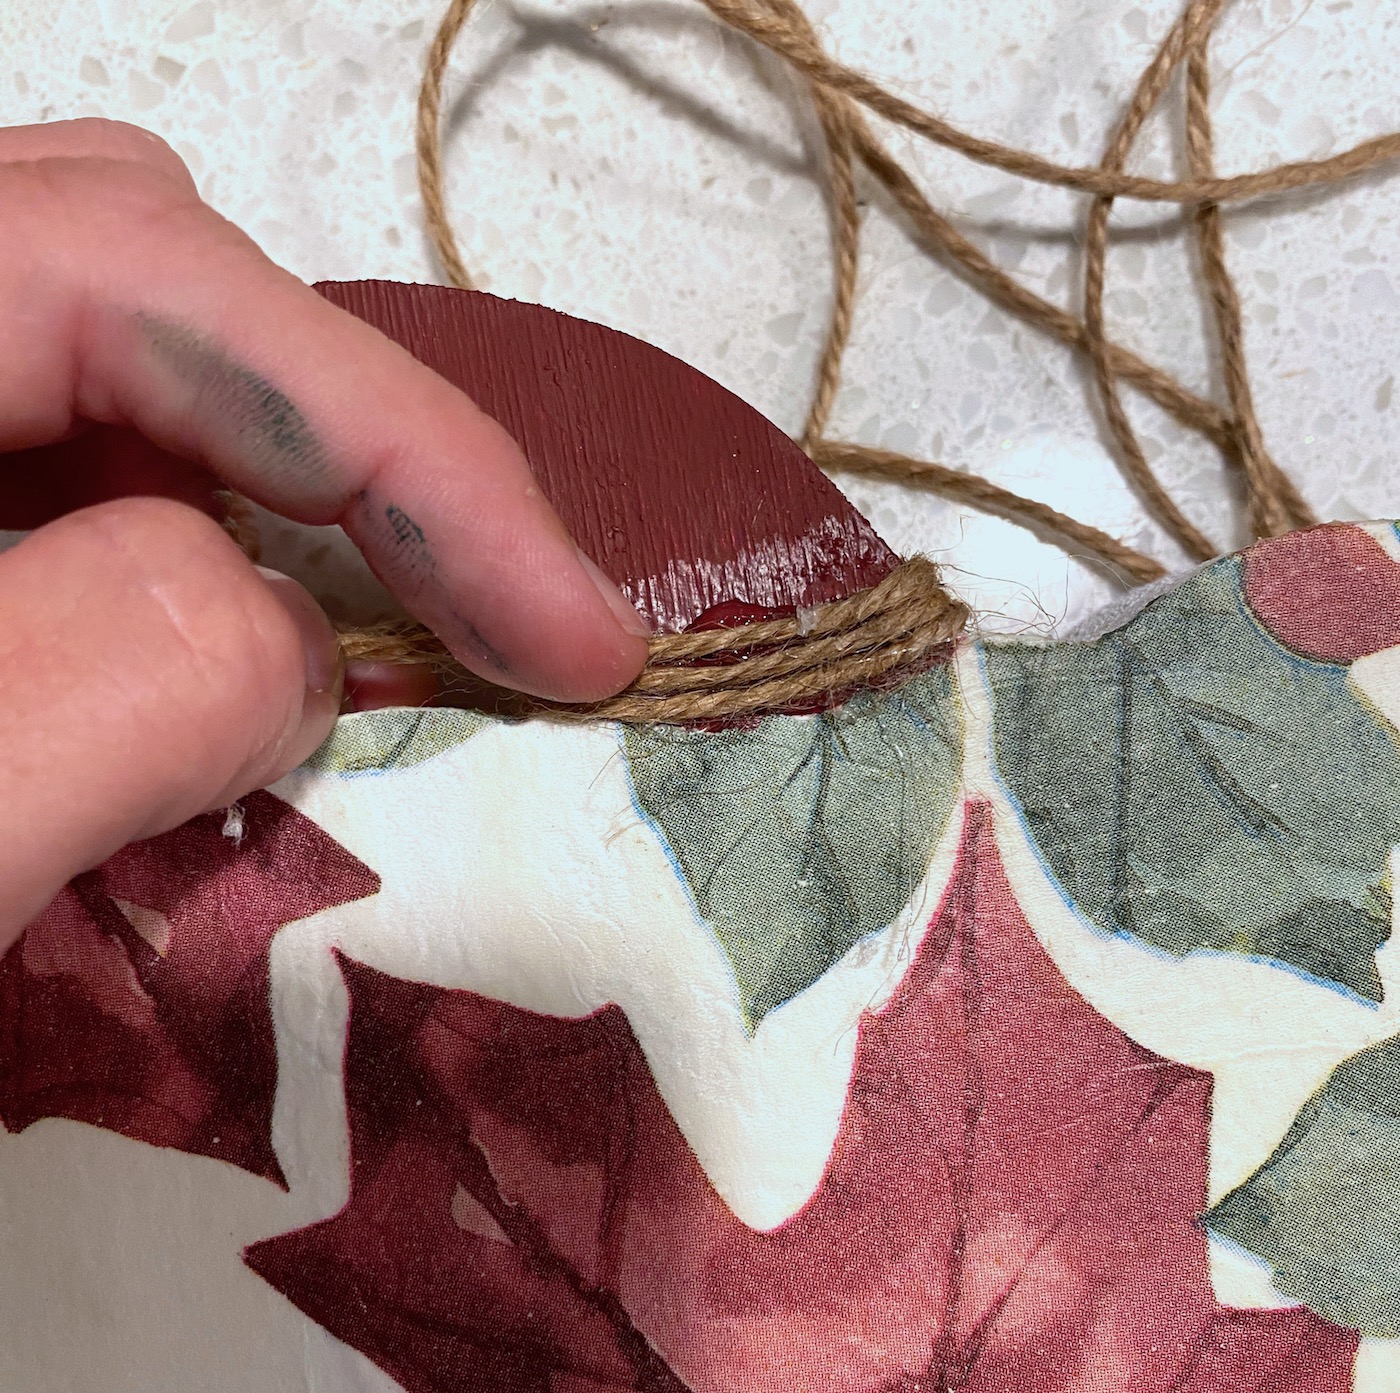
I feel like twine always adds a nice rustic touch to projects, so I added it at the top with a hot glue gun. Just trim a piece of twine, hot glue it to the back, and then start wrapping and gluing.
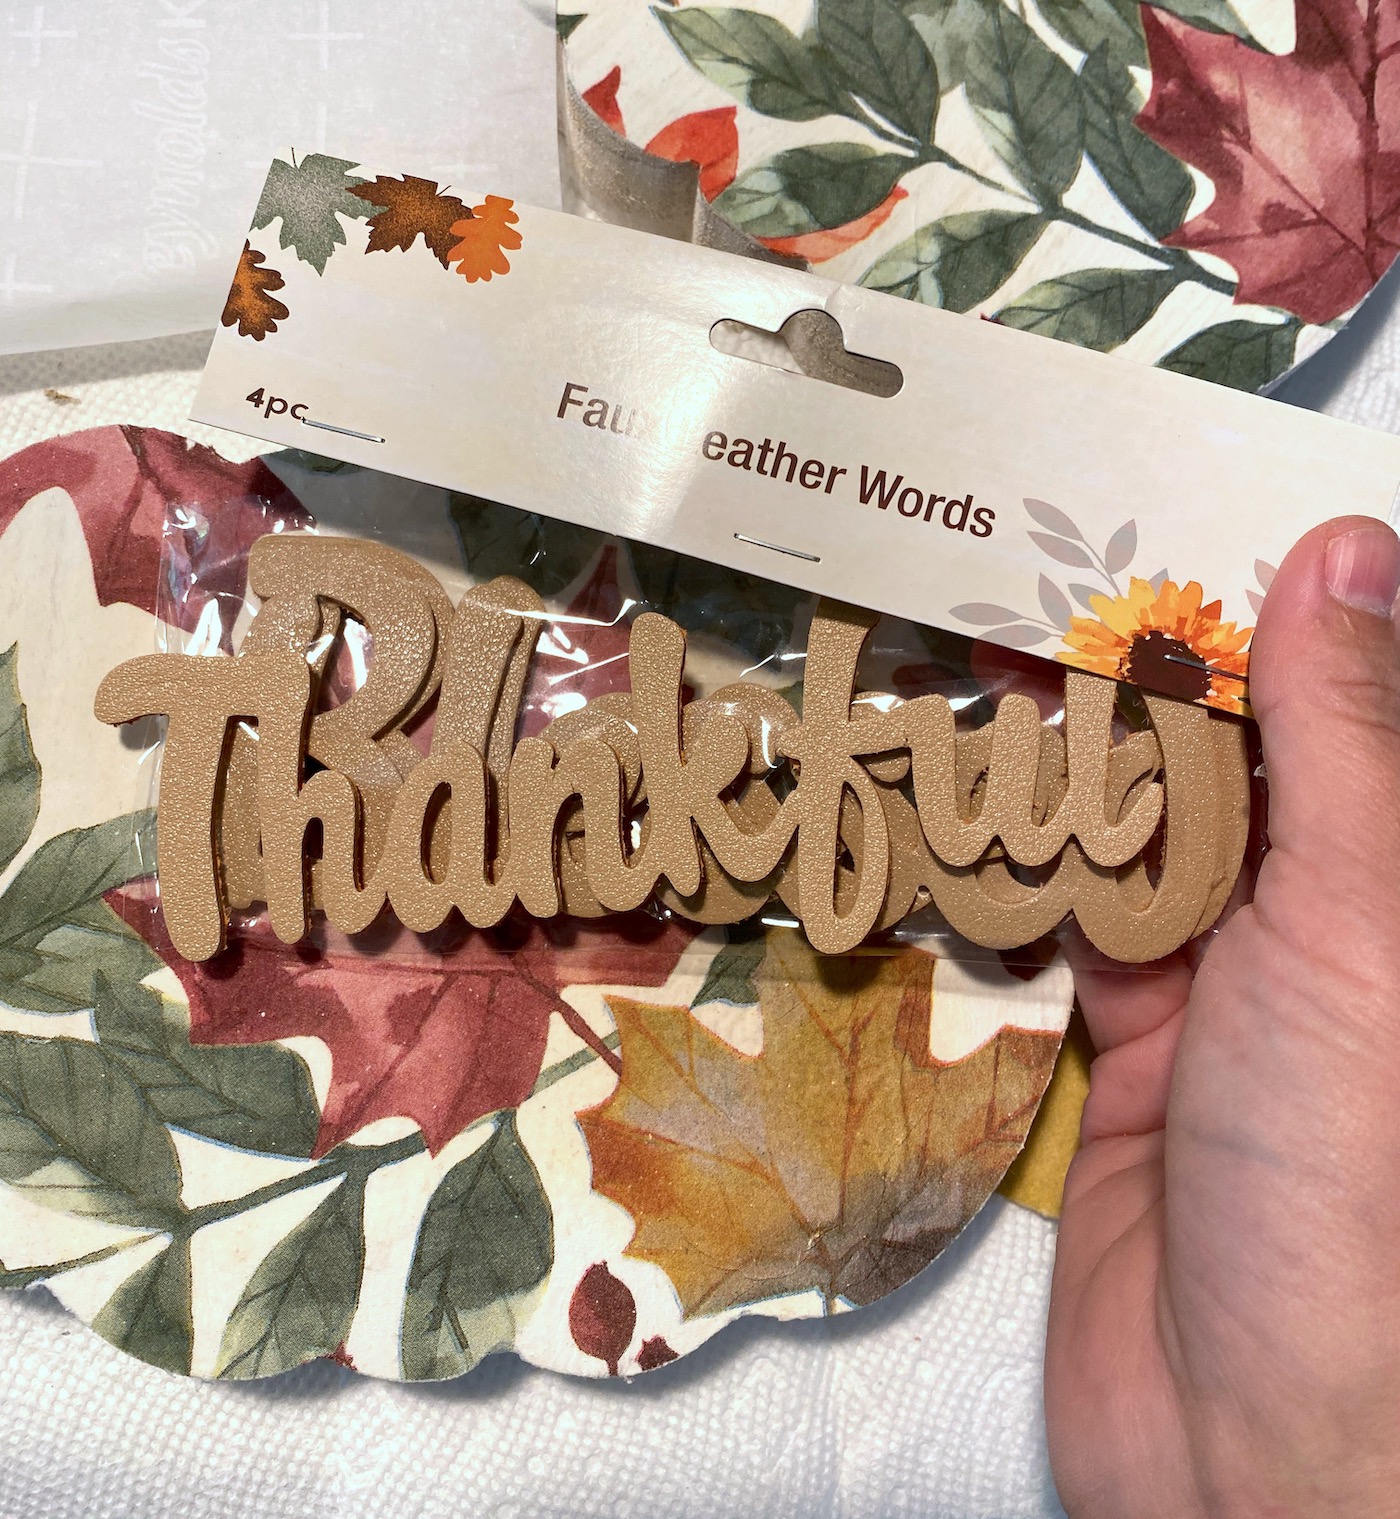
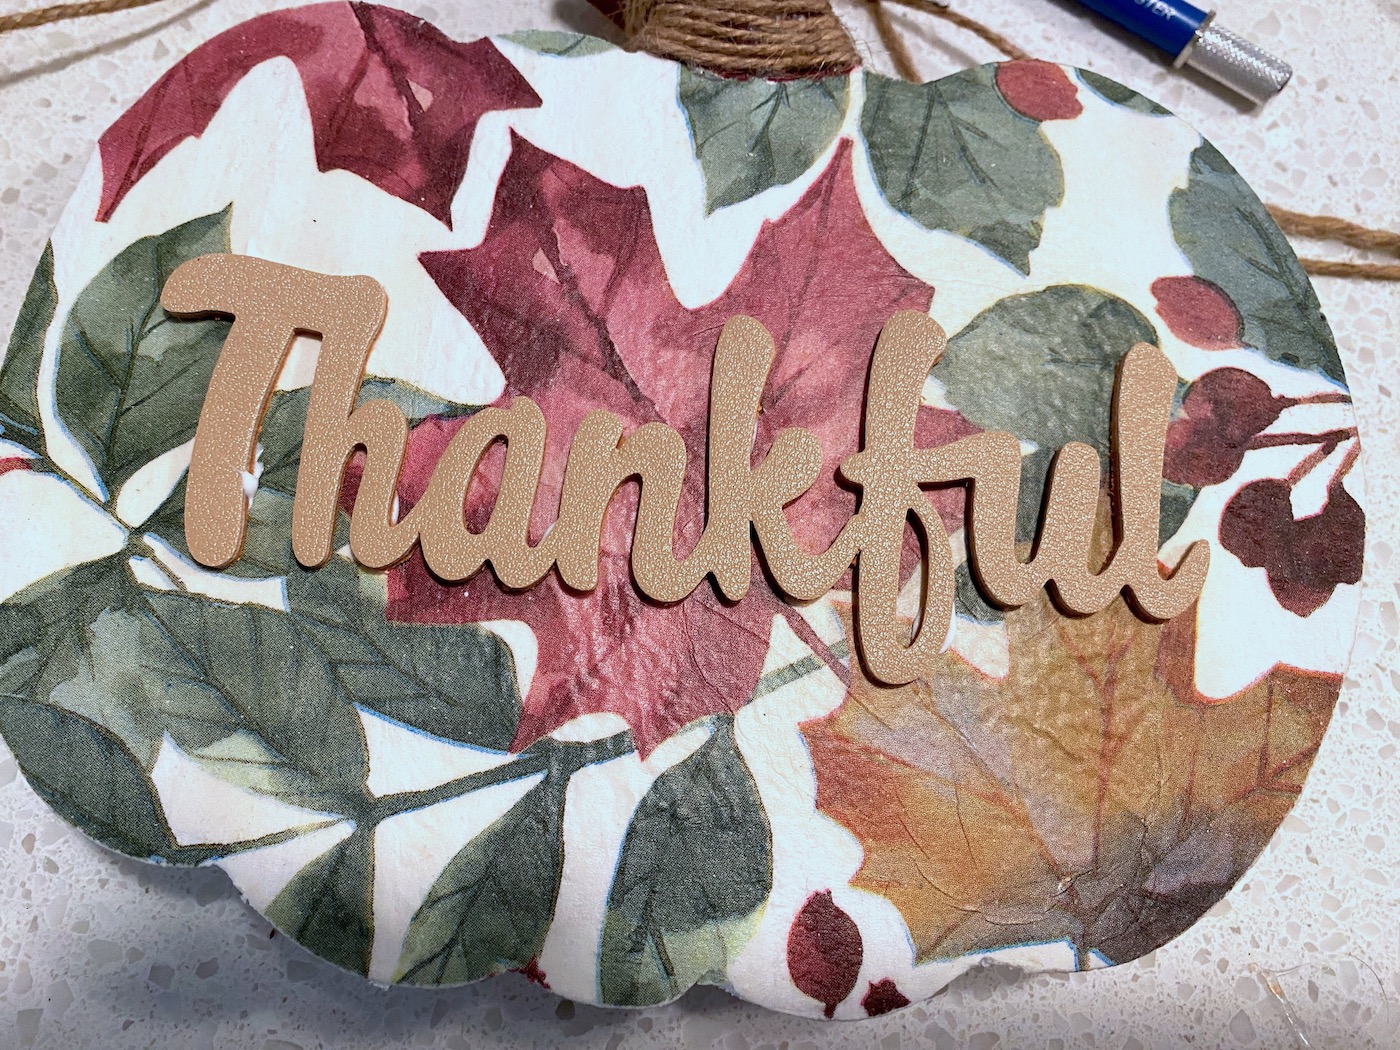
Here are the words I purchased from the dollar store – I just love them!
Apply craft glue to the back . . .
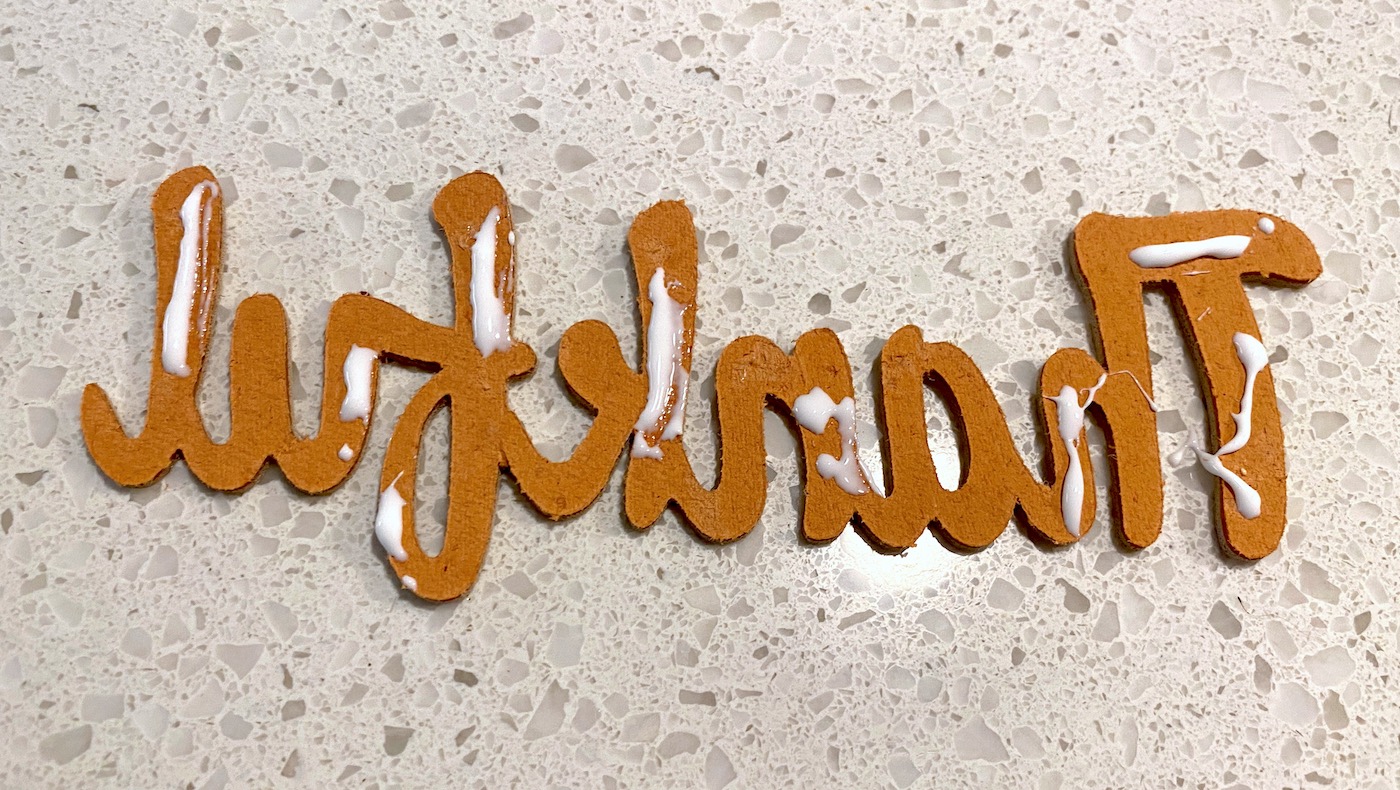
Then add to the front and let dry.
Let everything dry and you are ready to roll. And if there are a few wrinkles in your napkins, just leave them, and appreciate them as an imperfection. Be thankful for life’s imperfections and that we have the ability to craft and make things that are wrinkled. At least this is what I’m telling myself 🙂 Happy Thanksgiving!
If you enjoyed this project, I’d love for you to let me know in the comments! I’d also love for you to check out the following posts: