
Make a painted pumpkin with a skeleton design. This Halloween craft is SO easy – add Sparkle Mod Podge for a really festive touch!
Skills Required: Beginner. You’re going to paint with a smaller brush, but you will be putting the pattern down on the surface (so you’ll have a guide). If you have experience painting anything, you’ll be fine.

Too early for Halloween – and a painted pumpkin idea? My friends, there is no such thing as too early in the world of crafting! That is what I love about being a crafter. I can be a rule breaker. By the way, am I the only person that refers to skeletons as “skulligans?” If you are out there, please identify yourself.
My first project of the season is this DIY pumpkin. It’s easy and uses Mod Podge as a sealer . . . and it’s NO CARVE. There’s some painting involved but it’s fun, and you also get to use white transfer paper.
Ooh la la. This purple and black and glitter painted pumpkin will be loved by you for years to come, guaranteed. Here’s how to make this skeleton pumpkin.
Gather These Supplies
- Craft pumpkin – in black, preferably
- Skull and crossbones clip art printed out to fit the pumpkin – I got mine from Microsoft Clip Art
- FolkArt Paint – Licorice, Dove Gray, Metallic Silver Sterling
- Sparkle Mod Podge
- Purple or silver craft leaves
- Paintbrushes in two sizes – small and large
- Hot glue gun
- Pipe cleaners, black
- White transfer paper and stylus OR chalk
- Stencil tape
Get the printable how to for this cool pumpkin below.

DIY Skeleton Pumpkin
Equipment
- Paintbrush(es) two sizes – small and large
Materials
- 1 Craft pumpkin
- Skeleton clip art printed out to fit the pumpkin
- Craft paint I used FolkArt – Licorice, Dove Gray, Metallic Silver Sterling
- Mod Podge Sparkle
- Purple craft leaves
- Pipe cleaners black
- White transfer paper and stylus
- Stencil tape
Instructions
- Paint the craft pumpkin with Licorice (unless you got a black craft pumpkin).
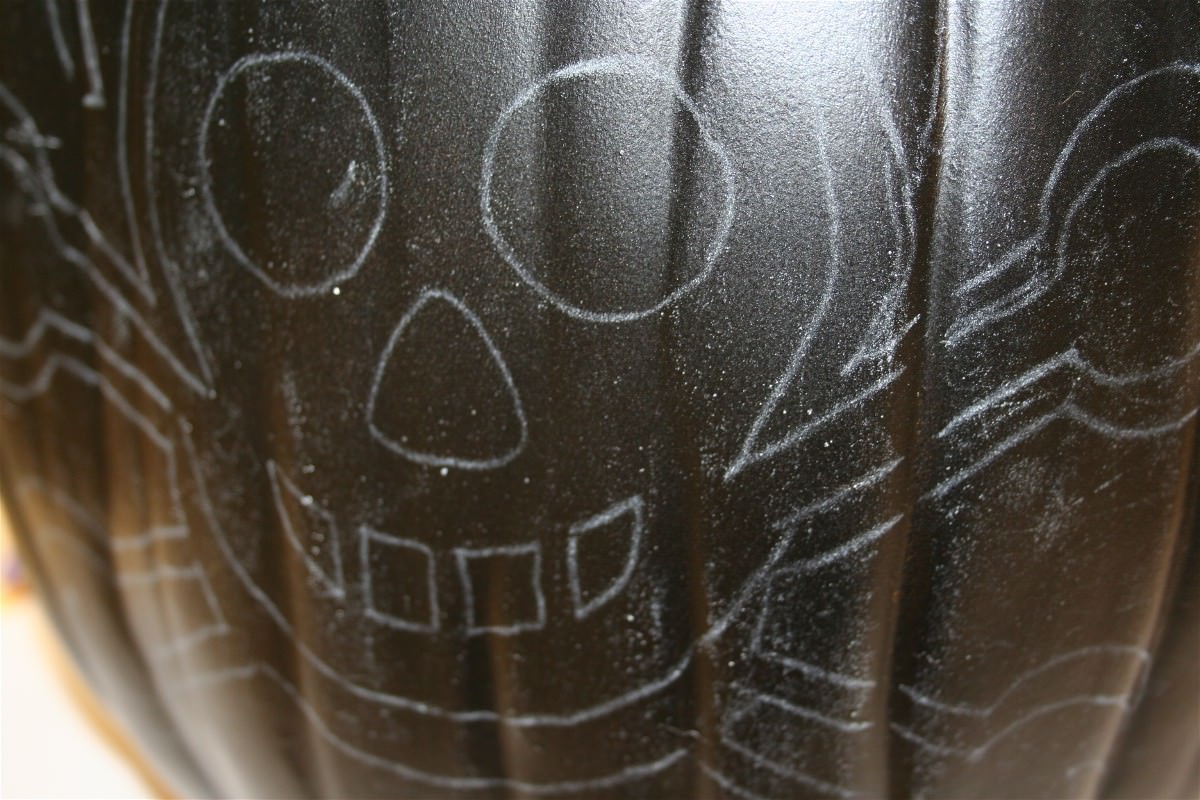
- Tape the white transfer paper behind the pattern onto the pumpkin surface. Use a stylus or pencil to trace the image, leaving the white lines behind.
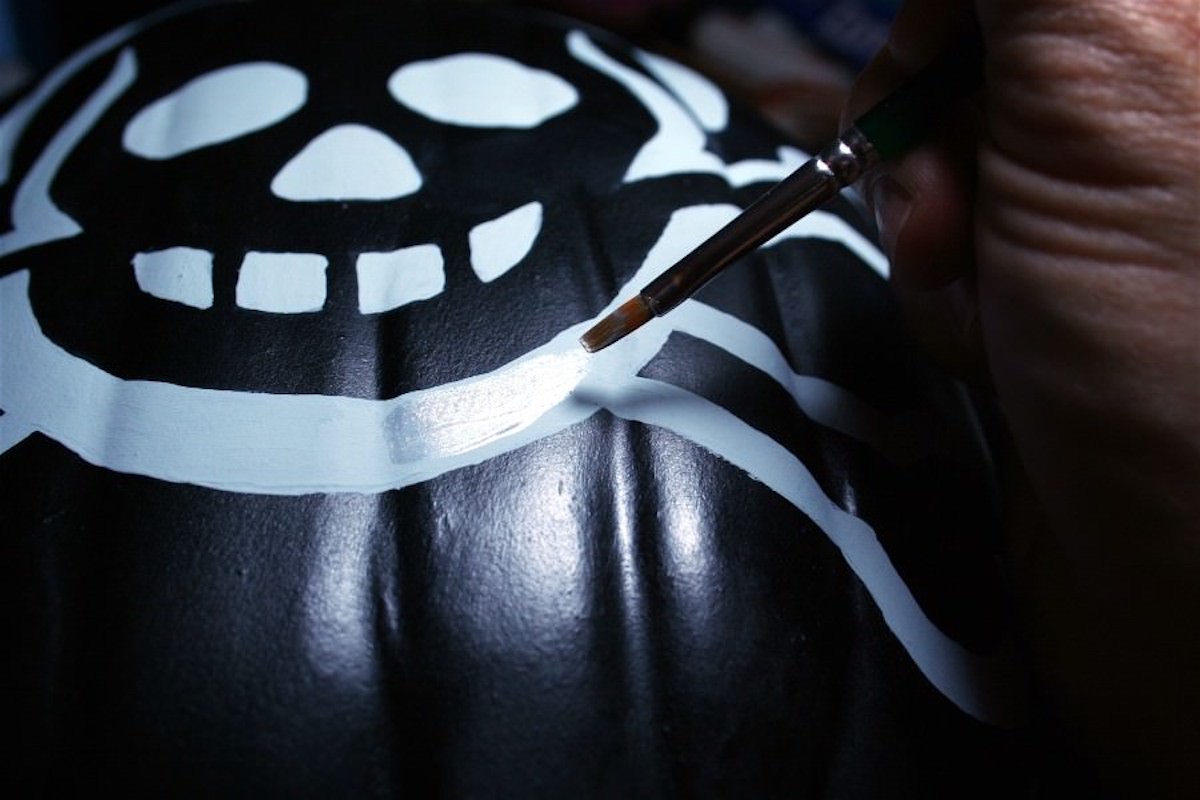
- Use your small brush to paint in the skeleton design with gray paint. Follow the pattern lines as closely as you can. Keep painting until you’ve filled the skeleton completely in and then allow to dry. Don’t forget the stem.

- Use your small brush and silver to paint over the gray. It gives it a nice little sheen. Cover and then allow to dry. Paint the stem too.
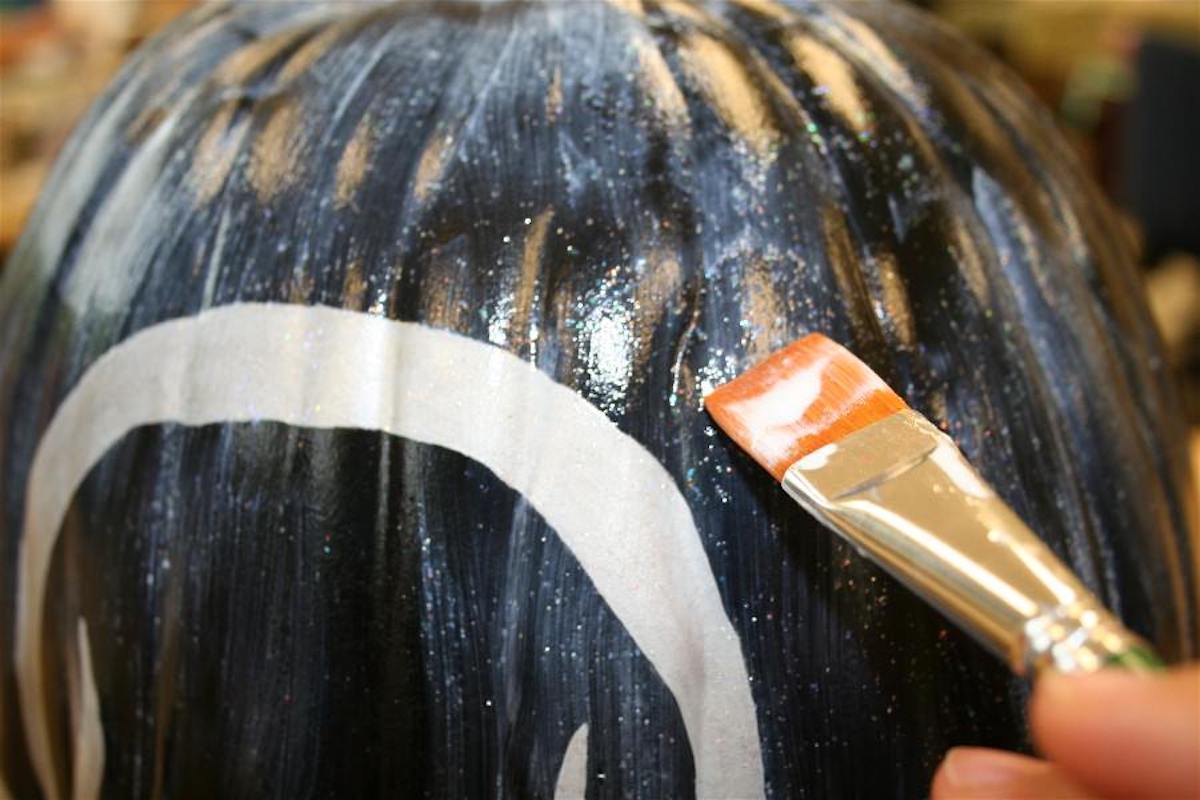
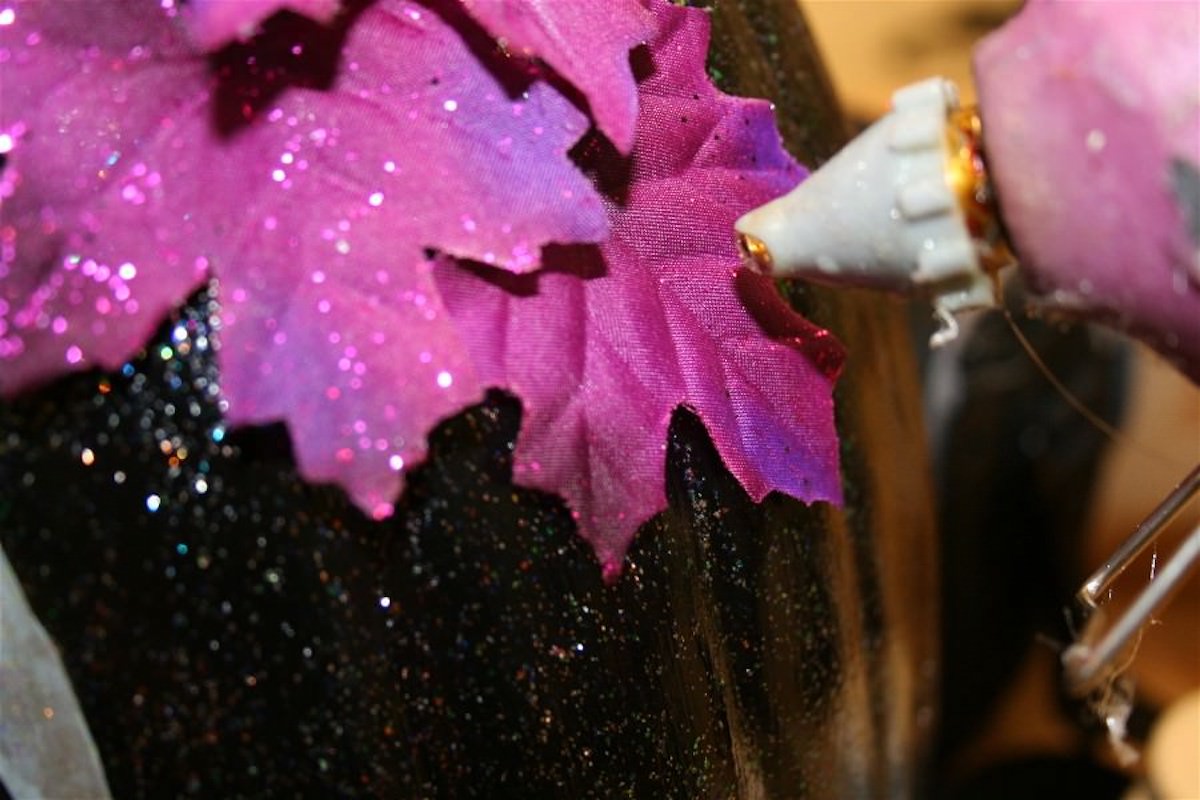
- Coat the pumpkin with several layers of Sparkle Mod Podge, allowing to dry between coats. Set aside and allow to dry.
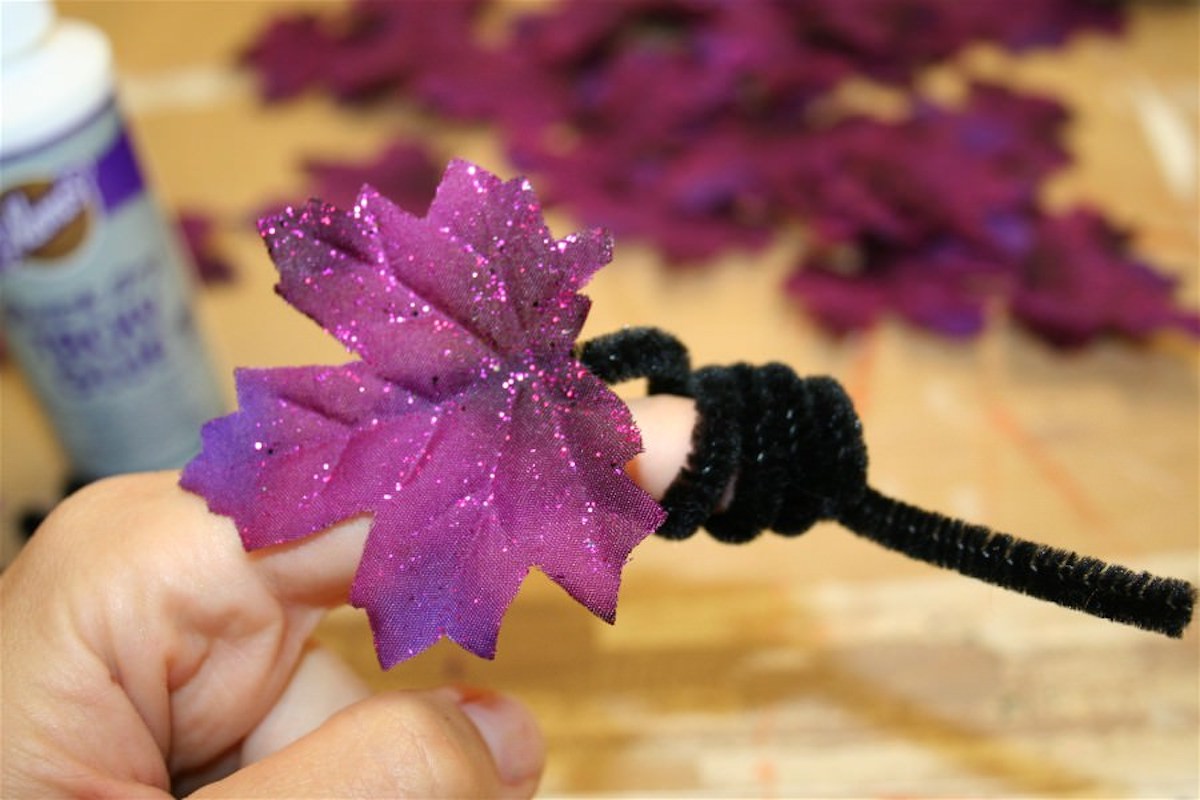
- While you are waiting for the pumpkin to dry, take some of the leaves and glue onto the ends of pipe cleaners.
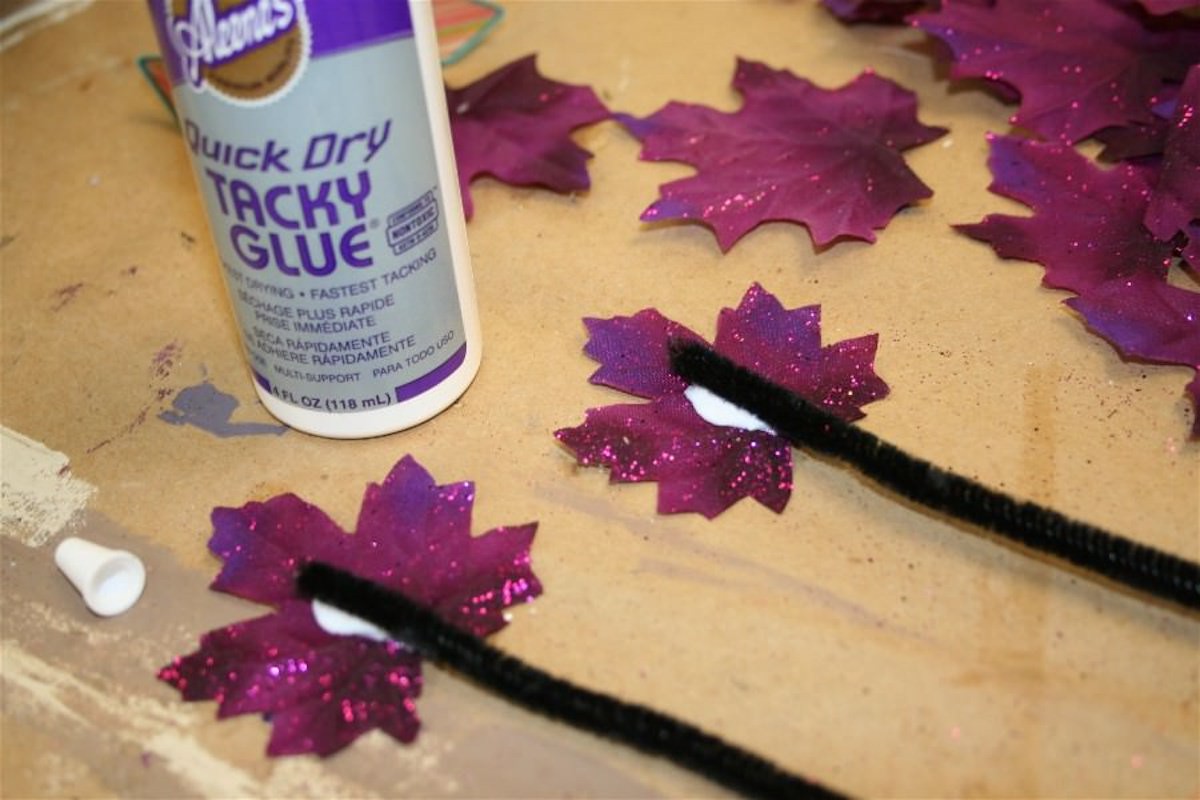
- Once dry, wrap the pipe cleaners around a finger to make a curled vine effect.
- Using the hot glue gun, attach the pipe cleaner “vines” to the top of the pumpkin, then start attaching leaves. Let the glue cool completely before displaying.
Notes
- Cut out the image and hold it to the pumpkin, tracing around it in chalk (you can erase it later). Don’t draw so hard with the chalk that you create grooves in the pumpkin surface.
- Turn the pattern over and color it with a white crayon. Tape it to the pumpkin and use a pencil to trace the lines, which will transfer the crayon to the surface of the pumpkin.
If you love this Halloween craft, check out these other fall crafts and pumpkin decorating ideas:
Confetti Pumpkins • Decorate Paper Craft Pumpkins • DIY Leaf Bowl • DIY Nautical Pumpkin • DIY Pumpkin Seed Art • Wood Block Pumpkins • Glitter Acorn Decor • How to Dry Acorns • How to Paint Acorns • How to Preserve Leaves • Mod Podge Map Pumpkins • Nautical Pumpkin Craft • Paper Mache Pumpkins • Wood Pumpkin Decor


Where do I find transfer paper at
Hi Beth! Any craft store has it – I believe over in the art supplies section.
Love the colours, a perfect decoration for a stylish Halloween party!
This is too cute..
I love this! The sparkle keeps it from being too black and white. I came over from Somewhat Simple today.
I agree with everyone, it’s never too early for Halloween projects. I’ve been thinking of I want to do this year… first on the list is my daughter’s costume! Can’t wait to get started on that!! I am so loving your pumpkin… it’s giving me some ideas;) I’m ashamed to say I didn’t know there was Sparkle Mod Podge… oh boy, I’m so excited to run out to my craft store and get a bottle. Ideas, ideas thanks to you!!
BTW I’m stopping by from Somewhat Simple. 🙂
I LOVE this! Never too early to be thinkng ahead, esp. For holidays! I found you via somewhat simple!
not to early for Halloween projects, especially since most DIY have to stay in my bookmarks/pins for a while before actually being done 🙂
Love love love. And I totally agree…never too early for Halloween crafts. The purple and black is awesome!
waooo Amy, its so smart..
Glitter on black color is really looking nice 🙂