Learn how to Mod Podge pictures on canvas the easy way. I did this with a few of my favorite prints – you can do it with your favorites too!
Skills Required: Beginner. It helps to have experience with Mod Podge to avoid wrinkles. You’ll be painting canvases and then decoupaging printed images to the fronts of them.
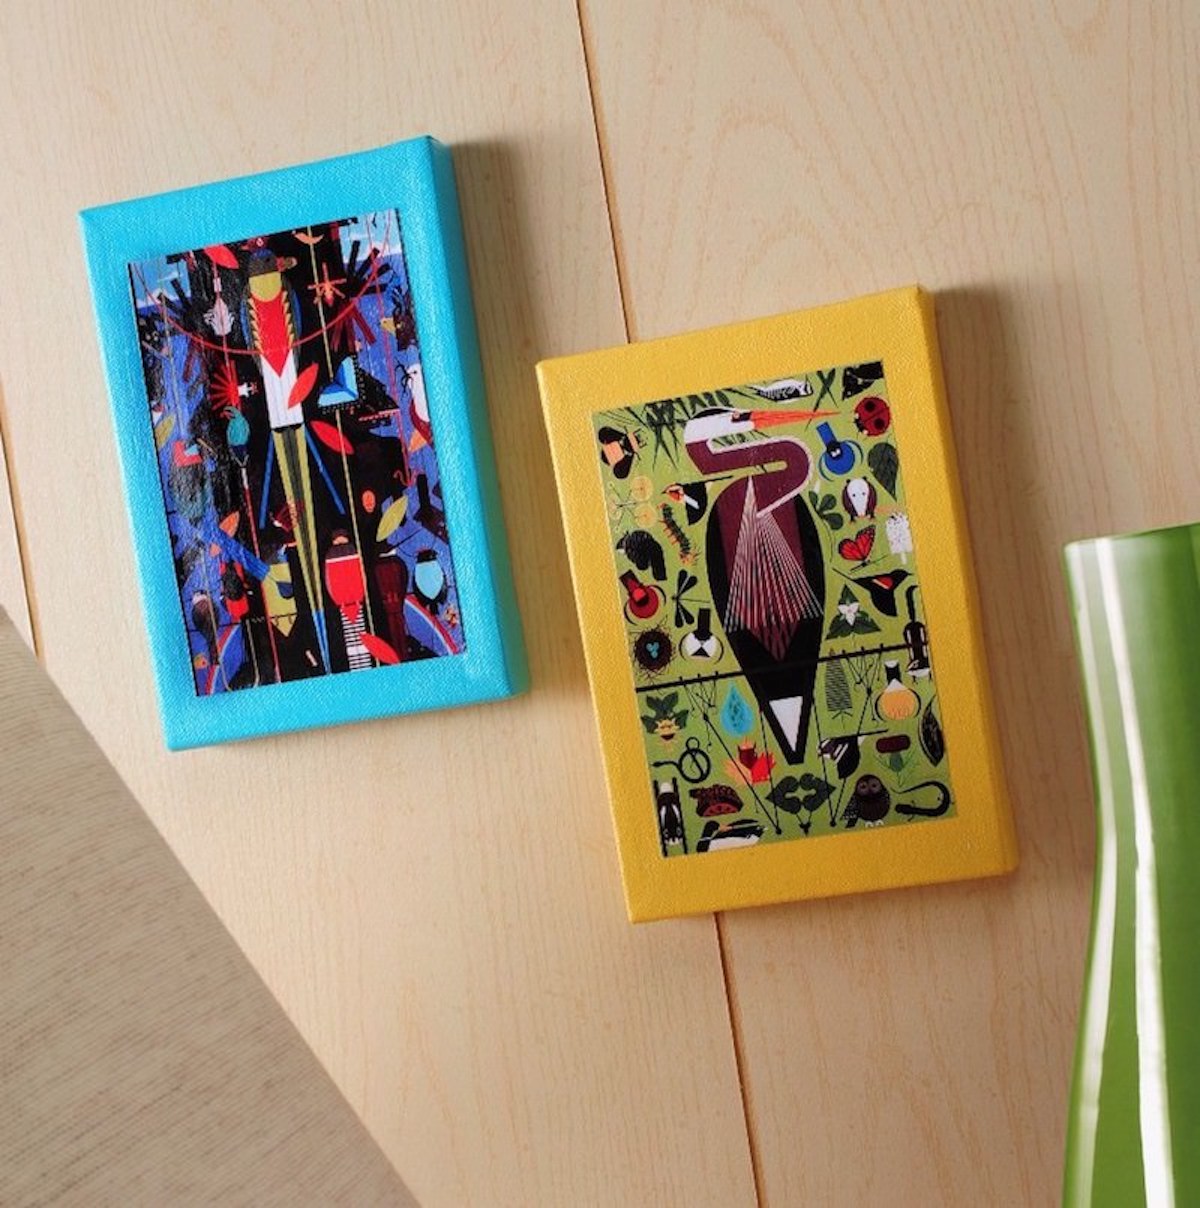
I’m a huge fan of wall art! One of my favorite things about Mod Podge is that it’s so easy to put image to canvas, and on a budget.
You can pick prints you love (from anything really), and turn them into something you can hang on your wall. I particularly love scanning things and turning them into projects (not for re-sale, but for personal use).
This is one of those DIY canvas art projects that uses a scanner . . . and it’s *really* beginner. For those of you who have done decoupage before, you may roll your eyes at this one . . . but just bear with me.
There are a few newbies out there who have never used the Podge before, and this is about the easiest place to begin. I mean it!
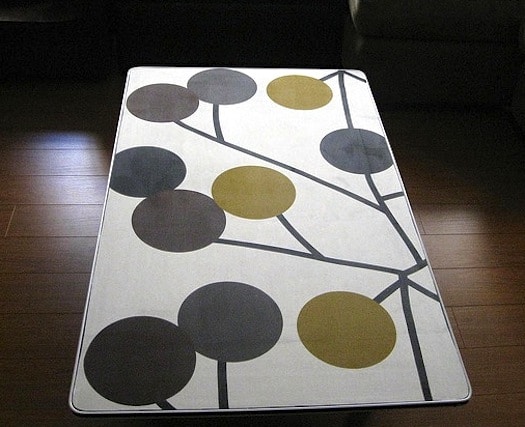
So as you can see, I did two mini-canvases featuring one of my favorite artist ever, Charley Harper. I love his work, and I own a few of his prints (lithographs) as well as this coffee table book:
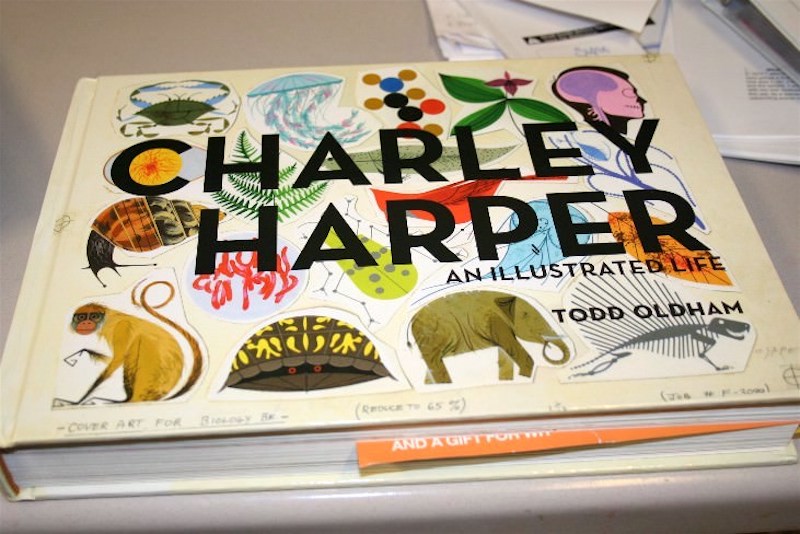
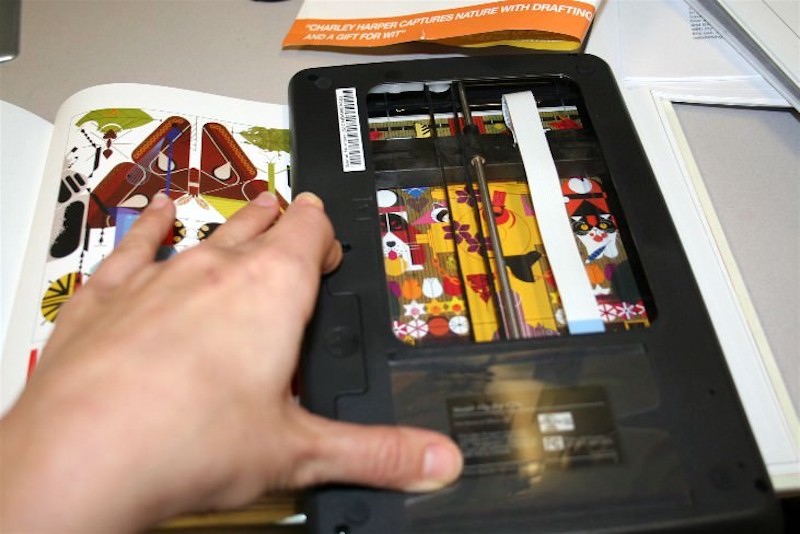
I decided to go ahead and make some wall art with some scans from the book. Before I go on I have to say that when you scan things that are not yours, it can be for personal use ONLY.
You aren’t allowed to sell them or claim them as yours. You probably already knew that, but I just wanted to make sure. So here’s what you need for this photo craft.
Gather These Supplies
- Scanner
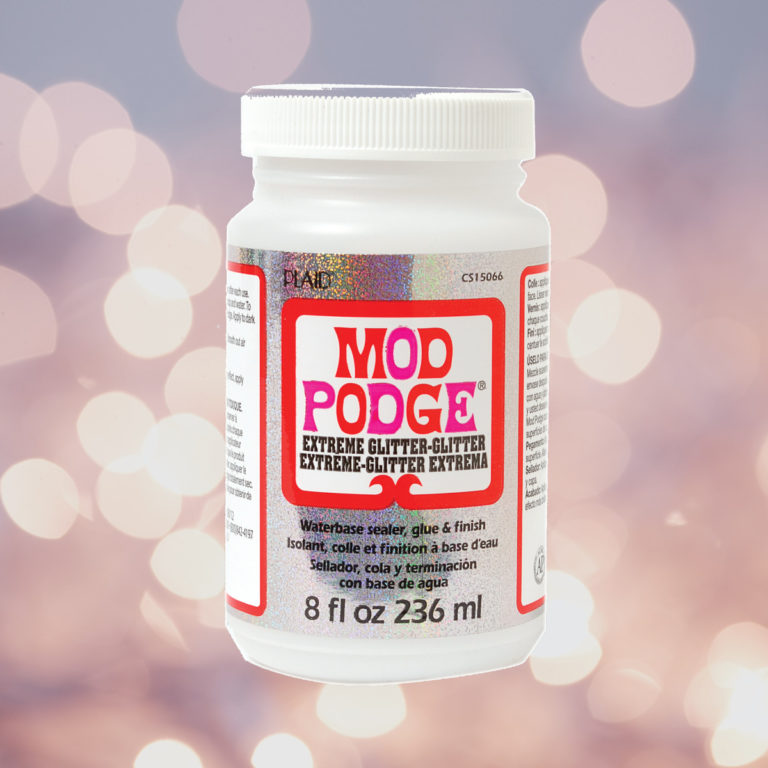
- Mod Podge Gloss
- Computer and printer
- Book to make scans from
- FolkArt Paint – colors of your choice
- 5″ x 7″ canvases – two
- Paintbrush
- Craft knife
- Ruler
Get the printable how for this project below:
Mod Podge Image to Canvas
Equipment
- Scanner
- Computer and printer
Materials
- 2 Canvas(es) 5" x 7"
- Book or photos
- Mod Podge Gloss
- Acrylic paint
- Clear acrylic sealer or hairspray
Instructions
- Scan a book or photos. I scanned at 300 dpi, but you can scan at 600 dpi too so that you can blow up the picture.
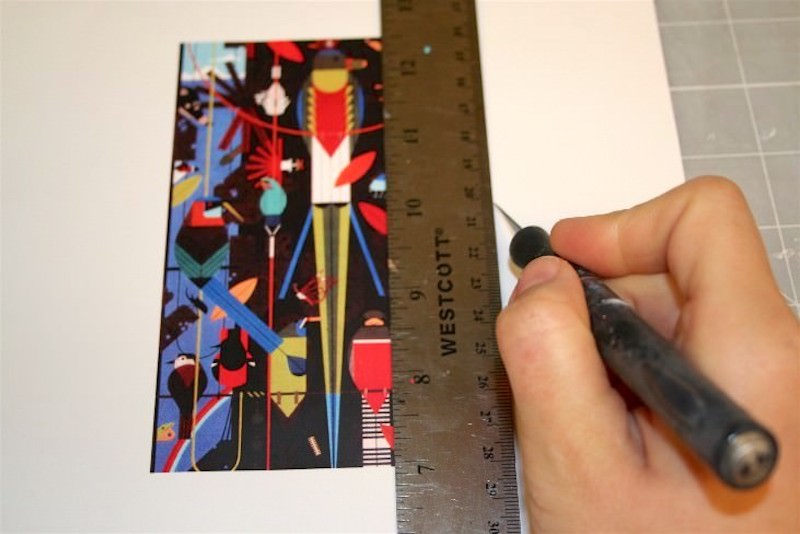
- Print out the images of your choice and trim them to fit the canvases. If inkjet, spray with clear acrylic sealer or hairspray on both sides and let dry before trimming.
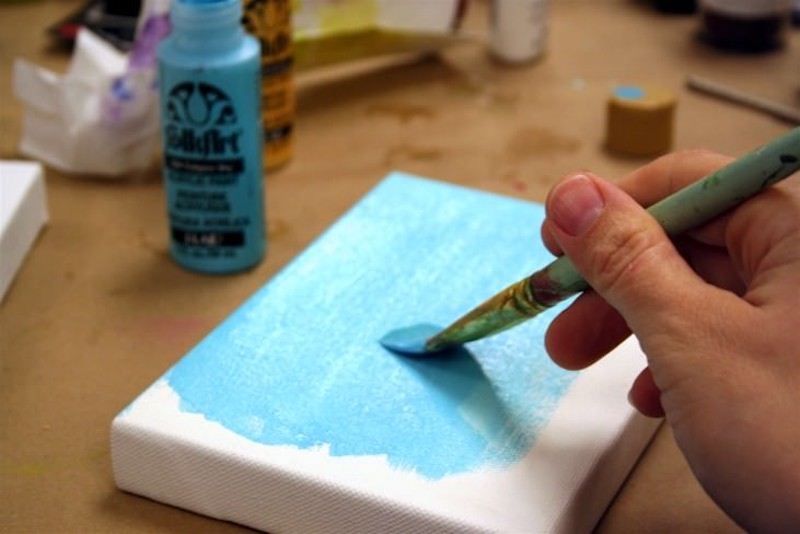
- Paint the canvases with the colors of your choice and let dry.
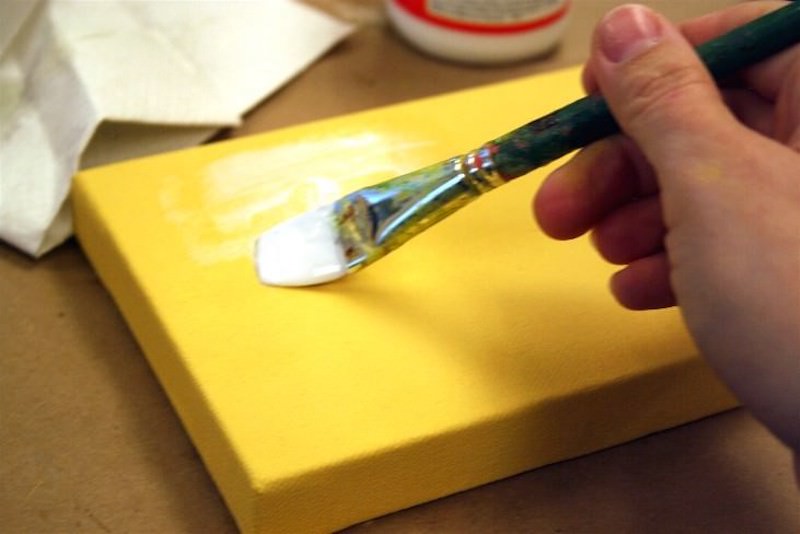
- Spread a medium layer of Mod Podge down on the canvas and smooth the design down to the top. Let dry for 15 – 20 minutes.
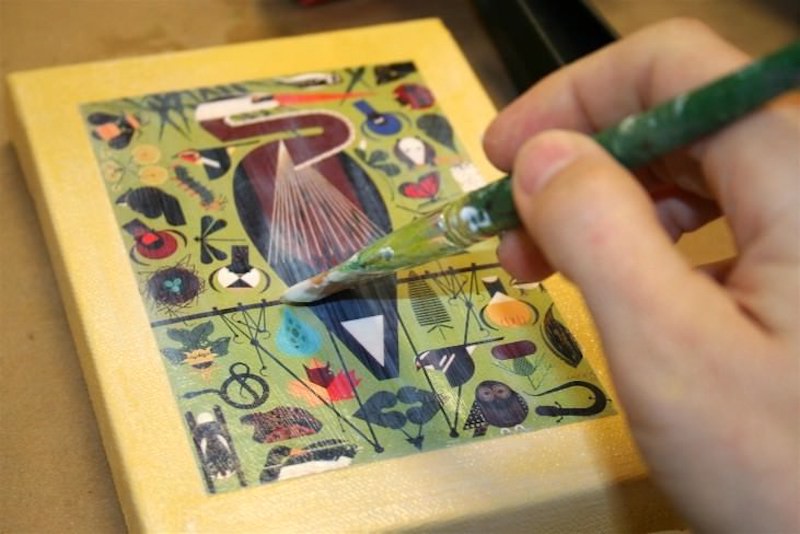
- Put a top coat on the image and then the entire canvas. Let dry completely before hanging.
Notes
If you love this DIY wall art, you’ll want to check out these other projects:
Busted Canvas • Button Canvas Art • Comic Wall Art • Decoupage Napkins on Canvas • DIY Love Canvas • Fabric Canvas Art • How to Transfer Photos to Wood • Instagram Mini Canvases • Magazine Collage • Map Canvas Art • Mount Pictures on Canvas • Nautical Wall Art • Photo Booth Canvas • Photo Transfer to Canvas • Photo Wall Collage • Plastic Animal Canvases • Poster on Canvas • Scrapbook Paper Art • Watercolor Collage




I heard about but have not used. Looks fun…thanks for sharing.
This is amazing. I love that scanner. It is really neat!!
I’m excited to work with this new product.
Just found your site and love it – where have you been ?? Thanks for the assistance!
I was waiting for something to do with fast women and drinking…you know Two & A Half Men Charlie Harper. 🙂 Loving the portable scanner.
It’s been years since I used the “podge”. Even used pretty napkins on the underside glass plates one time. Nice work.
OMGosh your “beginner” project rocks and yes some newbies out their really like know how to use the Podges… I like how this flip ~ Pak scanner works a must for all us designers out there…
TFS
The Scrapbooking Queen
Great product!
Wow, this is really cool!
Hey, I have a suggestion. 🙂 Every time you do a post, I love seeing the project you’re *about* to do, but after all the steps, I always get disappointed that you don’t show the finished product again. I just have to scroll back up to see it. Would it be too much trouble to post the finished-result at the end of a post… after all the steps? I’d just love it! I’m sure other people would appreciate it too. 🙂
Love this blog! One of my favorite things I’ve added to my Google Reader. 😀
Excited to be with you on the blog hop! Super-de-doodle excited to see more with your Mod Podge. Crazy awesome stuff!
There’s always a “newbie” out there somewhere (like me) Thanks for sharing.
Amy! this is a terrific idea using the Flip-Pal mobile scanner…it really make a clean scan especially with bulky books, etc. I love your design.
Thanks for joing me on this blog hop–cheers and Scan Your HeART Out!
Kathy Peterson Inspired
Fabulous project!!!
Incredible, you always amaze me at the wonderful things and ideas you share.
This little scanner looks really neat.
🙂 Lori m
Now that’s weird – I just used Mod Podge for the very first time today and was well impressed!!!…Sppoky or what?…Happy New Year, Kirsti xx
OMG! This is an awesome little tool/machine/crafter’s friend. Love Charley Harper too! What a genius.
OH!! So awesome! I have several art books I’d love to turn into canvas art for the walls in my new home, but I don’t own a scanner! Woe is me!
Isn’t it funny how sometimes the simplest things are so wonderful, yet often overlooked??
So MUCH awesome, LOVE when tech and arts come together! Think of the textures and rare visuals that could be collected with this awesome scanner. WANT.
man you are SO GREAT Amy!!!! I now what that book…. and Mod Podge.. and to meet YOU!!!
Thank you also for being on our FaveCrafts radio show yesterday …. and look forward to being in this hop with you!
I LOVE the project you designed for us to make!
I am excited to start mine!
🙂 Melissa
What an exciting new addition to a crafter’s arsenol!! Wow!! Love it!
wonderful canvasses and they look so easy
Great project. I really had no idea that they made tiny scanners like that. I’ve got the mod podge ready for a number of new nursery projects…
Now I’m gonna HAVE to have one of these Flip Pals!
This looks like a terrific project and would look wonderful on my blank wall! Thanks so much!
Now I know I NEED a Flip-Pal to make all the awesome projects you are all going to share!
I just want you to know that it is because of your blog that I have ventured into mod podging and purchased my very own jar of gloss mod podge. Not sure what I’m going to do first, but THANK YOU 🙂
oh Amy!! those are beauti-mas!!!!that scanner has so many possibilities!! I WANT ONE!
I am wondering can you scan larger image then stitch them together,, like say, a 12×12 scrapbook page?
well you already know what a HUGE fan of Mod Podge I am!! I use it on everything! Melody got me hooked!! now I can’t stop using it. Love how simple and beautiful this is! Wonderful!
That is such a cool device!
I love that art book, we have the color book of his paintings and they are so fun. That is truly an amazing work of pocket art on those tiny canvas!
I cannot wait to try out that project. My kids will be stoked to put up tiny art canvas like that with their fav pics.
You’ve given me a wonderful idea to make a collage on the outside of my newest grandchild’s baby book. I’ve had my Mod Podge for quite a while with the idea to seal in some air dry clay objects.
I love your little canvas! And how cool is that scanner!!! I just checked it out on Amazon and it gets absolutely fantastic reviews there too. Thank you!!!!
I love the idea of scanning a favorite piece of artwork from a book so you can look at it every day! I can see moms choosing favorite illustrations from children’s books to make canvases for their children’s room. Neat little device.
That is such a super cool little scanner! I can think of SOOO many ways that I could use it!! Great beginner project too!
Phyllis@phyllisarts.com
Oh I love this!!!! that scanner would be so cool to have….and my mind is going a hundred different direction…..the possibles are endless…..to bad you couldn’t scan your computer screen…..and one of the first projects would be just like yours….make your own art piece….thank you for the chance…
I love the look of this little scanner! I hope I win one so I can have a new Pal! I really enjoyed your project. I might have to take the Mod Podge plunge and give it a try!
Wow being a new mod podger I can see myself using this neat new nifty gadget,Drool have a lot of project ideas.
Absolutely LOVEEE it!Thankx
Thank you, Amy! I want to make an art project life book of all my journals, scrapbooks, tickets, yearbooks, etc. I want this scanner!
Thank you! I love, love, love the instructions for decoupaging onto canvas! I have had the supplies for months (it’s why I bought Mod Podge, and I think it’s how I found your blog), but haven’t been brave enough to start. I would love to have a flip-pal, but will try it with my Epson all-in-one for now, and send the images to FedEx Office online.
I never thought of decopauge onto canvas
I want to try some pictures of my kitties
Great project and thank you for showing the steps you used to create it. The Flip-Pal is a great tool.
Love your projects…. I’m a newbie to modge podge, so I’m glad you shared the basics & I can’t wait to try it out!!!
I hope to own one of these Flip-Pals one of these days…. oh the ideas rolling around in my head!
Thank you for sharing!!!
~Ola
okj83 at live dot com
zloe.blogspot.com
Awesome! Charley Harper is great. I can’t wait to swap wall art with you!
Great idea lady! Very tech-savvy.
Ooh that’s pretty! Thanks for the great idea, I’ll be linking.
This is giving me some great decorating ideas for a budget.
Just found your blog. I have high hopes of using the Mod Podge thats been in our art cabinet for a yr. Maybe I’ll get brave & pull it out to try something new.
great project!!!
syeda
syeda_lubabah@hotmail.com
Very cool!
How to hang the canvas on the wall? Thanks!
Hi JJ – I like those Command hooks/strips you can get at any craft store OR at Target, etc.