Learn how to decorate a pumpkin with duct tape! This is the easiest method, and both kids and adults can do it. Perfect for Halloween decor!
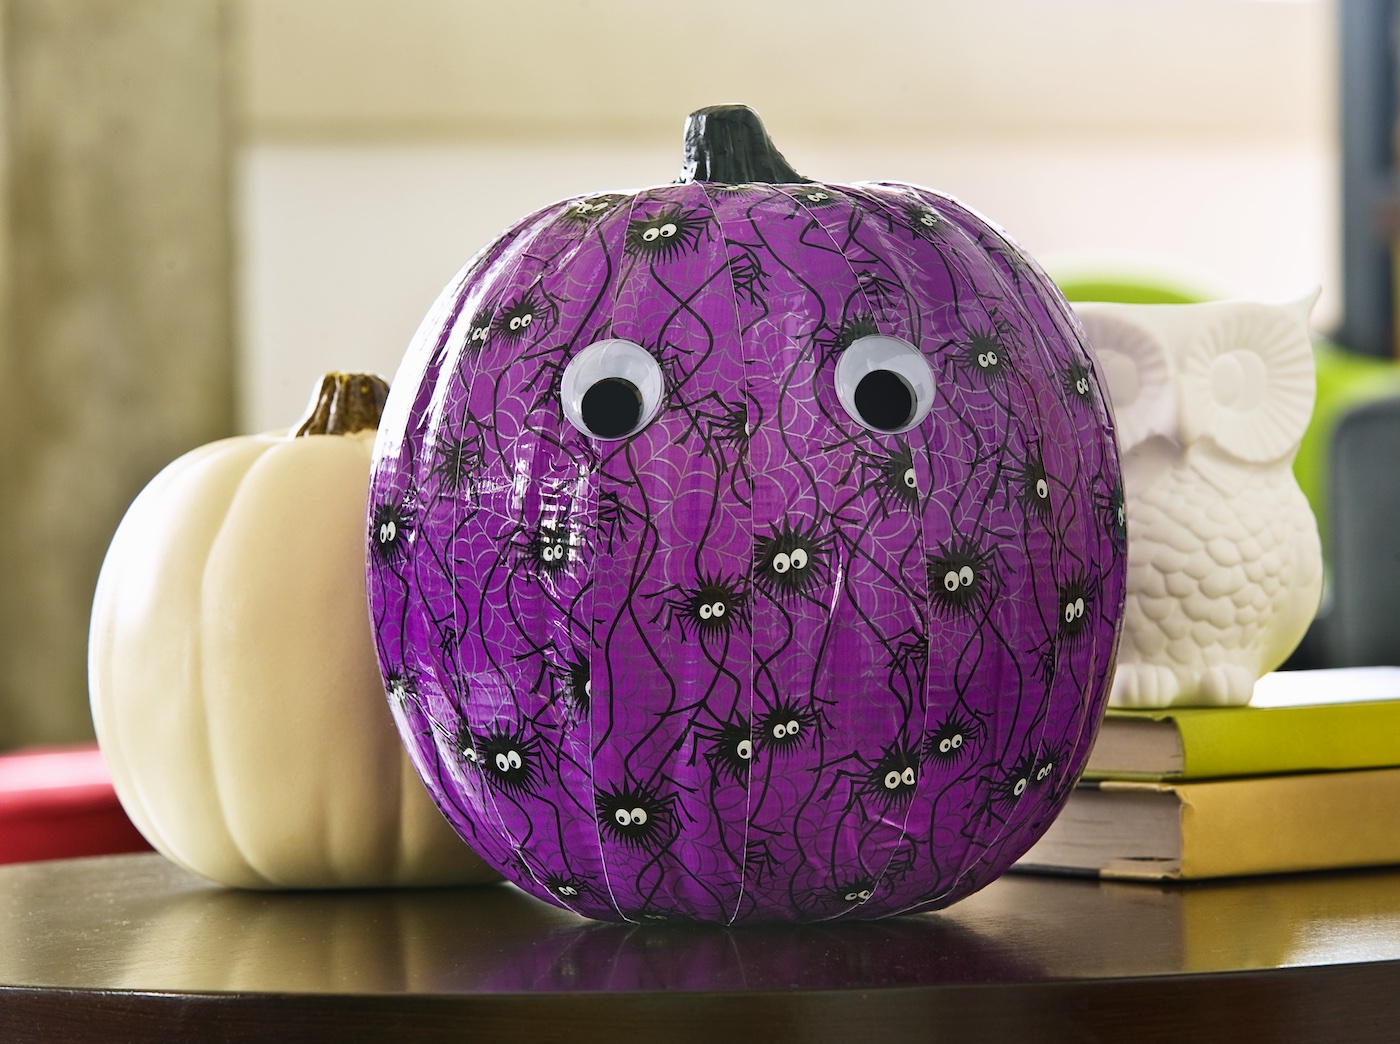
I’m a huge, huge fan of Duck Tape. What can I say? I think you can tell by this blog that I’m partial to craft supplies that are easy to use! I was tickled purple when I found out that was Halloween printed Duck Tape. I may have even squealed out loud.
And I knew that I needed to make something for Halloween, and that a decorative pumpkin was in order. I think this may be one of the easiest Halloween crafts I’ve ever made.
It literally took about five minutes, and both children and adults can do it. The wiggly eyes make it one of my favorite Halloween crafts for kids. Learn how to decorate a pumpkin with Duck Tape below.
Duck Tape Pumpkin
Gather These Supplies
- Faux pumpkin (you could use a real one too!)
- Duck Tape in the Halloween pattern of your choice
- Scissors
- Googly eyes
- Craft glue

Here’s my Halloween Duck Tape – it’s got spideys with big eyes. Cute, huh?
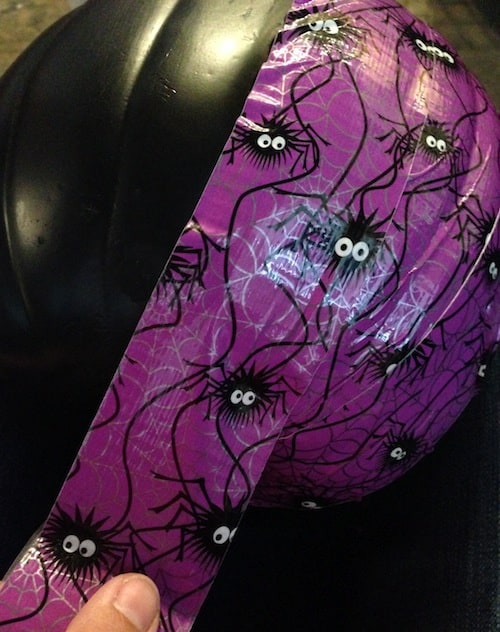
Starting at the top of your pumpkin, roll the tape down the front and to the bottom, smoothing as you go. Keep layering your tape as you go.
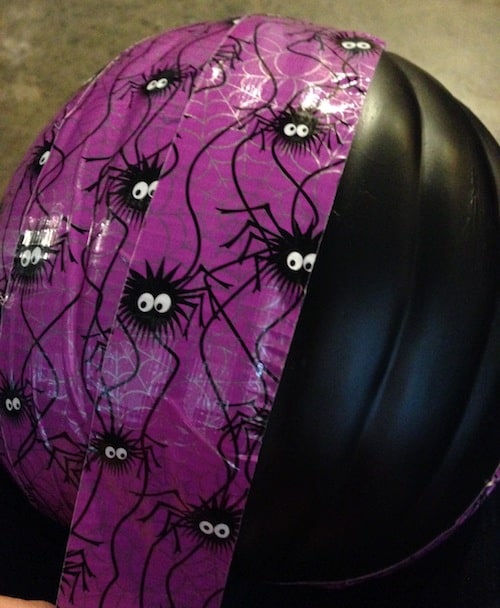
Keep working your way around the pumpkin, and patch in areas as necessary. I had to patch a few areas since the surface was so round (but you won’t be able to tell at all).
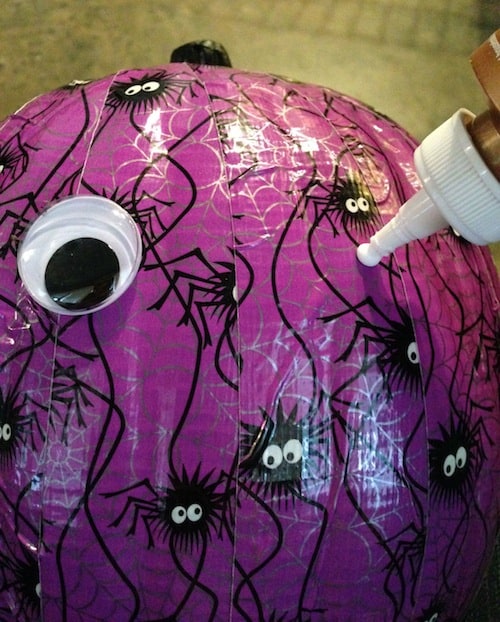
Once you are done taping all the way around, glue the googly eyes on with craft glue. Trim the tape at the top toward the stem if necessary.
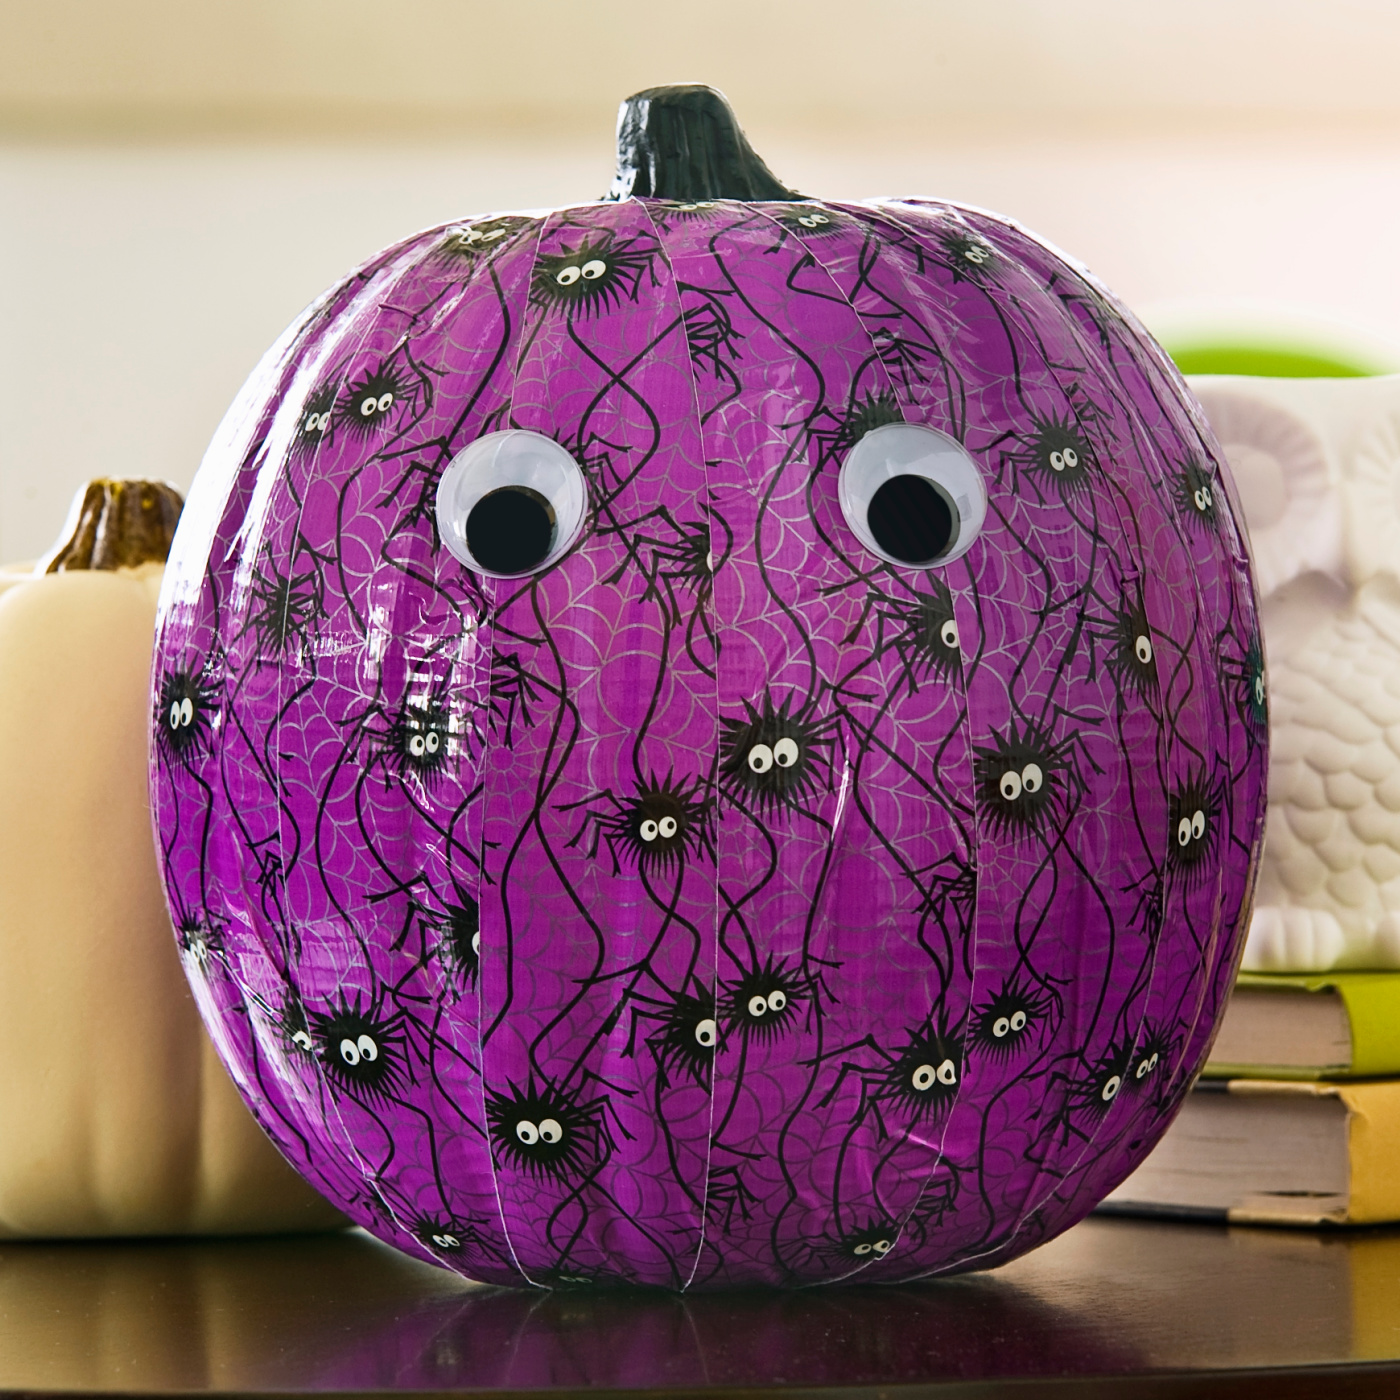
I told you the project was going to be easy! Thanks to the Duck Tape. Now that you know how to decorate a pumpkin with duct tape, you can do several more!
So go make your pumpkin and come back and share it with me. I’d love to see it! Don’t forget to follow Duck Tape is on Twitter @TheDuckBrand for tons of creative inspiration! If you enjoyed this craft idea, I’d love for you to check out these other Halloween goodies:
BOO Letters • Cheesecloth Ghost • Coffin Tray • Decorating Wood Cutouts • Decorative Blocks • Mod Podge Pumpkins • Door Hangers • Halloween Paper Plate Crafts • Halloween Magnets • Halloween Rocks • Painted Pumpkins • Mummy Luminaries • Potion Bottles • Spooky Candle Holders • Spooky Pumpkins • Wall Decor • Witch Hat Garland

