Learn to make a DIY Christmas bowl with newspaper and fabric! This is a perfect easy centerpiece. Fill it with cinnamon scented pine cones to display.
Skills Required: Beginner. This Christmas bowl centerpiece is easy even if you haven’t done much crafting before. It can be a little messy, so just make sure to cover your surface well. The results are pretty cool!
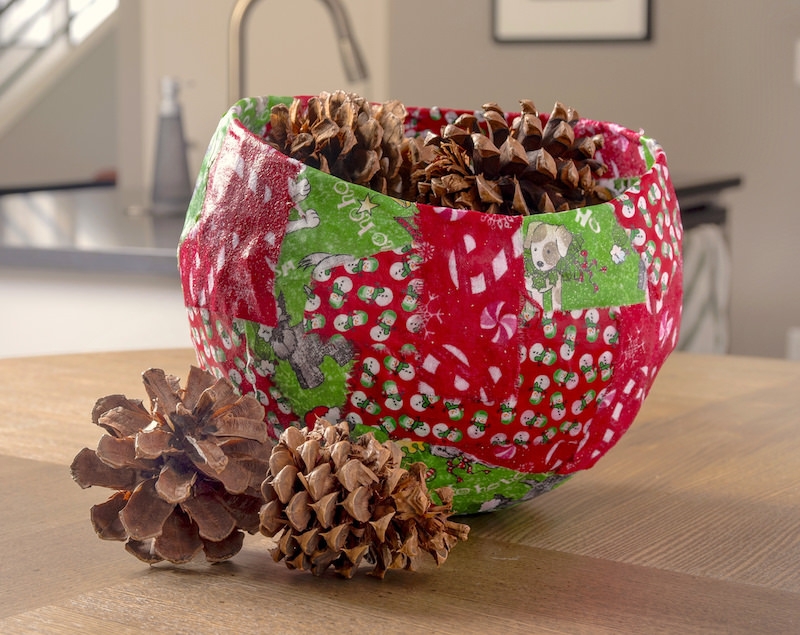
We’ve made a lot of bowls with Mod Podge around these parts! If I look back in the archives, we’ve got bowls made from doilies, confetti, faux leaves, newspaper, and even magazines. Which goes to show you can really make a bowl out of anything.
Like fabric pieces.
You might be surprised that newspaper and a balloon are also involved in making this DIY Christmas bowl. Once you learn the method of making a bowl, you can use the same idea with a variety of surfaces or materials.
Generally speaking, you’re going to use the balloon as a form and make a “papier-mâché” style bowl using the newspaper and Mod Podge. It’s not nearly as fancy as some papier-mâché projects, but we don’t roll too fancy around here, do we? More like budget friendly and good looking!
This project is not only great Christmas craft for adults, but it’s a great Christmas craft for kids too. Younger kids can help and older children love making this all by themselves!
Before we jump into the project instructions, I wanted to go over a few frequently asked questions/thoughts so you are best prepared to make this Christmas bowl. If you’re ready to jump in, just scroll past these next few sections.
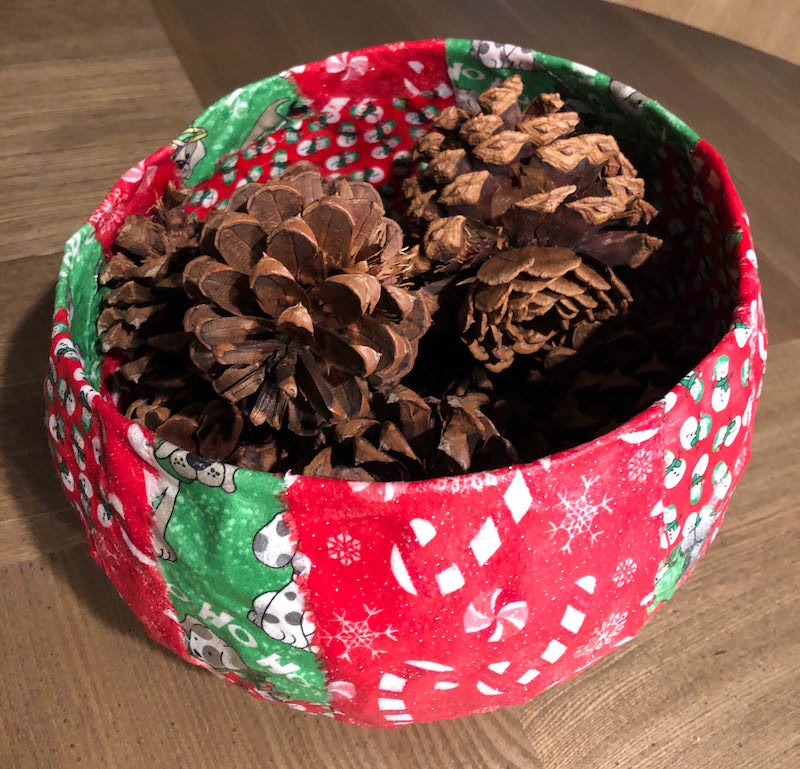
Type of Fabric to Use
You’ll want to use something cotton or cotton-poly for this homemade decor. Before I decoupage fabric, I always make sure to wash it and dry it without fabric softener. It’s important to do this so that you don’t get spotting on the fabric (some dark areas).
Not recommended for this project: tulle, satin, felt, oilcloth, or anything with a plastic coating.
Type of Mod Podge to Use
Good news – you can use just about any Mod Podge formula you like on this project! We chose to go with Mod Podge Matte to make the bowl and then Sparkle Mod Podge as a final coating.
You might be wondering why I didn’t use Stiffy for this project. You definitely could! But then all you would need to do is put the fabric directly on the balloon – no newspaper. This is just a different technique since some people want to use what they have on hand (and they have Mod Podge!).
Prepare for Dry Time
Keep in mind this project is going to take more than one day to finish, just because of dry time. The newspaper needs to be pretty saturated with Mod Podge and that’s going to take awhile to dry (overnight).
Are you ready to jump into the project? Learn how to make a DIY Christmas bowl below!
Make a Christmas Bowl Centerpiece
Gather These Supplies
- Balloons (1 for each bowl)
- Cup (to hold the balloon while Mod Podging)
- Newspaper
- Mod Podge Matte
- Mod Podge Sparkle (optional)
- Scissors
- Paintbrush
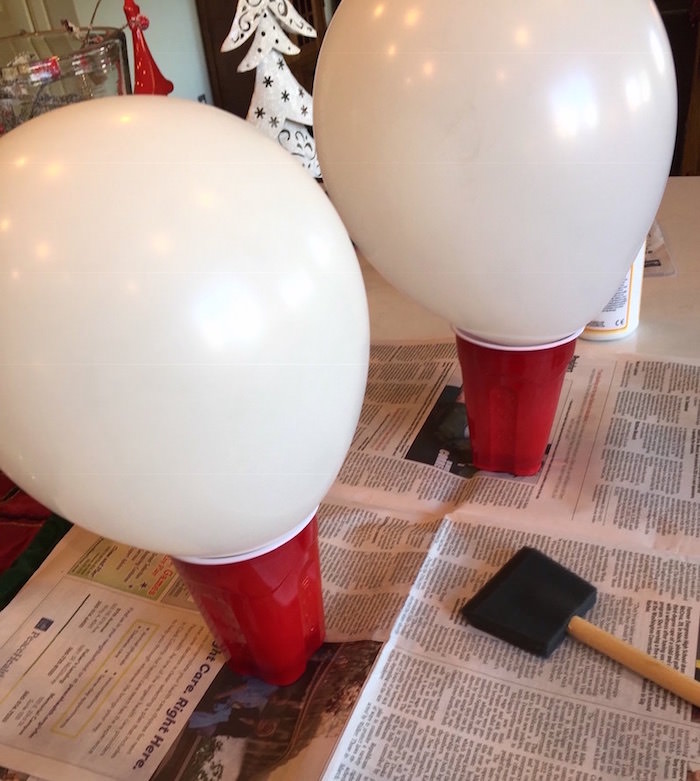
Blow up one balloon for each bowl that you want to make, and blow it up the size that you want to make the bowl.
Stick the tie end in a plastic cup. Here’s a tip: Use a lemon or other piece of fruit to weigh your cup down!
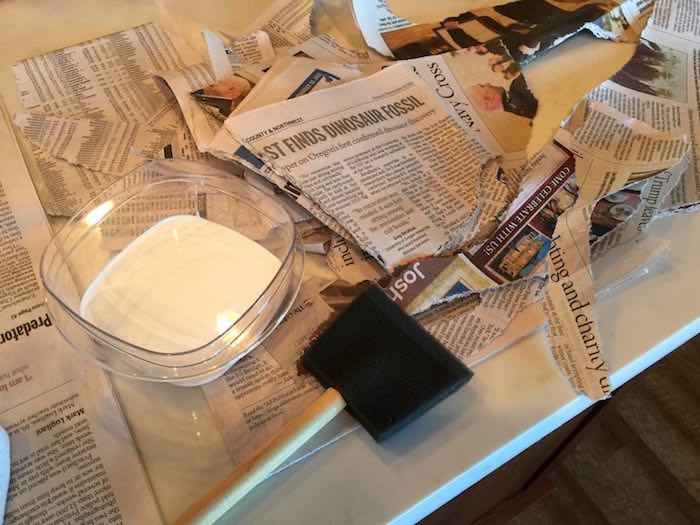
Tear strips of newspaper about two inches wide and six inches long. You don’t need to make them the exact size, but this is approximate for ease of application.
Apply a thick layer of mod Podge to the balloon, essentially making the shape of the bowl on the balloon.
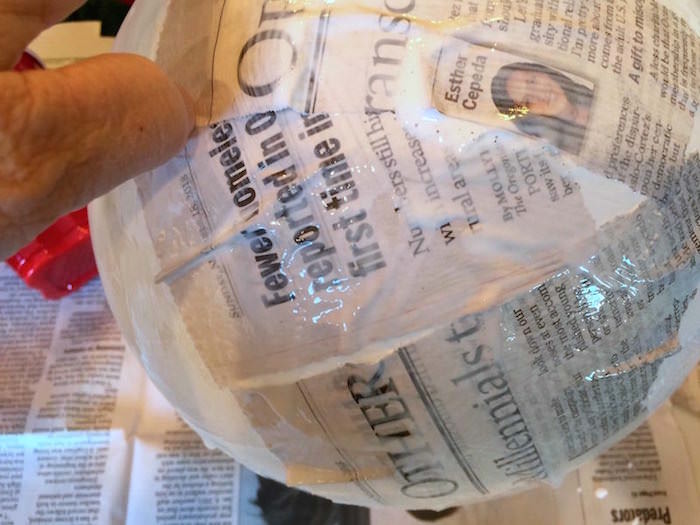
Paint one side of the newspaper strips with Mod Podge. Starting at the top of the upside-down balloon, begin adding the strips using a criss-cross pattern.
Begin working toward the tied end of the balloon. Go as far as where you would like the top edge, make strips slightly longer as you build up the layers. This is so the top edge of your bowl is a little stronger.
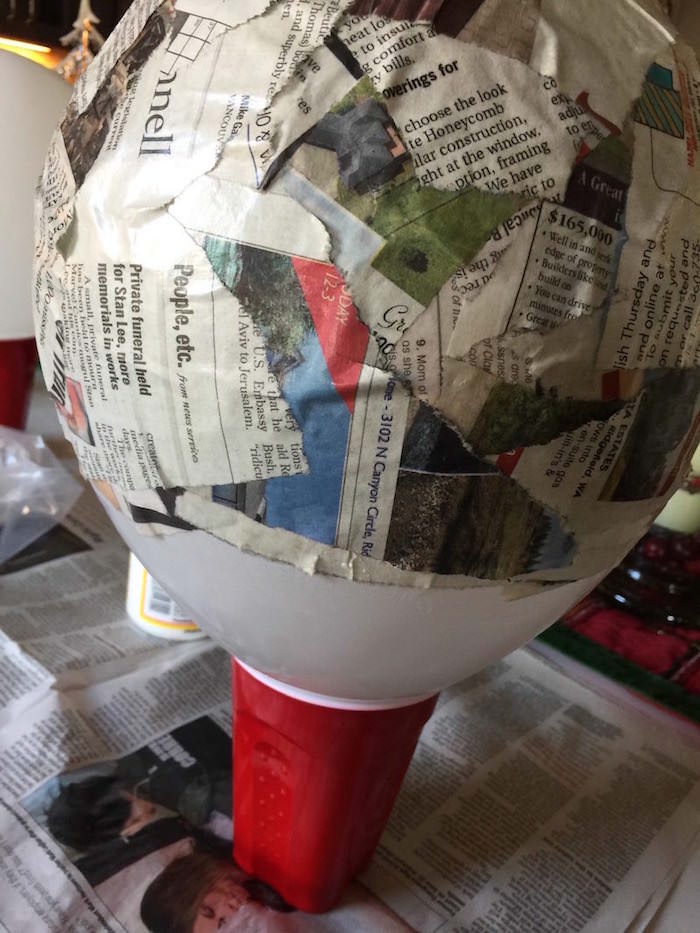
After three layers have been added, let your Christmas bowl dry overnight. Add three more layers, varying the length of the strips, and ending with long strips. Cover the entire bowl with Mod Podge and let dry overnight again (or at least as long as it takes to dry!).
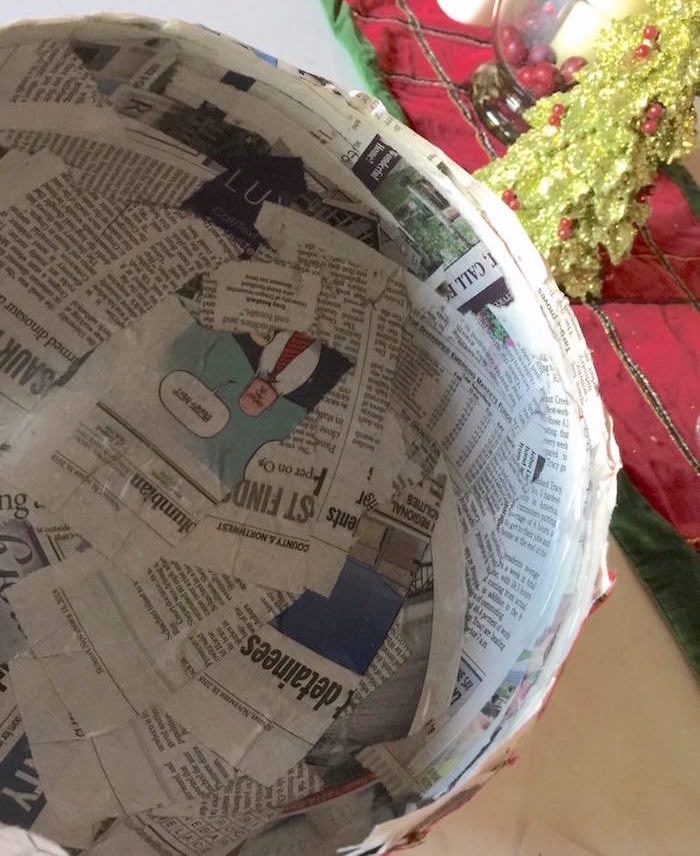
Pop the balloon, remove the pieces, and throw away. The inside of your bowl is going to be very smooth!
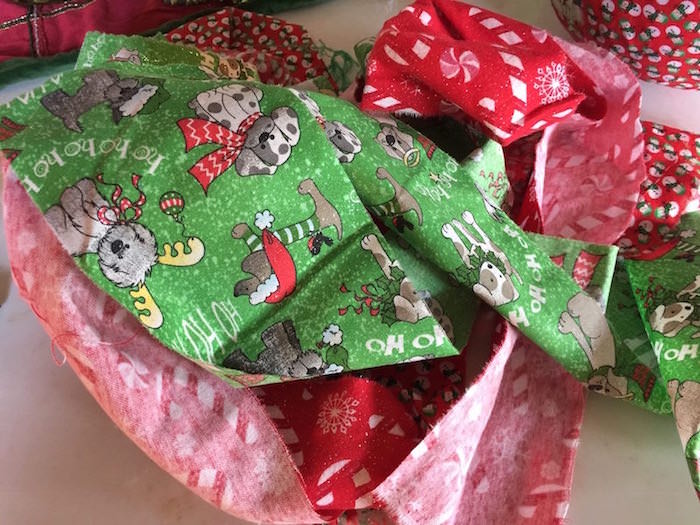
Choose complimenting Christmas fabrics and cut or tear strips three inches wide and six inches long (approximately).
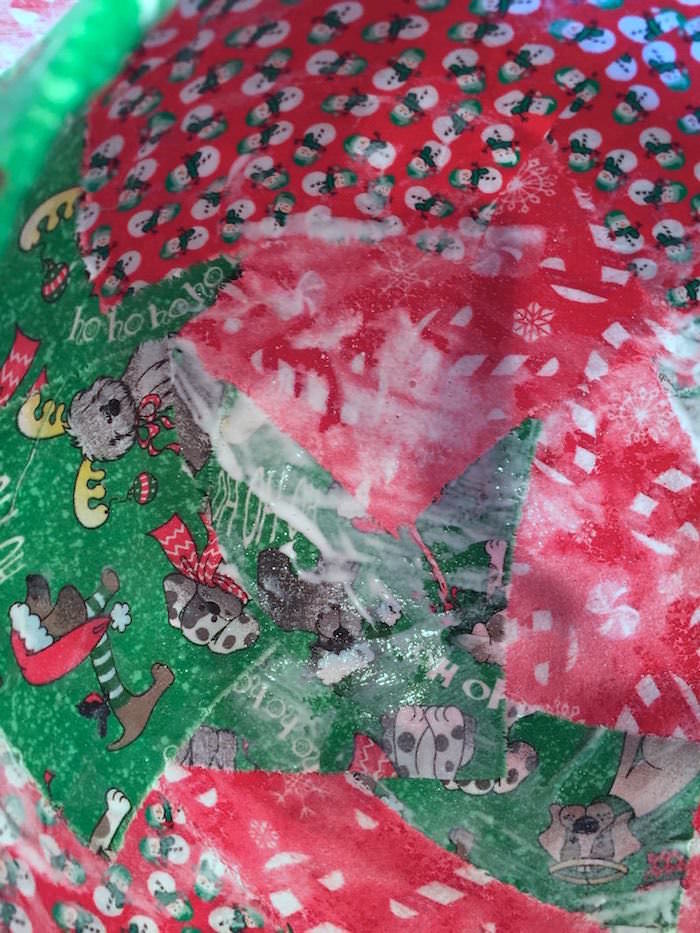
Begin by painting a liberal amount of Mod Podge on the wrong side of the fabric strip. Line the inside of the newspaper bowl, working from the bottom of the inside to the top.
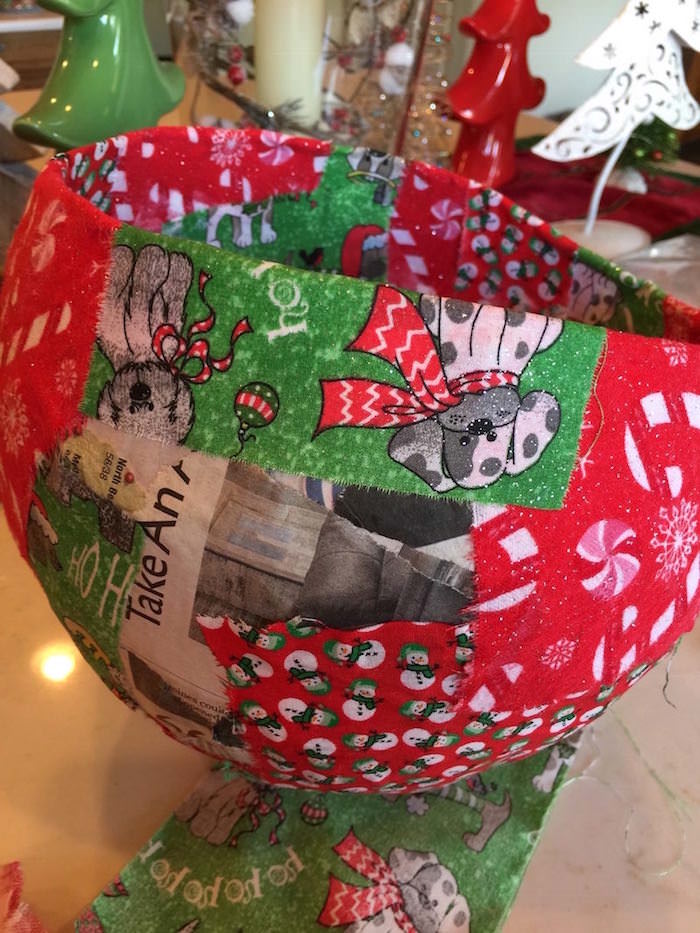
Put strips over the top edge of the bowl and fold over to outside of bowl. When the top edges are covered, give the inside a final coating of Mod Podge and end with coating the lip of the bowl. Let dry for about 12 hours.
Using a vase or tall candlestick, invert the bowl onto the vase to allow application of fabric strips to the outside. Cover the entire bowl. When you’re done, apply a coat of Mod Podge to the outside of the entire bowl and let dry.
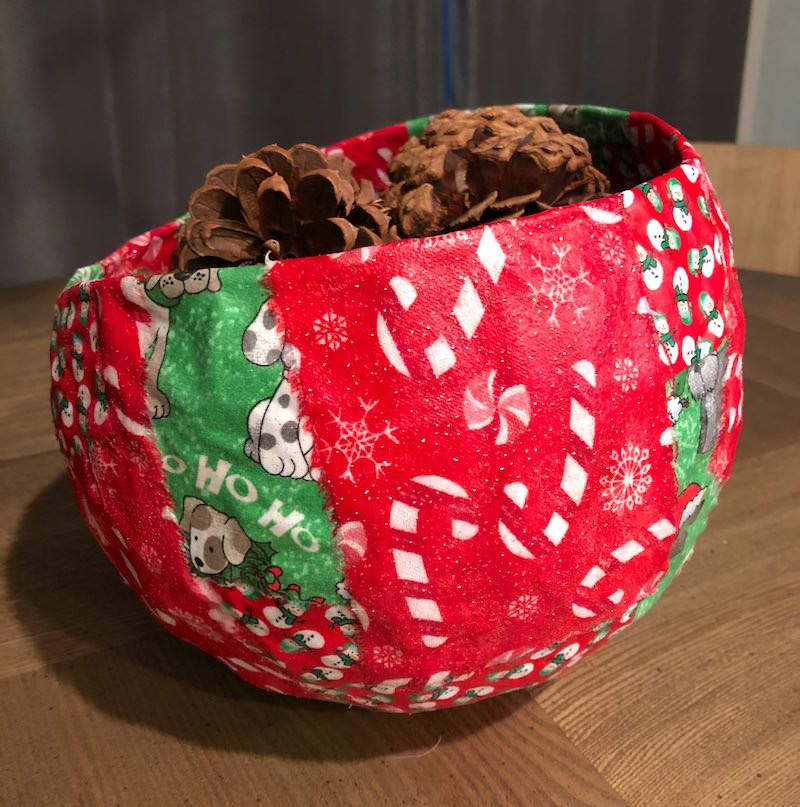
If the lip of the bowl is not firm enough, you can add more strips over the top edge in a random manner and cover with another layer of Mod Podge. Let that dry – I promise that’s the last drying!
Unless, of course, you want to add some Sparkle Mod Podge. But then you only have to let that dry for a few hours or so.
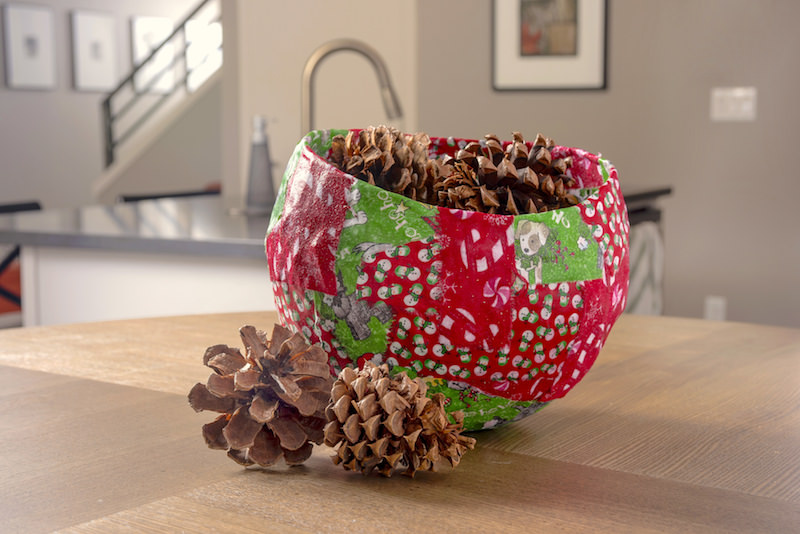
I’m sure you’ve realized that you can make this DIY bowl out of any fabrics you like which means you can make one for any season or holiday. I would LOVE one for Halloween! Until next year . . . right now I’m just enjoying this Christmas bowl with the cinnamon scented pinecones within. It makes the perfect centerpiece!
Have you ever tried making a bowl like this? I’d love to hear your experiences and tips in the comments! I’d also love for you to check out these other Christmas ideas:
Believe Wood Star • Busted Canvas • Countdown Chalkboard • DIY Christmas Village • Farmhouse Sign • Frosted Mason Jar Luminaries • Gnome Wood Gift Tag • Hang Stockings Without a Mantel • Holiday Door Hangers • Homemade Wrapping Paper • JOY Plaque • Merry Christmas Decor • Peace Wood Decor • Tree Mantel Decor • Wood Ornament Decor • Whimsical Wood Trees • Wood Trees with Book Pages • Yarn Wrapped Trees



I think I[m gonna love this
Cute idea.I’ve done a few decopage crafts over the years.
I’ve been using bowls instead of balloons, covering the bowl before hand with plastic wrap
and putting the paper over it all….when it’s dry and hard, remove it by starting inside the bowl and removing the wrap then it just lifts off.
Haven’t tried balloons yet.
I’ve done papier-mâché in the past but not a bowl. How do you make the base flat so it won’t roll around. It would also be a cool bowl if the opening were off-set like a cookie jar would be. I really do love this idea.
When I taught JK years ago, each of my students (one year there were 54 in two classes) made a Christmas decoupage basket. They lined the spare spaces in the classroom and my classroom smelled like a glue factory. We all enjoyed the experience and the parents were delighted. We did quite a few other decoupage items throughout the year – pumpkins and Easter eggs were popular too.
That’s awesome Janet! I love the glue factory comment lol!
over for 20 years I have made many oven cosies but would like to make a quilted bowl for the table and need to know what to use for stiffner. These bowls were very popular about 15 or 20 years ago.
Hi Fay! I think Stiffy is what you want: https://modpodgerocksblog.com/mod-podge-stiffy-doily-bowl/