
This decoupage Christmas tree centerpiece is easy to make with wood scraps! You’ll also use Mod Podge to attach vintage graphics. So cute!
Skills Required: Intermediate. You’ll be cutting wood, cutting paper for decoupage, and then attaching the pieces to each other. It helps to have experience with tools and Mod Podge to complete this project.

Hey! It’s David from Cheltenham Road – I hope everyone is having a great holiday season.
My Etsy shop goes a bit berserk around the holiday, which is awesome and very satisfying. BUT it leaves very little time for other holiday themed projects.
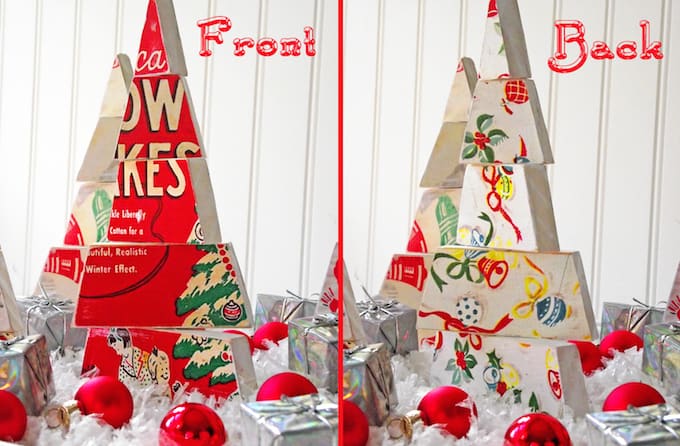
I’ve been imagining these dimensional Christmas trees for weeks and finally found a little time to try out the idea. You could use them on a table, but they would also look great on a Christmas mantel. They’re actually quite versatile as holiday decor goes.
To make this easy wood Christmas craft I used:
- Craft sticks from Home Depot measuring 1/2″ thick by 2″ wide ($1.77 for 36″ in the lumber department)
- Scans of vintage Christmas wrapping paper (you can also use actual wrapping paper, scrapbook paper, or tissue paper)
- Mod Podge Matte
- White paint
- Saw
- Glue
- Sandpaper
- Scissors
- Hand saw or chop saw
- Protective eyewear
- Paintbrush
- Pencil
- Ruler
Have a great Holiday everyone! Thank you so much for all your comments on my projects and trips over to my blog and Etsy shop. I wish you all the very best for the new year!
Get the printable how to card below:

Decoupage Christmas Tree Centerpiece
Equipment
- Hand saw or chop saw
- Protective eyewear
Materials
- 4 pieces Wood measuring 1/2″ thick by 2″ wide get four 36″ long pieces
- Vintage Christmas paper
- Mod Podge Matte
- White paint
- Wood glue
- Sandpaper
- Tray
- Faux snow
- Mini ornaments and gifts
Instructions
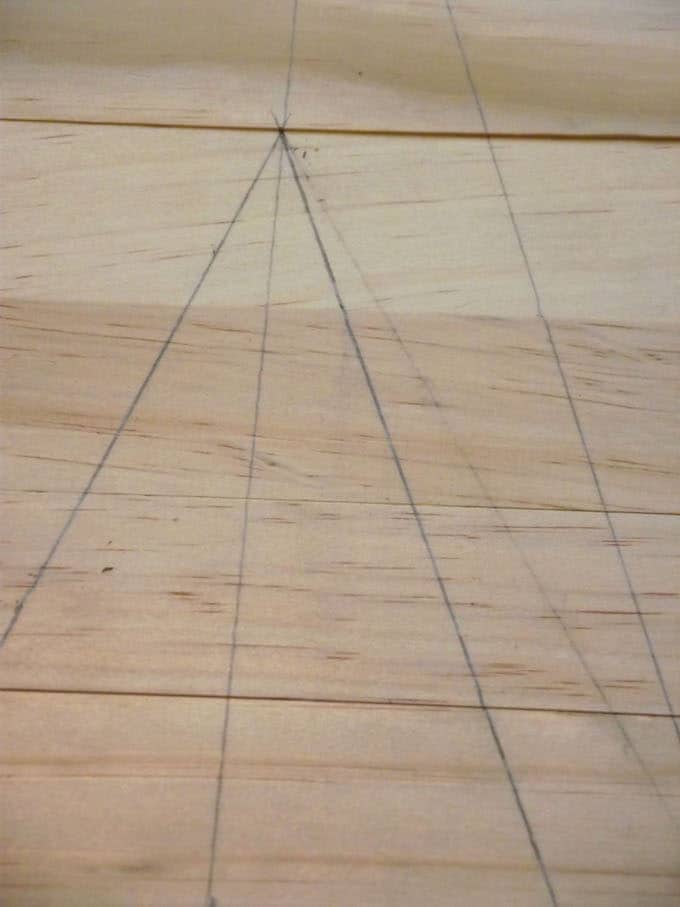
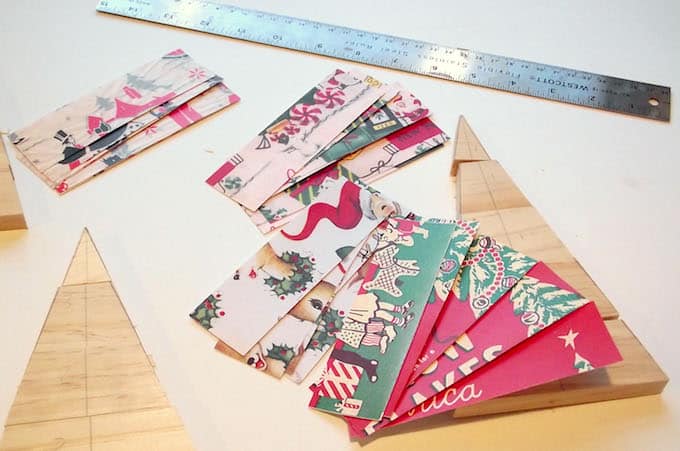
- Begin by laying out the wood slats, one on top of the other, on your work surface. Draw basic triangles (tree shapes) using the ruler and pencil.
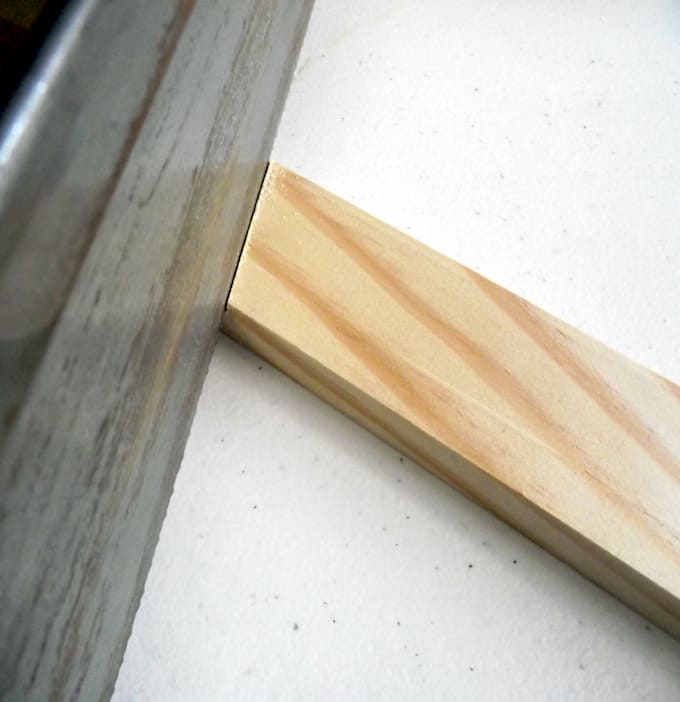
- Then cut each slat to length (at an angle) using a saw.
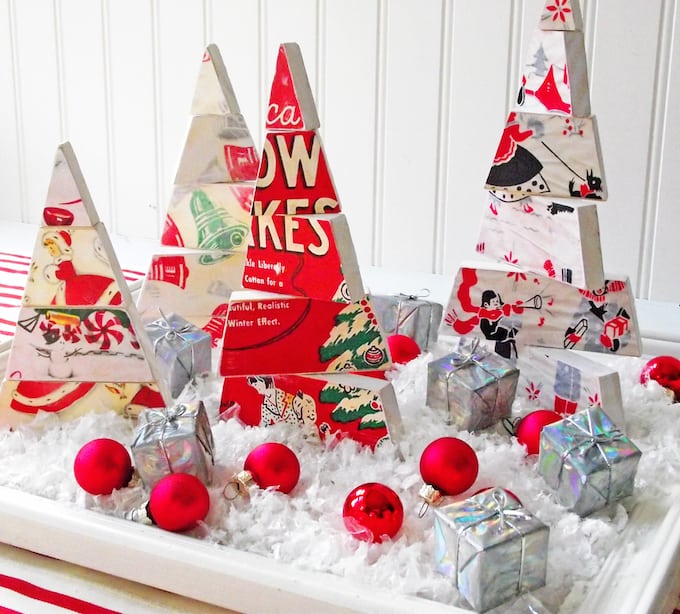
- Once you cut all the pieces, lay them out on the table to form your three individual trees.

- Cut the paper you are using down to 2" wide strips – you’ll want enough to cover both sides of all trees.
- Mod Podge your Christmas paper into place on both sides of the slats. Let dry completely.
- Trim away any excess paper. Give the trees a second and third coat of Mod Podge, letting dry between coats.
- Paint the edges of the slats white and let dry. If desired, sand a bit of the edges down.
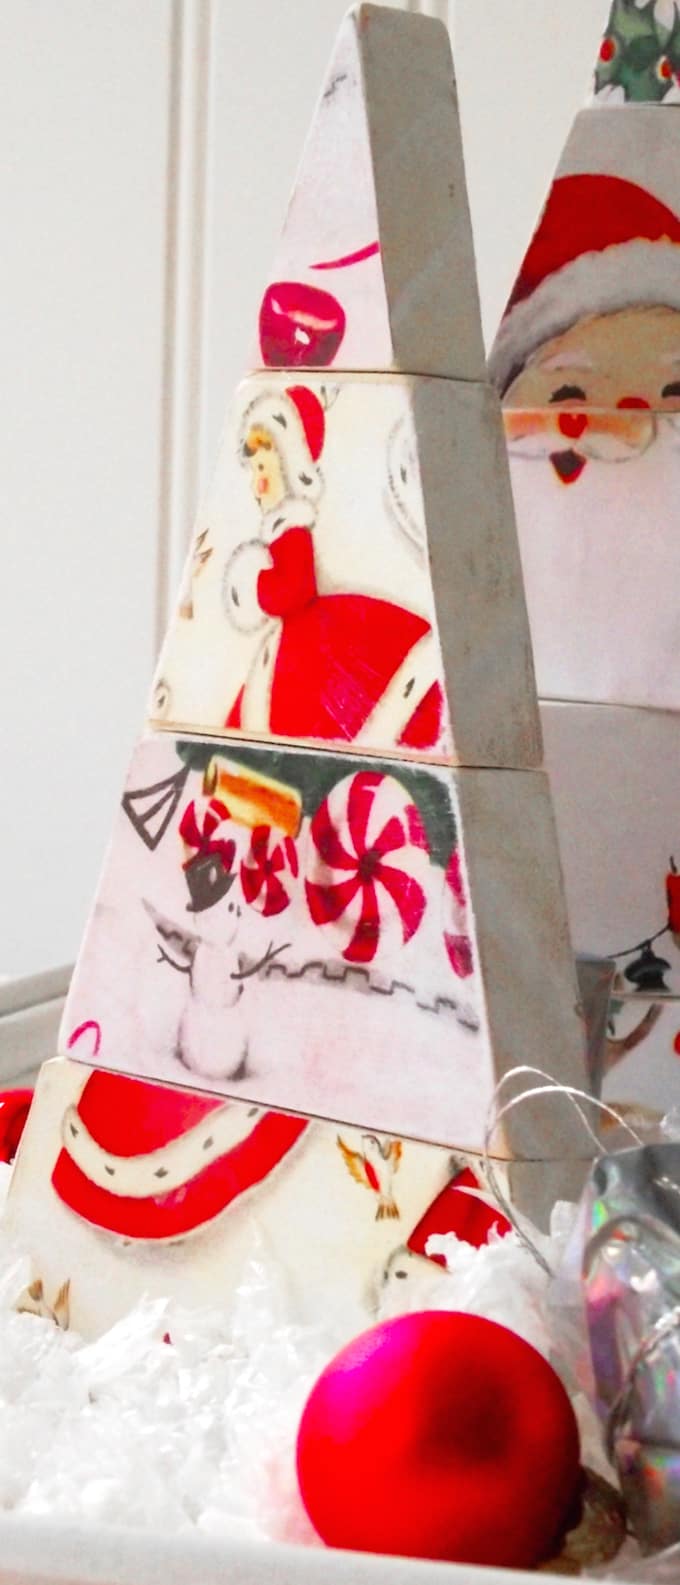
- Stack the pieces together on top of each other and attach with hot glue. You’ll twist each piece slightly as you glue it down.
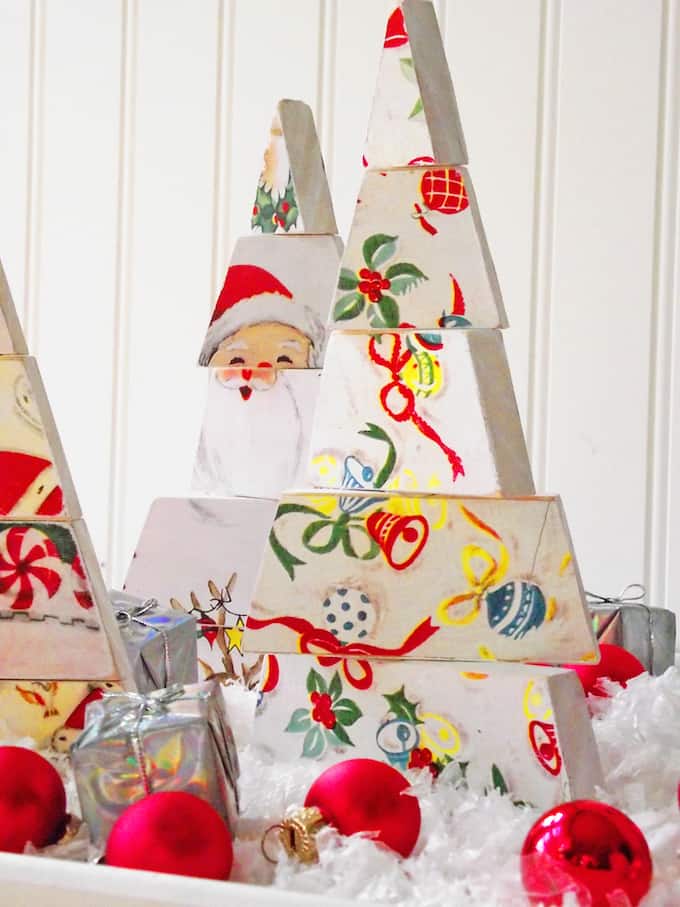
- Hot glue each tree to a small scrap wood piece from the scraps as a base for stability.
- Place in a large tray and add Christmas embellishments like faux snow, small ornaments, and small packages.
Notes
- I used scans of vintage paper but you could use anything – wrapping paper, Christmas napkins, scrapbook paper, etc.
- I did find they needed a little base to keep them super stable – I just glued the bottom to some scrap wood and covered it with snow.
- You can cut the slats with a regular hand saw as pictured, but a chop saw makes faster work of it. Just be careful with the smaller “tops” of the trees – you’ll want to go back to the handsaw for those for safety sake.
- If you’re not into sawing and power tools, you could do the same thing with popsicle sticks or balsa wood and a sharp craft knife.
- I decided (after I was done, of course) that I liked the paper that used designs or patterns a bit more than the ones that had Santa faces. There is something a bit “un-Christmas-y” about cutting St. Nick’s face in half!
If you like this Christmas craft for adults, I’d love for to you check out these other holiday craft ideas:
Believe Wood Star • Chalkboard Trees • Countdown Chalkboard • DIY Christmas Village • Fabric Christmas Bowl • Farmhouse Door Decor • Farmhouse Sign • Frosted Mason Jar Luminaries • Gnome Wood Gift Tag • Hang Stockings Without a Mantel • Holiday Door Hangers • JOY Plaque • Merry Christmas Decor • Peace Wood Decor • Tree Mantel Decor • Wood Ornament Decor • Wood Tree Centerpiece • Wood Trees with Book Pages


Simple a very nice
Have you thought about drilling holes down the middle of each piece so they can spin on a dowel? I think I might make this adjustment!
That’s a great idea!