
Create fun and unique bottle cap magnets with this easy DIY guide. Perfect for adding a personal touch to your fridge or as a thoughtful homemade gift!
Skills Required: None. Even if you’ve never crafted before, you can make these. Young children made these, with the help of grown ups, so you can too.

Are you ready for a fun and easy craft that will add a pop of personality to your fridge? Today, we’re going to make some darling bottle cap magnets! If you love upcycling and adding a bit of charm to your home, this project is perfect for you.
Using bottle caps and a little Mod Podge magic, you can create unique bottle cap fridge magnets that will make you smile every time you reach for a snack.
You don’t need to be a crafting expert to make these adorable magnets. With just a few supplies and some printed designs or photos, you’ll be able to recycle ordinary caps into cute and functional pieces of art.

One of the best parts about this project is how customizable it is. Whether you want to use photos, funky patterns, or your favorite quotes, the sky’s the limit!
And don’t worry if you’ve never used Mod Podge before – it’s incredibly user-friendly and perfect for sealing and protecting your designs. Trust me, once you start Mod Podging, you won’t want to stop.
And if you’re looking for some inspiration, I’ve got you covered with a selection of free printables that you can download and use. These printables are designed to fit perfectly inside your bottle caps, making the whole process a breeze.

This craft is a great way to spend time with friends and family – it’s perfect for groups. Gather your supplies, put on some music, and make it a craft night! You’ll have a blast creating these little pieces of art, and you’ll love how they brighten up your kitchen.
So, grab your bottle caps and Mod Podge, and let’s get started on making some fabulous bottle cap fridge magnets!
Scroll down for the full tutorial and free printables – you’re going to love how simple and enjoyable this project is. Happy crafting!

Gather These Supplies
- Bottle caps
- Mod Podge – use Gloss, Satin, or Matte
- Mod Podge Dimensional Magic (optional)
- Multi-surface paint
- Magnets
- Craft glue or hot glue gun
- Printer – preferably laserjet
- Cardstock
- Paintbrush
Note: Want some pre-sized, printable sayings? We have a freebie here for the ones used in this post!
Tips and Thoughts for This Project
It’s easier if you print your designs off on cardstock (rather than regular printer paper) for this project. Thinner paper is more likely to wrinkle inside the caps when Mod Podge is applied, and hard to fix if it does wrinkle.
If you’re planning on using inkjet printouts, be sure to read my decoupage on wood post . . . you’ll need to prepare the printouts so the ink doesn’t bleed.

These are so fun and easy to make – I really love this project.

Get the printable how to card below:

Bottle Cap Magnets
Equipment
- Printer and paper
Materials
- 12 Bottle caps
- Mod Podge Gloss Satin or Matte are fine as well
- Mod Podge Dimensional Magic optional
- Acrylic paint
- 12 Magnets
- Craft glue
Instructions
- Measure the inside of your bottle cap, and use the images provided or size them down if needed. Print the images on cardstock and cut to size.

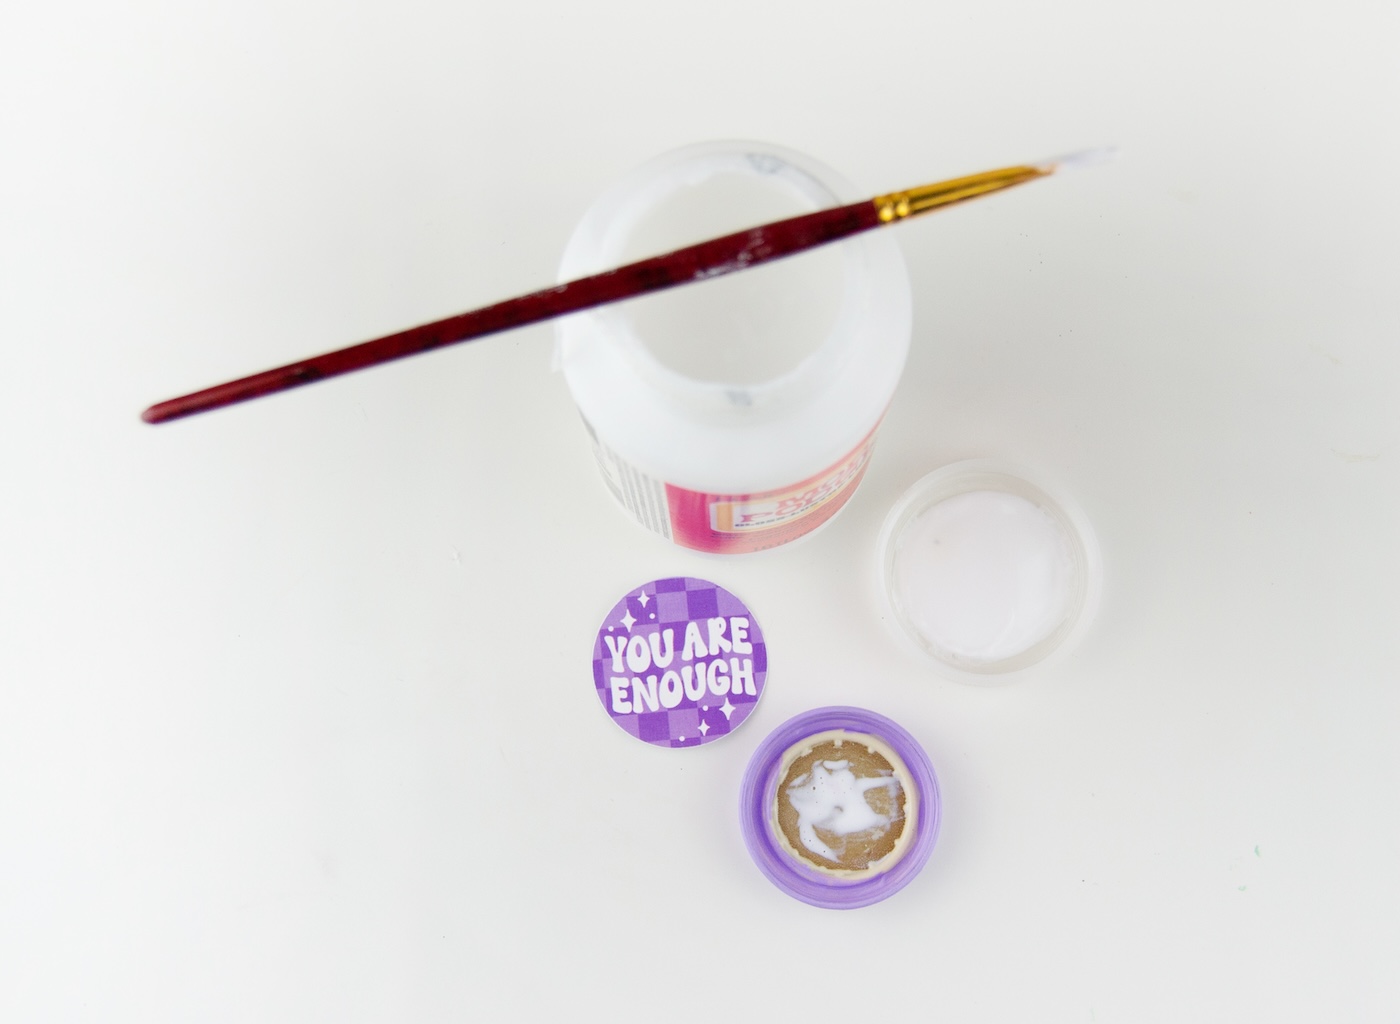
- If you’re using bottle caps with text on the rim, use multi-surface paint and paint the rim, insides and the back of the bottle cap. Let dry.

- Mod Podge your cut images onto the inside of the bottle cap. Add Mod Podge to the inside of the bottle cap, press the photo down, and let dry.

- Apply a few layers (I like doing 2-3) of Mod Podge on top of the image to seal and protect it.

- Using hot glue or craft glue, attach your magnets to the back of the caps.

- If desired, apply Dimensional Magic on top of the images for a glossy finish. Place in a safe spot for drying overnight.


Notes
- When using Dimensional Magic, make sure that 1) you seal the Mod Podge well around the edge of the image inside the bottle cap and 2) you let the Mod Podge completely dry inside before applying the DM. Otherwise you'll get clouding.
- If you plan to make a lot of these, it helps to purchase a circle punch for ease of cutting out circles.
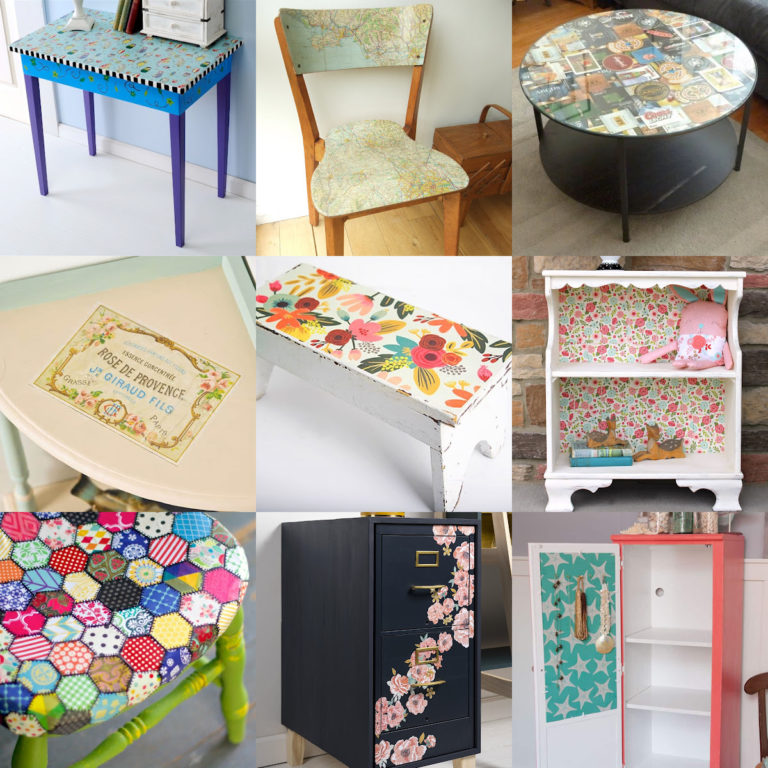
If you enjoyed these bottle cap magnets, I’d love for you to check out these other craft ideas:


Thank you, thank you, thank you, Amy, for the feature! xoxo