
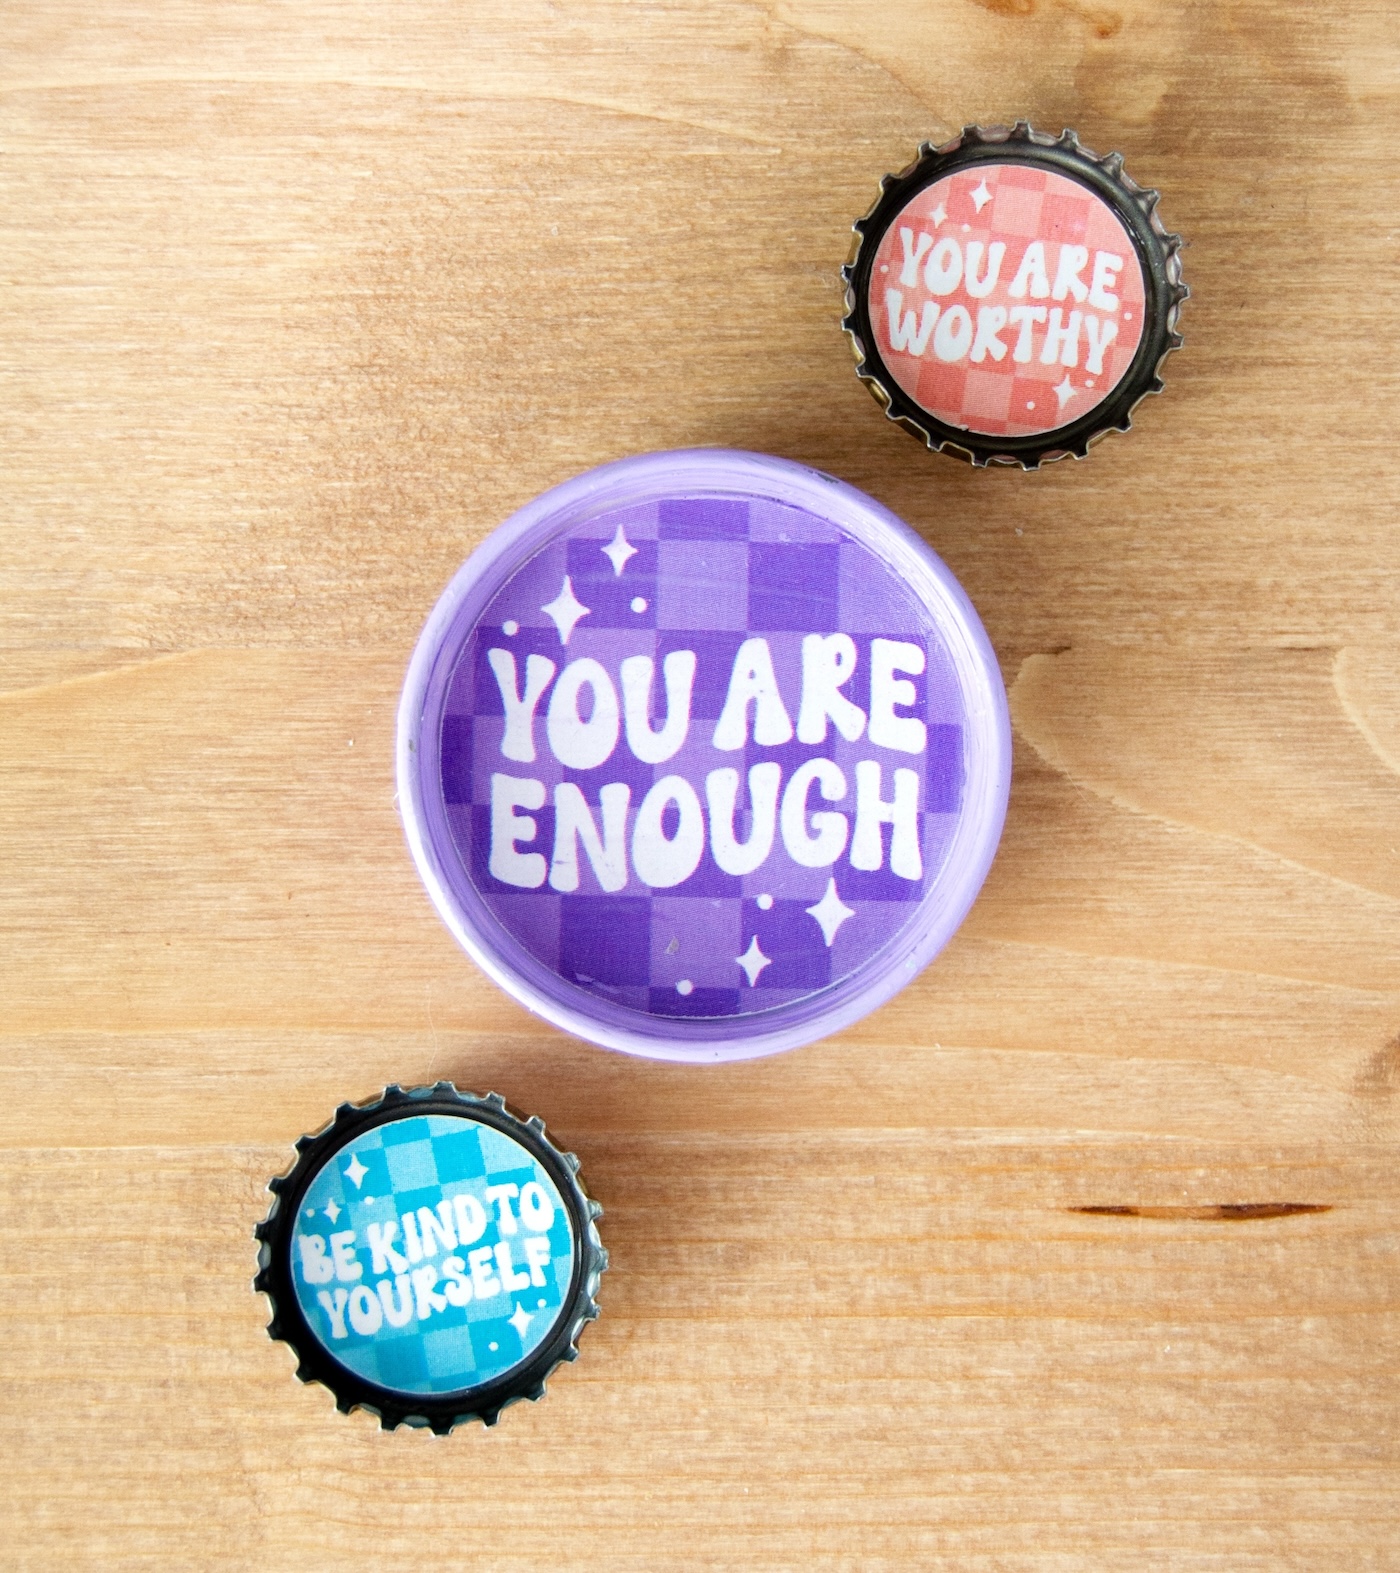
Bottle Cap Magnets
Learn how to make DIY magnets with bottle caps! You probably have the supplies in your home already. Easy for both kids and adults.
Yield: 12 magnets
Cost: $1
Equipment
- Printer and paper
Materials
- 12 Bottle caps
- Mod Podge Gloss Satin or Matte are fine as well
- Mod Podge Dimensional Magic optional
- Acrylic paint
- 12 Magnets
- Craft glue
Instructions
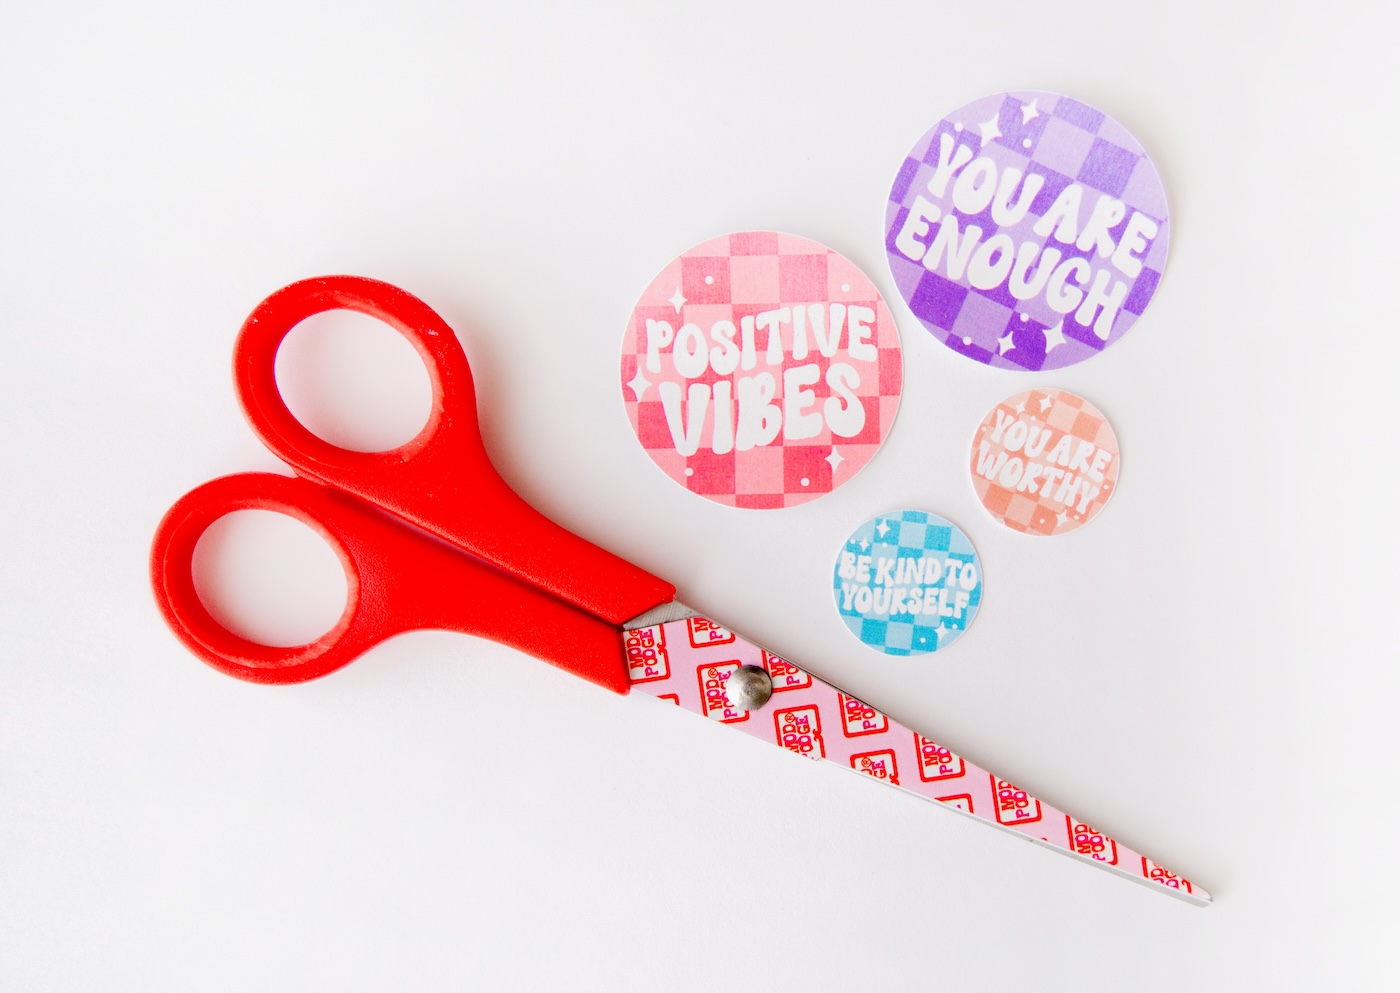
- Measure the inside of your bottle cap, and use the images provided or size them down if needed. Print the images on cardstock and cut to size.
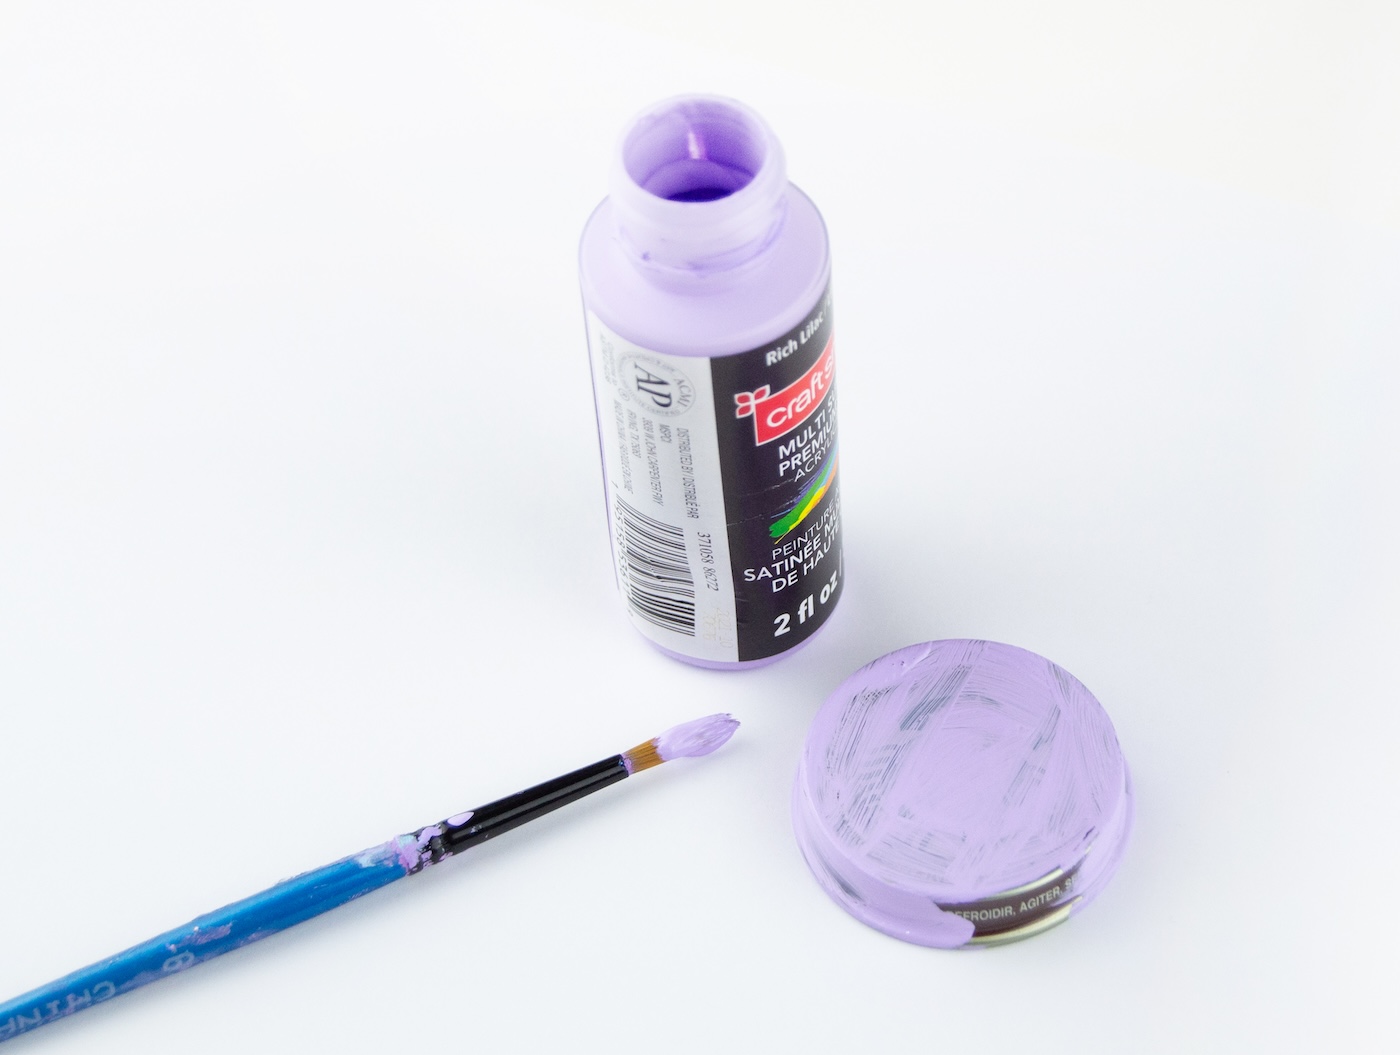
- If you’re using bottle caps with text on the rim, use multi-surface paint and paint the rim, insides and the back of the bottle cap. Let dry.
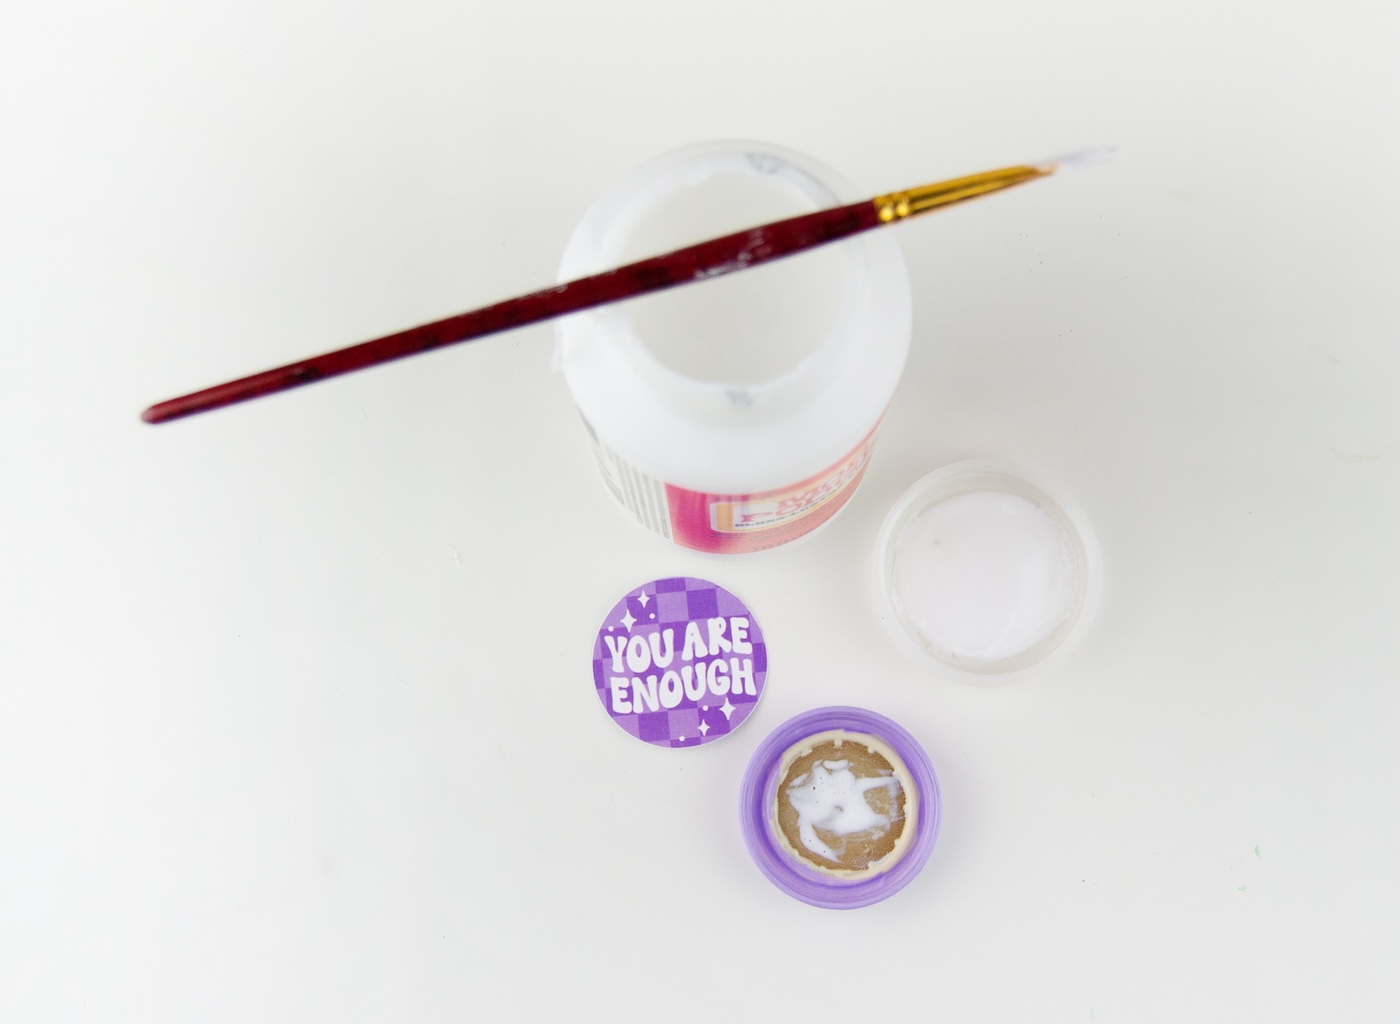
- Mod Podge your cut images onto the inside of the bottle cap. Add Mod Podge to the inside of the bottle cap, press the photo down, and let dry.
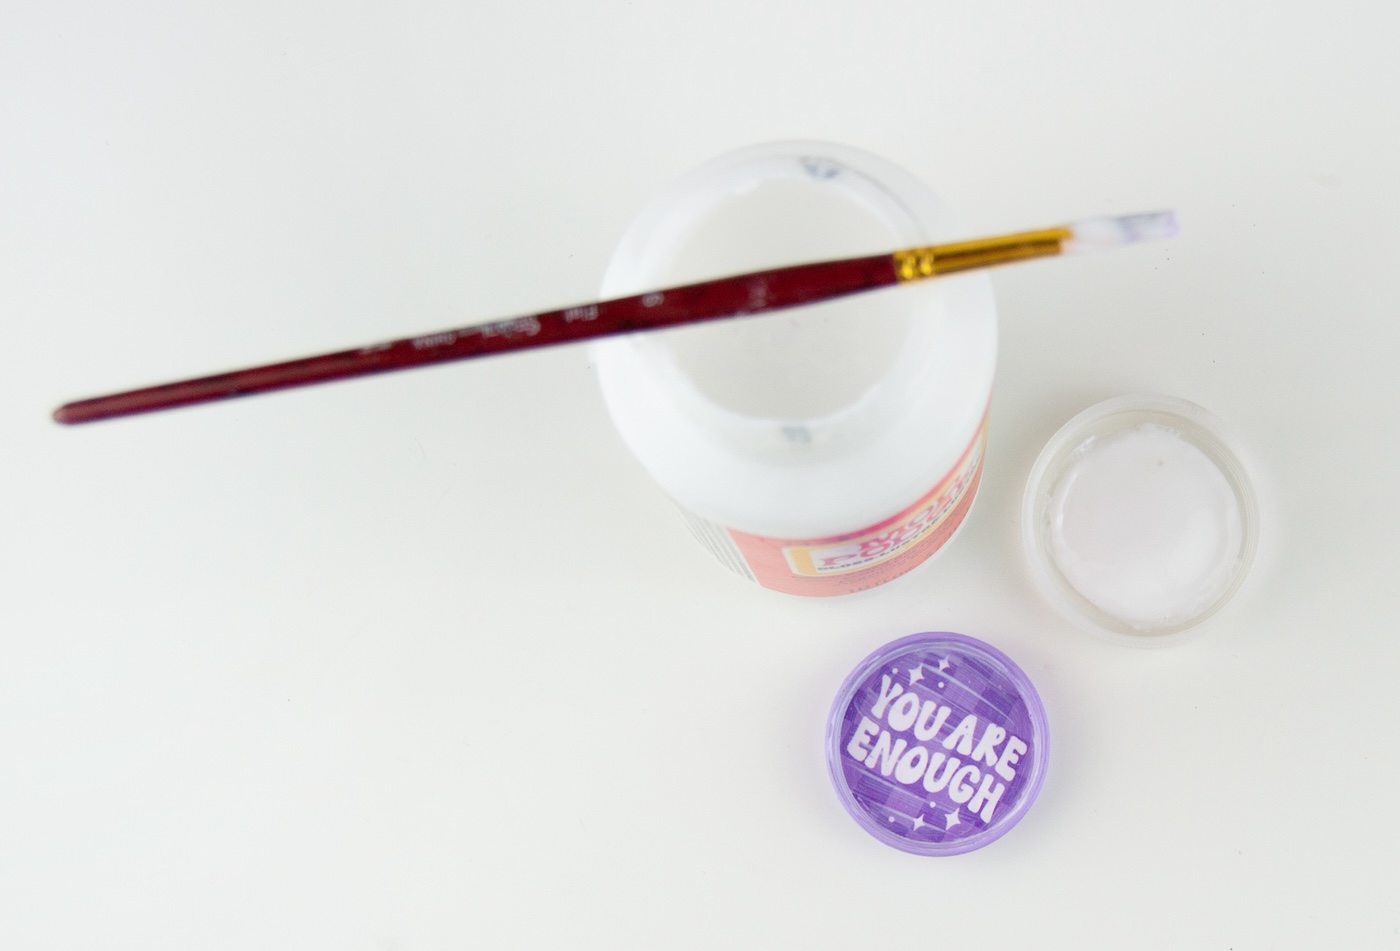
- Apply a few layers (I like doing 2-3) of Mod Podge on top of the image to seal and protect it.
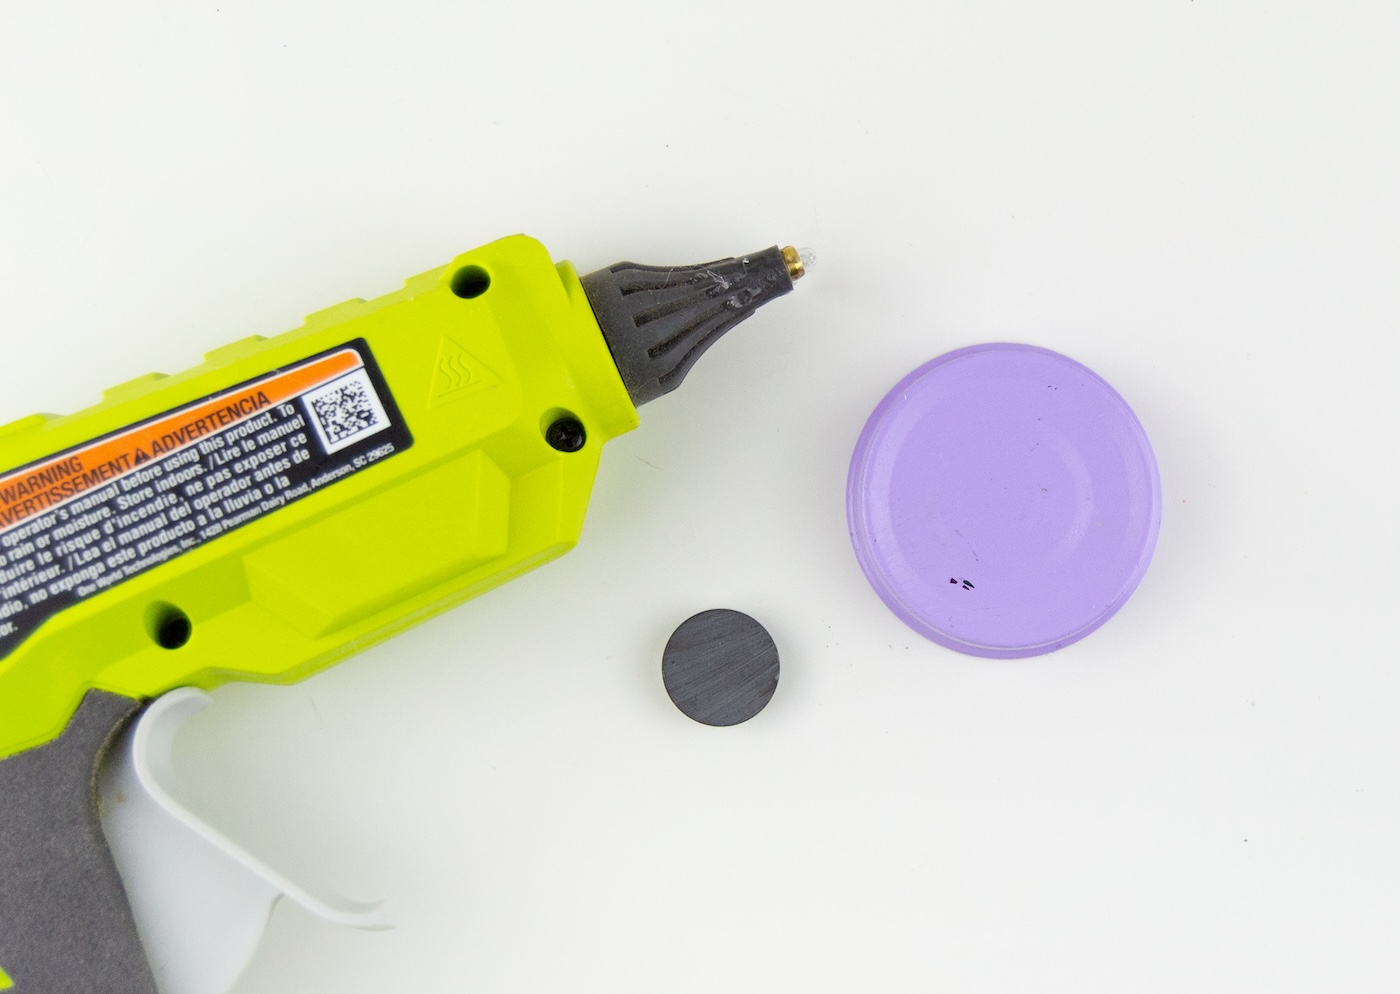
- Using hot glue or craft glue, attach your magnets to the back of the caps.
- If desired, apply Dimensional Magic on top of the images for a glossy finish. Place in a safe spot for drying overnight.
Notes
- When using Dimensional Magic, make sure that 1) you seal the Mod Podge well around the edge of the image inside the bottle cap and 2) you let the Mod Podge completely dry inside before applying the DM. Otherwise you'll get clouding.
- If you plan to make a lot of these, it helps to purchase a circle punch for ease of cutting out circles.