
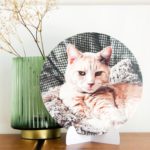
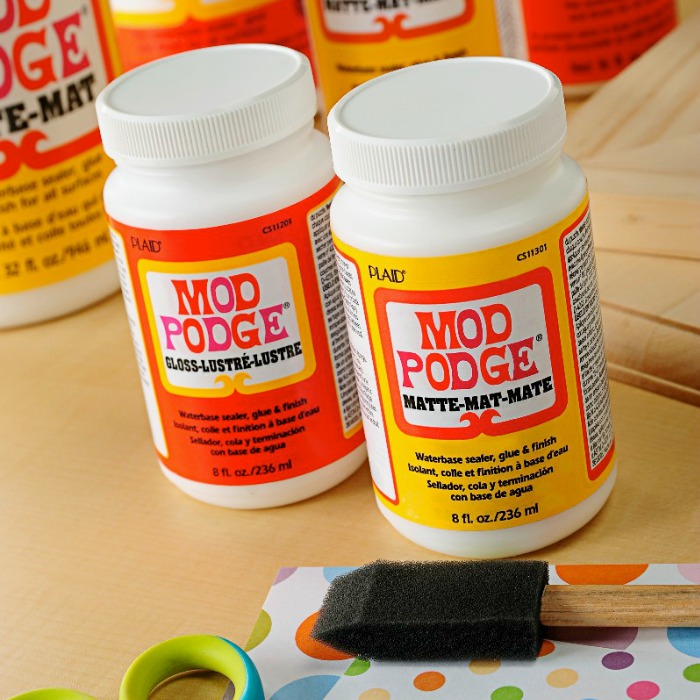
A photo transfer to canvas gives your photo and your project a slightly vintage feel – it’s a beautiful twist on a traditional decoupage craft! This project uses Mod Podge Photo Transfer Medium (not regular Mod Podge).
Skills Required: Intermediate. Photo transfer takes a little practice, particularly with learning how much of the paper you can rub off. I’d try a sample project first in case there’s a learning curve for you.

I’m really excited to share with you today, my friends. This is a project I get asked about ALL the time.
Have you ever wanted to turn your favorite photos into custom canvas prints – without the hefty price tag? With just a few supplies and Mod Podge Photo Transfer Medium, you can create your own DIY canvas prints right at home!
I recently decided to try this photo transfer to canvas technique with pictures of my cats (because let’s be honest, they deserve their own gallery wall). The process is surprisingly easy and gives your photos a unique, slightly vintage look that stands out from regular prints.
Plus, since you’re transferring the ink rather than adhering paper to the canvas, you won’t have to worry about wrinkles or air bubbles.

The key to success is using a laser print of your photo – don’t worry if you don’t have a laser printer, a quick trip to your local copy shop will do the trick!
After applying the transfer medium, letting it dry, and carefully removing the paper, you’ll be left with a beautiful, professional-looking canvas print. Add a coat of Mod Podge for protection, and you’re good to go.
This technique is perfect for creating affordable wall art, personalized gifts, or even an entire gallery wall of special memories. Once you try it, you’ll want to make more – I know I do!
Make sure to use laserjet ink!
You’ll want to make sure to use a dry ink toner (typically laserjet) with photo transfer medium. The problem with inkjet – in this tutorial, it will bleed. There are other ways of transferring photos using inkjet images, and Mod Podge . . . however this project uses the Transfer Medium product, so you need to use laserjet.
Keep reading to see exactly how I did it, along with some helpful tips to get the best results. Get the printable how to below:
Transfer a Photo to Canvas
Equipment
- Small bowl of water
- Sponge
- Brayer optional
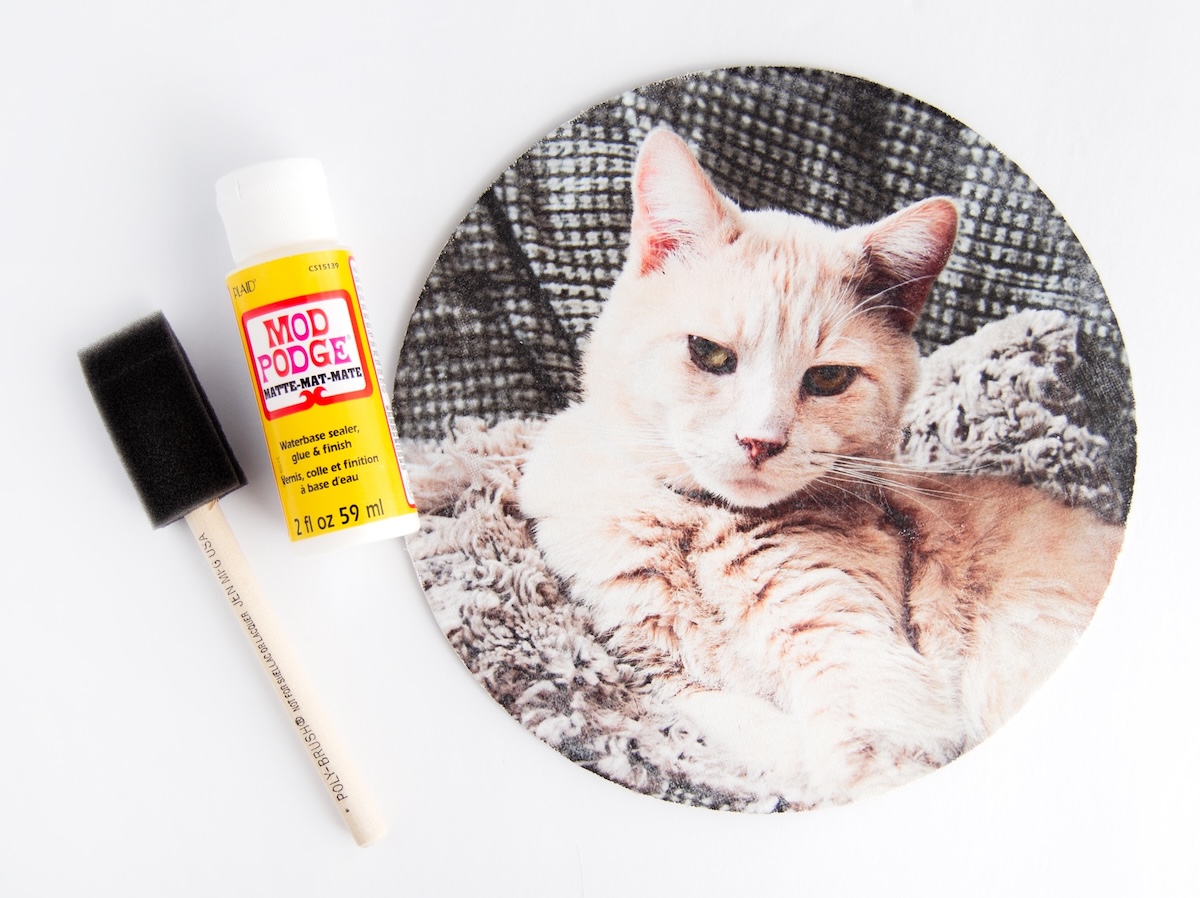
Materials
- Round canvas
- Mod Podge Photo Transfer Medium
- Mod Podge Matte or formula of your choice
- Laserjet photo to fit the canvas
- Parchment paper or wax paper
- Cardstock optional
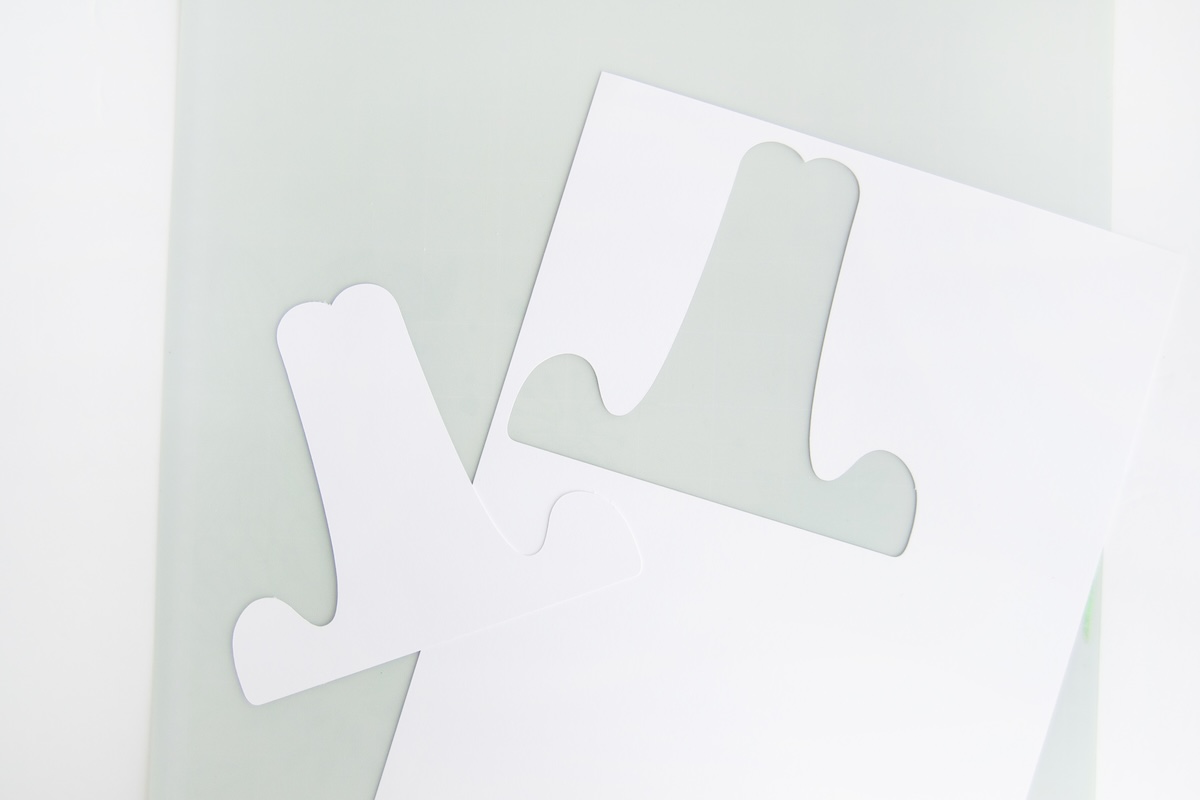
- Stand template(s) optional
Instructions
- Print out your image to transfer on a laserjet printer. Remember to mirror (reverse) any words so that they are correct when transferring.

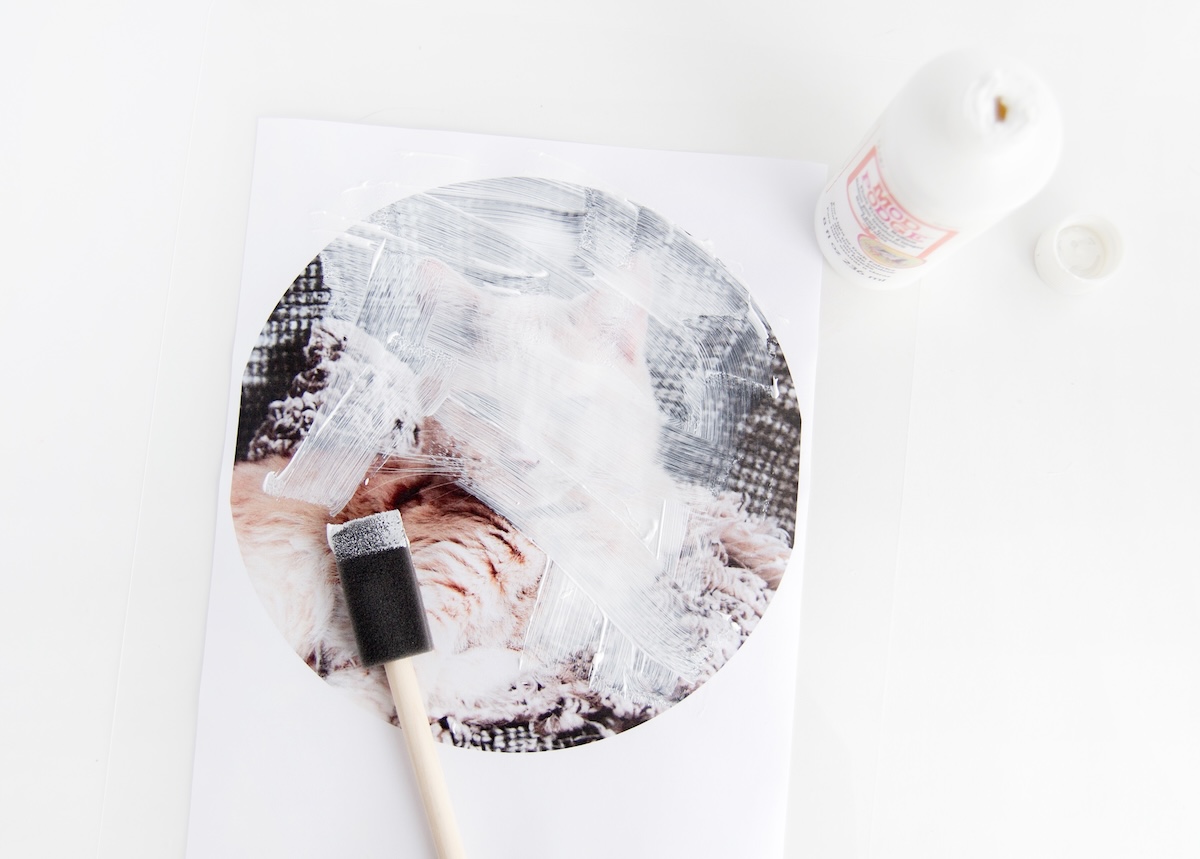
- Place parchment paper on your work surface. Apply an even amount of photo transfer medium on your printed photo using a foam brush, making sure to cover all the areas of the photo so that they are obscured.
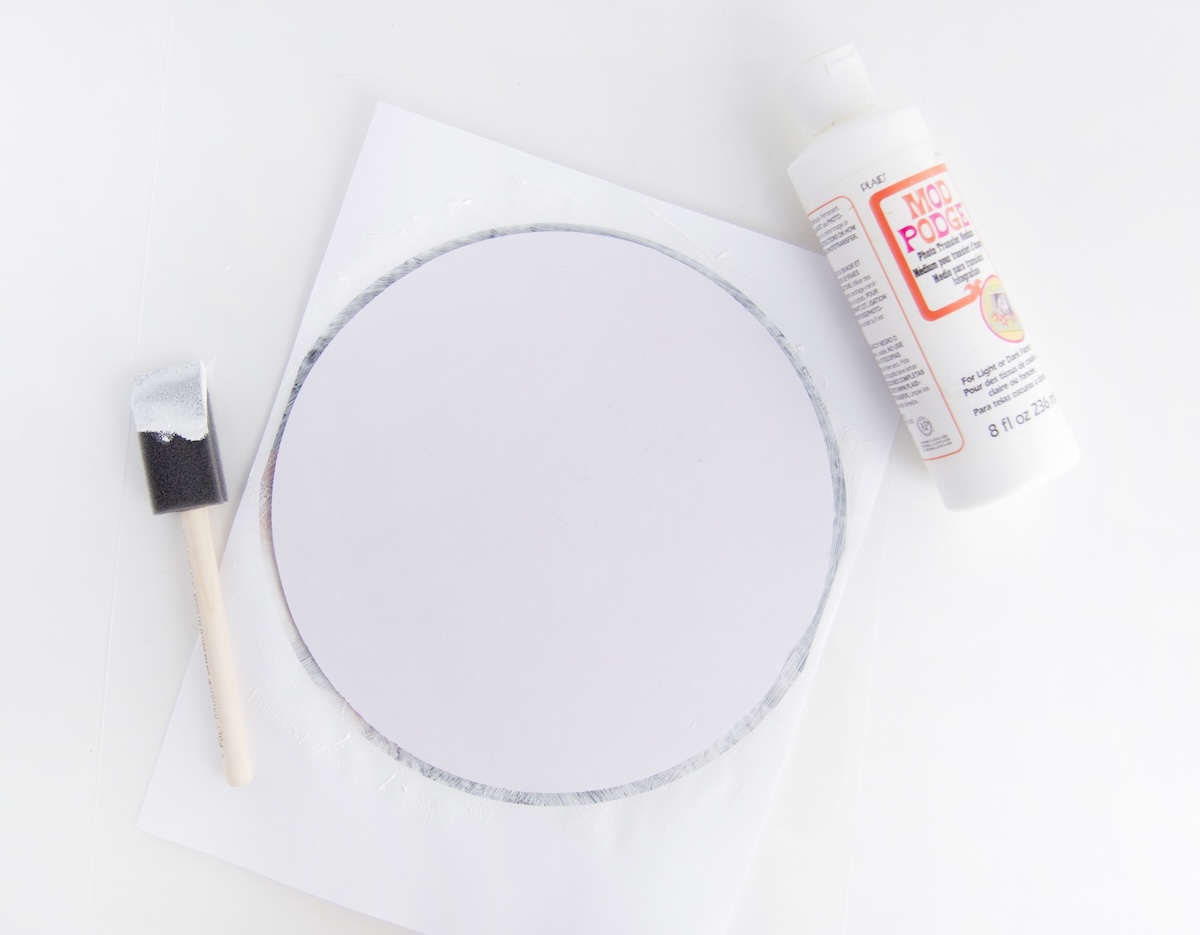
- Once your photo transfer medium is applied evenly, smooth the photo onto the canvas, making sure that it is centered. Use a brayer or flat card to ensure all of the image is adhered to the canvas. You don't need to push too hard. Wait for that to dry, about 12 hours per the bottle’s instructions.
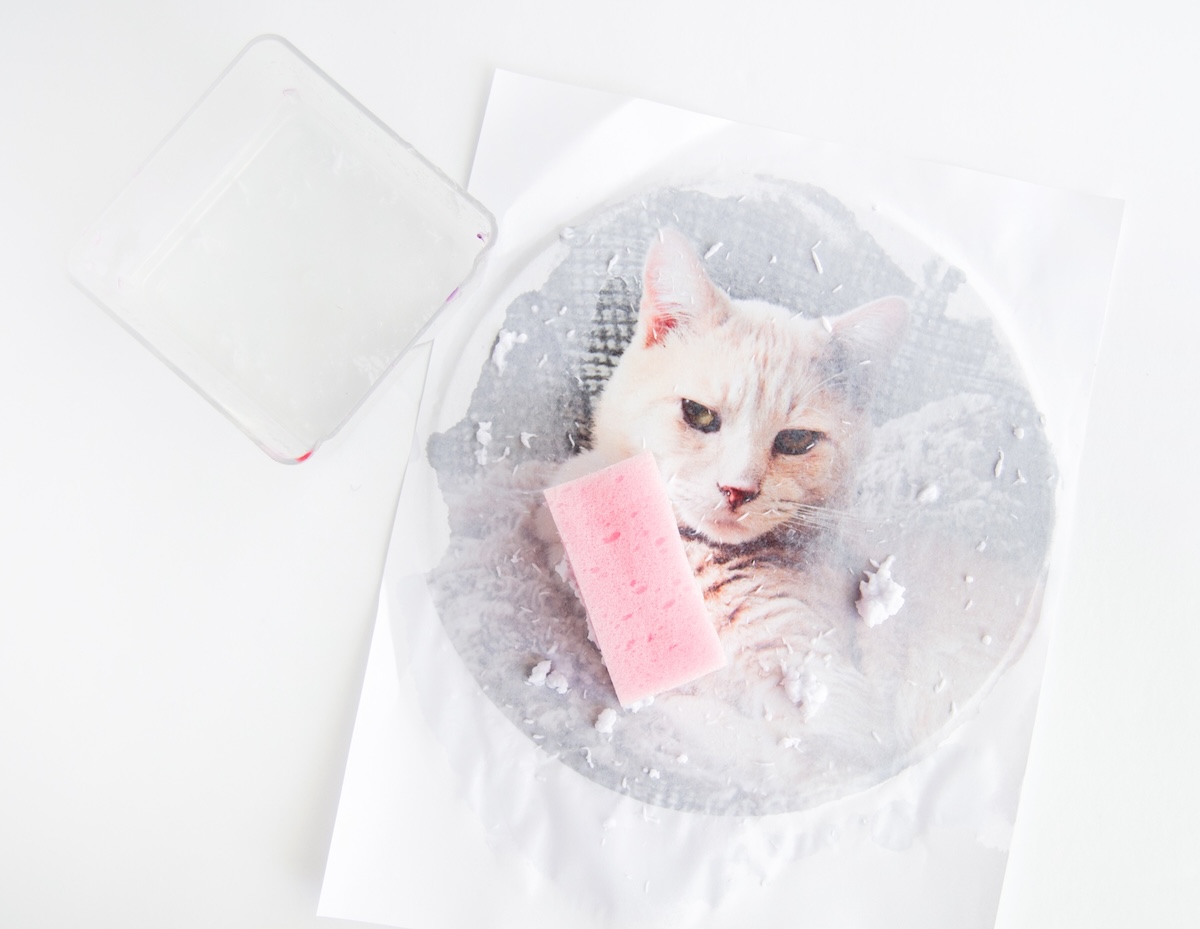
- Begin removing paper with water and a sponge once the photo transfer medium is dry. Slowly begin rubbing and removing the paper. You will begin to see the image appearing – continue until the paper is removed.
- Once the canvas is dry, apply a thin coat of Mod Podge Matte (or formula of your choice) and let it dry.
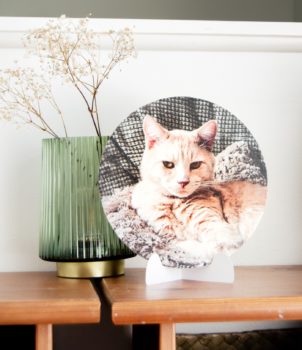
- This step is optional. You can hang your canvas or create a stand using cardstock – I’ve provided a template that you can use with an electronic die cutting machine or you can cut them using scissors. Fold vertically once you have cut it, and use to display your canvas.
Notes
 Tips for a Successful Transfer:
- Regular copy paper works best—avoid thick or glossy paper, as it will be harder to remove later. You *do not* want to use photo paper.
- Cover your entire image with a thick, even layer of Mod Podge Photo Transfer Medium. Any missed spots won’t transfer.
- Don’t try to remove all the paper at once! Do one round, let it dry, then check if there’s still a white paper haze.
- If the image looks cloudy after drying, it means there’s still paper residue. Lightly dampen and rub again.
- Once most of the paper is gone, gently buff the image with a soft cloth to remove any last fibers.
- If you accidentally remove part of the image, don’t panic! You can blend the area with a bit of acrylic paint or distress it intentionally.
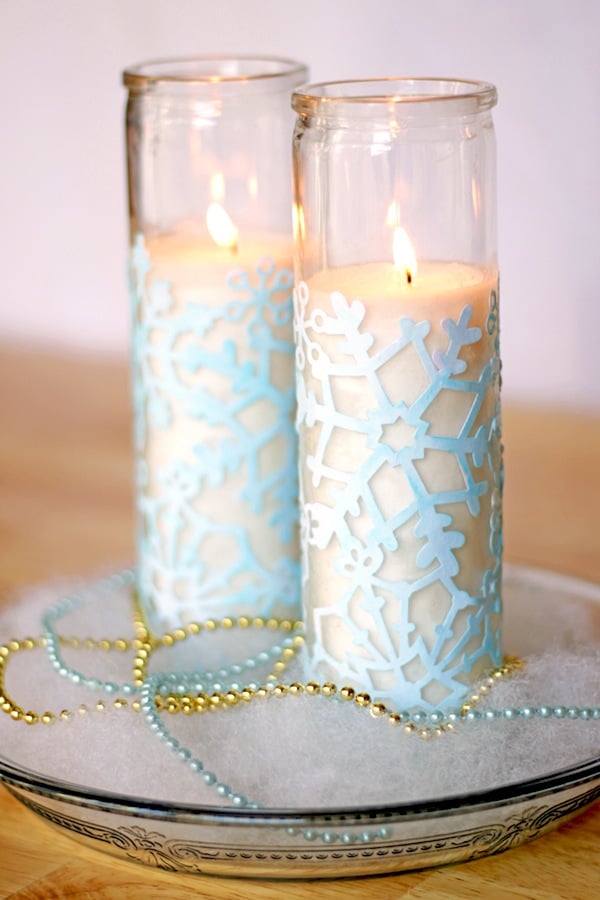
Love this home decor idea? Let me know in the comments! Plus check out these other photo transfer ideas here:
Breakfast in Bed Tray • Christmas Napkins • Family Reunion Centerpiece • How to Transfer Photos to Wood • Inkjet Transfer • Photo Keychain • Transfer Paper to Fabric • Transfer Photos to Fabric • Transfer to Furniture • Transfer to Glass • Transfer to Metal


Thank you for sharing this project!
New to Mod Podging. You say “Remember to mirror (reverse) any words so that they are correct when transferring.” Could you please be a little more specific? Thank you. I am learning a lot from you!
I have a medium thick material I’d like to adhere on canvas, using mod podge. Could you give me any ideas to do this?
Is it possible to rub off some of the transfer if you rub to hard? If you do how do you recommend fixing it??
Hi Amy. I used the transfer medium to transfer a photograph onto a sheet of A4 Cranford card. When I wet the print after letting it dry for 24hrs, the card stock, warped, and didn’t look very good. Should I have used a different material to transfer image onto. I found canvas to be quite expensive to make mistake with.
Hi Anthony! The reason is because the water was only applied to the one side, which warps when you do that to cardstock. And it’s hard to get it back. You can try to flatten it with a book. But honestly it’s hard with cardstock because it’s not meant to be exposed to that much water. What about using a piece of wood?
I’m so confused about too many different kinds of Mod Podge
I have a formula guide! https://modpodgerocksblog.com/mod-podge-formula-guide/
Hi. I Trusted Google To Advise Me Which Product Was Best For Sticking Gloss Photos To A Canvas Which Might Sound Weird, I Ordered A Very Big Canvas From A Company And It Was Printed Wrong So There Is A Massive Amount Of Blank Canvas And It Looks Horrible. I Printed Out A Few More Photos To Fill Out The Empty Space And Tried To Find A Product To Stick Them To The Canvas And A Site Said Mod Podge Photo Transfer Medium. I Have Found After Buying It That Its Not For Sticking Photos,Its For Transferring Them According To Instructions Can Anyone Help Plz.I Need To Know What Product Would Stick Gloss Photos To A Canvas
Hello Steven! I used Mod Podge and printouts on canvas here: https://modpodgerocksblog.com/add-an-image-to-canvas/
You don’t want to use photo paper. It has a coating that doesn’t work well with acrylic products. I’d color copy them at Kinkos on laser jet, so you can decoupage them with no ink bleeding.
Yes you would use the Gloss in the orange bottle. Not the photo transfer medium. Get a guide here to the formulas:
https://modpodgerocksblog.com/mod-podge-formula-guide/
Can you use this technique with a poster?
@Darlene, the poster would need to be printed on laserjet. You can just put a poster directly on canvas with this tutorial: https://modpodgerocksblog.com/poster-on-canvas/
@Amy, Thanks so much for your help. I have a girl’s craft weekend coming up, so I want to give this a try.
I love it for the same reasons! I hate when I get wrinkles in my paper with decoupage, and I like the finished look of transferred images better. It’s a littler more labor intensive but so worth it!
Thanks for sharing!