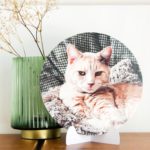
Transfer a Photo to Canvas
Learn how to do an image transfer to canvas using Mod Podge photo transfer medium.
Yield: 1 canvas
Cost: $10
Equipment
- Small bowl of water
- Sponge
- Brayer optional
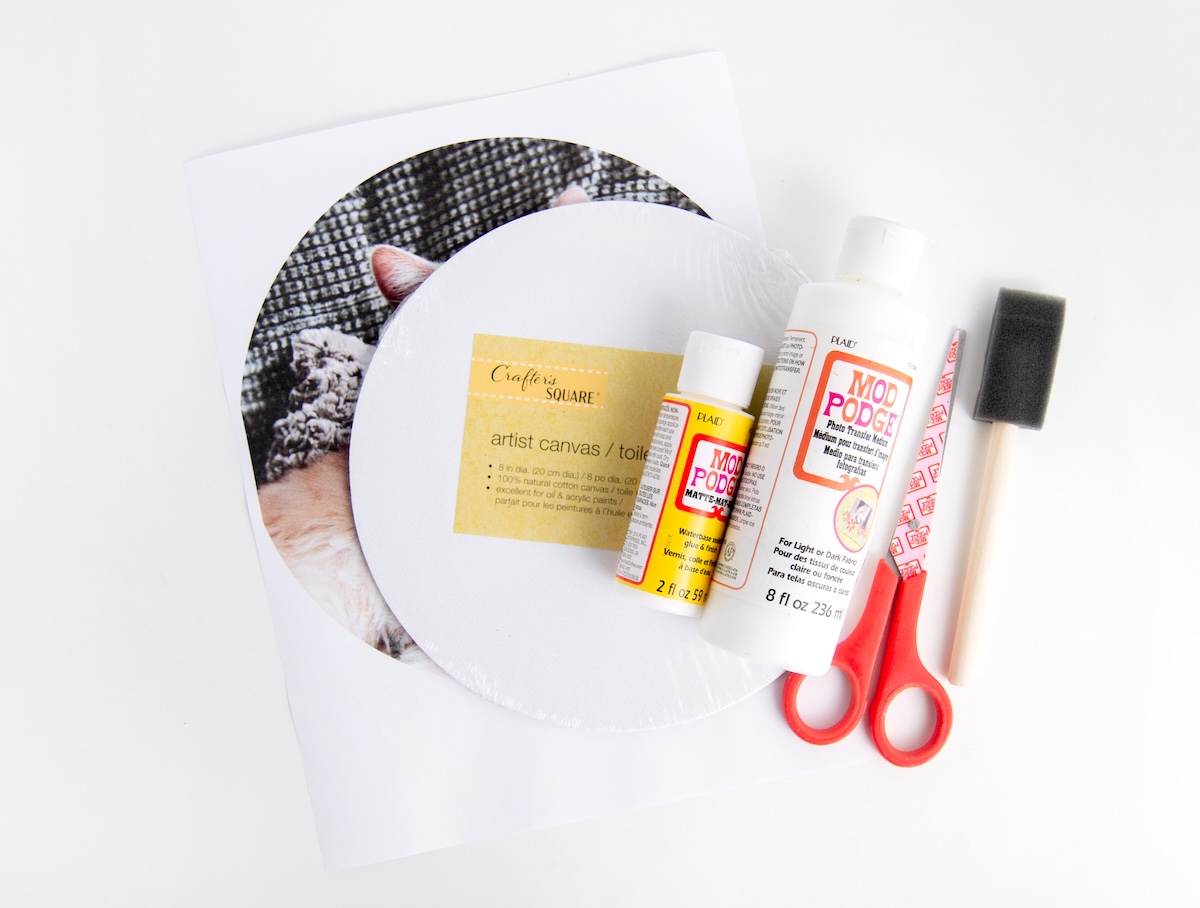
Materials
- Round canvas
- Mod Podge Photo Transfer Medium
- Mod Podge Matte or formula of your choice
- Laserjet photo to fit the canvas
- Parchment paper or wax paper
- Cardstock optional
- Stand template(s) optional
Instructions
- Print out your image to transfer on a laserjet printer. Remember to mirror (reverse) any words so that they are correct when transferring.
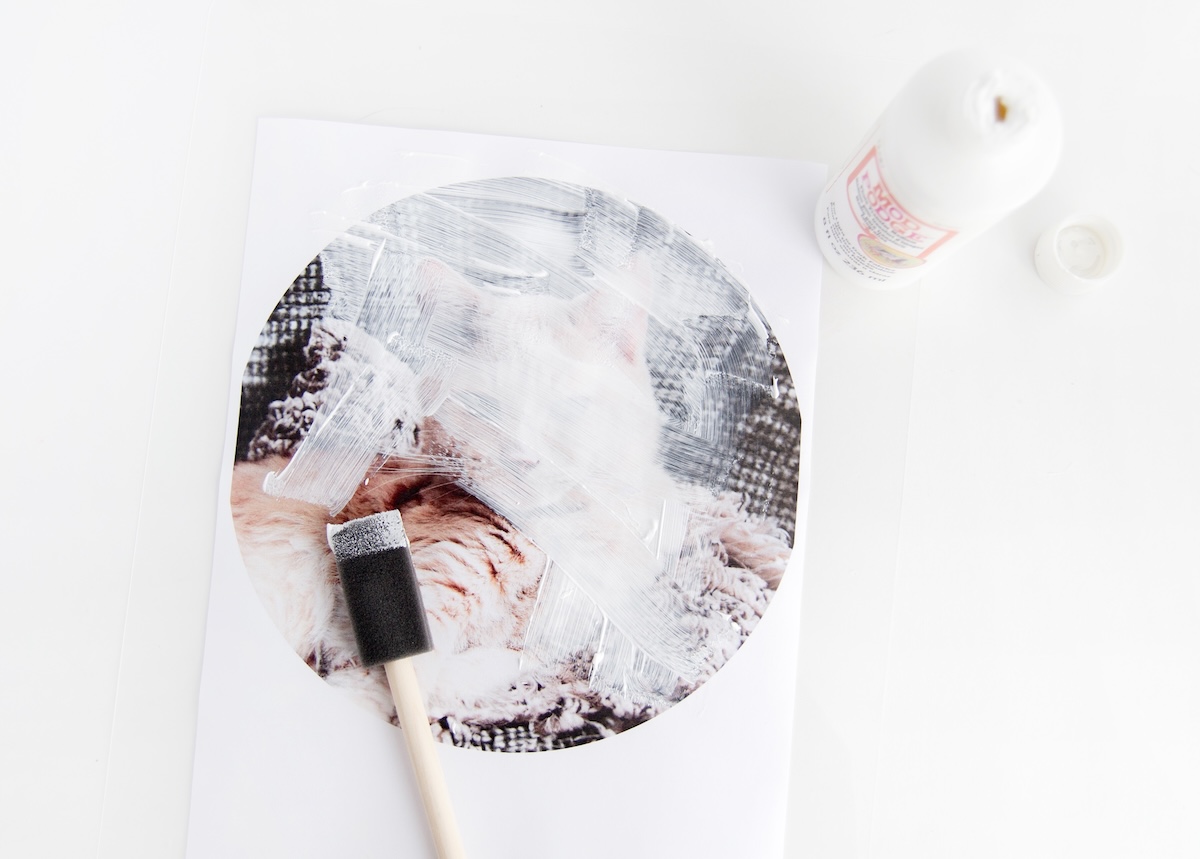
- Place parchment paper on your work surface. Apply an even amount of photo transfer medium on your printed photo using a foam brush, making sure to cover all the areas of the photo so that they are obscured.
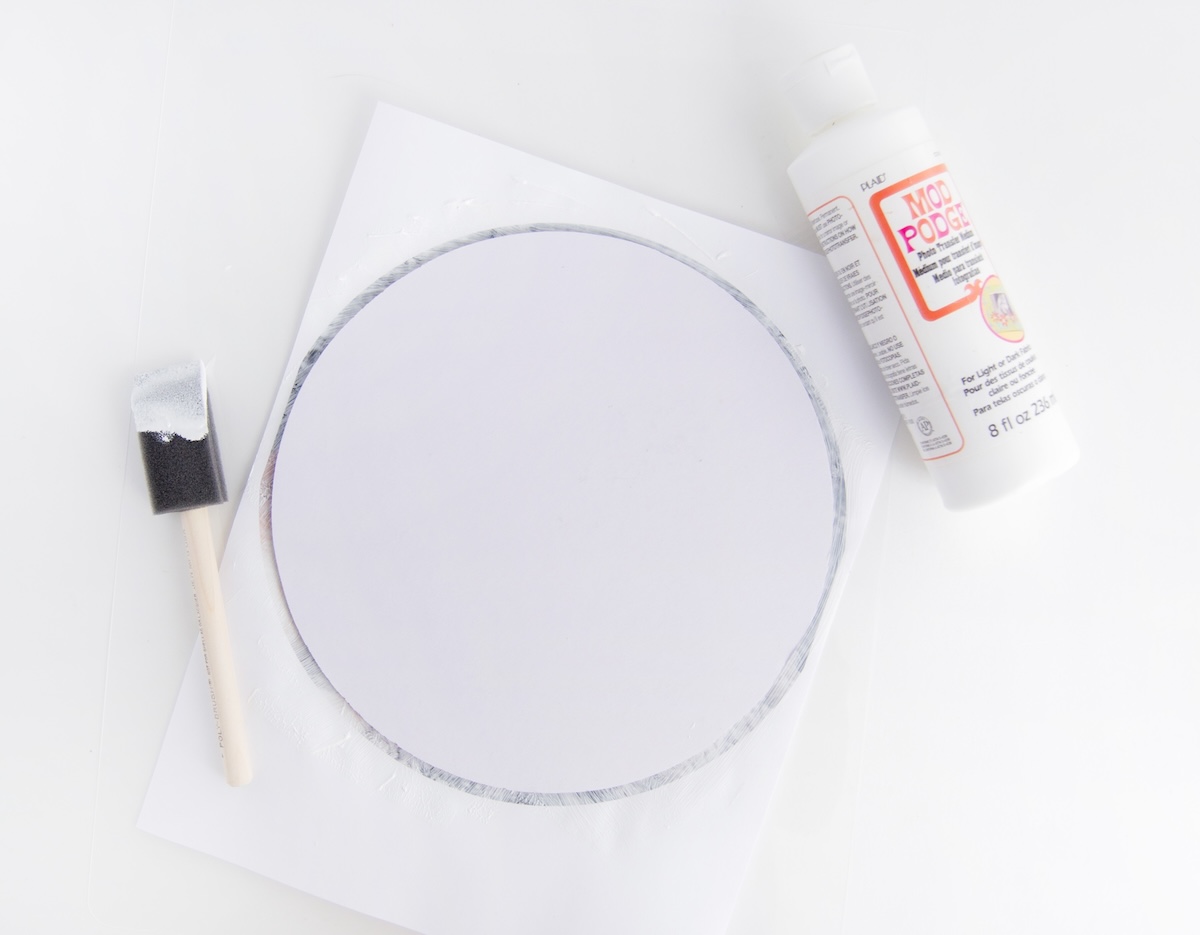
- Once your photo transfer medium is applied evenly, smooth the photo onto the canvas, making sure that it is centered. Use a brayer or flat card to ensure all of the image is adhered to the canvas. You don't need to push too hard. Wait for that to dry, about 12 hours per the bottle’s instructions.
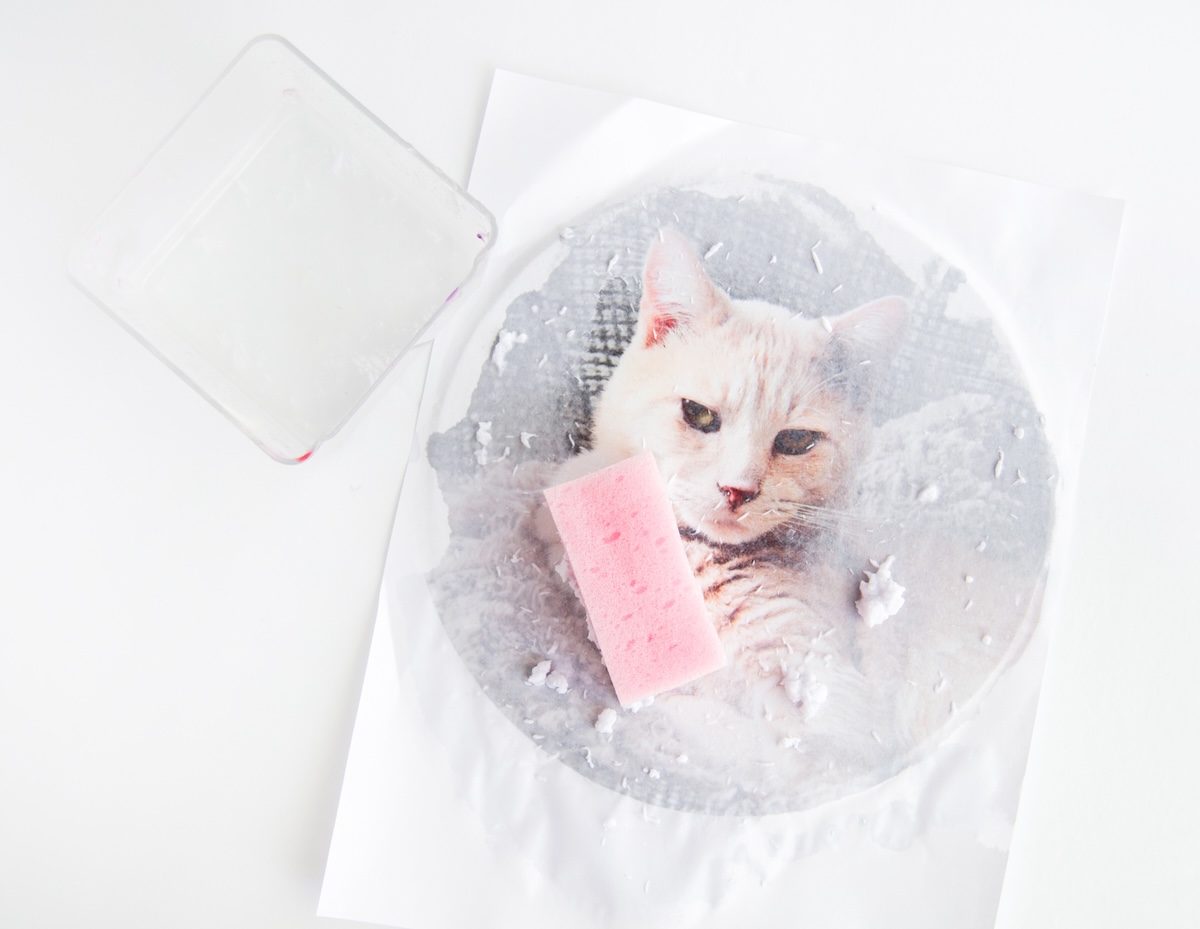
- Begin removing paper with water and a sponge once the photo transfer medium is dry. Slowly begin rubbing and removing the paper. You will begin to see the image appearing - continue until the paper is removed.
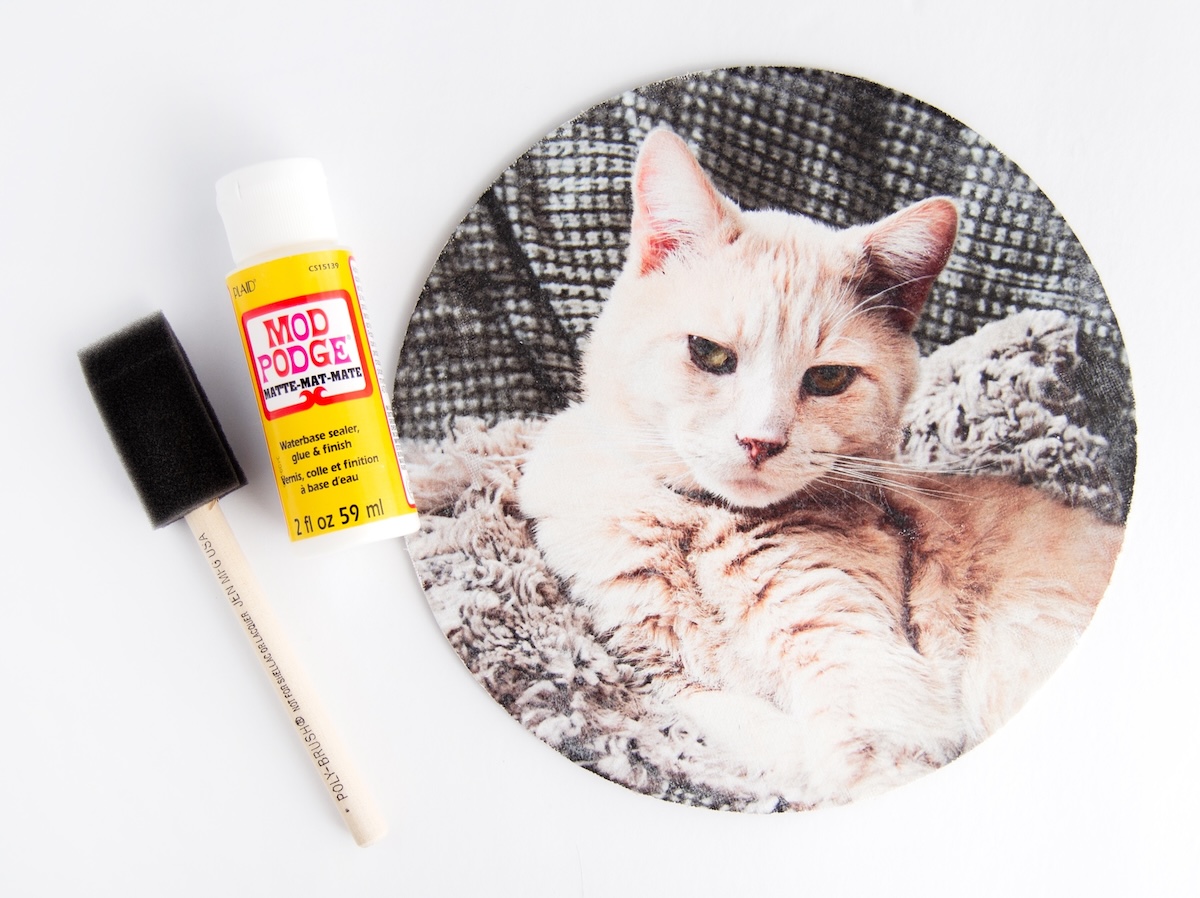
- Once the canvas is dry, apply a thin coat of Mod Podge Matte (or formula of your choice) and let it dry.
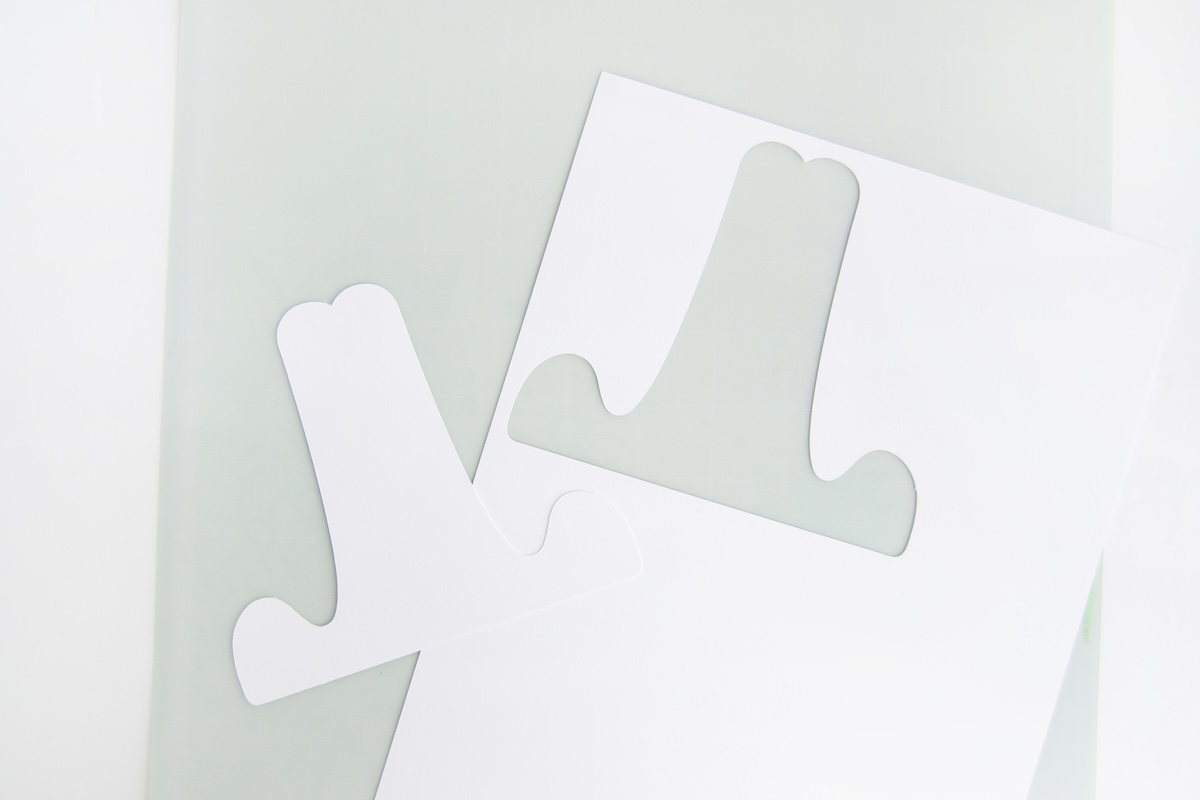
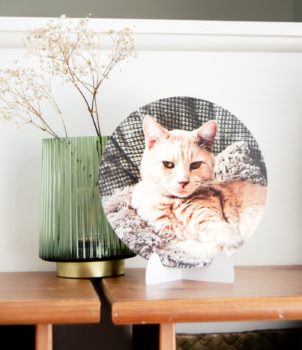
- This step is optional. You can hang your canvas or create a stand using cardstock - I’ve provided a template that you can use with an electronic die cutting machine or you can cut them using scissors. Fold vertically once you have cut it, and use to display your canvas.
Notes
 Tips for a Successful Transfer:
- Regular copy paper works best—avoid thick or glossy paper, as it will be harder to remove later. You *do not* want to use photo paper.
- Cover your entire image with a thick, even layer of Mod Podge Photo Transfer Medium. Any missed spots won’t transfer.
- Don’t try to remove all the paper at once! Do one round, let it dry, then check if there’s still a white paper haze.
- If the image looks cloudy after drying, it means there’s still paper residue. Lightly dampen and rub again.
- Once most of the paper is gone, gently buff the image with a soft cloth to remove any last fibers.
- If you accidentally remove part of the image, don’t panic! You can blend the area with a bit of acrylic paint or distress it intentionally.