
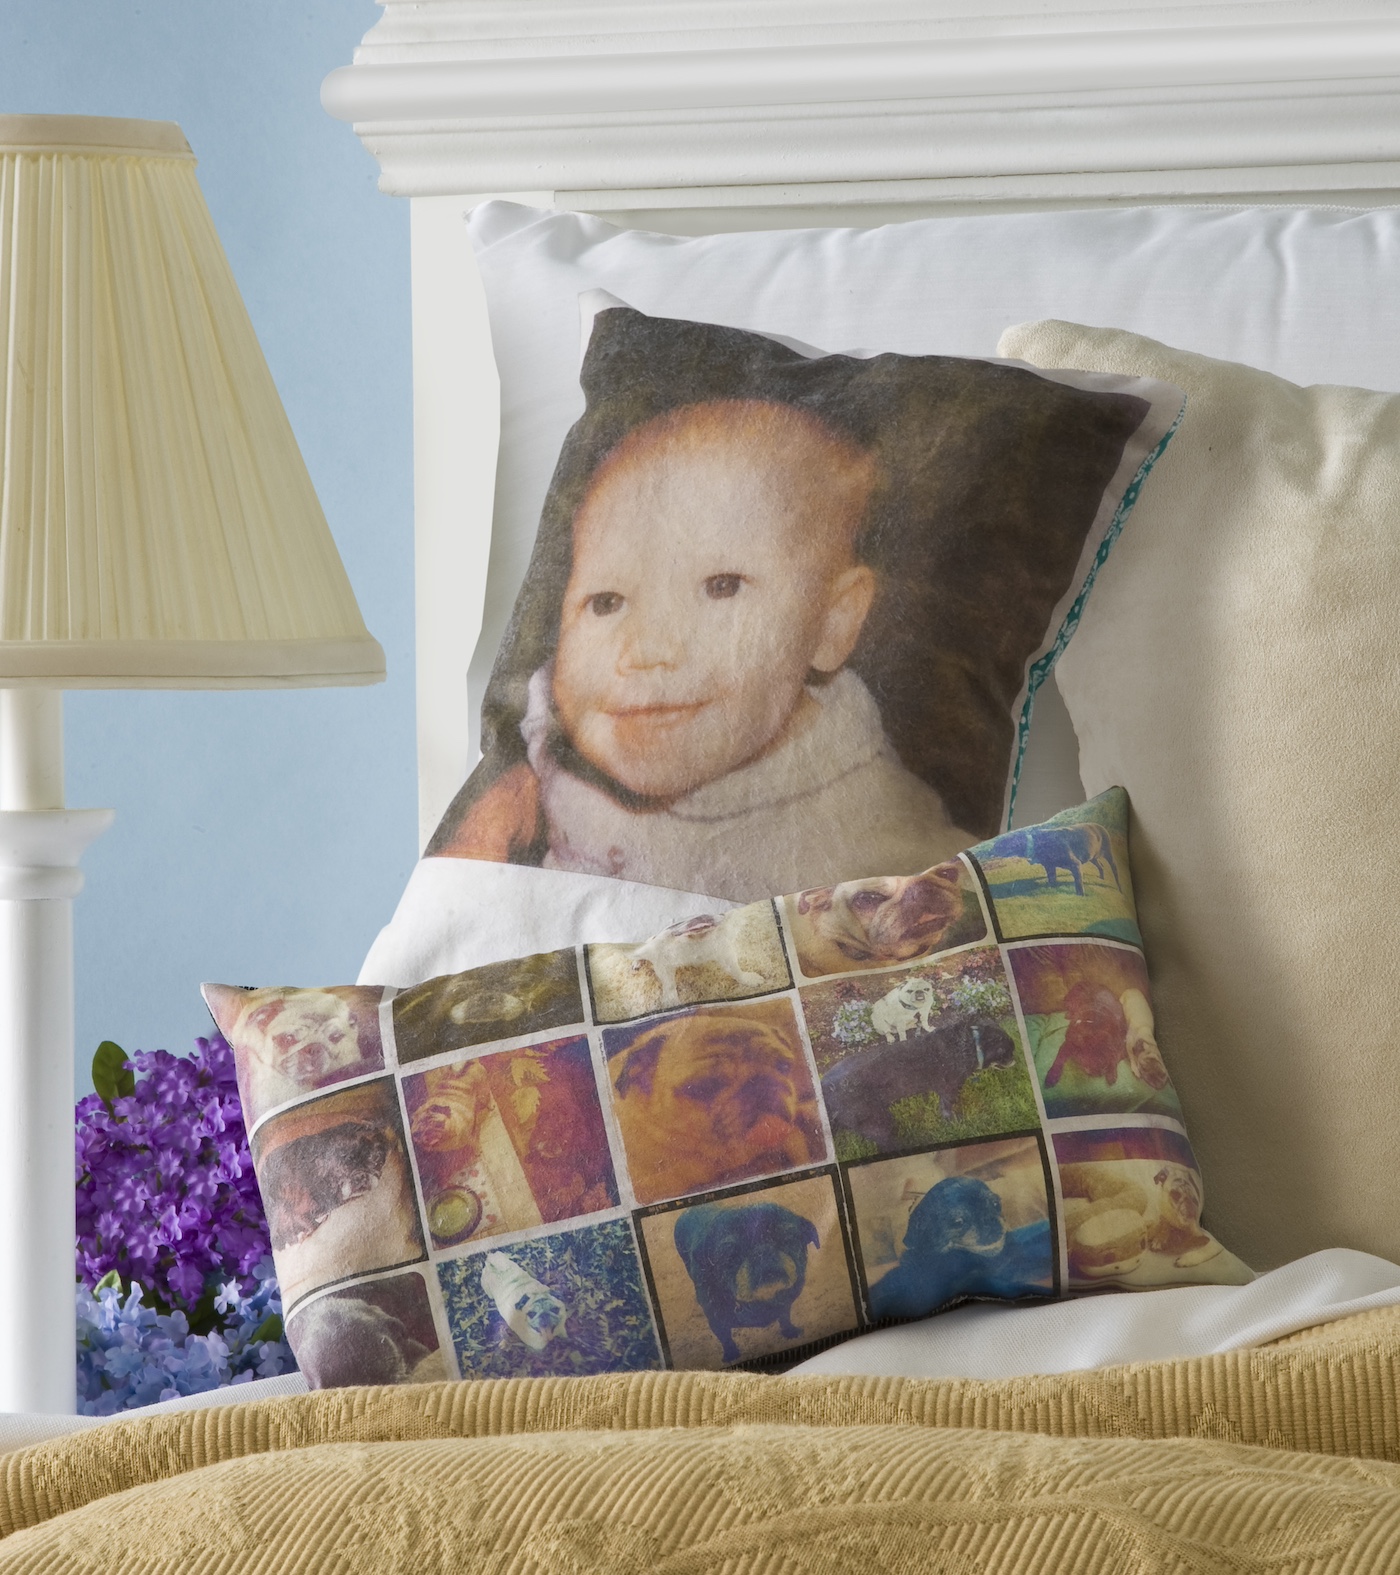
Use pics and transfer medium to create these unique, personalized DIY photo pillows. They’re perfect for photo gifts or home decor.
Skills Required: Intermediate. Using photo transfer medium takes a little trial and error. I’d try it on a scrap of fabric first with one small image to practice before you try making the larger pillow. I offer some tips in the post below.
I may have a problem with Instagram, in that I’ve used it to take TONS of pictures of my pets. So if you are following my stream and think “this lady is crazy,”, I’m sorry. Guilty as charged!
The only problem I have with all of these Instagrams is that they just sit on my phone, and I never (rarely?) do anything with them. These photo pillows apply to those Instagrams (or any smartphone photos, really).
I also love those old Polaroids that my parents have that just sit in the drawer, so here’s a chance to pull those out too. And what do you use to make these photo pillows? Mod Podge Photo Transfer Medium. It’s an awesome product, seriously.
If you want to make sure your pillows turn out perfectly, you’re going to need patience.
I’m assuming you let your personalized photo pillows dry for 24 hours before using any water to rub off the design – that is the most important first step.
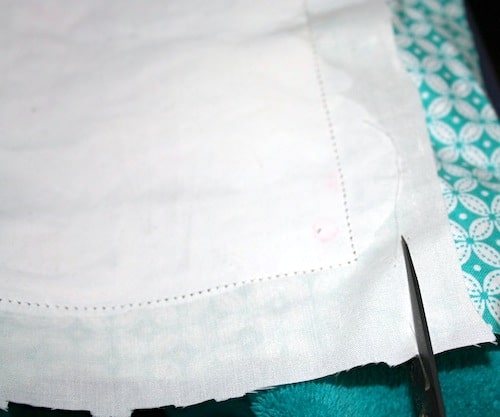
When your design is dry, you’ll wet it in the sink and rub off the paper. Use light to medium pressure, not too hard . . . because you can always let it dry, re-wet, and then rub a little more paper off.
Are you ready to learn how to make a photo pillow? Here’s what you’re going to need!
Gather These Supplies
- Mod Podge Photo Transfer Medium
- Computer with a dry toner printer or copies made on regular paper (not photo paper)
- Photos of your choice
- Foam brush
- Mod Podge silicone mat
- Sponge and water
- A pre-made cotton pillowcase OR:
- Fabric – I used white cotton for the front of the pillows and patterned scraps for the back
- Pillow fill
- Sewing machine with thread
- Needle and thread
Remember that the photo is going to have a bit of a vintage look when it’s transferred. Get the how to card below:
Display your picture pillow or give them as gifts. Be a weird dog (or cat) lady like me and make tons with your animals on them. They are so fun to create!

DIY Photo Pillows
Equipment
- Computer with a dry toner printer or copies made on regular paper (not photo paper)
- Sponge and water
Materials
- Mod Podge Photo Transfer Medium
- Photos of your choice
- A pre-made cotton pillowcase OR supplies to make a pillowcase
Instructions
- Wash and dry your fabric or pillowcase.
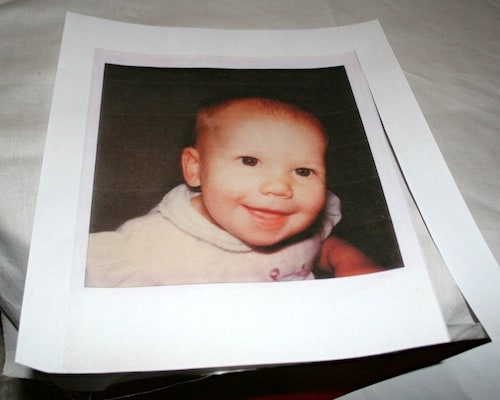
- Print out photos in the size that you would like them for your pillow. You can make one large image, print out several images, or create a collage as I did. Print out the images on a dry toner printer or get laserjet copies made.

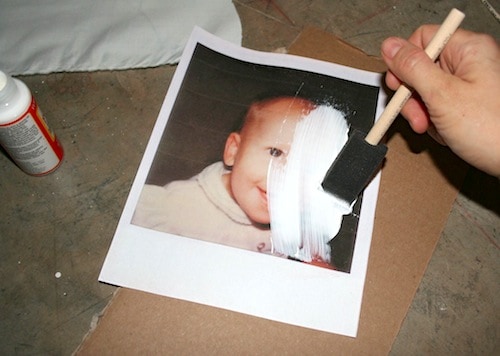
- Apply a medium layer of Mod Podge Photo Transfer Medium to the front of the image that you would like to transfer. Apply enough so that you cannot see the image.

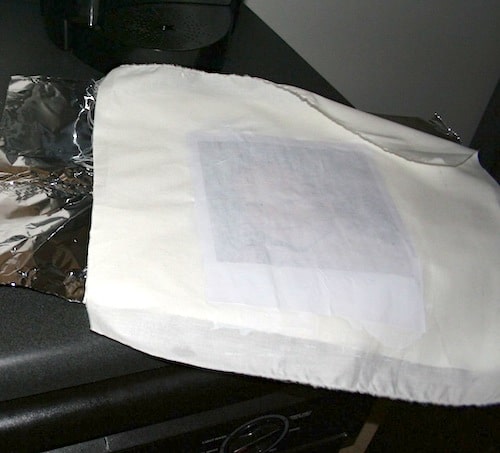
- Quickly put the covered image face down onto the fabric or pillowcase and smooth. Wipe away any photo transfer medium that squeezes out the sides. Repeat for remaining photos. Let dry for at least 24 hours.

- Wet the paper slightly with water and rub the paper off of the photo transfer. Repeat until all of the paper is rubbed off of the transfer and then let dry.
- If you need to sew the fabric into a pillowcase, do that at this time. Stuff your pillow with fiberfill or insert a pillow into the case to finish.

Video
Are you ready to see a video that will show you how to make a picture pillow? Simply press “PLAY” in the video in this post!
If you love this photo craft, check out these other photo transfer projects you’ll love:


Can you wash this pillow?
Hi Lorimae! You can – just follow the washing instructions on the bottle (which I don’t have here to look at for you).
I am really wanting to try something like this on a canvas shoe! Would it work even though its slightly curved?
It would definitely work, but you will have to REALLY make sure to attach the paper well to the shoes. I’d also expect it to have more a vintage look. My bloggy friend did it here!
https://helloglow.co/diy-shoes-with-floral-photo-transfer/
Hello may if we can just use normal mod podge matte to photo transfer? 🙂
You can but it’s a different process. Look at this blog post for more info on how to do it: https://matsutakeblog.blogspot.com/2009/10/how-to-transfer-inkjet-images-to-wood.html
Hello!
I would like to know where I can buy Mod Podge in Thailand (Bangkok area).
Or online.
Big thanks!
(May)
many years back Dulux paints had a product called Hodge Podge where you could transfer pics to walls and other hard surfaces, I assume this product is an extension of that idea? So where does one buy it in Australia? I have soooo many cute cat pics to use lol
Hi Mahree! I’ve not heard of Hodge Podge, but it sounds cool! I’d contact Plaid about where to get the transfer medium in Australia: https://plaidonline.com/about/contact
They are always quick to answer. Thank you!
I have tried this process with liquitex, but it leaves my fabric quite stiff, is it the same result with MP? Any tips on not losing the softness of fabrics in the process?
Thanks!
Hi Pearl! My pillows are very flexible with the photo transfer medium. I mean, it’s not completely soft, but soft enough and I don’t feel like they are stiff at all!
I just tried the photo transfer onto white fabric. I waited 24 hours to start removing the paper. On all 3 photos, parts of the photo are coming off. I am not rubbing hard. Am I doing something wrong??
Hi Sharon! The fabric should probably be washed and dried to remove sizing (that could be an issue). Also using enough photo transfer medium. Do you feel like these two things might contribute?
I dont think so.. I used a cotton pillow case that I have had for some time. It was washed, dried and ironed prior to application. i could not see the image after I applied the medium so I feel that i did use enough. Perhaps I should have waited longer than 24 hrs??