DIY Photo Pillows
Learn how to make a photo pillow perfect for personalized gifts or home decor.
Yield: 1 pillow
Cost: $10
Equipment
- Computer with a dry toner printer or copies made on regular paper (not photo paper)
- Sponge and water
Materials
- Mod Podge Photo Transfer Medium
- Photos of your choice
- A pre-made cotton pillowcase OR supplies to make a pillowcase
Video
Instructions
- Wash and dry your fabric or pillowcase.
- Print out photos in the size that you would like them for your pillow. You can make one large image, print out several images, or create a collage as I did. Print out the images on a dry toner printer or get laserjet copies made.

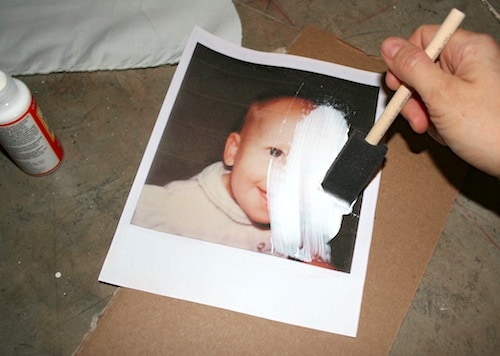
- Apply a medium layer of Mod Podge Photo Transfer Medium to the front of the image that you would like to transfer. Apply enough so that you cannot see the image.
- Quickly put the covered image face down onto the fabric or pillowcase and smooth. Wipe away any photo transfer medium that squeezes out the sides. Repeat for remaining photos. Let dry for at least 24 hours.
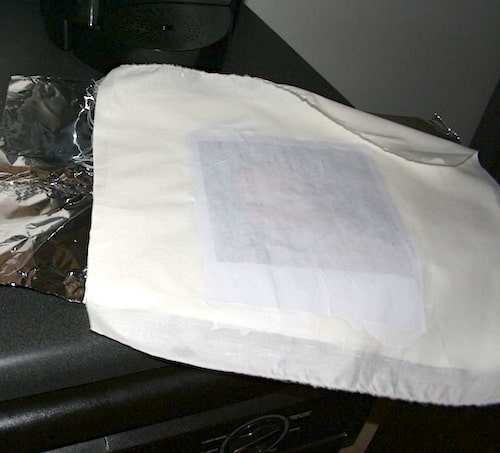
- Wet the paper slightly with water and rub the paper off of the photo transfer. Repeat until all of the paper is rubbed off of the transfer and then let dry.
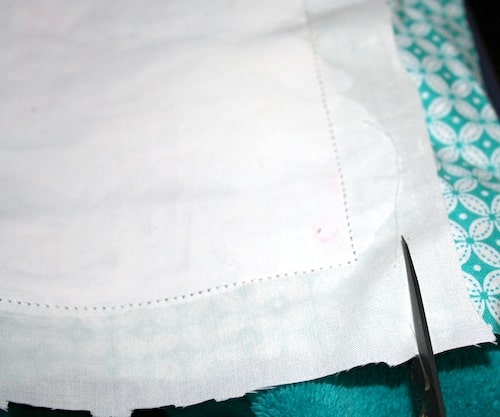
- If you need to sew the fabric into a pillowcase, do that at this time. Stuff your pillow with fiberfill or insert a pillow into the case to finish.