
Turn a plain frame into a 3D art surprise! This DIY busted canvas craft gives the illusion of a canvas bursting open to reveal a hidden image. Quick, creative, and perfect for gifts or display.

If you’re looking for a holiday craft that packs a serious wow factor without requiring a degree in fine art, you’re in the right place. This busted canvas project is one of those DIYs that looks like it came straight out of a boutique shop window, but is surprisingly simple to make at home.
The idea is to take a plain canvas and transform it into a 3D piece of art that looks like it’s been “busted open” to reveal a hidden scene inside. In this case, I decided to do a Christmas version. Inside my canvas is jolly old St. Nick!
Once you make one of these, you’re going to want to experiment. Trust me! While I went with a festive Santa design for the holidays, you could swap in just about any theme.

Think hearts for Valentine’s Day, bunnies for Easter, pumpkins for fall, or even a favorite character for a kid’s room. Once you’ve mastered the technique, the possibilities are endless.
What I love most is that this craft is budget-friendly and forgiving. You don’t need to be exact or precise for it to look amazing. The whole charm is in the “torn open” effect.
There are multiple ways to embellish the final project. You can add bows, florals, lights, mini ornaments, pinecones, or any thing you can find!

This is the kind of project that makes people stop and ask, “Wait, how did you make that?” So grab a canvas, gather your paper or embellishments, and let’s bust open some magic – canvas style!
Get the printable how to card below:

Busted Canvas Art
Equipment
- Craft knife heavy duty
- Paper cutter or scissors
Materials
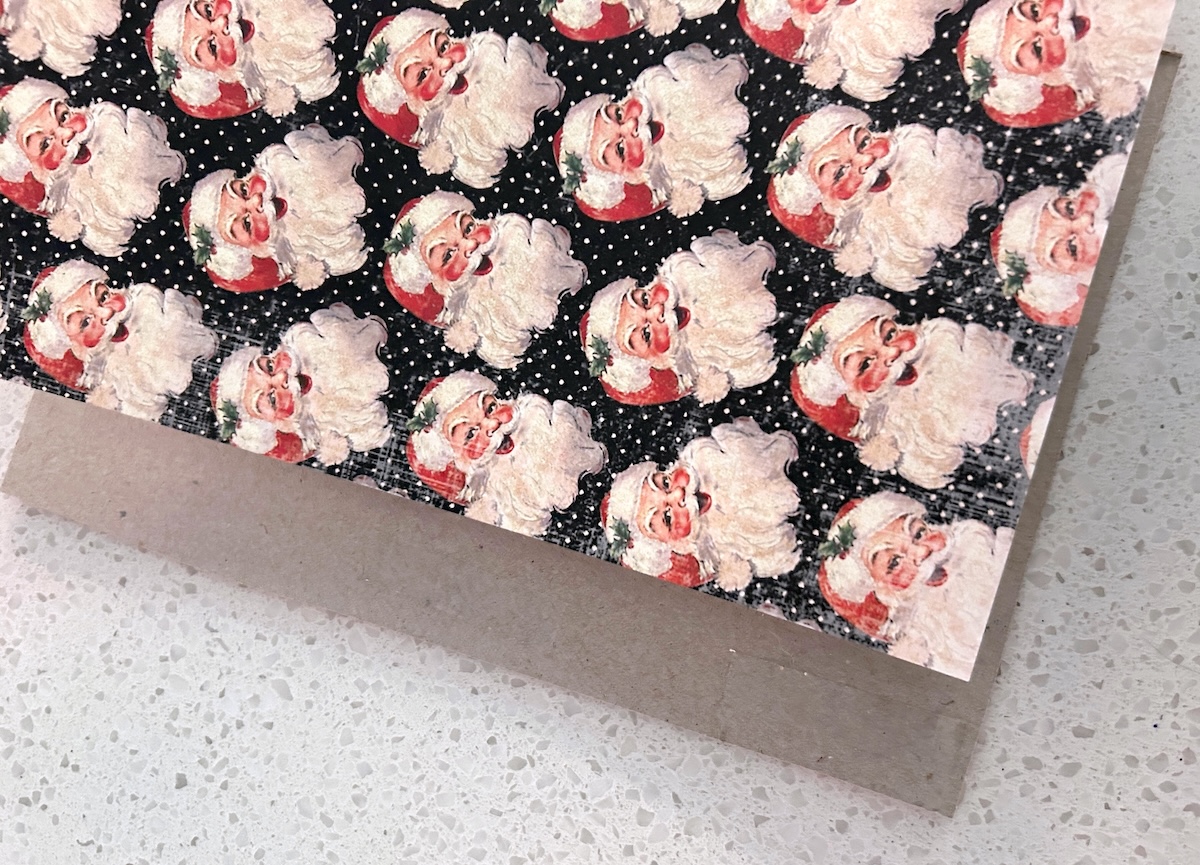
- 1 Canvas 9 x 12
- 3 pieces Scrapbook paper Christmas themed, different designs
- Mod Podge Gloss
- Craft paint coordinating color for canvas edges
- Cereal box or other cardboard you can use for the backer piece
- Craft glue or hot glue
Video
Instructions
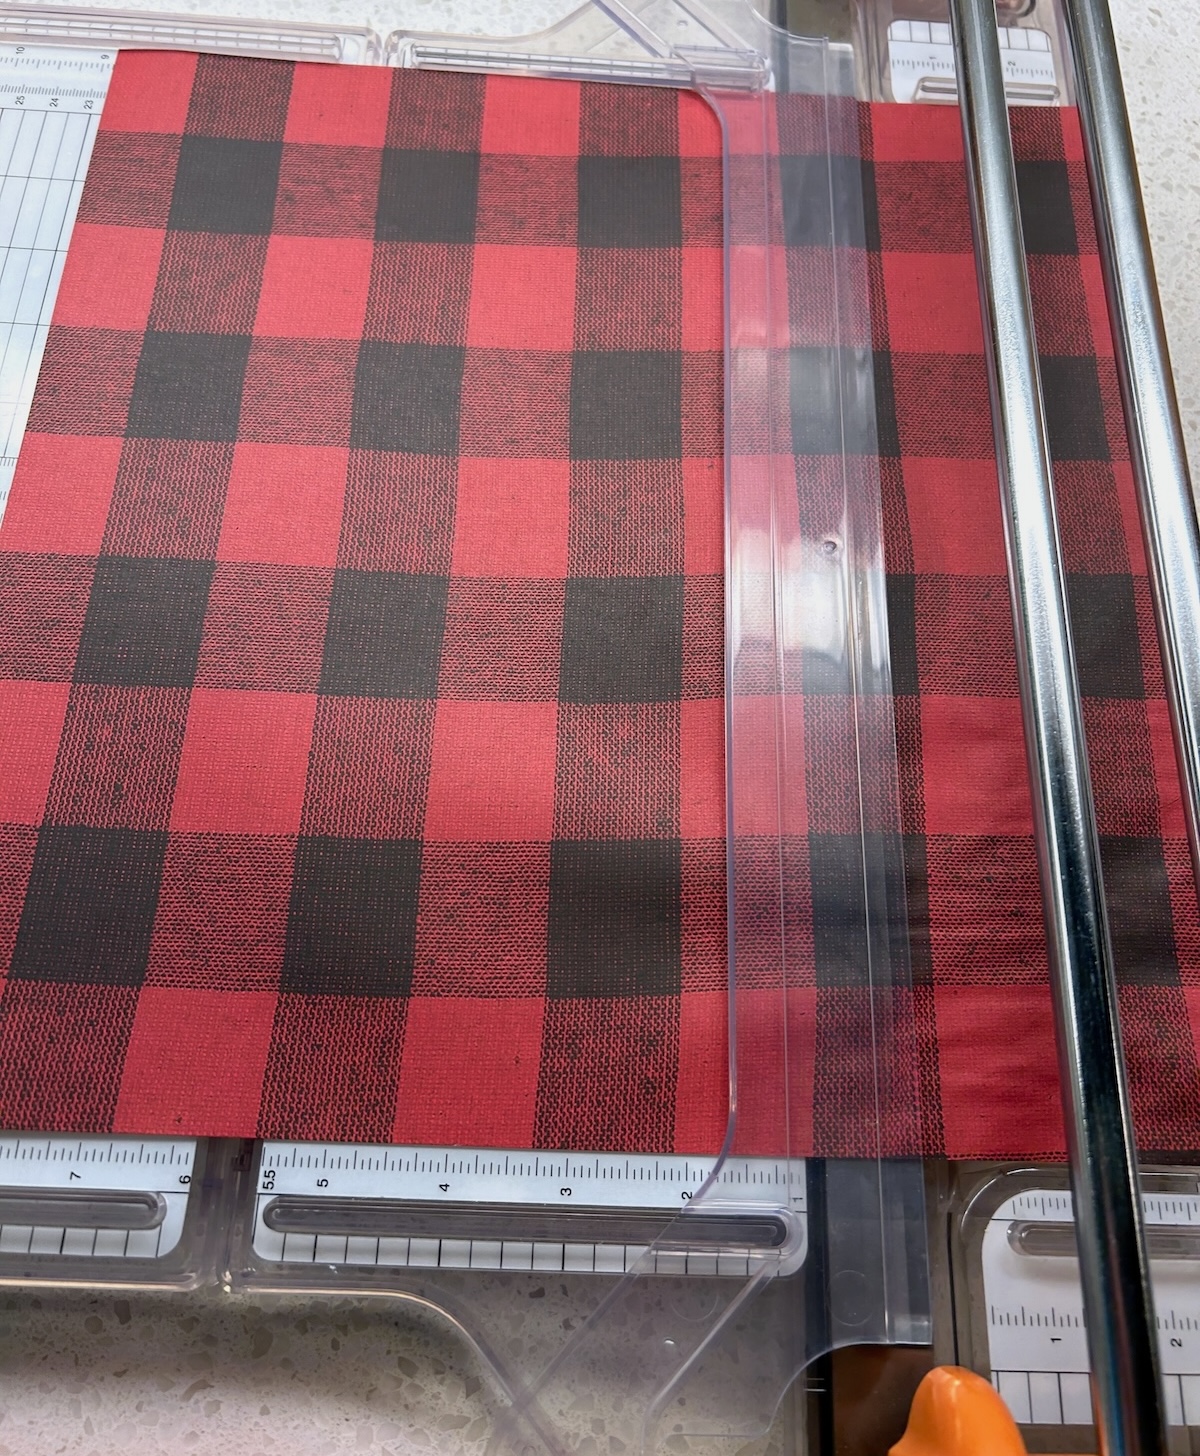
- Measure the inside of the back of the canvas. Trim the paper down to fit using a paper cutter or craft knife and ruler.
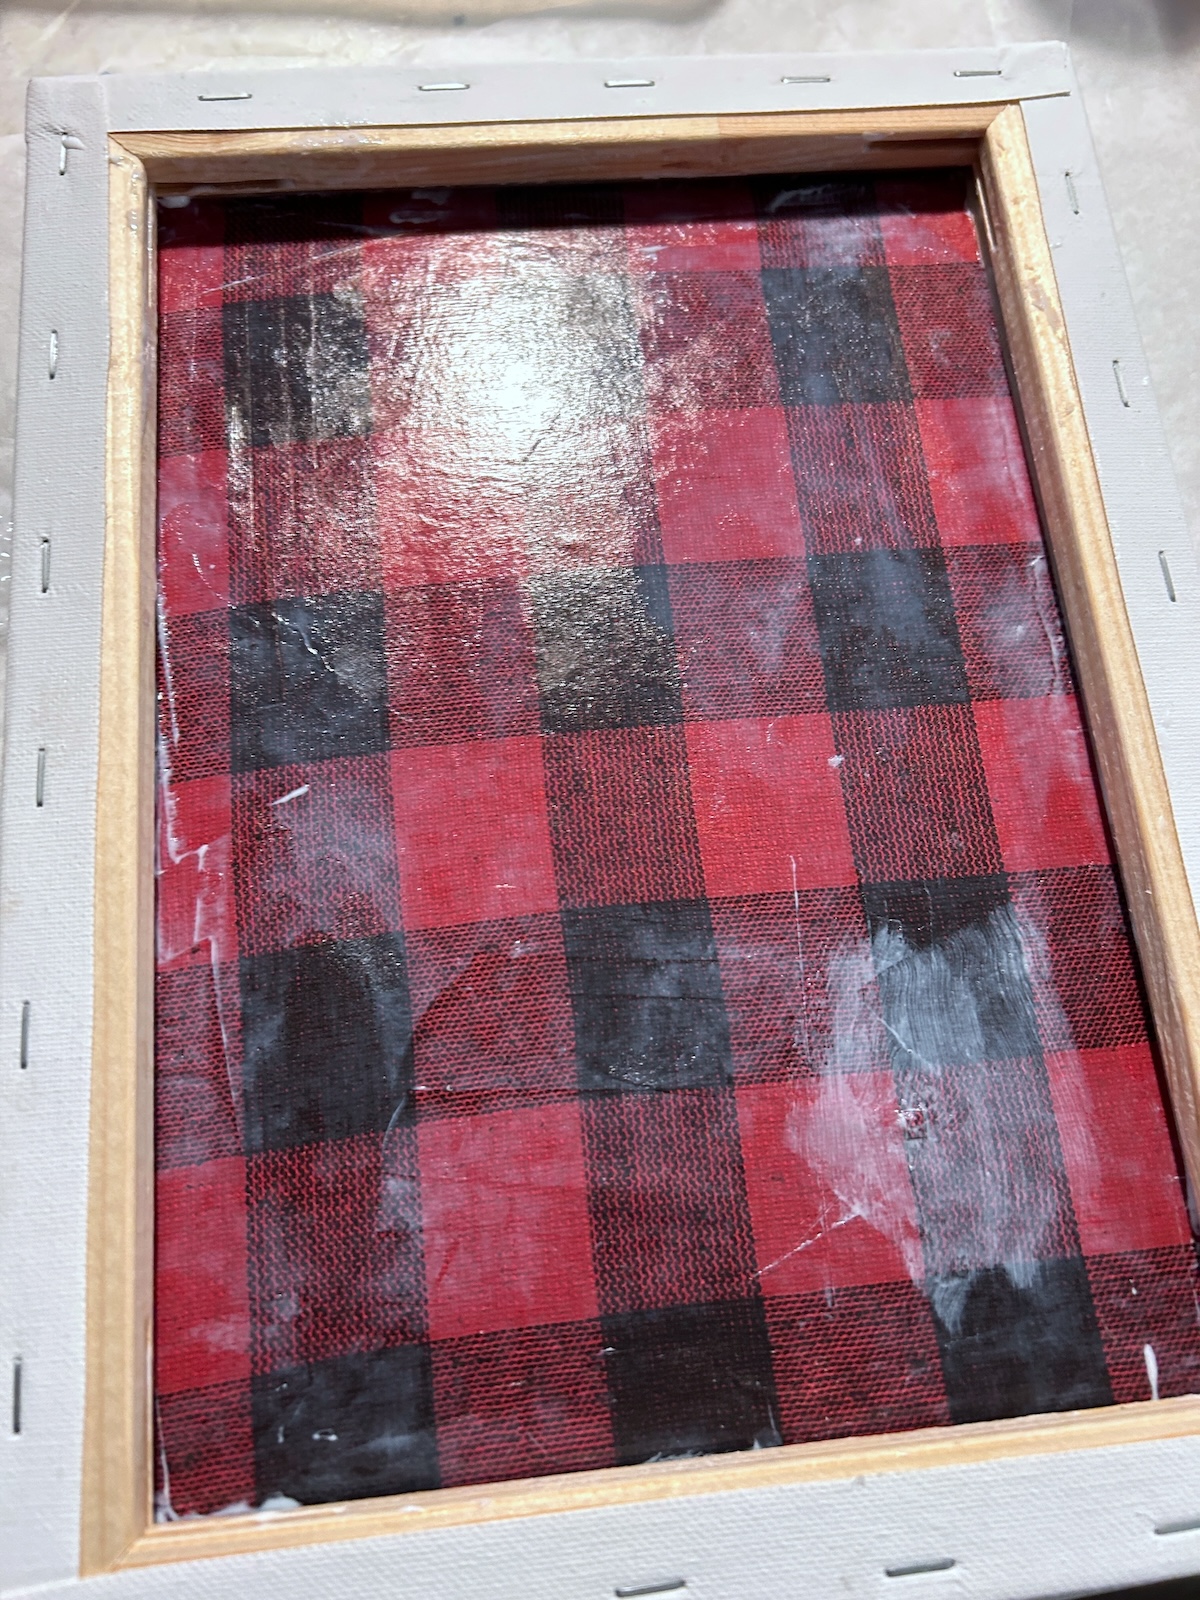
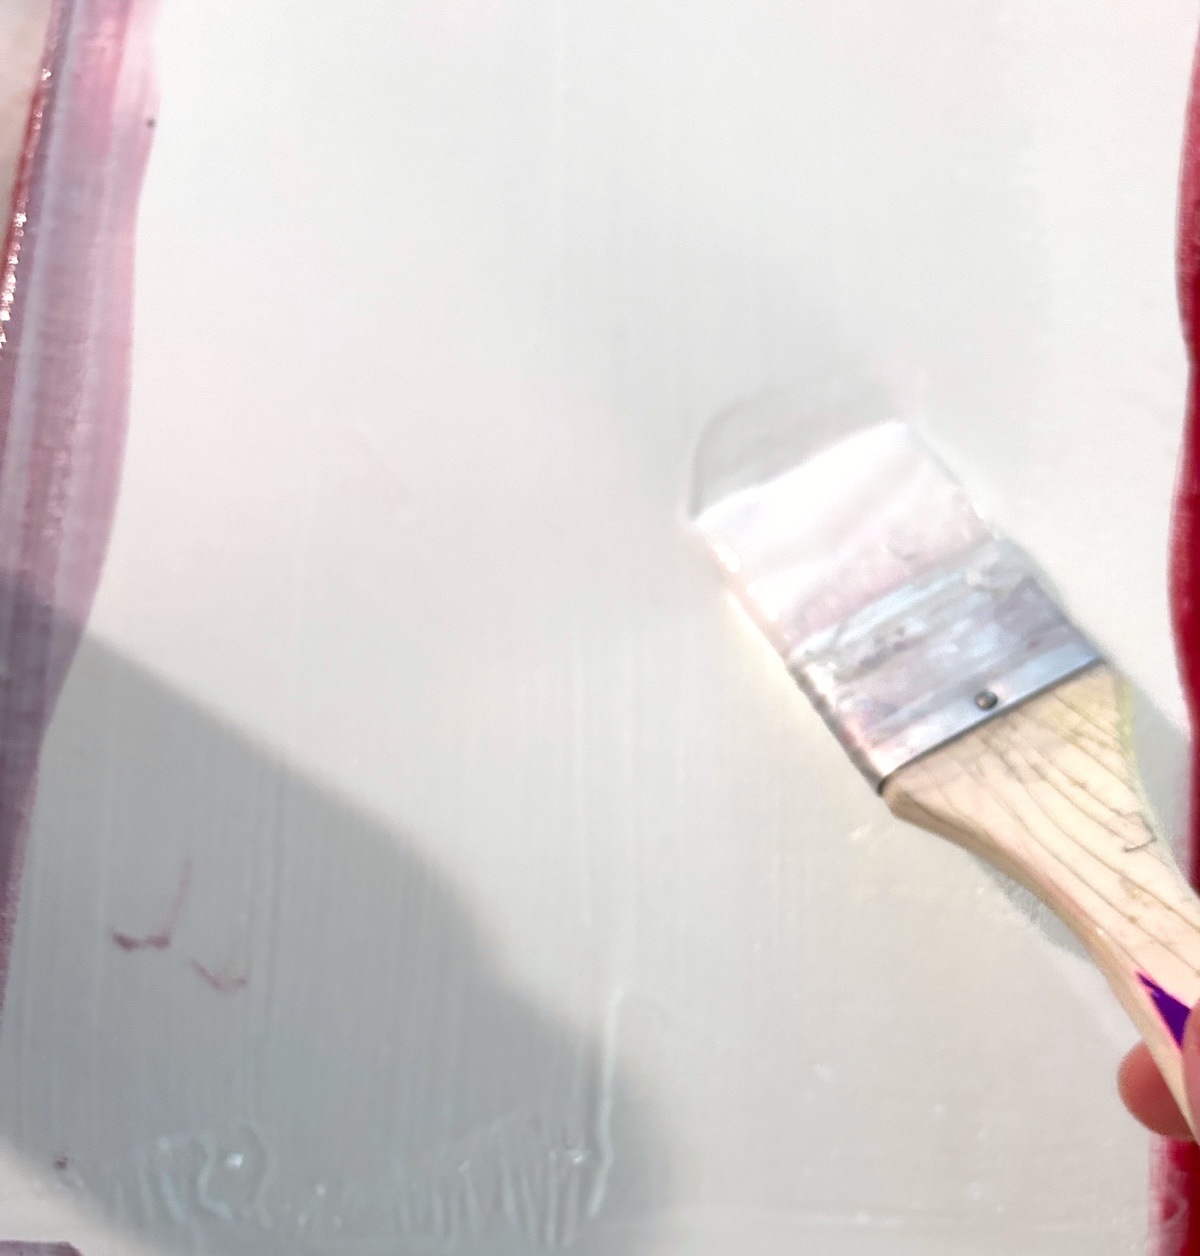
- Add a medium layer of Mod Podge onto the back of the canvas. Smooth the paper down onto the back with the pattern facing UP. Roll out with a brayer if needed. Let dry for 15 – 20 minutes.

- Place a layer of Mod Podge on top of the paper on the inside of the canvas. Let dry. This is going to be the paper you see busting out to the front.
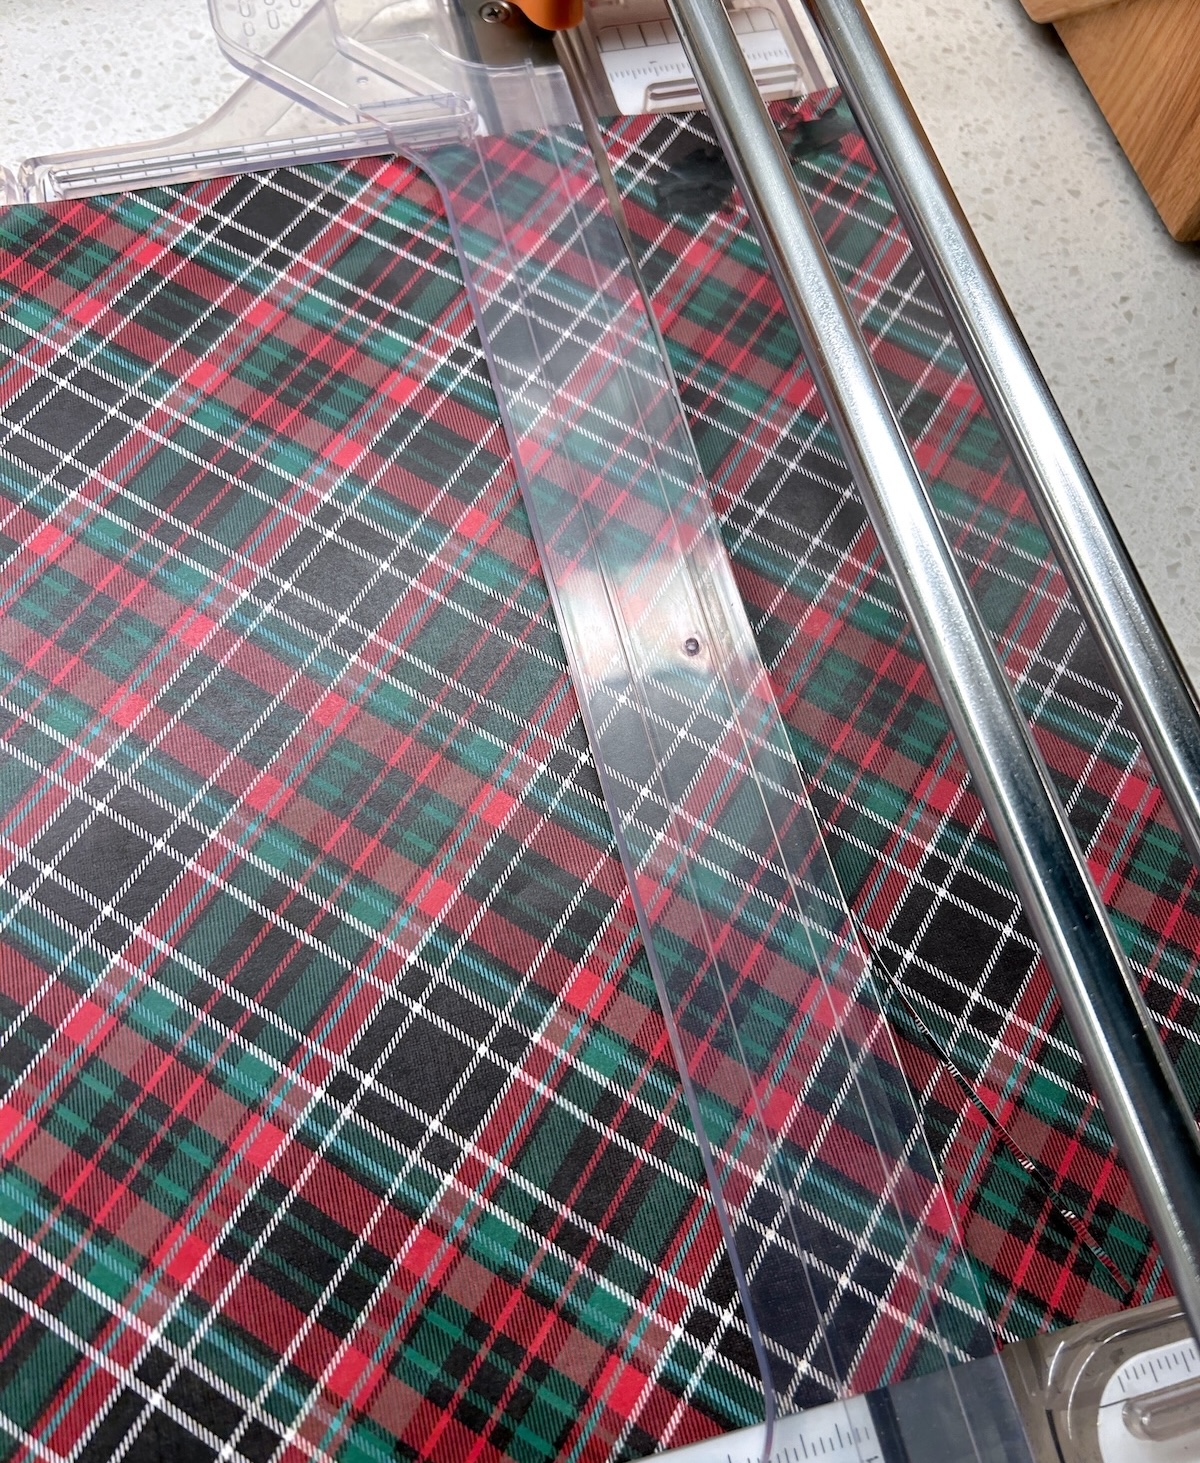
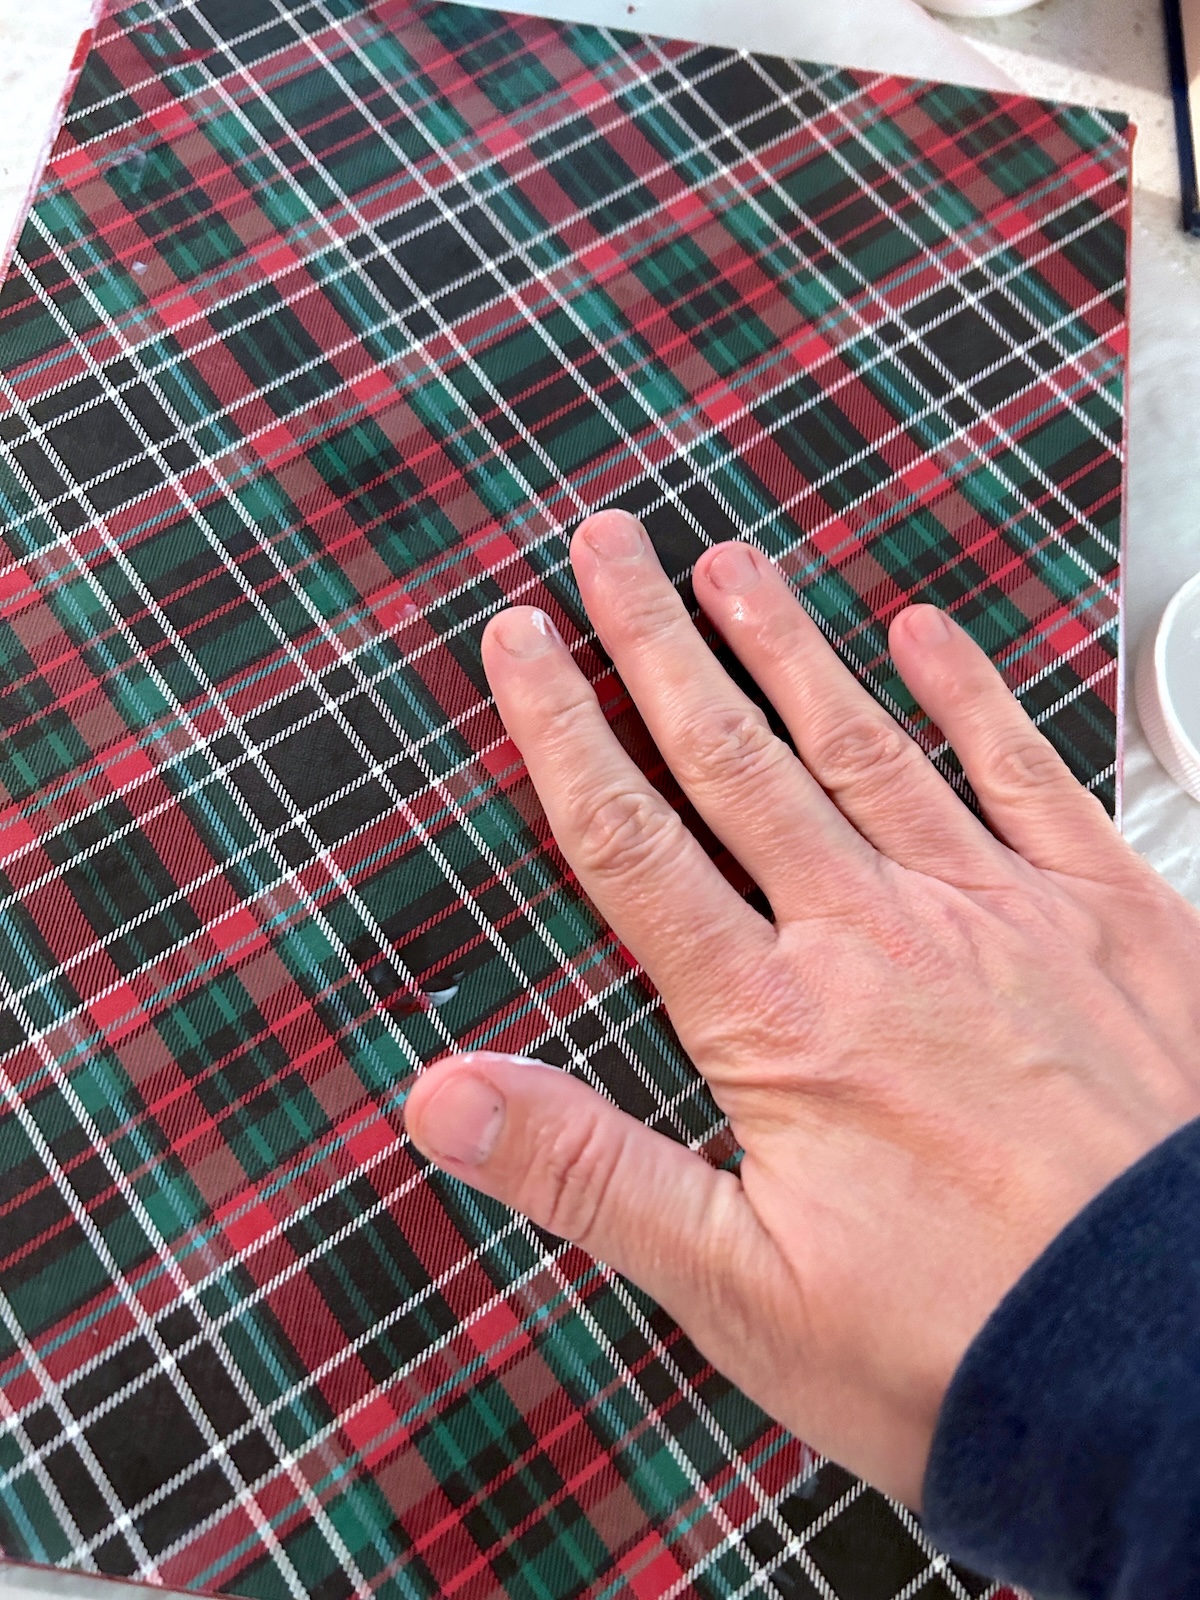
- Trim a second paper design down to fit the front of the canvas. Set aside.
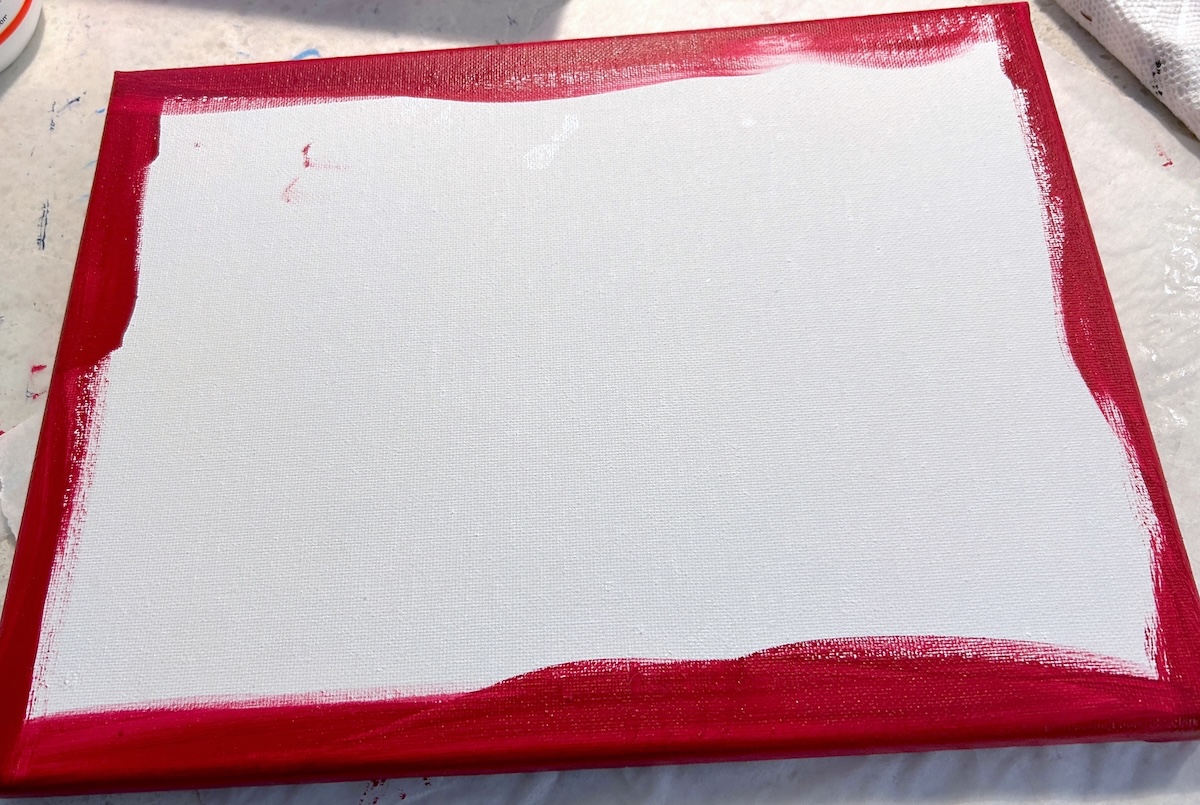
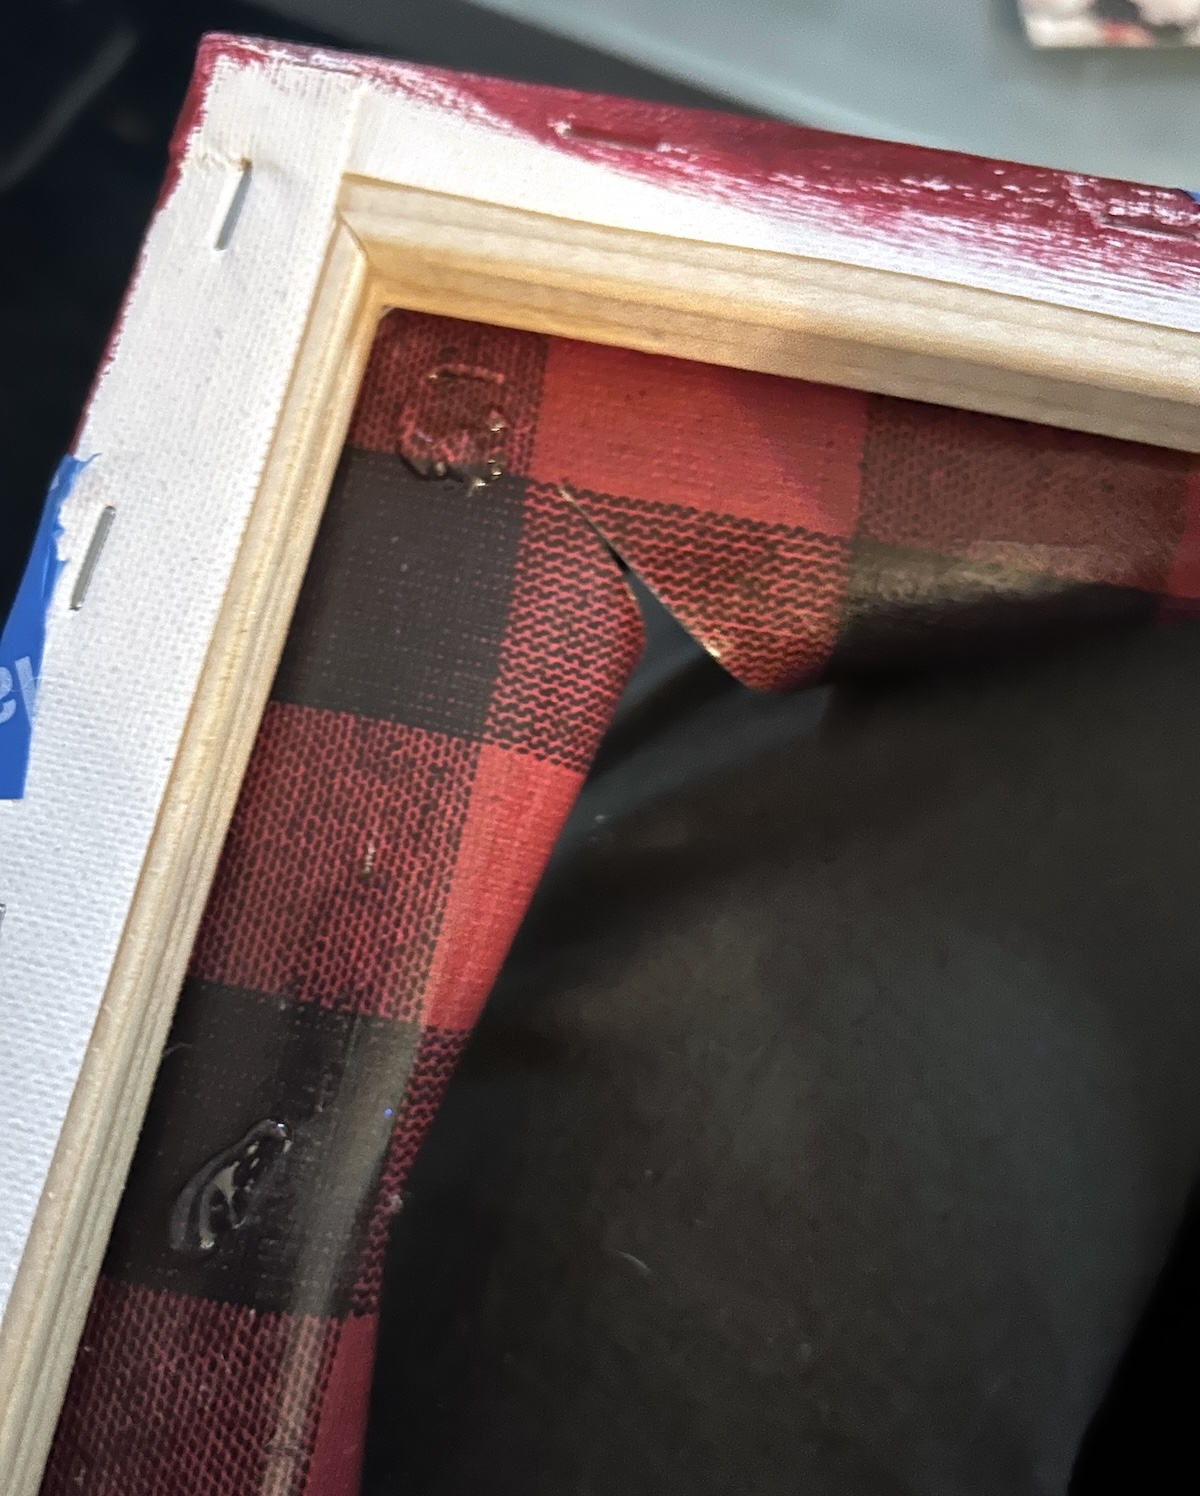
- Paint the edges of the canvas since they will be visible. Give two coats and let dry completely.
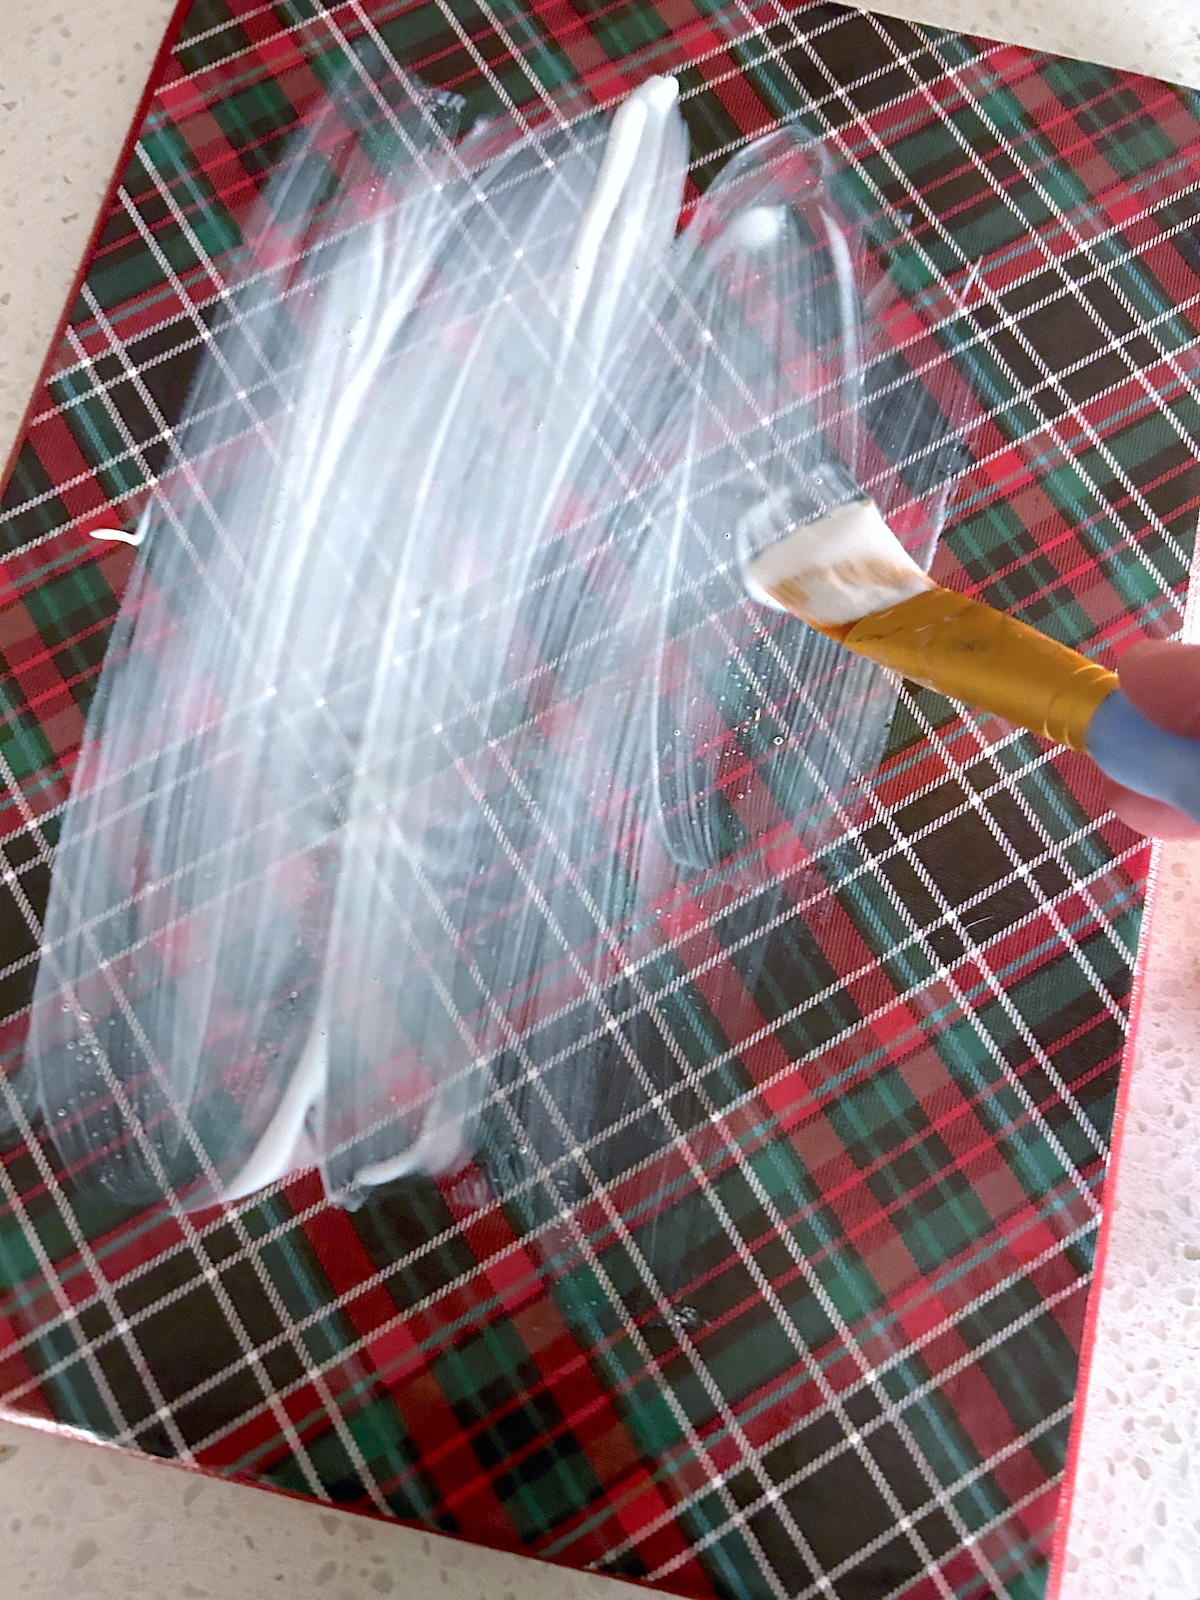
- Spread a medium layer of Mod Podge down on the canvas.
- Smooth the paper down onto the top of the canvas. Smooth until it's flat and let dry for 15 – 20 minutes.
- Add a top coat of Mod Podge on the top of the paper and let dry completely.
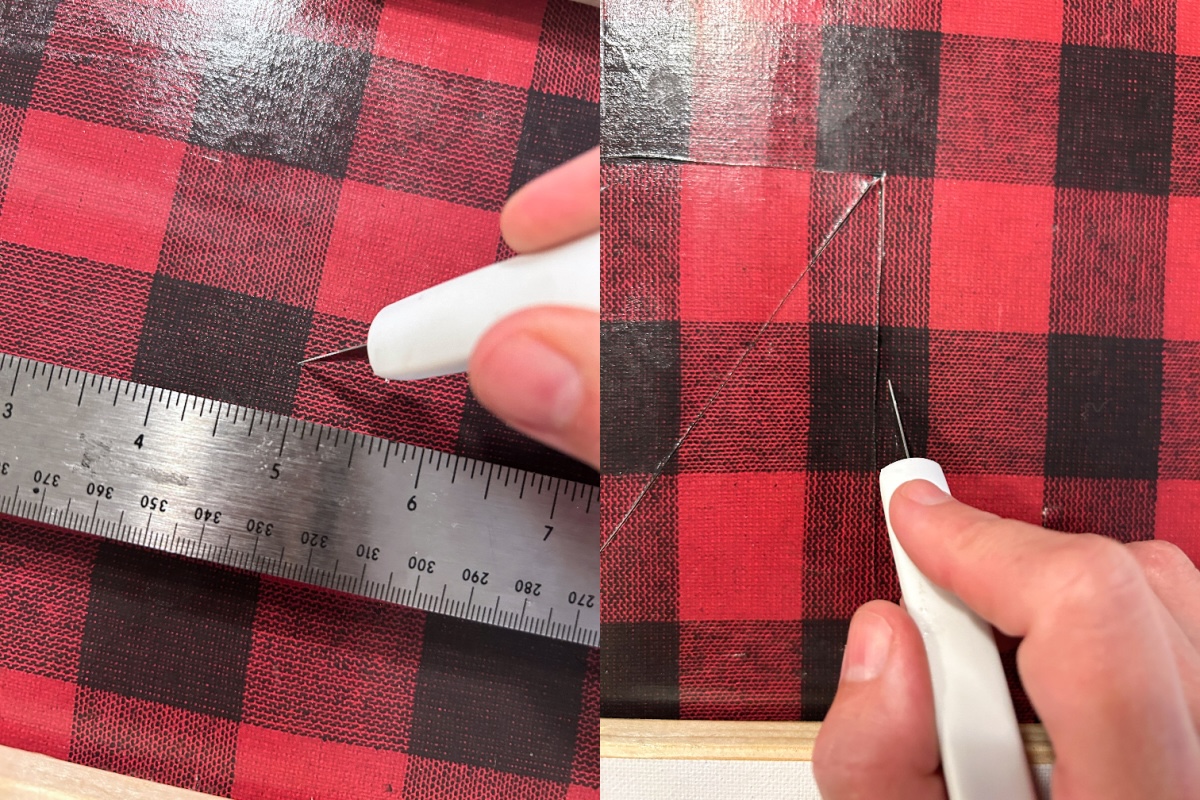
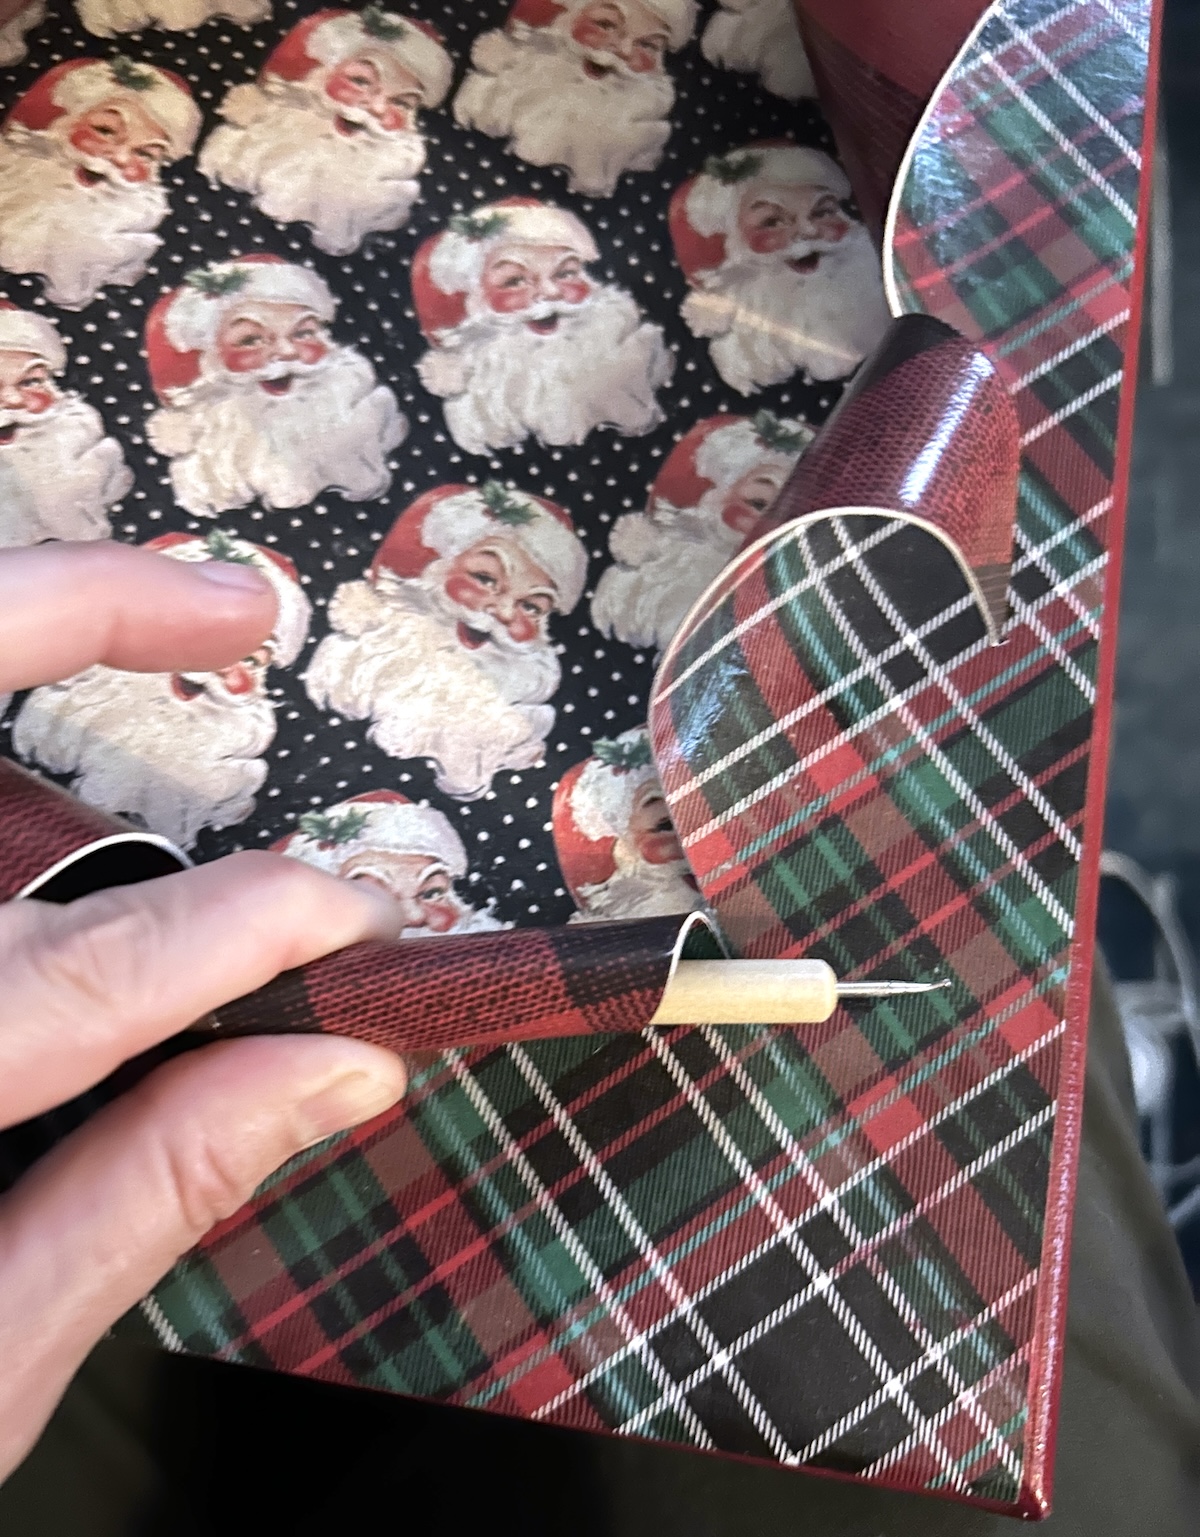
- Grab a heavy duty craft knife and your ruler. Find the center of the canvas and poke a hole with the craft knife in the center so you know where it is. You're going to cut from that center point to the top, bottom, and both sides. Then you're going to cut (almost) to all four corners.
- Now you can curl out the pieces of the canvas! Using a long object like a pencil, roll back the paper and canvas pieces as shown. Roll tightly and hold for about a minute. You'll see that with the thickness of the paper and canvas – it holds! Repeat curling back the entire canvas.
- Cut a piece of cardboard, cereal box, or other backer piece that you can glue inside the back of your canvas.
- Trim and attach the image you're going to use for the back (that "busts" through). I just attached with double stick tape but you can also use hot glue.
- Glue the backer into the canvas with the image facing down. Turn over and your image is peeking through the canvas. Let dry completely before hanging.
Notes
Did you enjoy this project? I’d love for you to check out these other canvas ideas too!
Button Canvas Art • Comic Wall Art • Decoupage Napkins on Canvas • DIY Love Canvas • DIY Quote Art • Doily Wall Art • Fabric Canvas Art • Image to Canvas • Magazine Collage • Map Canvas Art • Mount Pictures on Canvas • Paint Chip Art • Photo Booth Canvas • Photo Transfer • Plastic Animal Canvases • Poster on Canvas


Thank you for sharing this project!