
Busted Canvas Art
Learn how to make 3D canvas art that looks busted through - with Mod Podge!
Yield: 1 canvas
Cost: $10
Equipment
- Craft knife heavy duty
- Paper cutter or scissors
Materials
- 1 Canvas 9 x 12
- 3 pieces Scrapbook paper Christmas themed, different designs
- Mod Podge Gloss
- Craft paint coordinating color for canvas edges
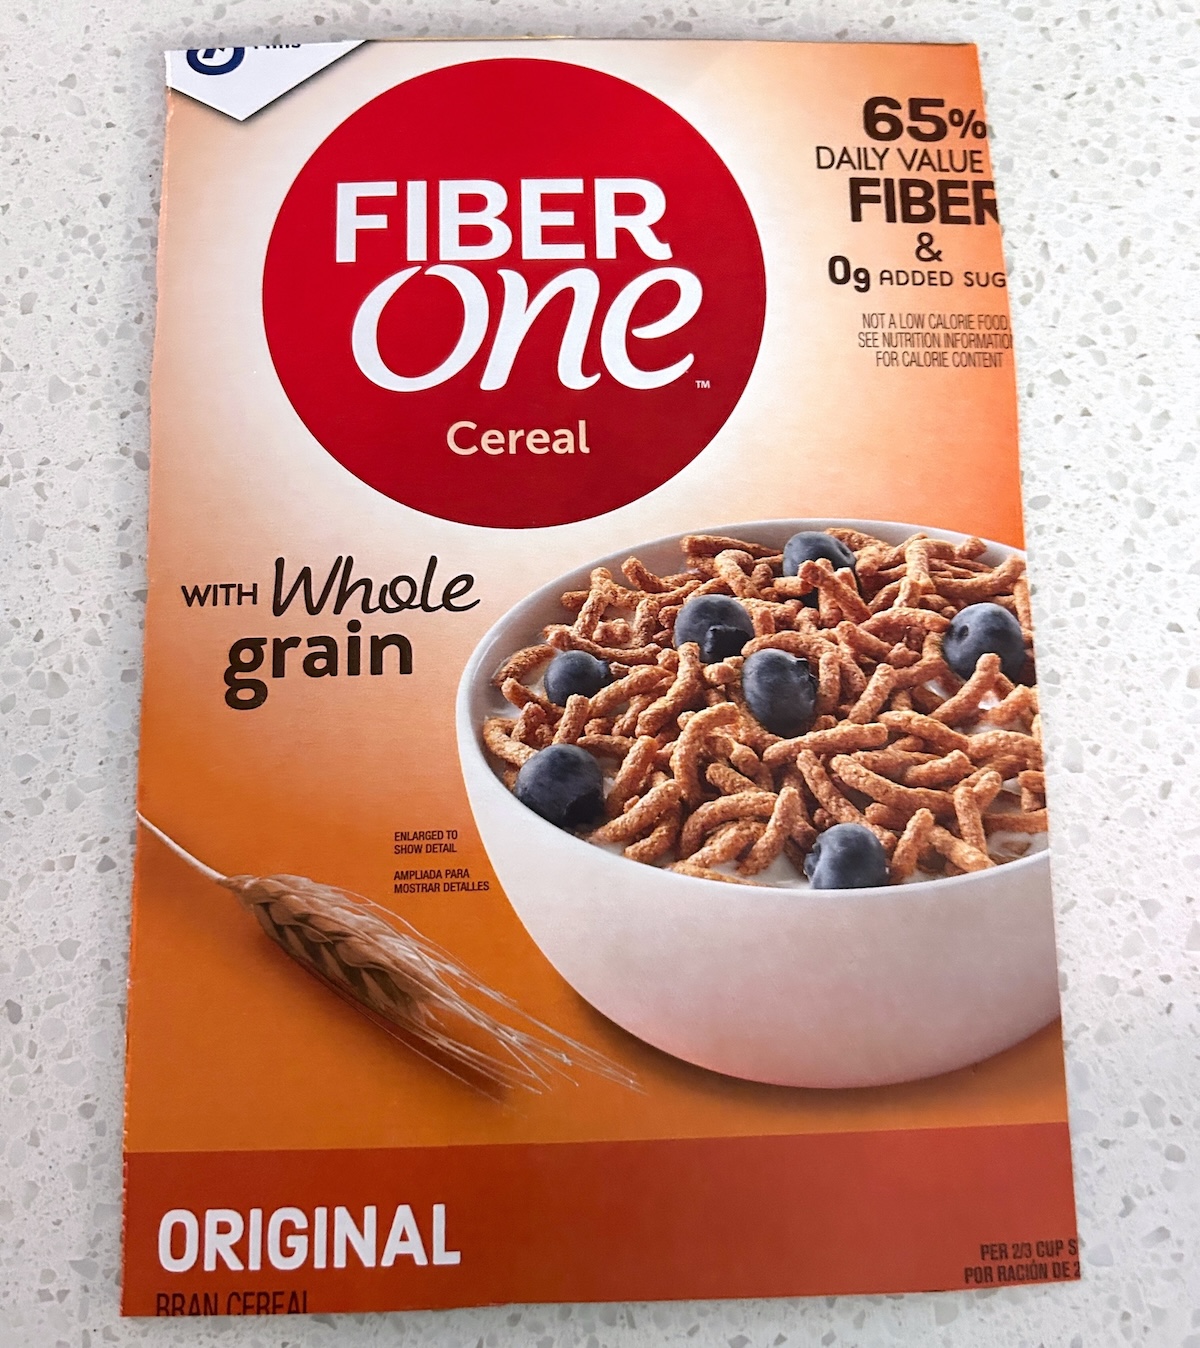
- Cereal box or other cardboard you can use for the backer piece
- Craft glue or hot glue
Video
Instructions
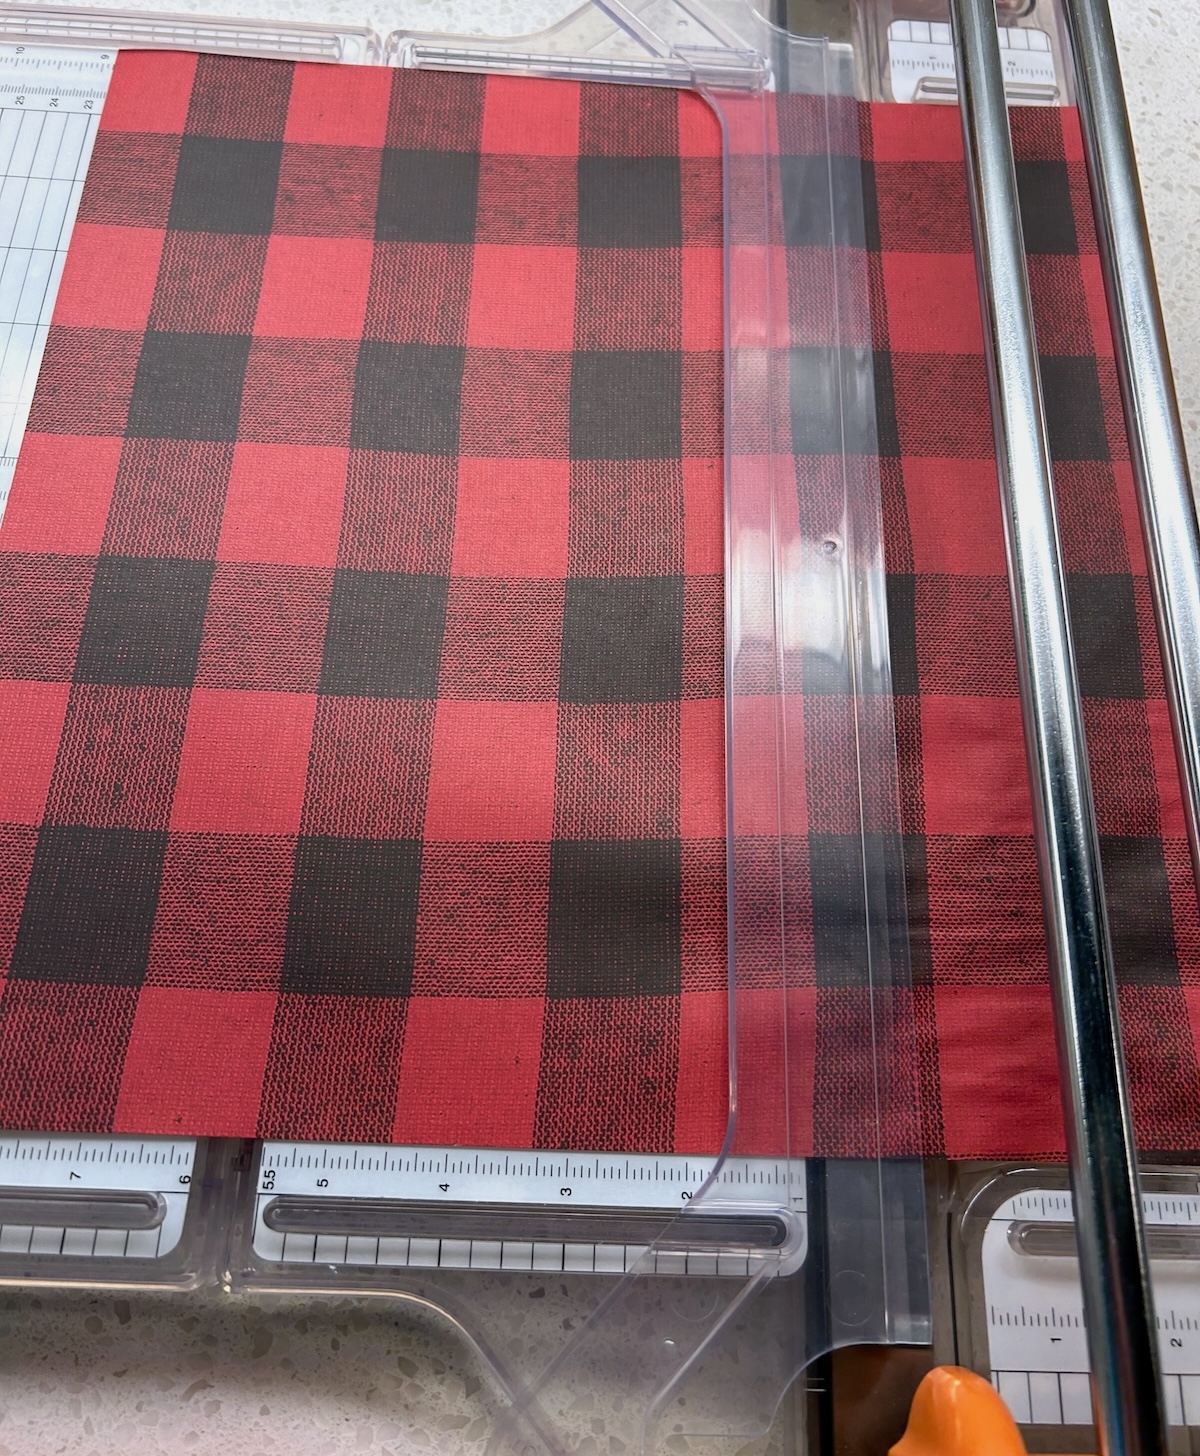
- Measure the inside of the back of the canvas. Trim the paper down to fit using a paper cutter or craft knife and ruler.
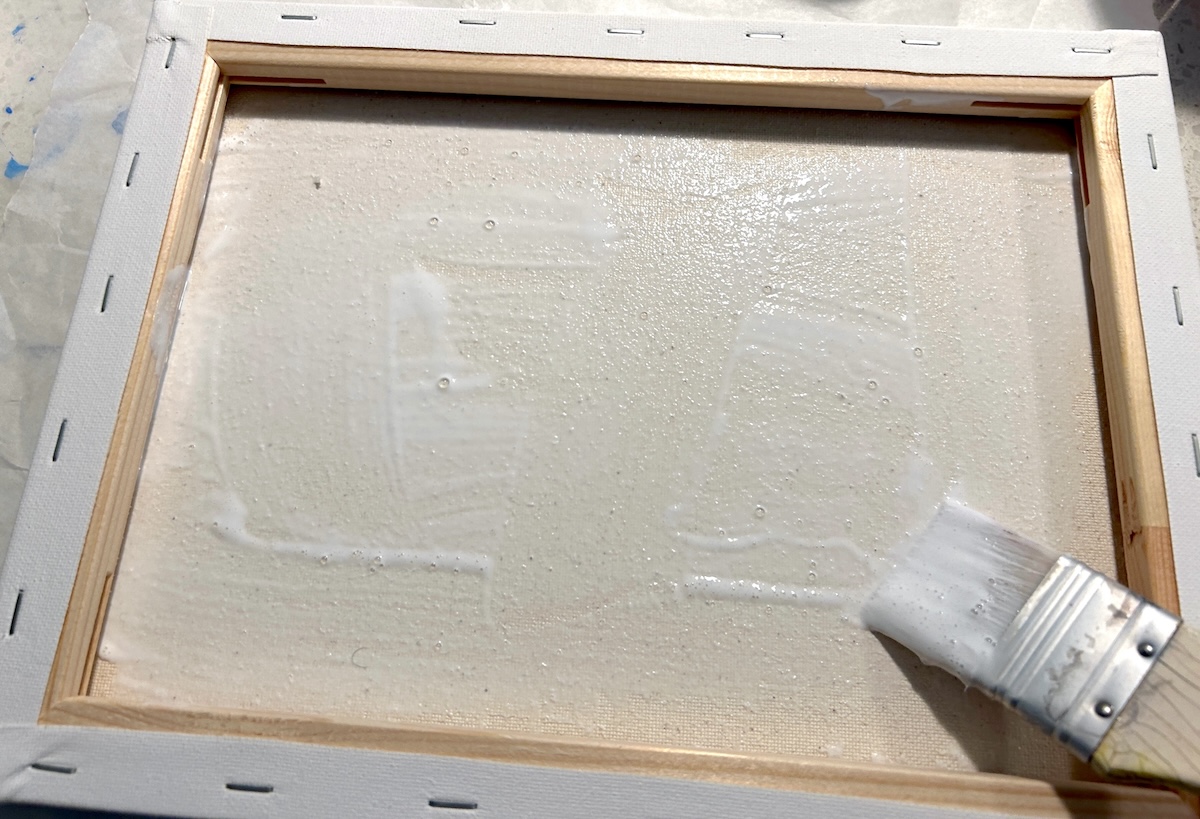
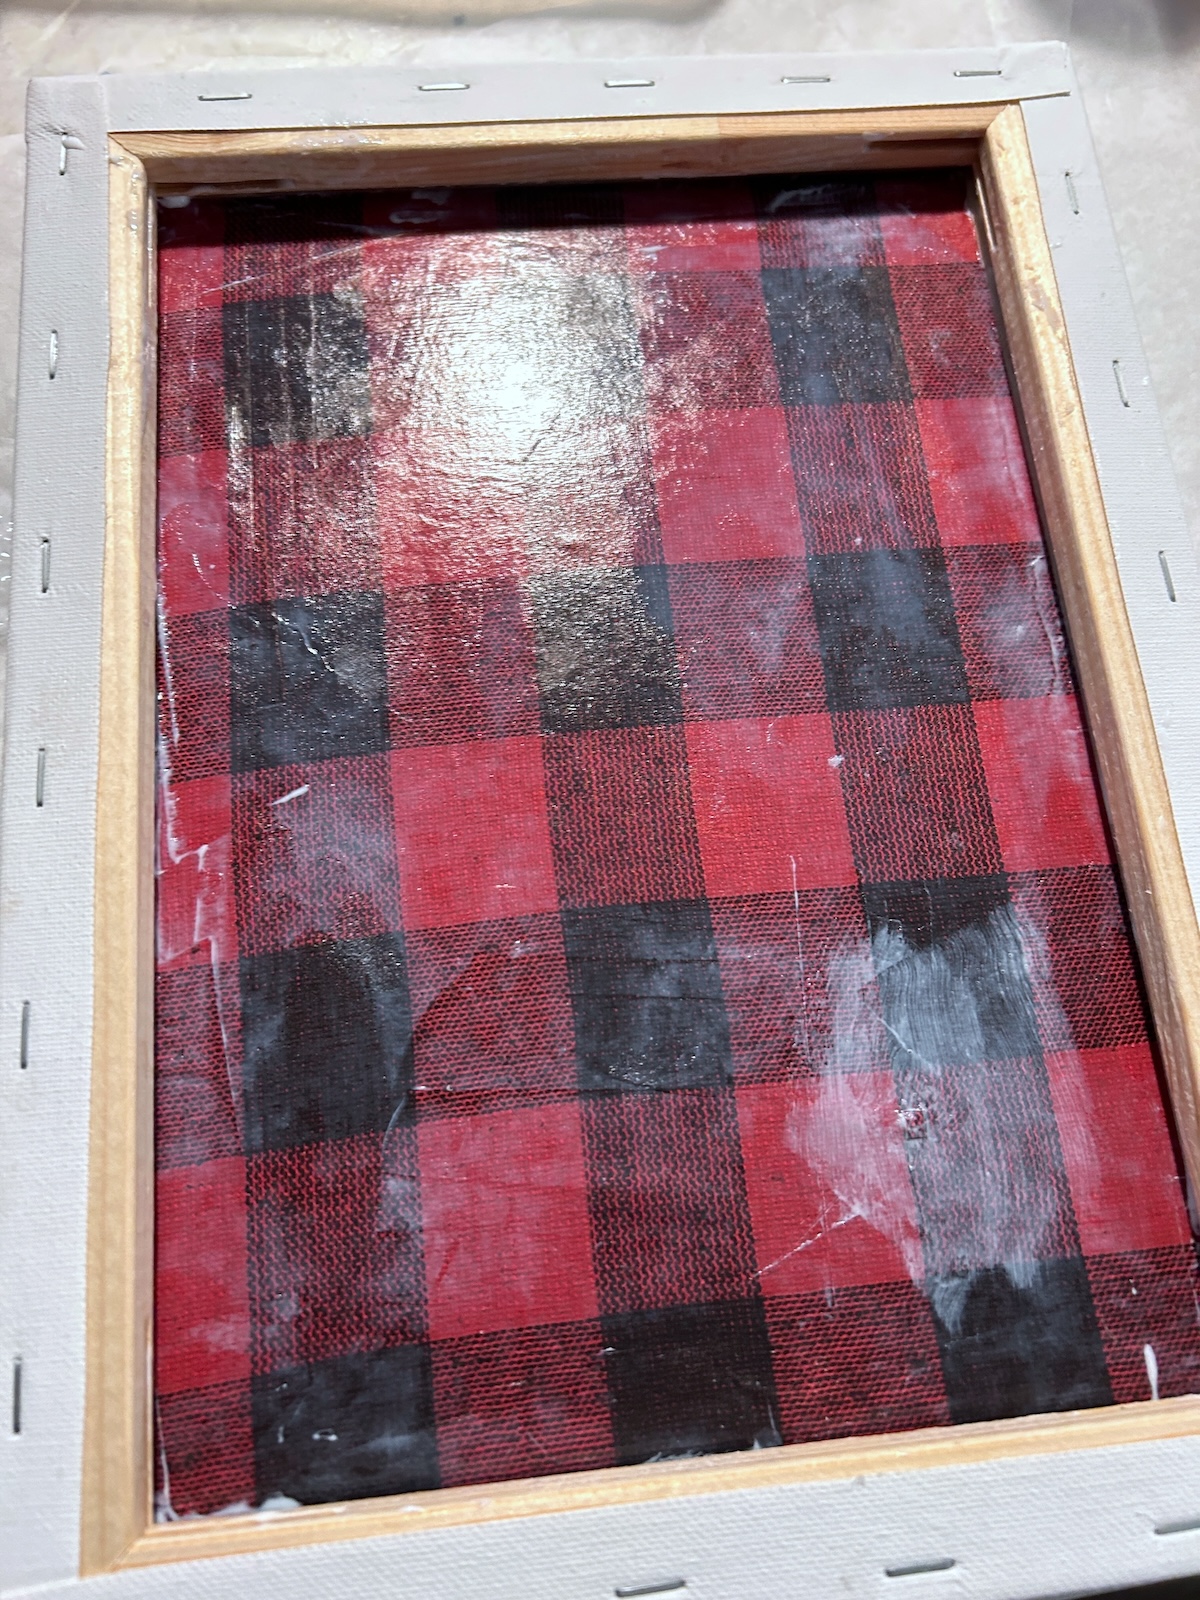
- Add a medium layer of Mod Podge onto the back of the canvas. Smooth the paper down onto the back with the pattern facing UP. Roll out with a brayer if needed. Let dry for 15 - 20 minutes.
- Place a layer of Mod Podge on top of the paper on the inside of the canvas. Let dry. This is going to be the paper you see busting out to the front.
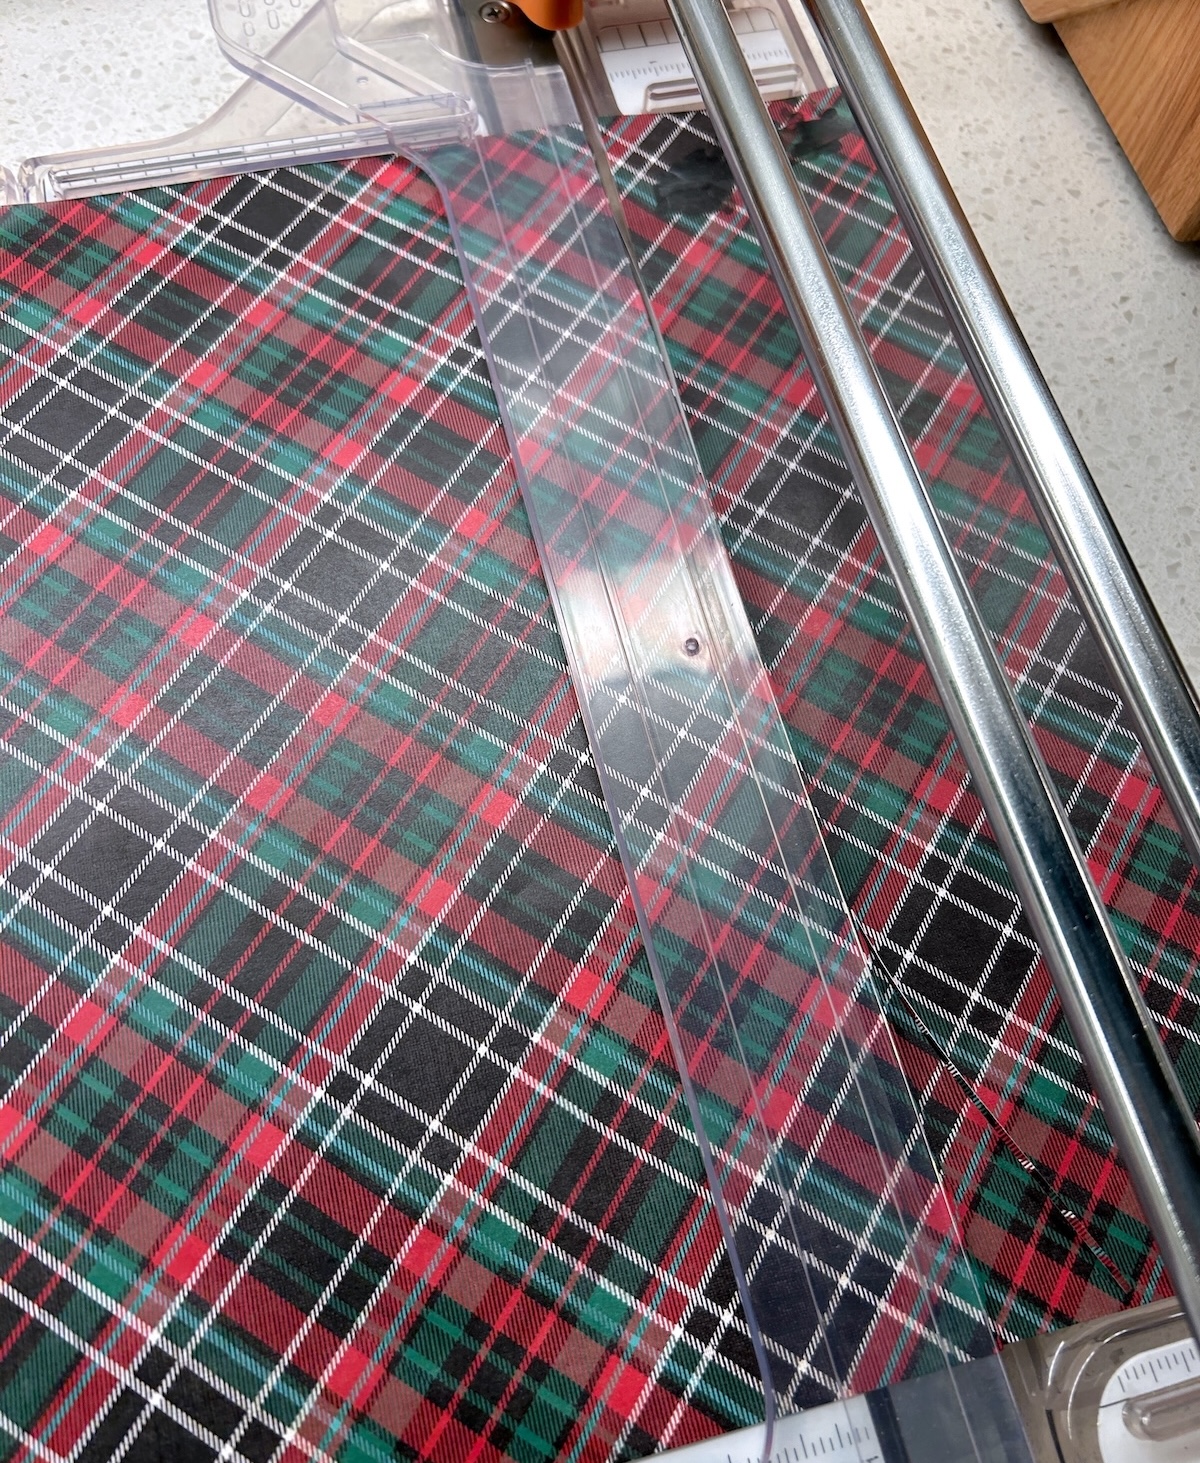
- Trim a second paper design down to fit the front of the canvas. Set aside.
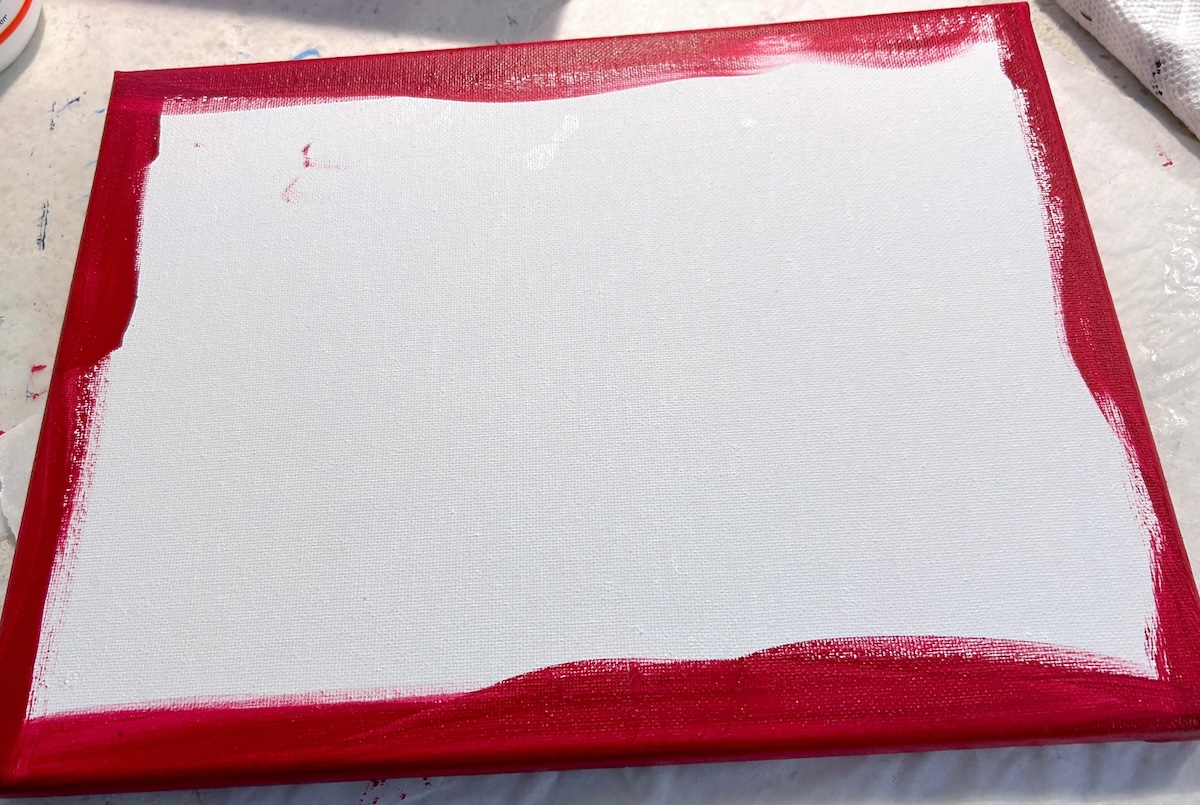
- Paint the edges of the canvas since they will be visible. Give two coats and let dry completely.
- Spread a medium layer of Mod Podge down on the canvas.

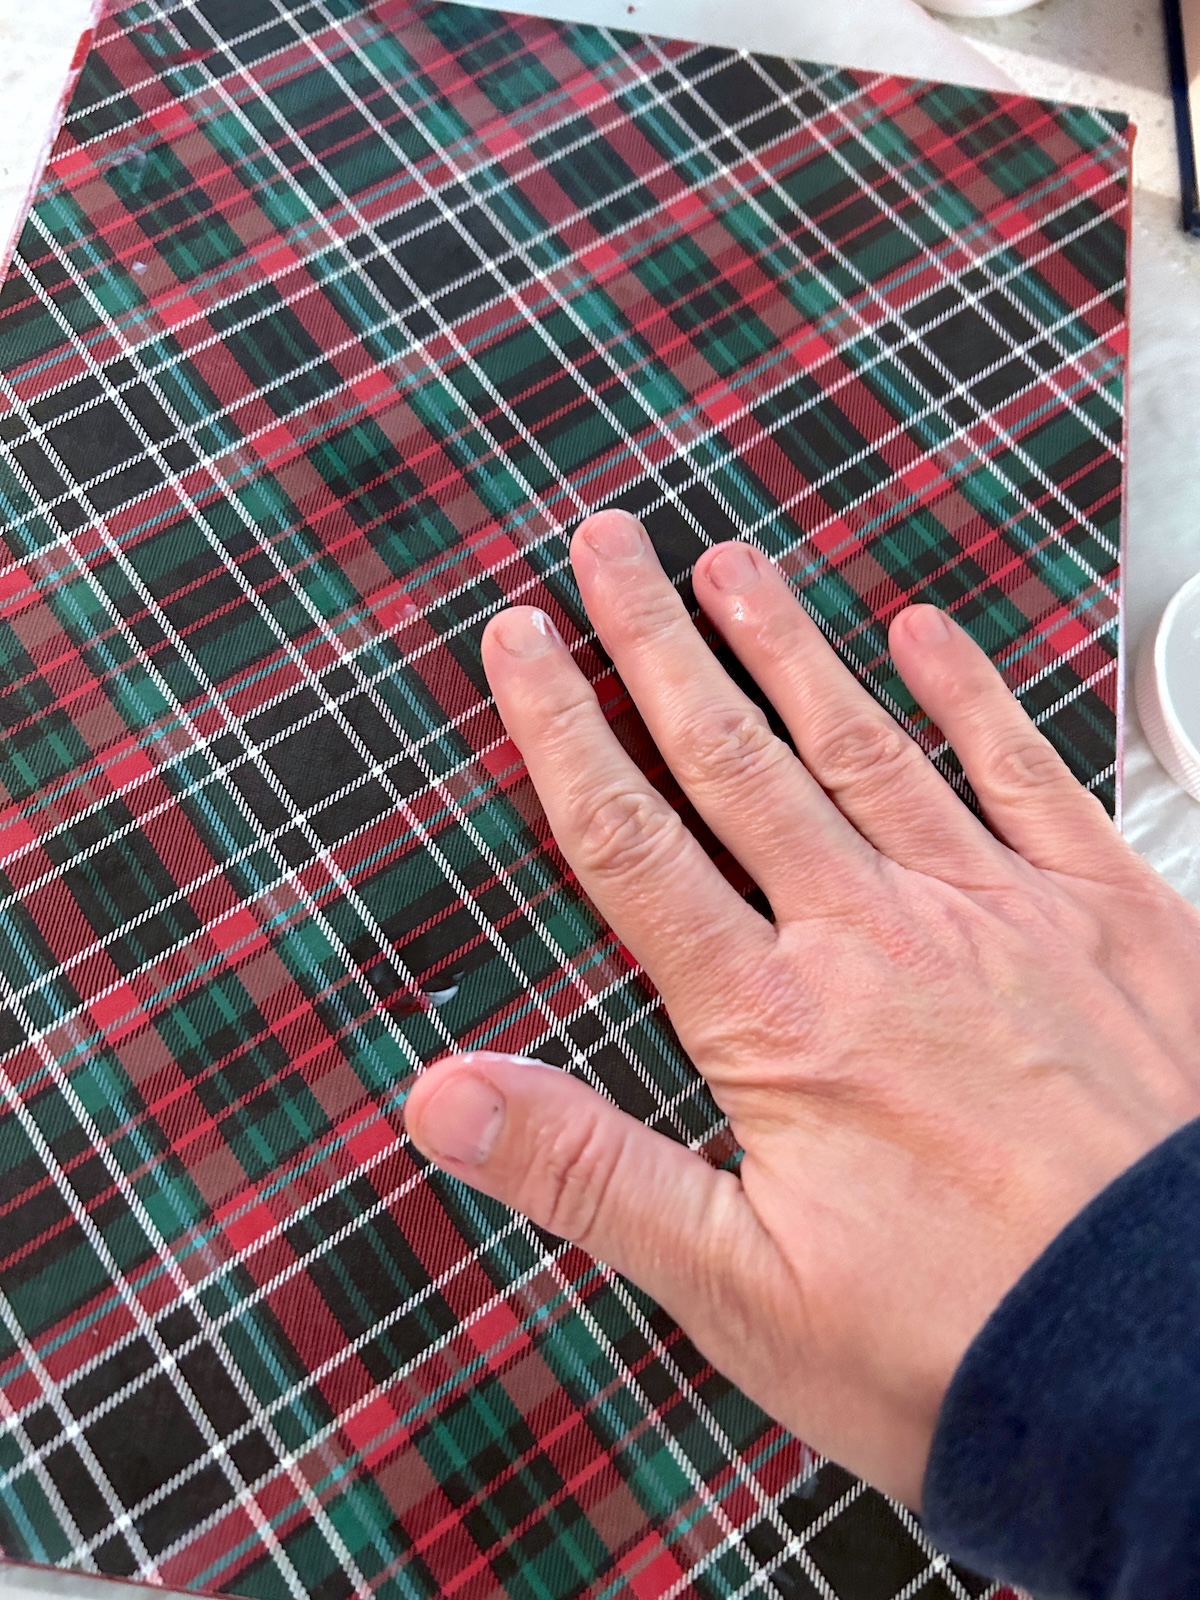
- Smooth the paper down onto the top of the canvas. Smooth until it's flat and let dry for 15 - 20 minutes.
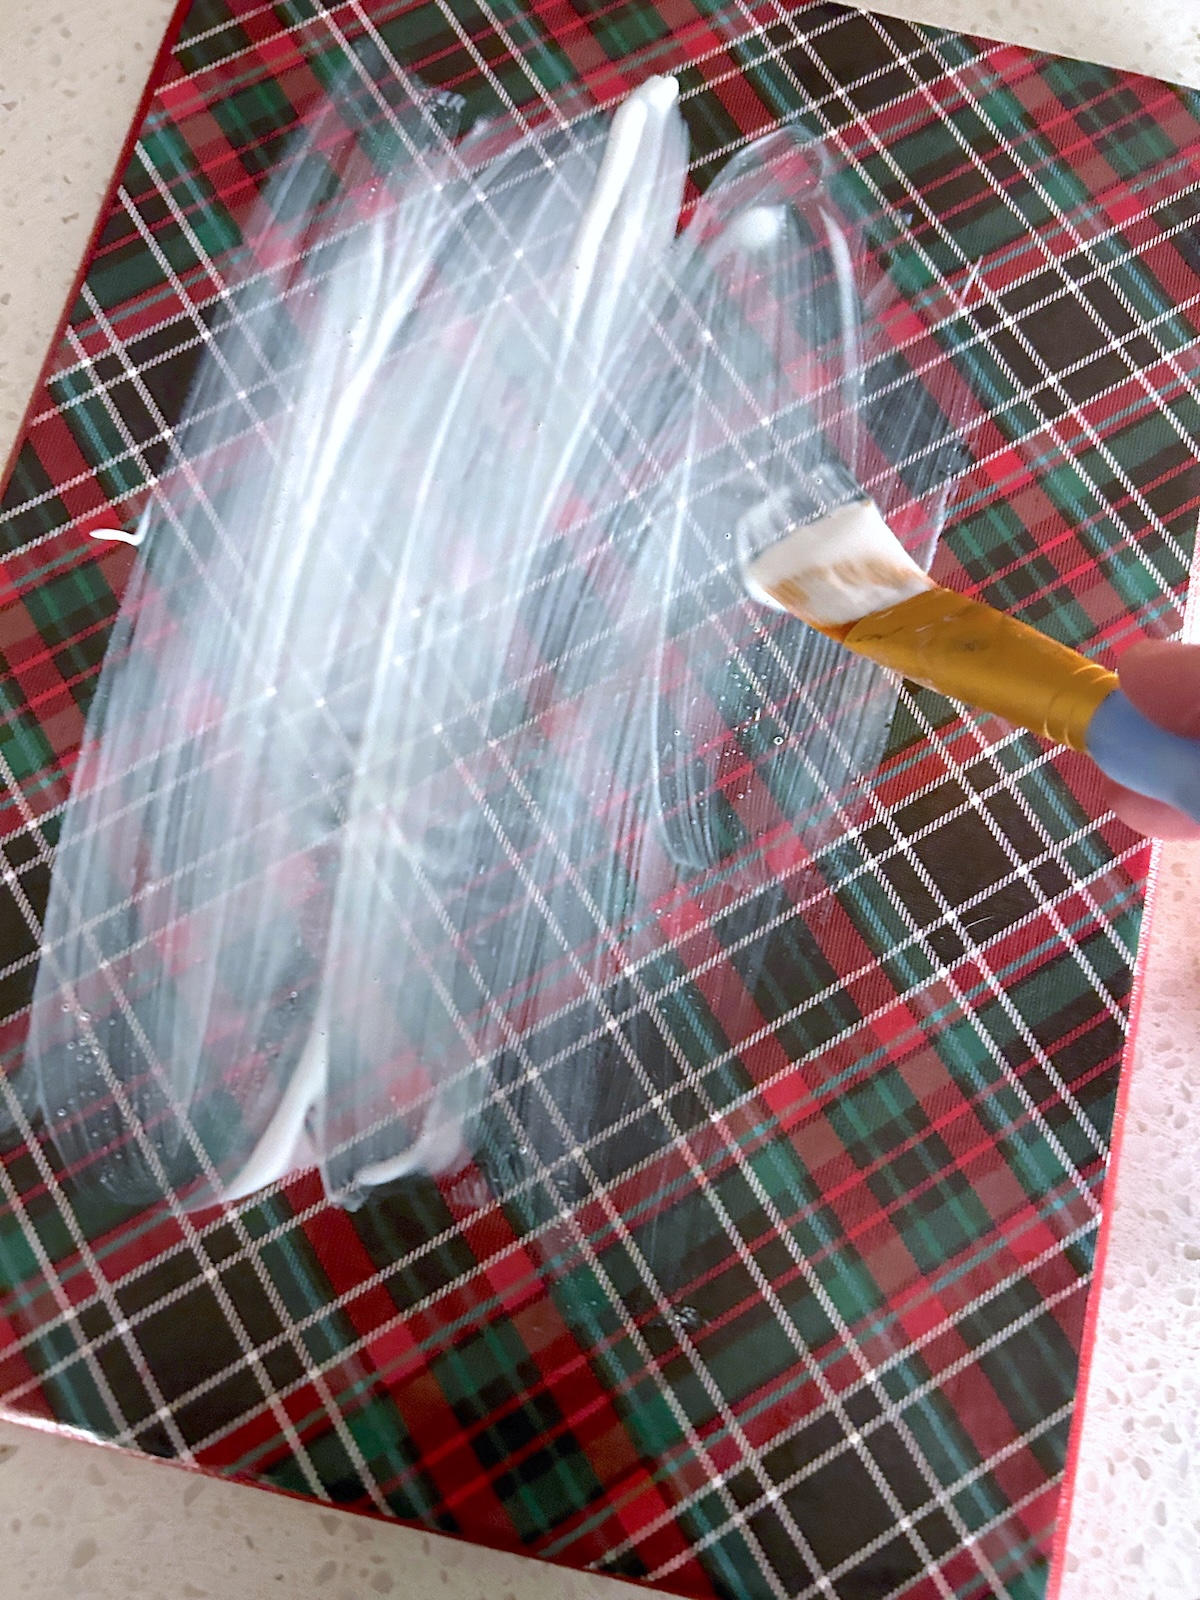
- Add a top coat of Mod Podge on the top of the paper and let dry completely.
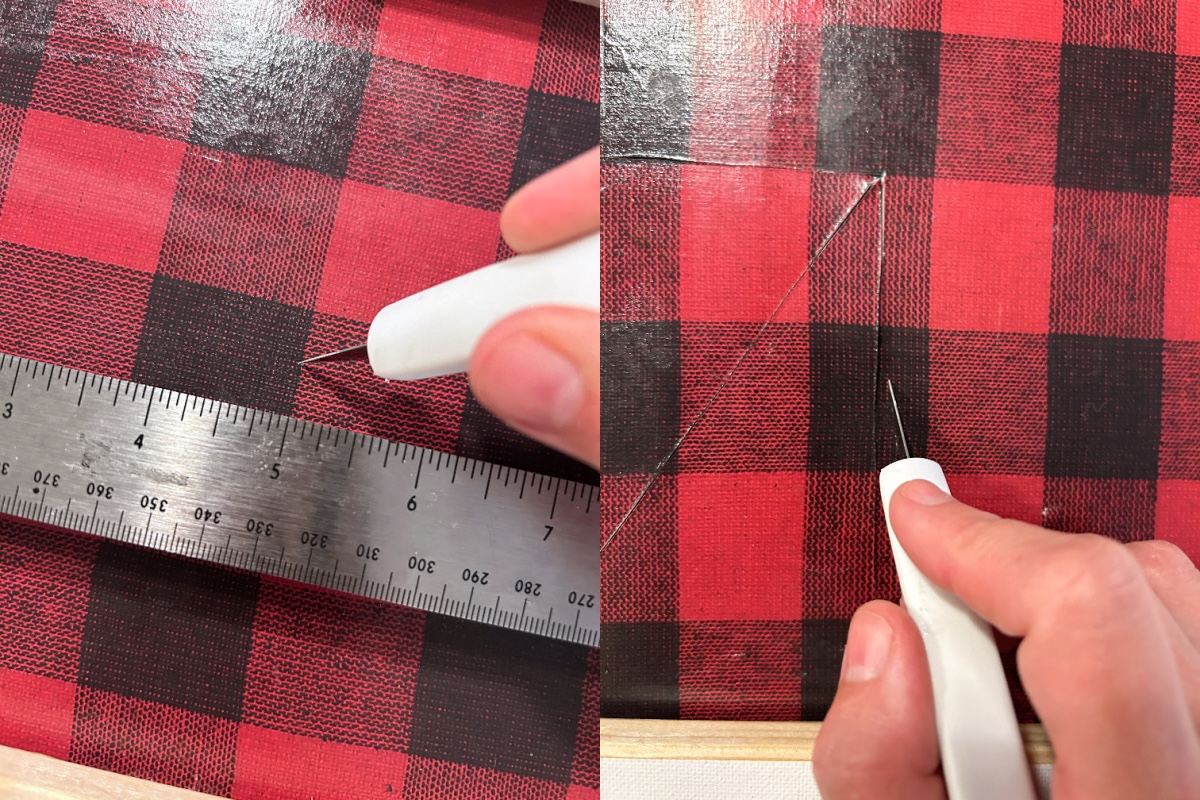
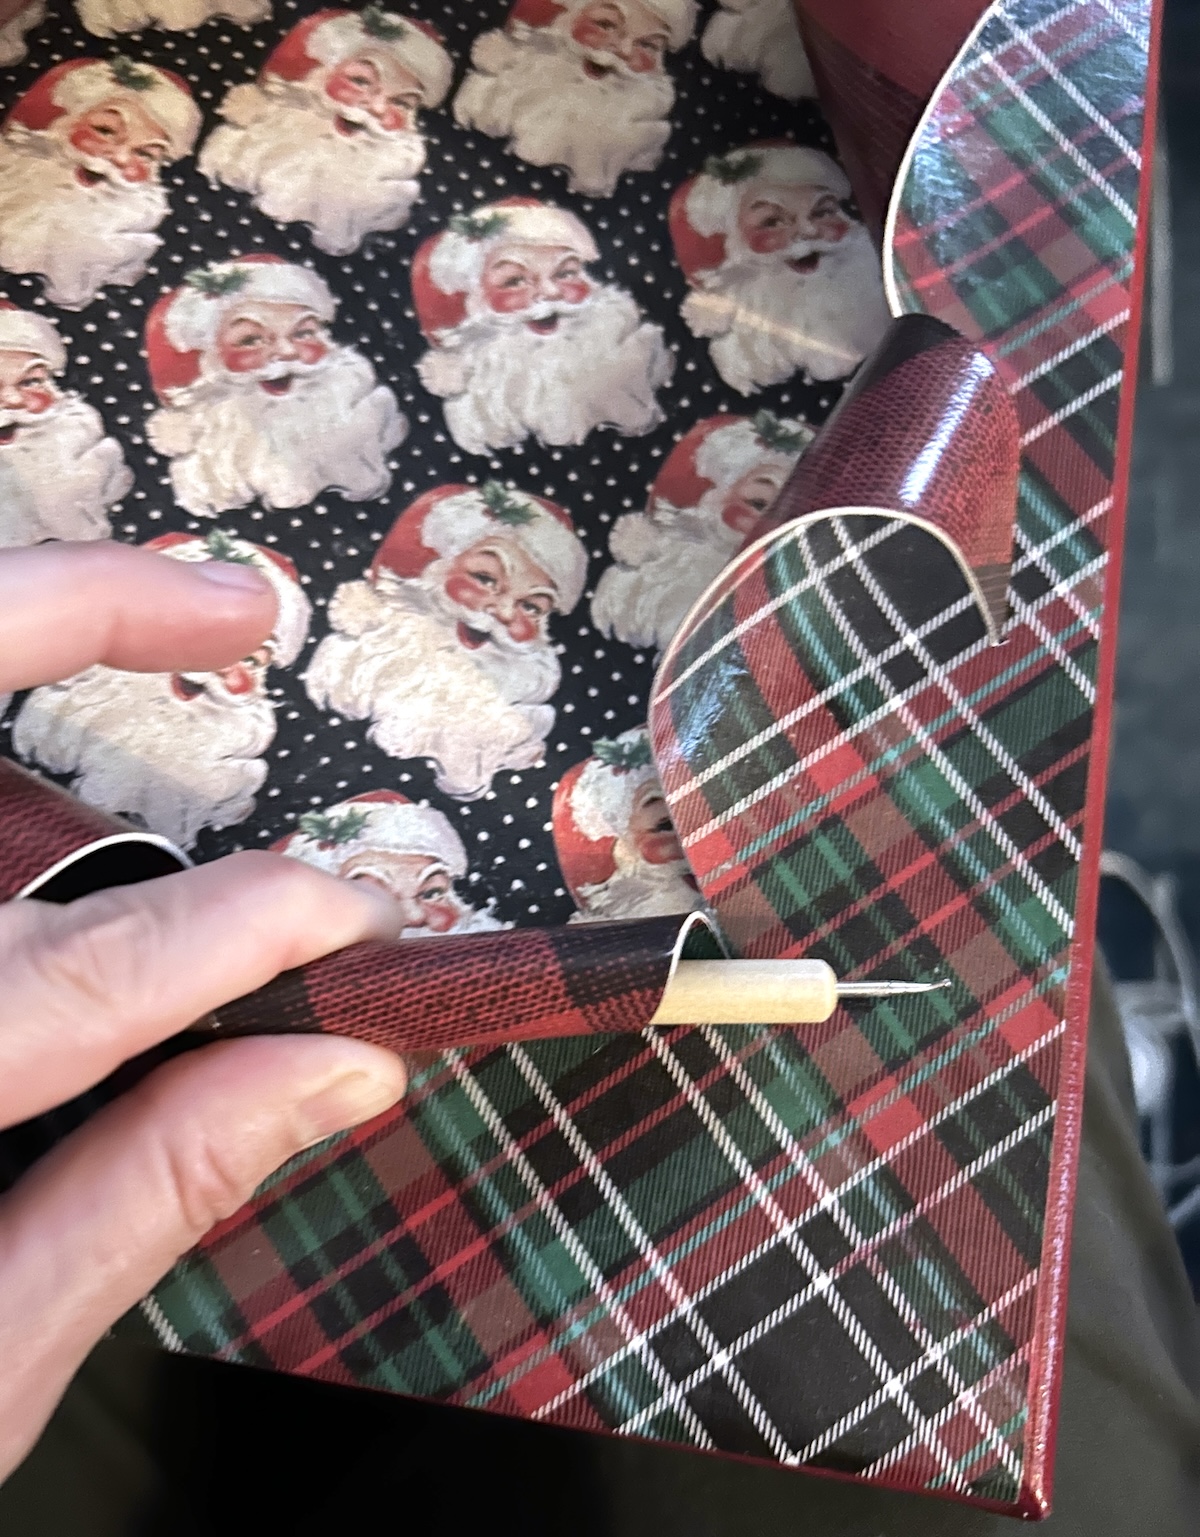
- Grab a heavy duty craft knife and your ruler. Find the center of the canvas and poke a hole with the craft knife in the center so you know where it is. You're going to cut from that center point to the top, bottom, and both sides. Then you're going to cut (almost) to all four corners.
- Now you can curl out the pieces of the canvas! Using a long object like a pencil, roll back the paper and canvas pieces as shown. Roll tightly and hold for about a minute. You'll see that with the thickness of the paper and canvas - it holds! Repeat curling back the entire canvas.
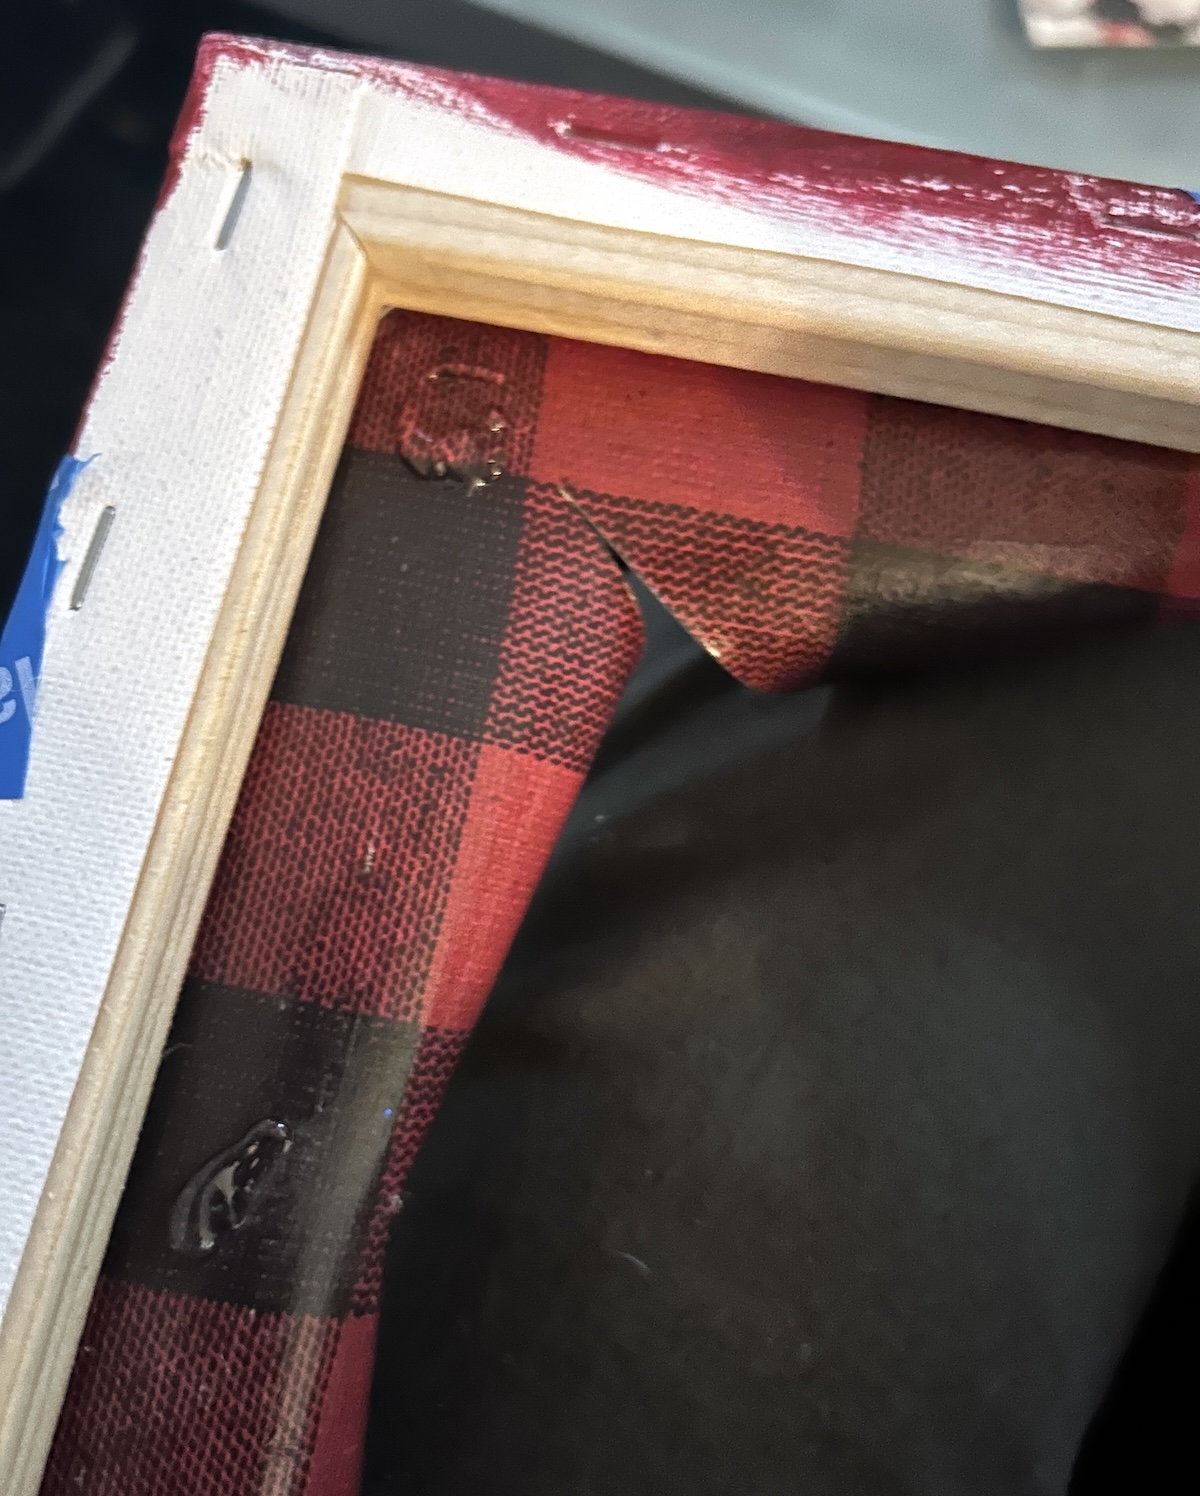
- Cut a piece of cardboard, cereal box, or other backer piece that you can glue inside the back of your canvas.
- Trim and attach the image you're going to use for the back (that "busts" through). I just attached with double stick tape but you can also use hot glue.

- Glue the backer into the canvas with the image facing down. Turn over and your image is peeking through the canvas. Let dry completely before hanging.
Notes
Step 4: I cut mine to just inside the canvas, so some of the red from the edges could be seen.
Step 7: I have a great tip for this step. Find a book or other solid that fits inside the back of the canvas and use a brayer to roll out the paper. The book keeps the canvas from bending in (since canvas is flexible). Wipe away any Mod Podge that comes out the sides with a brush.
Also if you see any wrinkles in the paper, those will likely go away either while it's drying or when you put the top coat on and let that dry, in step 8.
Step 9: The reason for the heavy duty craft knife is because you'll be cutting through canvas as well as two Mod Podged sheets of paper.
You don't need to cut all the way to the very edge of the canvas frame, especially in the diagonal corners. The first time you make one you'll see what I'm saying.