
Learn all about the Fabric Mod Podge formula! Find out what it is, how to use it, and see some unique projects you can make.

Are you ready to decoupage fabric or paper to fabric and have it be permanent? And be able to wash it?! You’ve come to the right place – or formula, I should say.
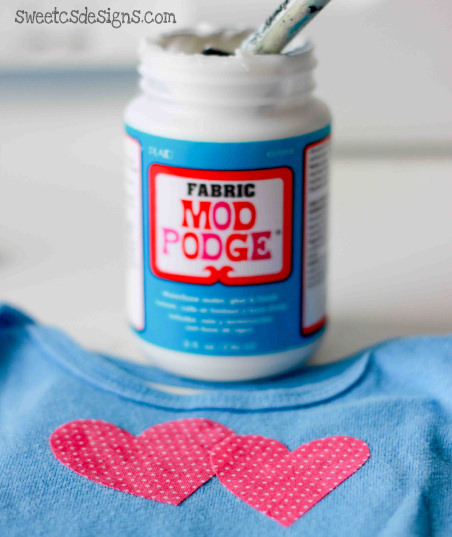
Meet Fabric Mod Podge! If you’ve never used this decoupage formula before, it’s pretty cool. And let’s start by making it clear exactly what this specific Mod Podge is for:
Applying fabric or paper to fabric.
Yep, that’s it! Well, not “it,” but it’s that simple. Your regular Mod Podges are made for applying items to wood, metal, glass, etc., but this formula is used when fabric is the base.
If the process is followed appropriately, you’ll be able to wash (or hand wash as the case may be) your decoupaged items.
When fabric is applied to fabric, I feel comfortable washing my items in the gentle cycle. When paper or napkins are applied to fabric, I like to hand wash.
Mod Podge on Fabric
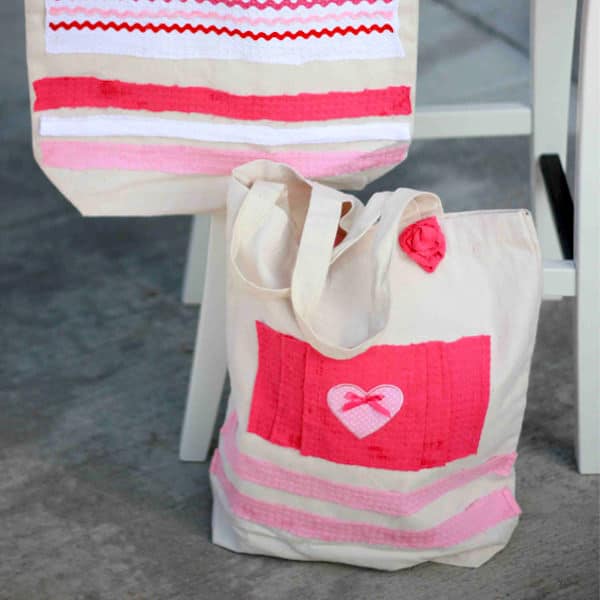
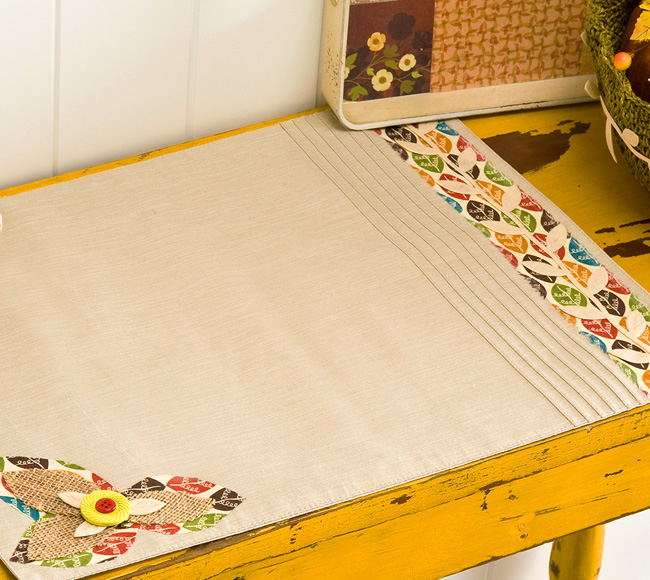
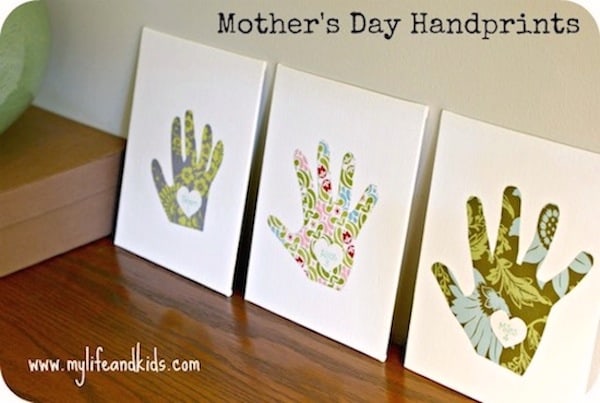
My favorite use for Mod Podge Fabric is applying fabric appliqués to other fabric items. For example, applying fabric cutouts to pillows, shirts, etc. However I also enjoy using this formula to prepare fabric for application to furniture.
It’s a very durable formula, so sometimes I’ll use it to coat a piece of fabric before cutting it out for some other decoupage use. It’s a nice fray preventative.
Applying Fabric to Fabric
Here’s my process for applying fabric to fabric:
- Pre-wash the fabric to remove sizing.
- Cut the design out of your fabric.
- Apply Fabric Mod Podge to the back of the fabric design.
- Place the fabric face-up on the base fabric where desired, and press firmly but gently to the surface with your fingertips.
- Apply a second coat of Fabric Mod Podge with a brush.
- Cure for 72 hours.
- Wash in cold water by hand or gentle cycle. Dry flat or line dry.
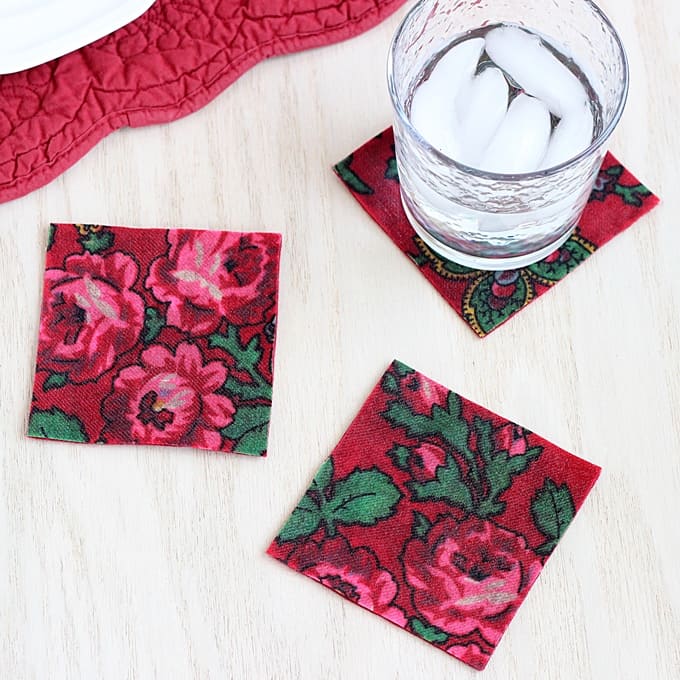
Applying Napkins to Fabric
Here’s my process for applying napkins to fabric:
- Pre-wash the fabric to remove sizing.
- Cut the design out of the napkin and discard the layers. Place napkin upside down on a piece of parchment or wax paper.
- Apply medium to the back of the design.
- Place the napkin and wax paper face-up on the fabric where desired, and press firmly but gently to the surface with your fingertips. Remove the paper carefully and press the design firmly again.
- Apply a second coat of Fabric Mod Podge with a brush, working into the napkin with a gentle, swirling motion. Clean the brush often when the ink of the napkin bleeds.
- Cure for 72 hours.
- Wash in cold water by hand. Dry flat or line dry.
FAQs for Fabric Mod Podge
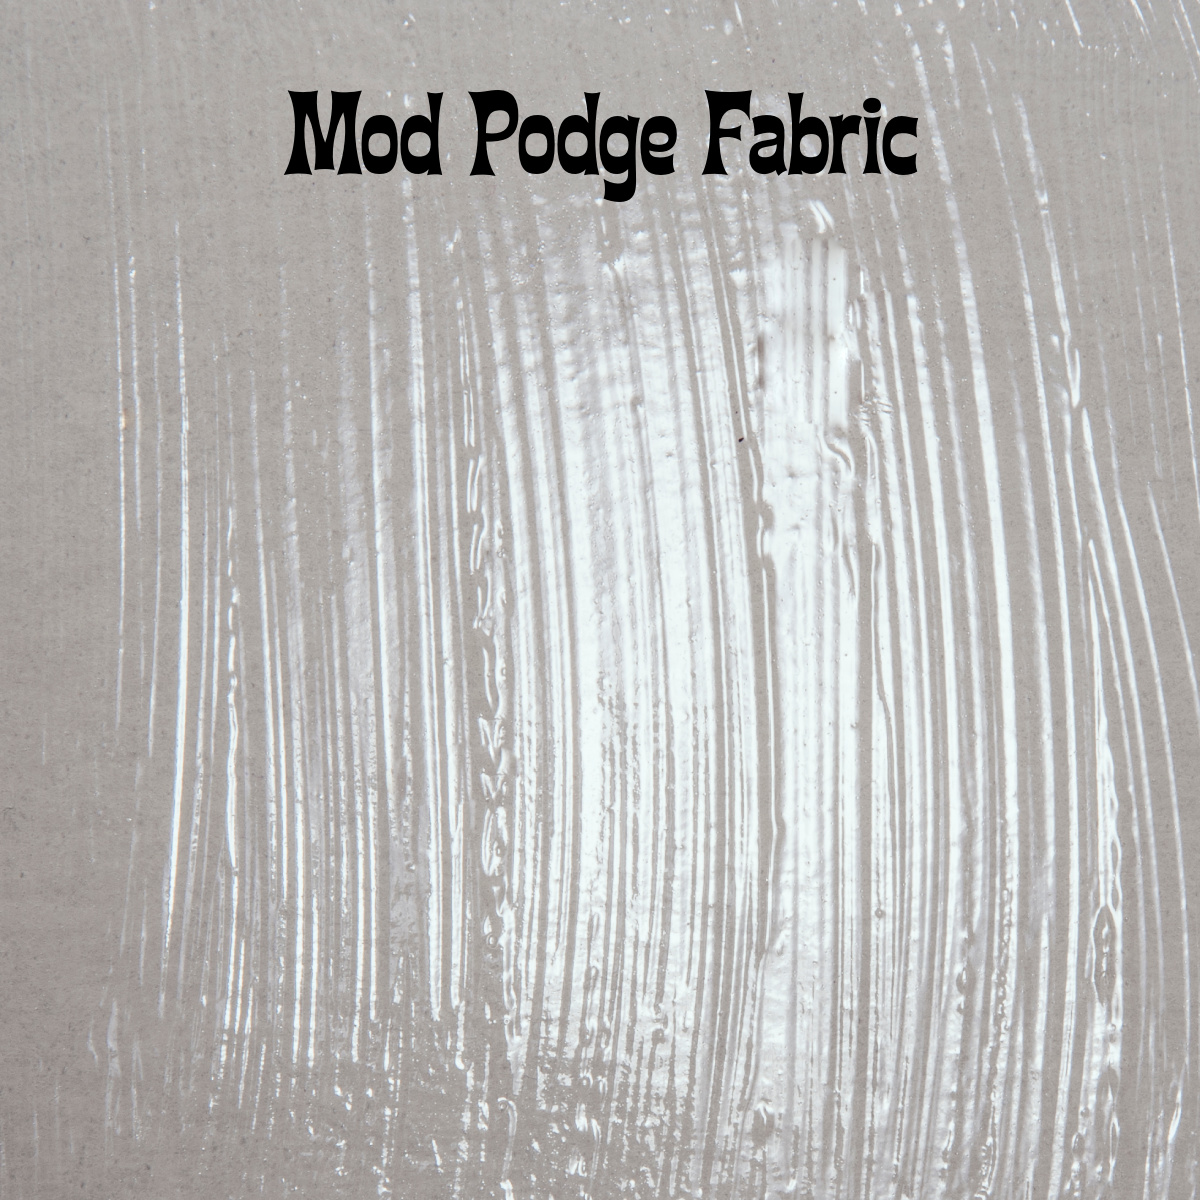
What is the finish of this formula?
It is Glossy. You can see the swatch below (it’s on paper, but illustrates the look).
How do I prepare my fabric for using Fabric Mod Podge on it?
You must pre-wash, dry and iron the fabric. DO NOT use fabric softener. If using a t-shirt or a thin fabric, place a piece of wax paper inside directly under where you will be decoupaging your design.
How do I wash my project that’s decorated with Fabric Mod Podge?
The project is machine washable in cold water on the gentle cycle or by hand after 72 hours, and line dry. However, this formula will hold up best on decorative items that don’t have to be washed often.
I washed my fabric project in the washer and when it took it out it looked cloudy, what happened?
When washing your fabric to fabric decoupage project in the washer, your decoupage layer will absorb a little water and create a milky look.
Your project will be a little tender at this point, so be careful when handling. But do not be alarmed – it will fully dry to its original state.
Can I use this formula in place of sewing?
No, not for an entire garment. For an embellishment, yes. But I don’t want you to Mod Podge a shirt together and send me an email when you end up topless in public. Please don’t do that.
This formula is very thick. Can I thin it?
Yes, it’s very thick on purpose. Stir it as best you can and use a soft bristled brush to apply. Thinning it will reduce the properties, so I don’t recommend it.
I already have (Gloss/Matte/some other) Mod Podge. Do I really need this formula?
If you are doing a fabric project that you want to wash, yes. This is made to be washed, unlike the other formulas. The other formulas aren’t going to last like this one will.
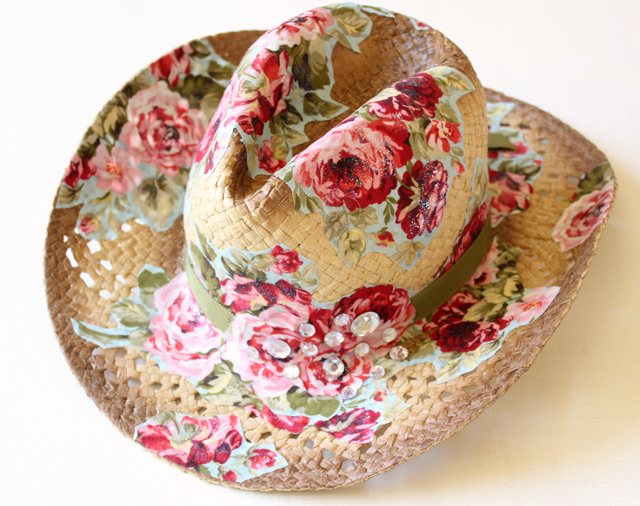
Are you ready to start using Fabric Mod Podge? Try one of these projects!


Leave me your questions in the comments – I’ll answer them as best I can. I’d also love for you to check out these other formula guides:
Brushstroke • Dishwasher Safe • Extreme Glitter • Gloss • Glow in the Dark • Hard Coat • Matte • Outdoor • Satin • Sparkle • Super Matte • Dimensional Magic • Photo Transfer Medium • Puzzle Saver • Stiffy • Ultra


I tried the tee shirt project, but when you brush the last coat on your napkin how do you keep it off the tee shirt? It went on the tee shirt and now it is not pretty and it won’t come off. I need help. Thanks
Hi Anne! I think I’m confused – you want the Fabric Mod Podge and napkin on the shirt. Can you post this in the Facebook group? https://www.facebook.com/groups/craftywithmodpodge/
I used some men’s ties on a small pillow and they adhered really well. The only thing I am finding now is that it feels tacky even after the 72 hour curing time. Does this seem right? Should I wash it somehow? What can I do to get the stickiness gone?
Hi Sue! Did you brush the Mod Podge over the top I assume? Or did the Mod Podge soak through? If you can seal the top somehow with an acrylic sealer that could get rid of the tackiness. I would ask https://plaidonline.com/about/contact – they will know more than I on this.
Can I just Brush this on a piece of fabric that I just want to close the pores in the fabric?
Yes. It’s going to darken the fabric a touch and make it stiffer, so keep that in mind.
I was wondering can I use this to finish the edges of a textured vinyl fabric? I made a purse, and of course it’s sewn together but I wanted extra security on the raw edges so I glued them shut, however after wearing the purse a few times the stiffness from the glue can be a bit scratchy to other people who want to purchase the bag. So I’m stuck wondering if I could carefully paint the very slim edges of the purse for a softer feel? Hopefully you can help!
Oooh – that’s a hard question. It’s hard to find an acrylic medium that is clear and dries without being rough at all. Mod Podge Fabric gets softer with washing but this won’t be washed. Usually I use something like Fray Check with fabrics. https://www.amazon.com/Dritz-674-Liquid-Sealant-0-75-Fluid/dp/B0019KBWA2 You can also sew the edges OR heat them to seal.
@Amy, I will try this, thank you so much!!
I am putting a piece of velvet to the back of a picture frame. And then put my old jewelry on it will Marge podge be my best bet
You can use Mod Podge – or fabric glue, or spray adhesive. Spray adhesive is probably best honestly. You don’t want anything liquid soaking through and causing a dark dot where you apply it.
Hello, I have an old burlap sack that I would like to hang up, stretched over a wood frame, for decor. However, it is too thin by itself to do so. Could I used Mod Podge Fabric to adhere it to another piece of fabric and then stretch both over a frame, or would it be too stiff?
Hi Mandy! It’s still stretchable with MP Fabric on it, however, it’s less so – so you’d have to probably pull at it, but I think you could do it with a staple gun. One thing to consider . . . stretching the other fabric over the frame, and then Mod Podging the burlap directly to it so you wouldn’t have to stretch that portion. It’s hard for me to say without seeing the project but I’d consider which would be best.
Would fabric mod podge work to attach stickers to fabric?
For example scrapbooking type stickers (not cheap paper stickers) to a thick canvas fabric apron (it won’t ever be washed).
And/or resin/plastic 3D stickers to the same type of fabric?
Thanks!
Hi Jennifer! For this I’d use something like Gorilla Fabric Glue or Fabric Fusion from Aleene’s. You’ll need something a little strong for that type of canvas, and Fabric Mod Podge is really meant for fabric to fabric applications where the item will be washed. I’d use a strong glue for those type of stickers and a thick canvas!
I have a vinyl (or maybe PVC?) phone case that I’d like to make last as long as possible, because the pattern is so cute. I can’t find out what it’s actually made of because the manufacturer claims it’s leather! (I knew it wasn’t leather, at that price…)
When I’ve had non-leather phone/tablet cases in the past, they have scuffed on the edges, and the spine has cracked.
I’m not expecting any treatment to make this last as long as if it WERE leather, but I’d like to coat it with SOME kind of protectant to prevent cracking/scuffing as long as possible… so I’m wondering if fabric modge podge would work? I need some kind of coating that has flexibility, for the spine, and those seem hard to find. Any advice appreciated… thanks!
Hi Eva! Fabric Mod Podge is really best for fabric to fabric so it’s washable, as opposed to sealing fabrics (or leather). It especially doesn’t work with polymers like vinyl or PVC. I think you could just use a clear spray sealer. I’m not really sure which one since sealing vinyl, etc. isn’t my expertise. But I’d look at the craft store and see what you can find!
@Amy, thanks.
I tried spraying on FlexSeal but it’s peeling off after about a week, so I will keep looking.
For another project of mine: do you know if fabric modge podge works on semi-stiff nylon fabric?
I have a spare tire cover that has a black and white picture on it, I felt like adding color so I used some bright sharpie pens on it and it turned out really good. I’m trying to figure out if this fabric podge would work as sealer? Or should I look for something else?
Thanks
If you’re actually using it to cover a tire, I would get a clear acrylic outdoor spray sealer from the craft or hardware store and use that. Fabric Mod Podge is best for gluing fabric to fabric and have it be washable, but no necessarily your best option as just a sealer.
I just repurchased 2 rayon tie dyed dresses from ebay. They are painted on to with acrylics that wash out. I want to try modge podge on top to see if that will protect painted areas. Should U also coat the underside of the painted area?
Hi Deva! The Mod Podge is going to make the rayon VERY crusty. I also don’t know that it would protect your design long term. You could try it but understand those limitations. It’s primarily for attaching fabric to fabric and being able to wash it as opposed to protecting designs on fabric.