Searching for a one-of-a-kind advent calendar? This DIY wooden snowman advent calendar is not only adorable but reusable for years of holiday fun!
Skills Required: Intermediate. You’ll need to be able to use a saw and a drill (and own the equipment, or know someone who does). The cuts that you’ll make are basic. The rest is just painting.

Are you looking for unique advent calendar ideas? I’ve got a fun one for you today! One that you can use year after year: a snowman advent calendar. One of my favorite things to do when I was little was countdown to Christmas!
My parents bought my brothers and I those $1 advent calendars with the chocolate inside and we’d open them each day. While those were fun, we’d have to throw them away when we were done.
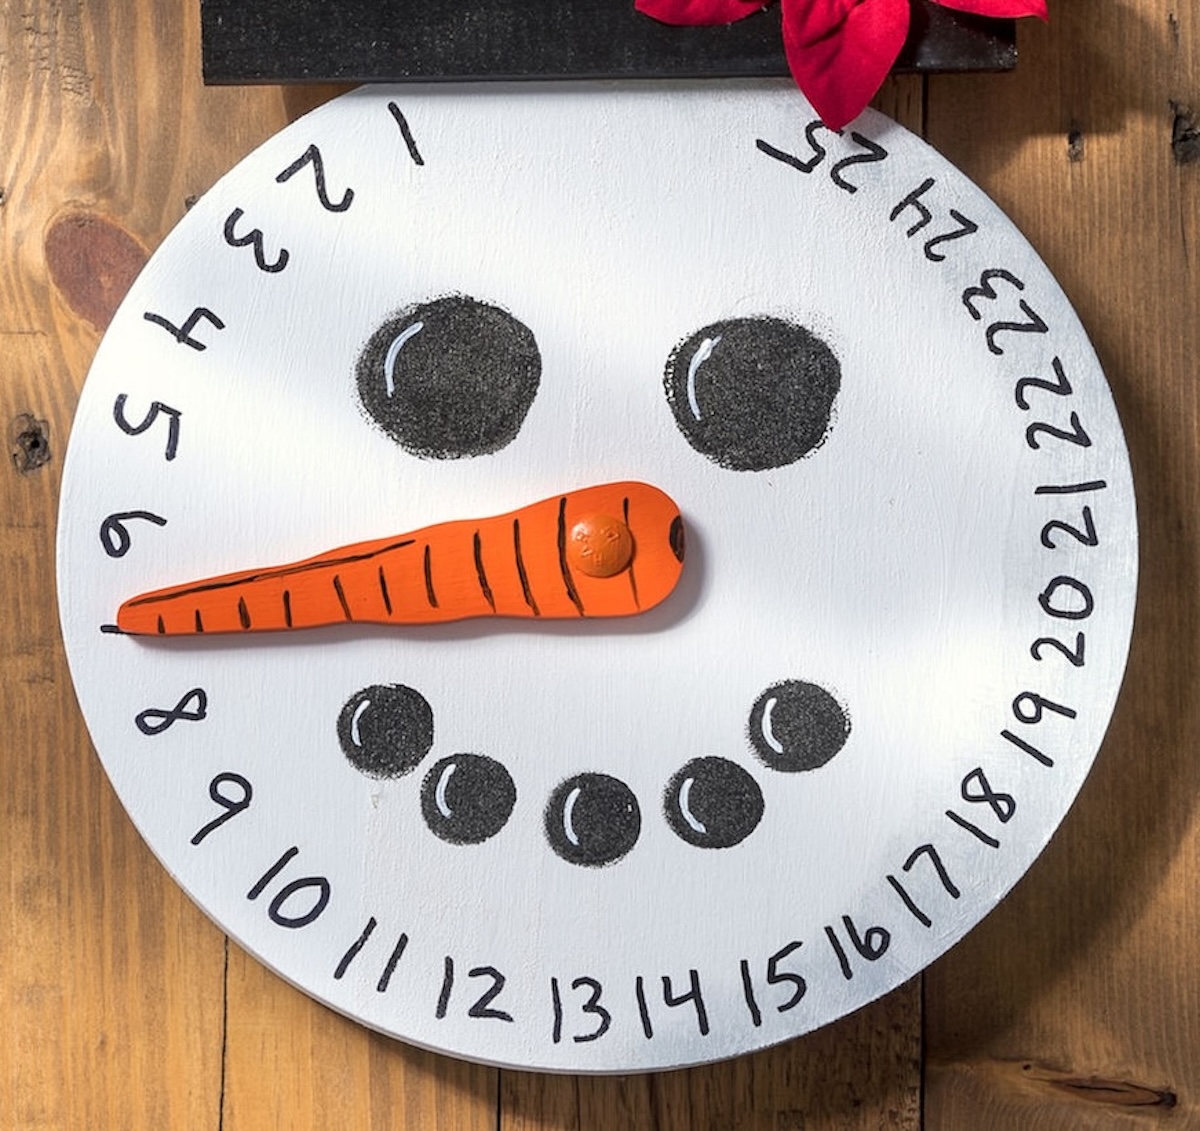
Well what about a DIY advent calendar you don’t have to throw away, made from a clock face? Isn’t this snowman cute?? He’s so happy and excited to countdown to Christmas. Plus he makes the perfect holiday wall decor!
Before I show you how to make this project, I want to go over the steps so that you know what to expect. There are a handful, but each is relatively easy:
- Cut the wood to make the hat and nose
- Shape the nose
- Drill a recess in the back of the wood circle so the hardware will fit
- Paint the snowman’s face, details, hat, nose
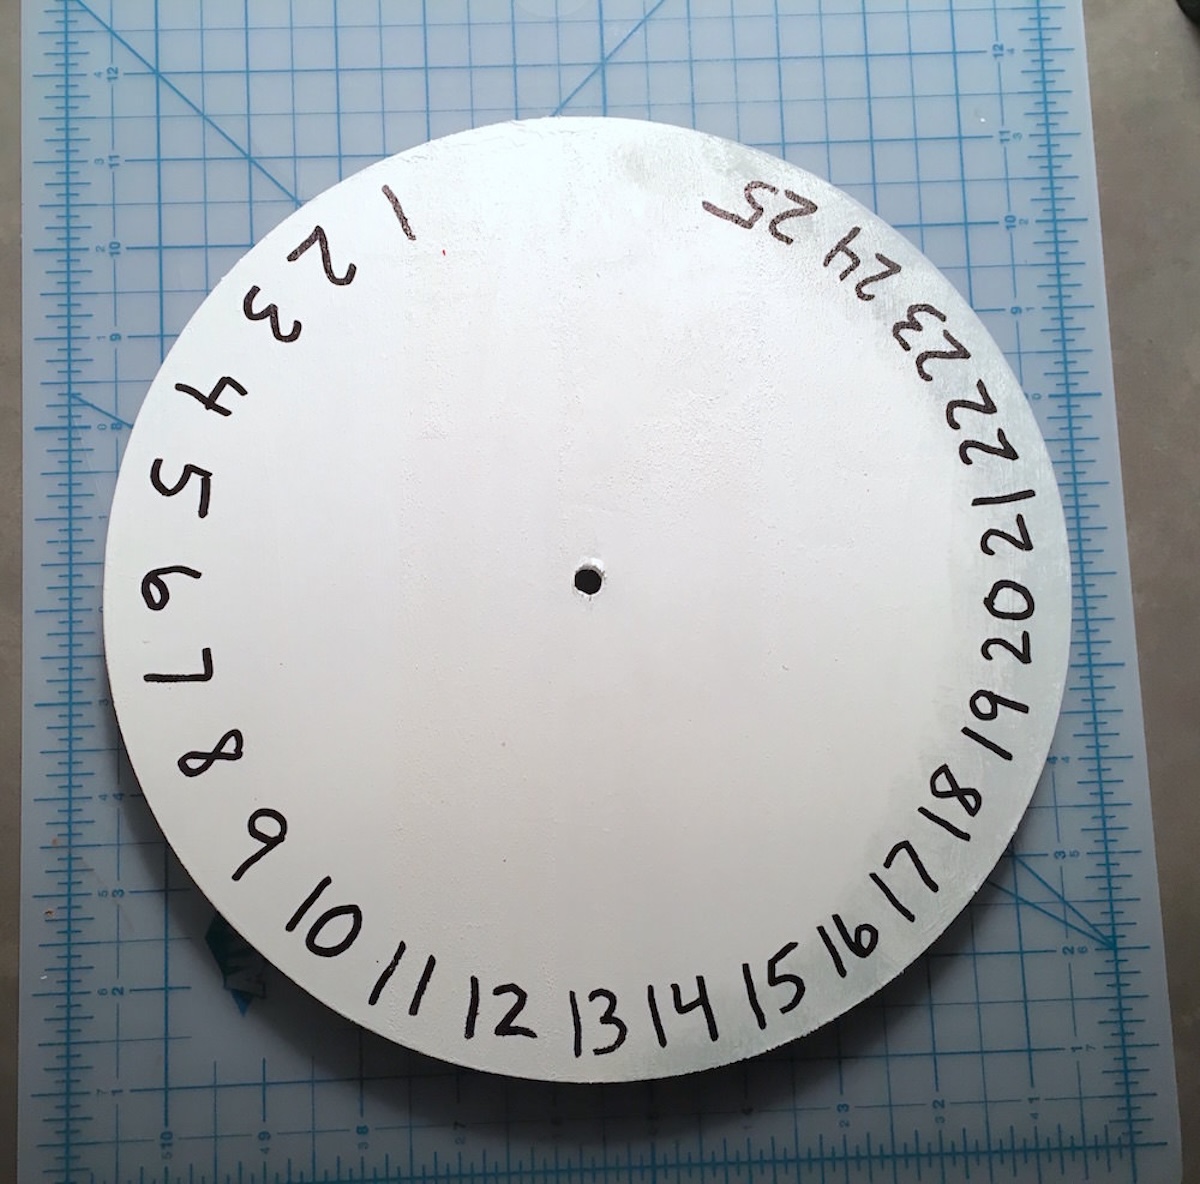
- Write the numbers in Sharpie
- Seal with Mod Podge (optional)
- Screw/glue it all together
It’s really not that hard at all! If I can make this wood Christmas craft, you can too. The payoff is worth it too, because this guy can be used year after year. Oh, and it’s candy free . . . but not fun free!
Gather These Supplies
- Wood clock face – 10”
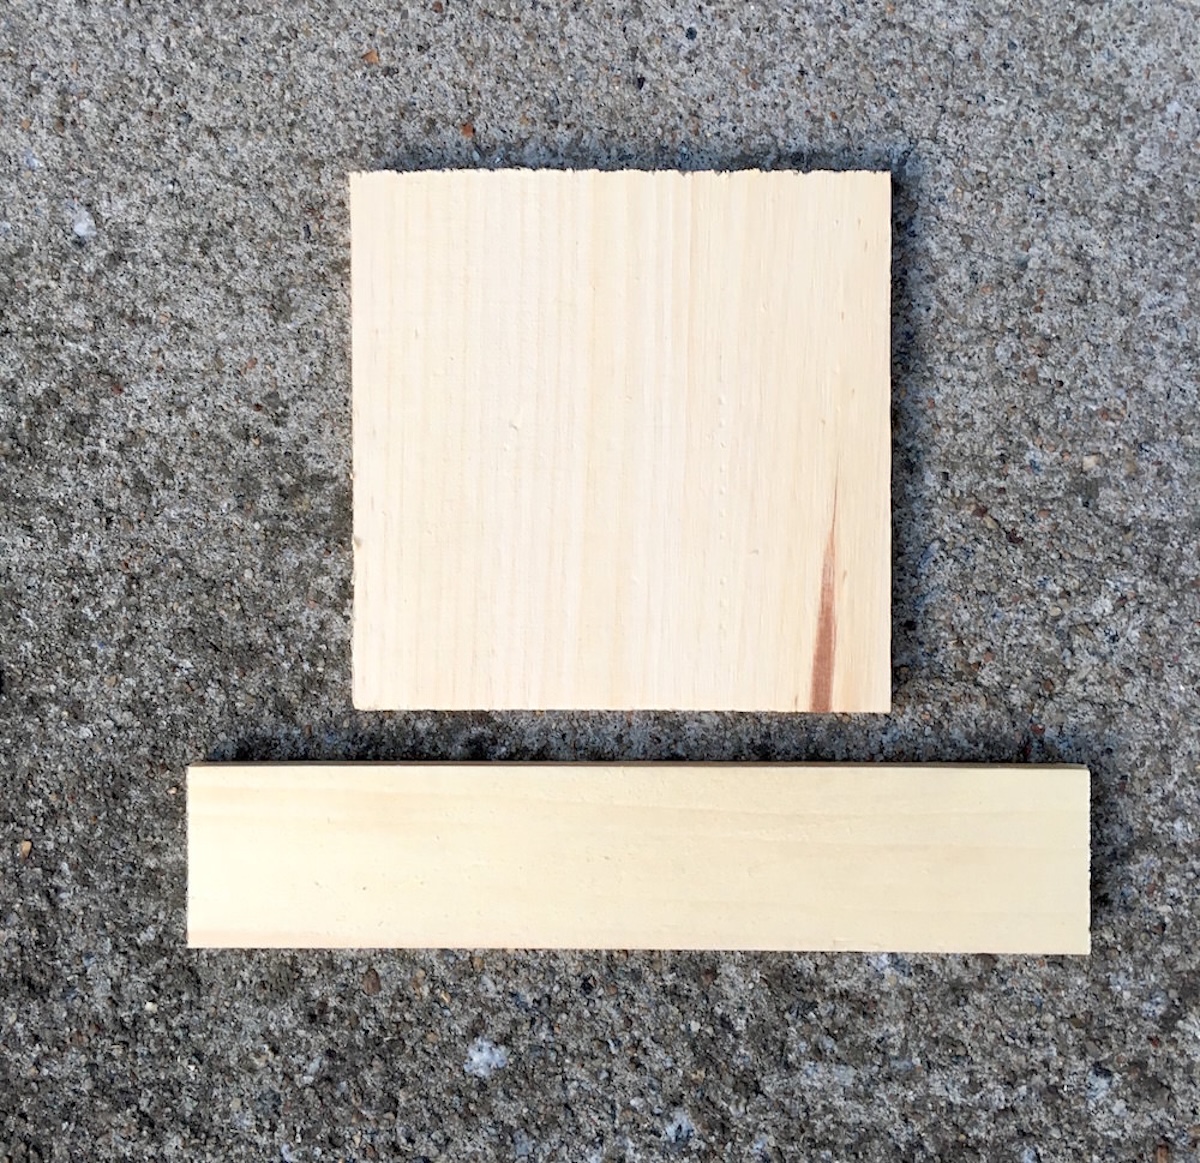
- Unfinished pine wood pieces – 4 x 4” square, 1 x 12” rectangle (I got mine from Michaels)
- Acrylic paint – white, orange, black, light gray
- Sharpie marker – black
- Spouncer
- Paintbrushes – flat brush, liner brush
- Wood glue
- Hot glue gun
- Embellishments – ribbon, flower (for hat)
Tools & Hardware
- 1/4” bolt with two washers and a nut
- Miter saw
- Dremel with sanding bit
- Drill with 1/4” drill bit
- Optional – 13/16 spade bit
At the end – and this is optional – I sealed everything with Mod Podge, including the face. Then I thought, Sparkle probably would’ve been fun for the hat!
This calendar is TOO cute. Your kids will love moving the nose to count down each day to Christmas! Let me know what you think in the comments.

Snowman Advent Calendar
Equipment
- Paintbrush(es) flat brush, liner brush
- Miter saw
- Dremel tool with sanding bit
- Drill and drill bits 1/4" drill bit, 13/16 spade bit optional
Materials
- 1 Wood clock face 10”
- 2 Unfinished pine wood pieces (1) 4 x 4” square, (1) 1 x 12” rectangle (I got mine from Michaels)
- Acrylic paint white, orange, black, light gray
- Sharpie
- Wood glue
- Embellishments ribbon, flower (for hat)
- 1 1/4” bolt with two washers and a nut
Video
Instructions
- To make the snowman's hat, cut one of the long wood rectangles in half using the miter saw. That's the brim. You’ll use one of the pine squares as the top of the hat.
- Cut the nose out of the other half of the long wood rectangle.
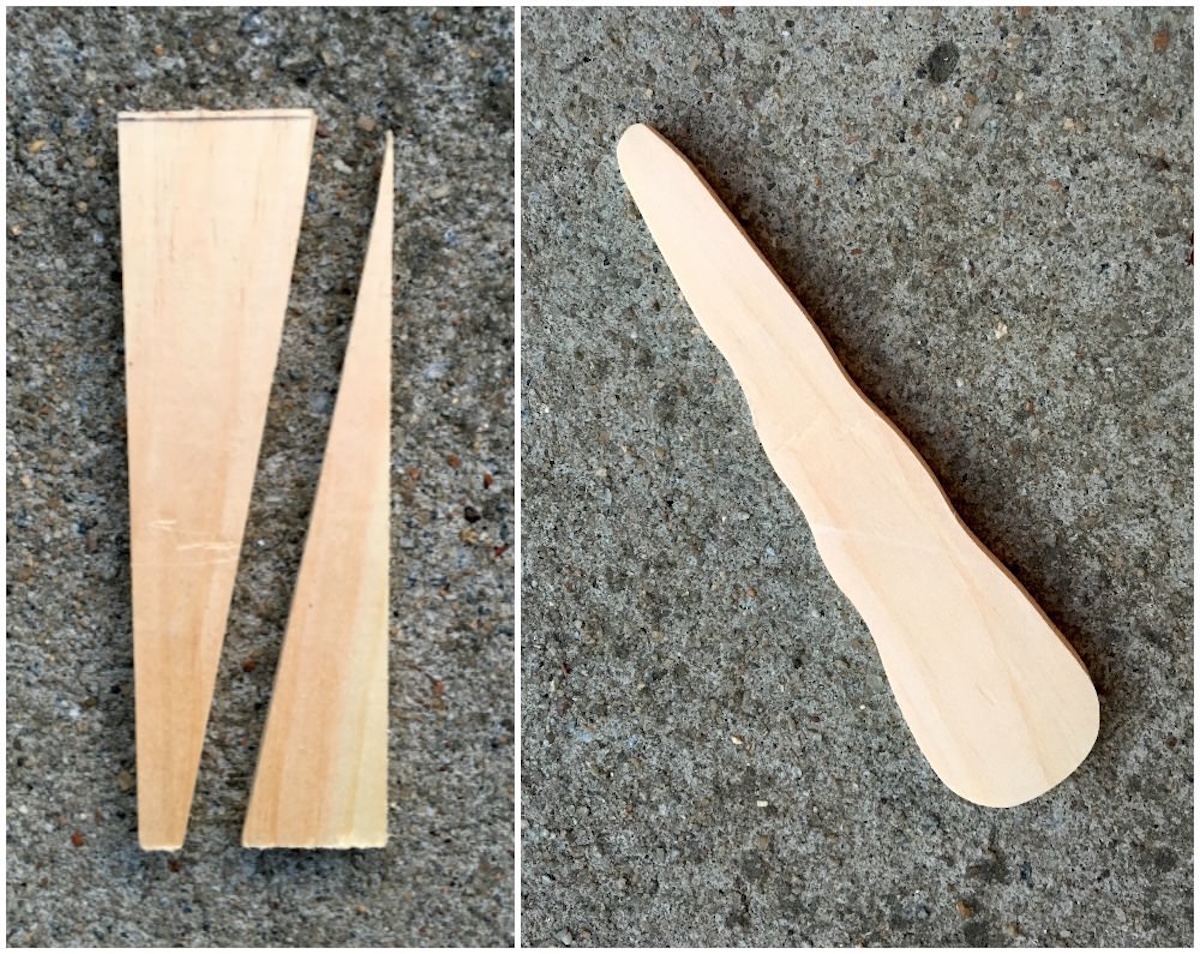
- Sand the curves in the nose using a Dremel with a sanding bit. Drill a ¼ hole at the end of the nose.

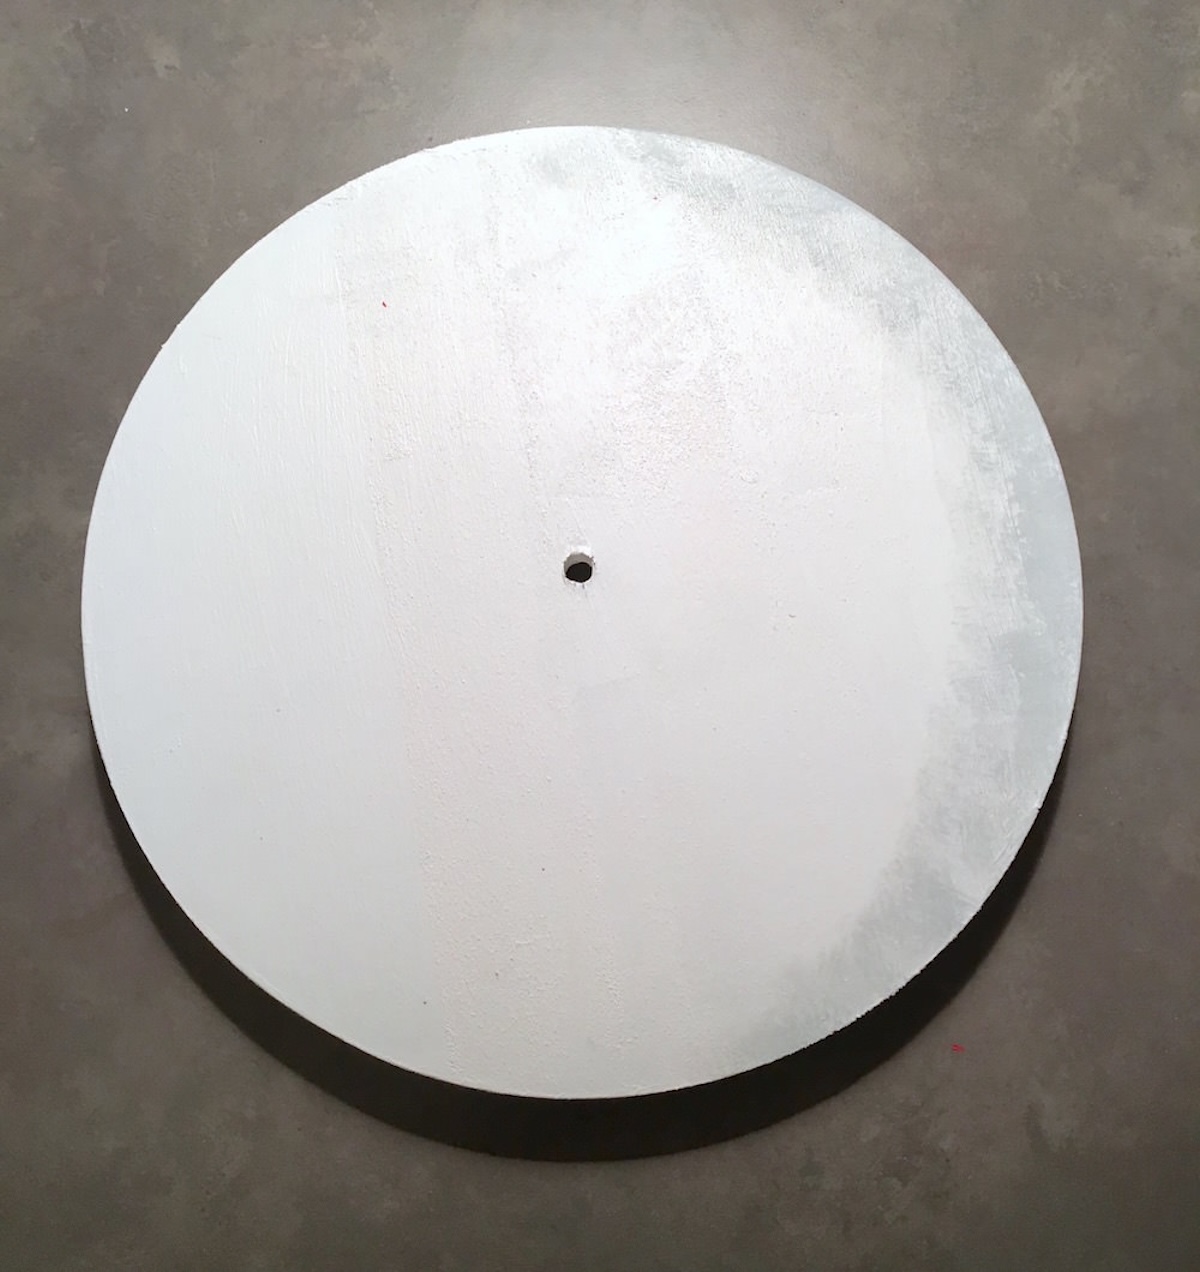
- This step is optional, but it will help your calendar sit more flush on the wall. Drill a recess into the back of the clock face with a spade bit. This is so the nut that attaches the nose will fit down into the recess.

- Paint your clock face white, then spounce light gray around one edge to give it a highlight. Let dry.
- Write numbers 1 – 25 around the edge of the clock face using the Sharpie.
- Use a spouncer to add “coal” to the face with black acrylic paint; add white paint highlights with a liner brush. Let dry.

- Paint the hat pieces black and the nose orange. Add highlights of black to the nose with a liner brush. Let dry.

- Grab a ¼” bolt (1” length), two washers, and a nut to assemble the nose. Attach the nose tightly enough so you have to push the nose to each individual date. Paint the bolt orange and let dry.

- Glue the hat onto the top of the snowman’s head and attach the ribbon and floral accents with a hot glue gun. Let dry completely before hanging.

Notes
PS – want to see another fun advent calendar? We have a paper chain option! Also check out these other ideas: