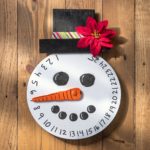
Snowman Advent Calendar
Learn how to make a wooden advent calendar using simple craft store supplies!
Yield: 1 calendar
Cost: $25
Equipment
- Paintbrush(es) flat brush, liner brush
- Miter saw
- Dremel tool with sanding bit
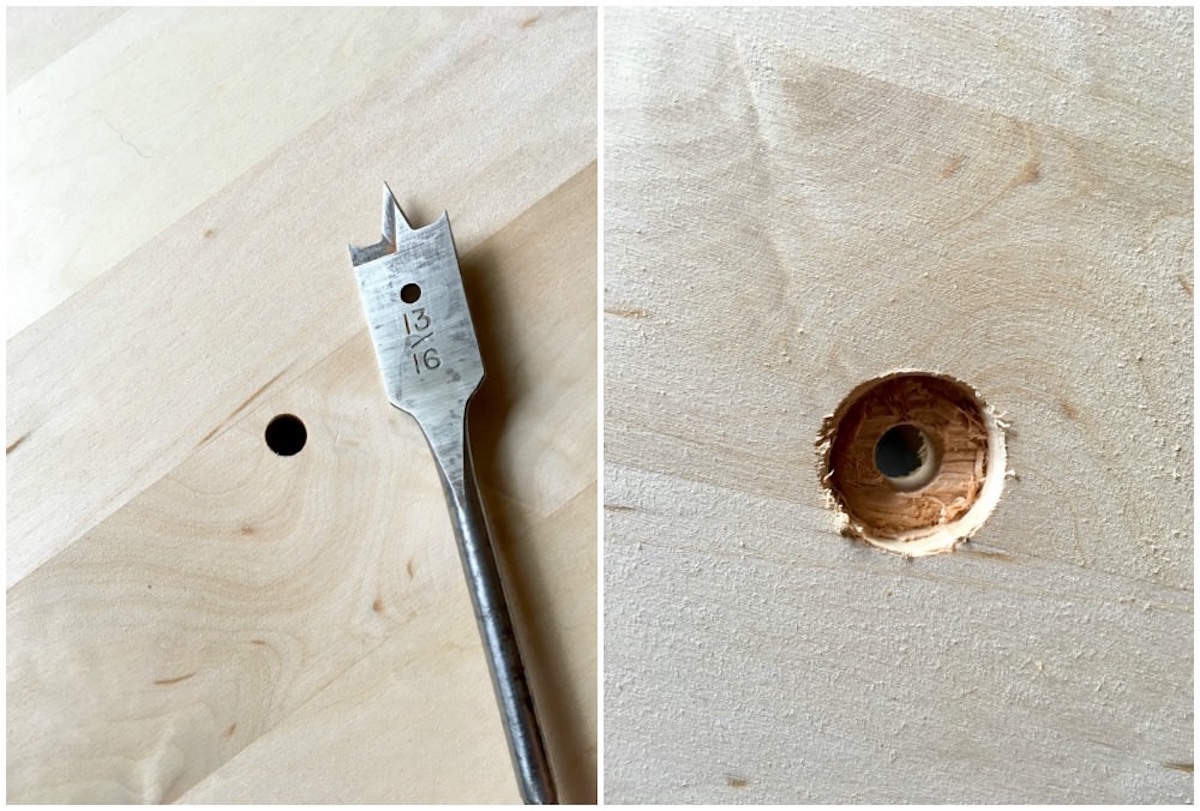
- Drill and drill bits 1/4" drill bit, 13/16 spade bit optional
Materials
- 1 Wood clock face 10”
- 2 Unfinished pine wood pieces (1) 4 x 4” square, (1) 1 x 12” rectangle (I got mine from Michaels)
- Acrylic paint white, orange, black, light gray
- Sharpie
- Wood glue
- Embellishments ribbon, flower (for hat)
- 1 1/4” bolt with two washers and a nut
Video
Instructions
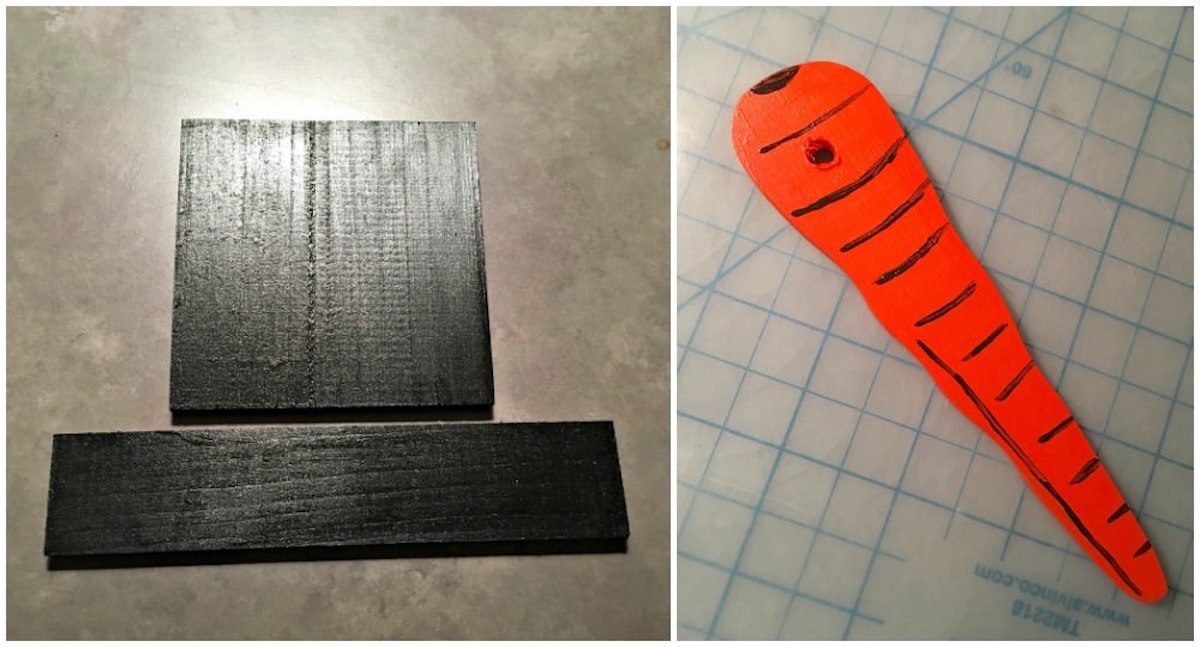
- To make the snowman's hat, cut one of the long wood rectangles in half using the miter saw. That's the brim. You’ll use one of the pine squares as the top of the hat.
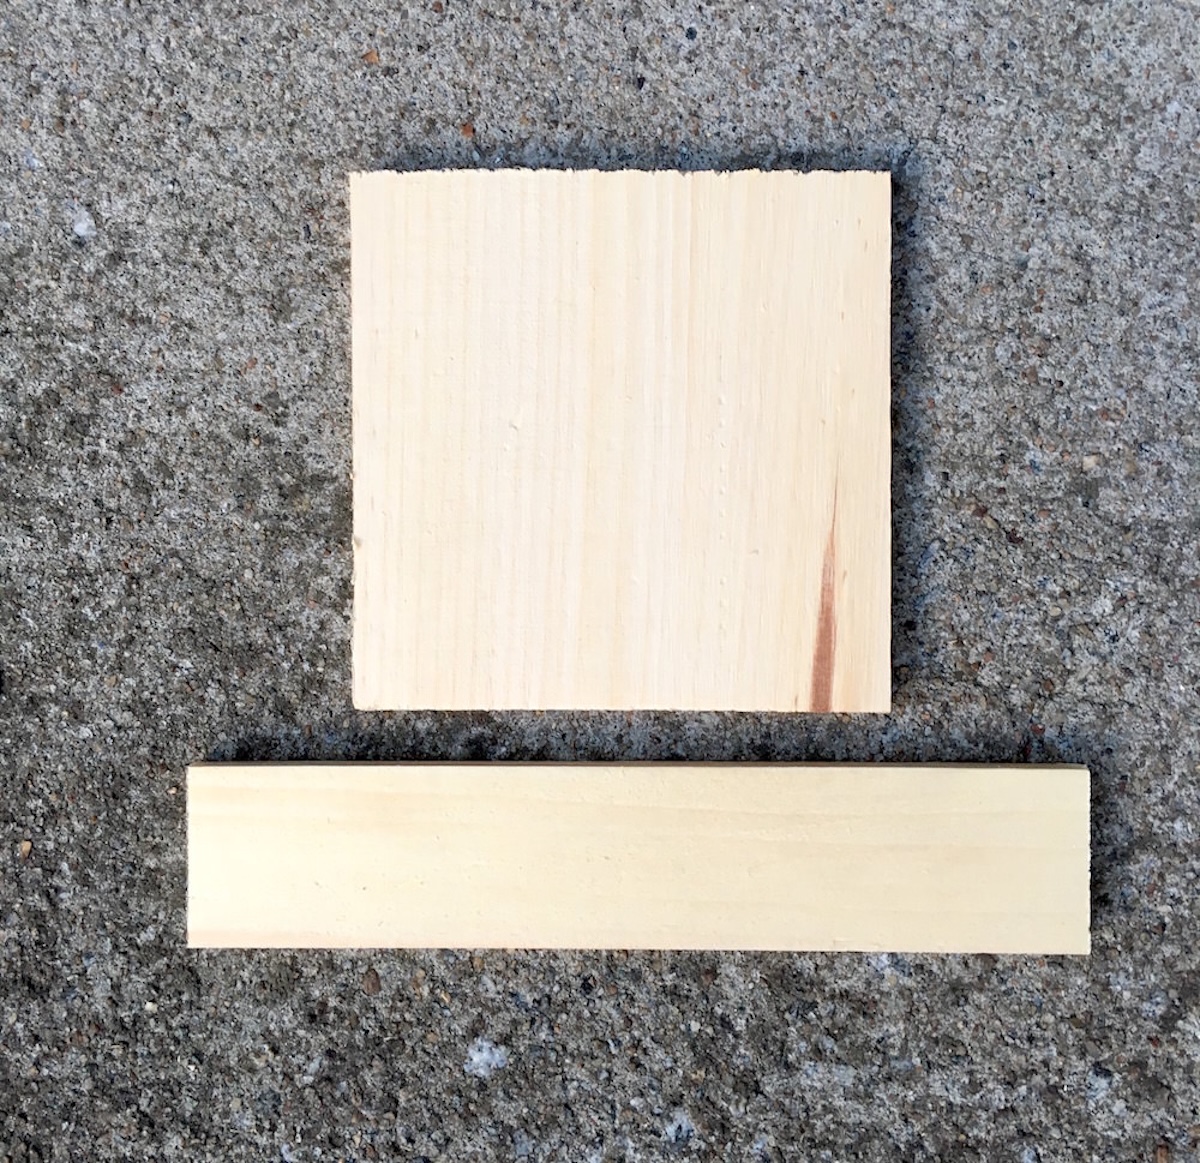
- Cut the nose out of the other half of the long wood rectangle.
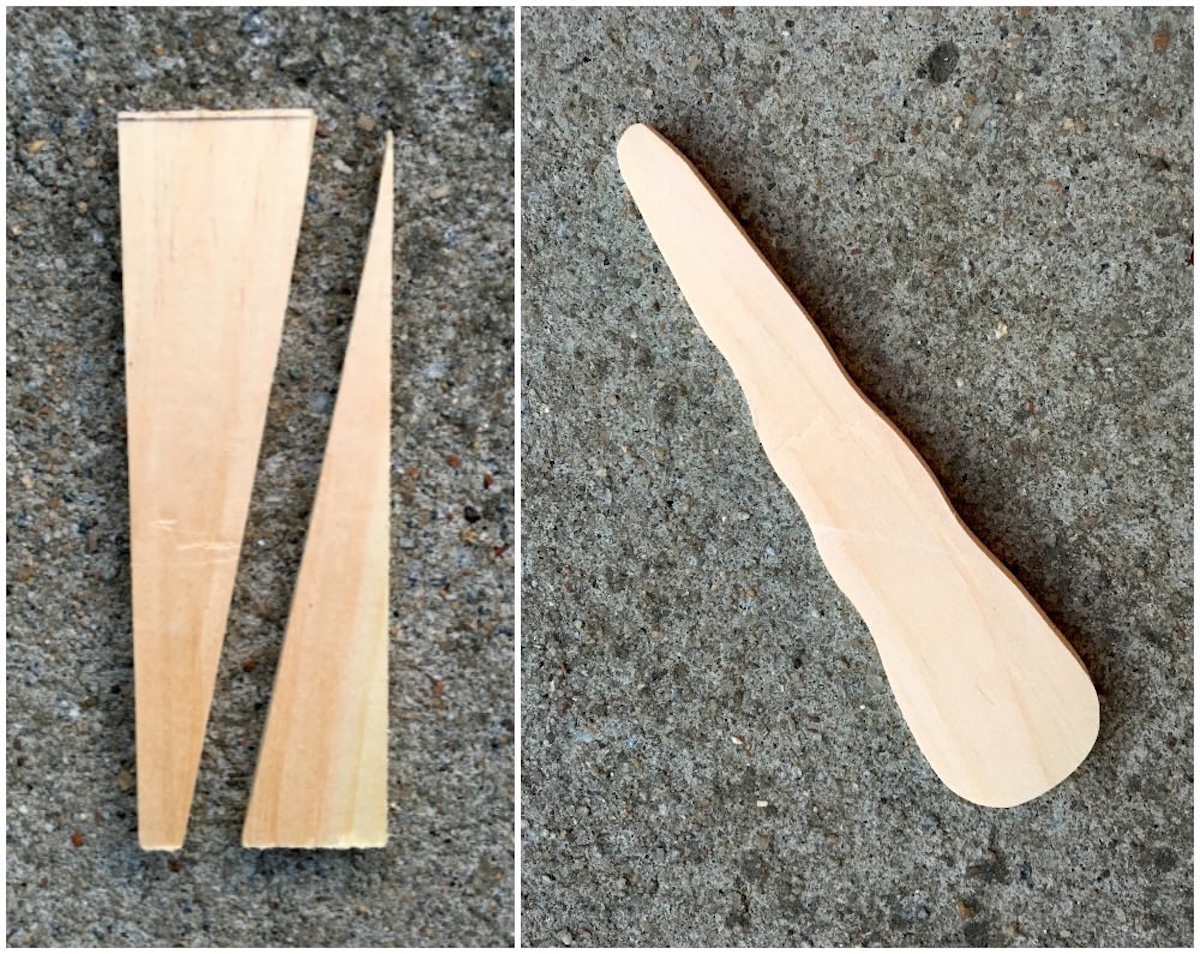
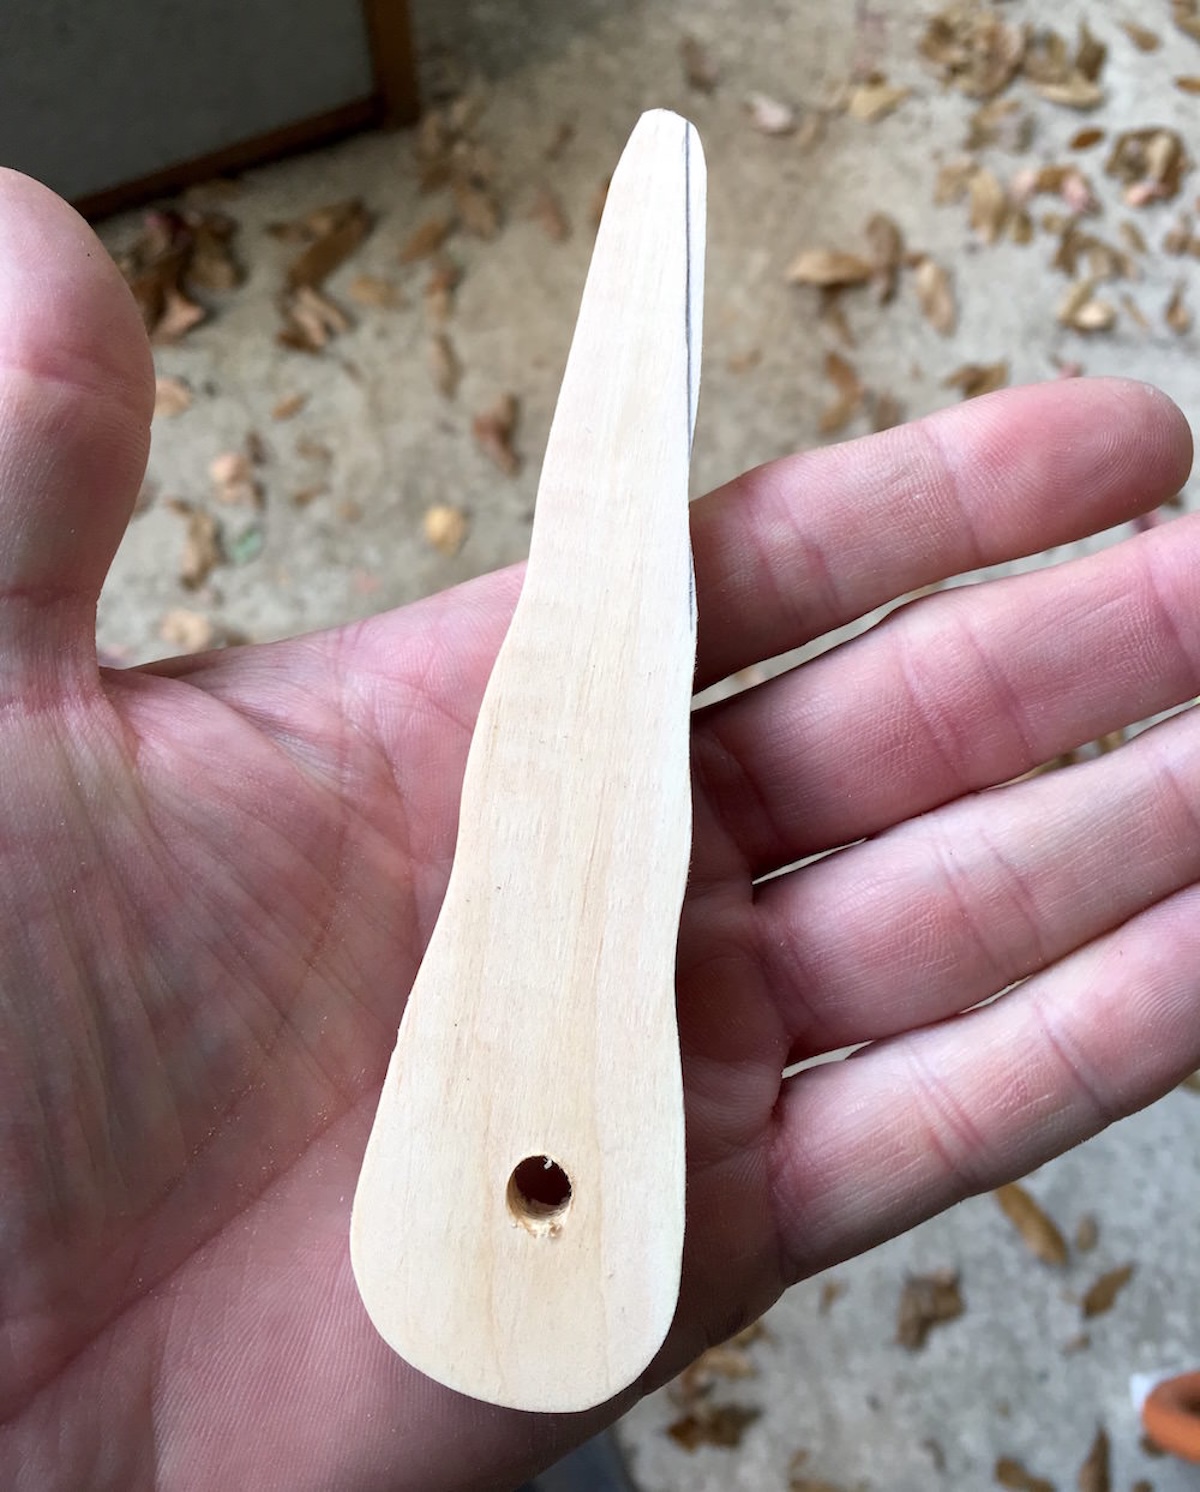
- Sand the curves in the nose using a Dremel with a sanding bit. Drill a ¼ hole at the end of the nose.
- This step is optional, but it will help your calendar sit more flush on the wall. Drill a recess into the back of the clock face with a spade bit. This is so the nut that attaches the nose will fit down into the recess.
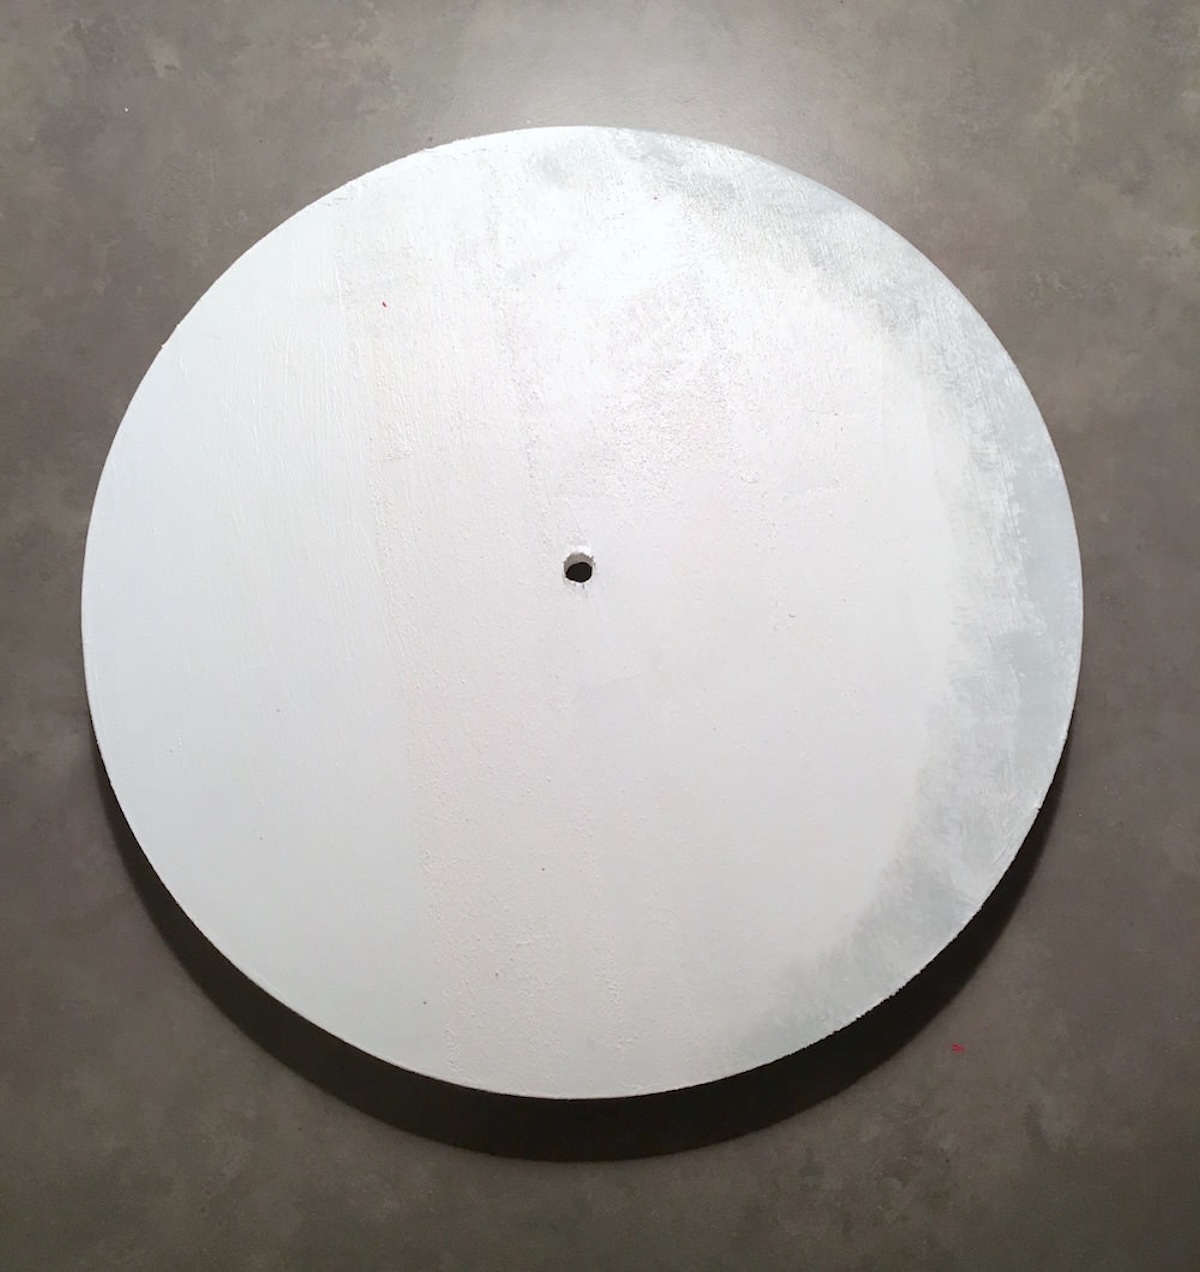
- Paint your clock face white, then spounce light gray around one edge to give it a highlight. Let dry.
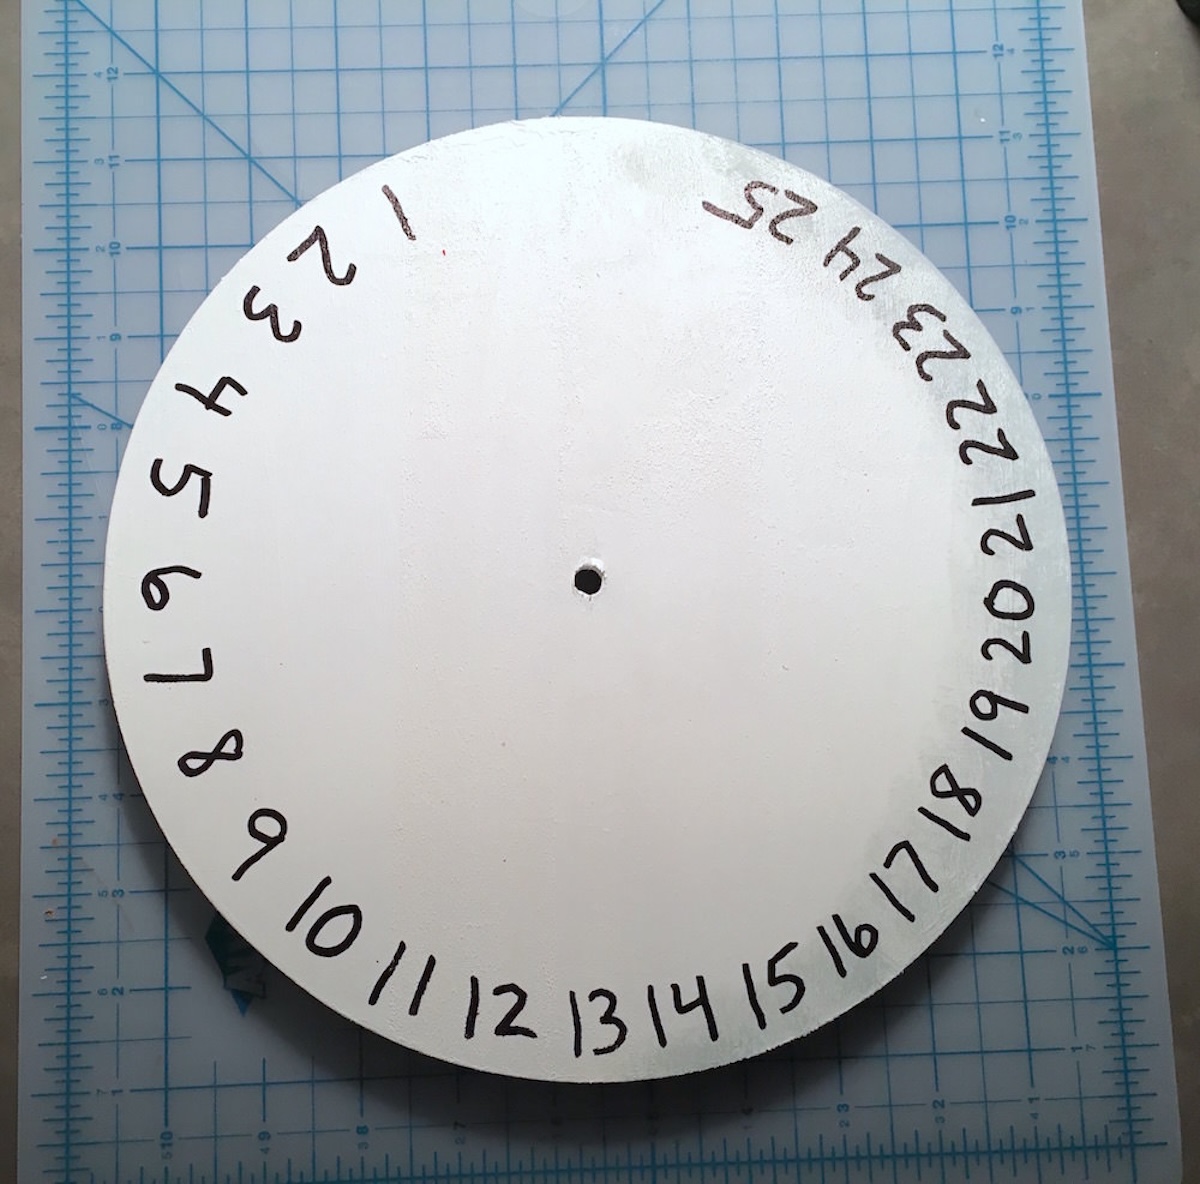
- Write numbers 1 – 25 around the edge of the clock face using the Sharpie.
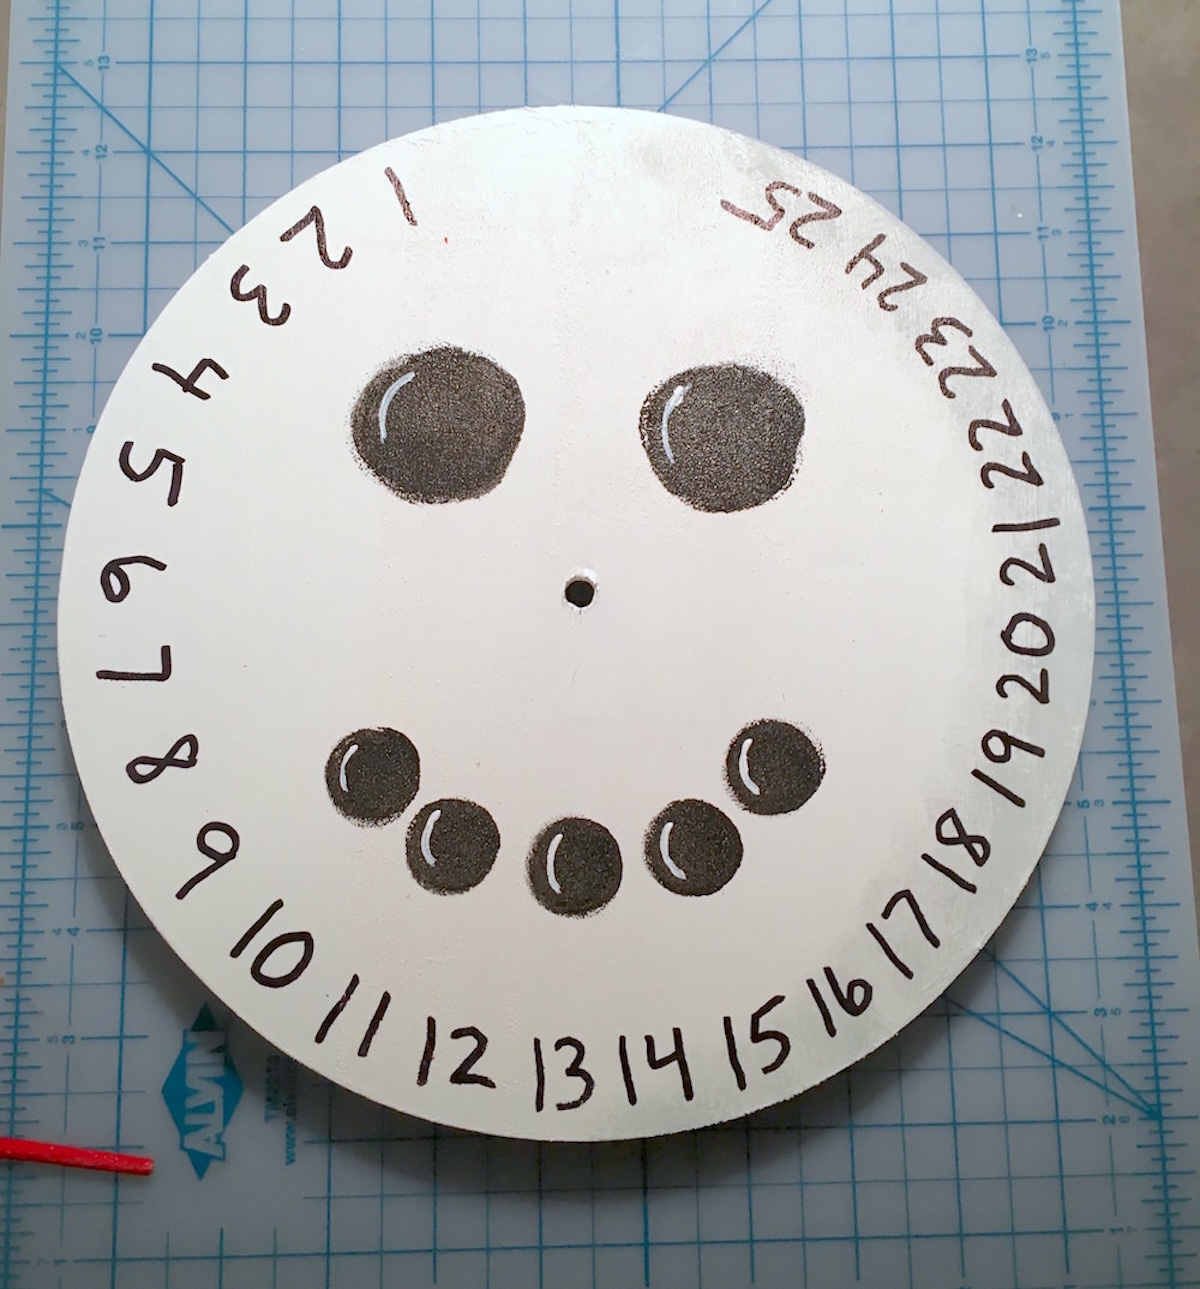
- Use a spouncer to add “coal” to the face with black acrylic paint; add white paint highlights with a liner brush. Let dry.
- Paint the hat pieces black and the nose orange. Add highlights of black to the nose with a liner brush. Let dry.
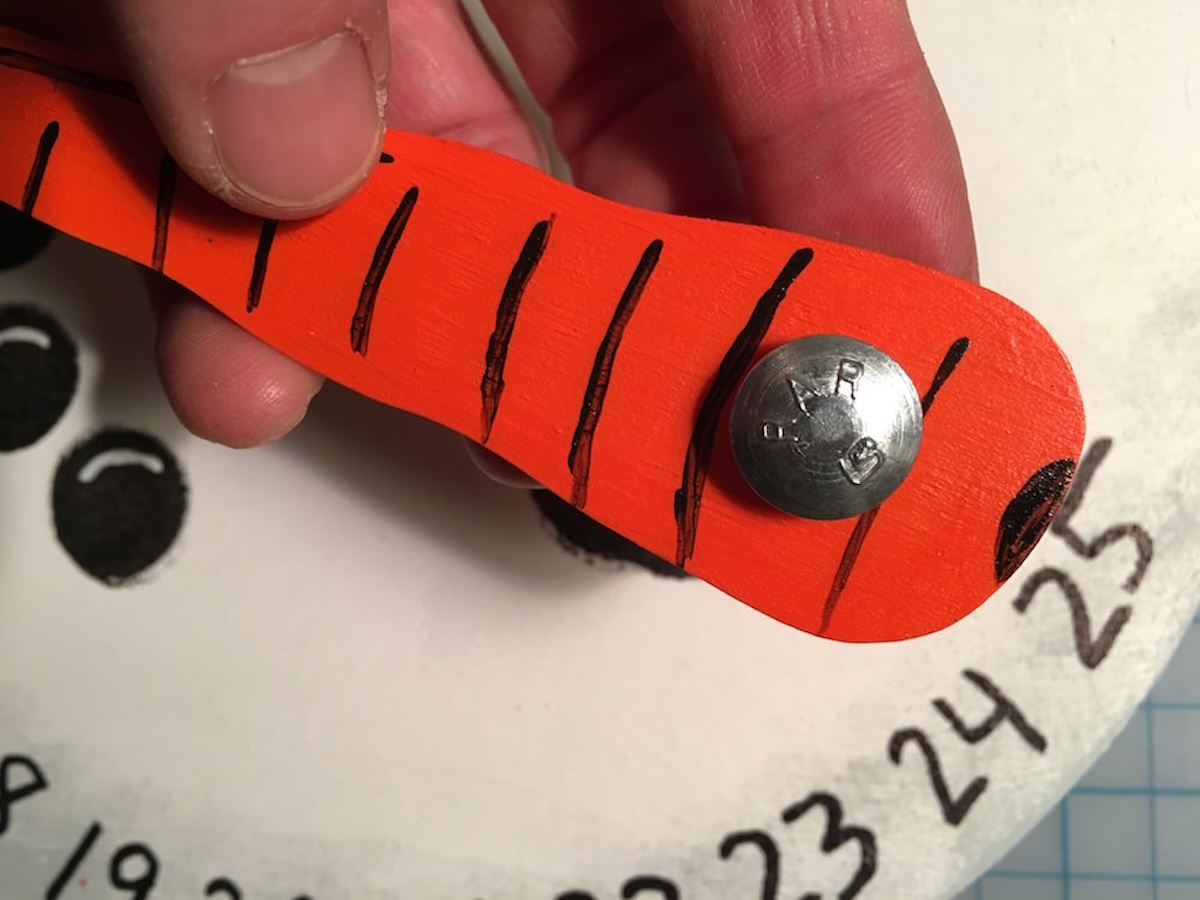
- Grab a ¼” bolt (1” length), two washers, and a nut to assemble the nose. Attach the nose tightly enough so you have to push the nose to each individual date. Paint the bolt orange and let dry.
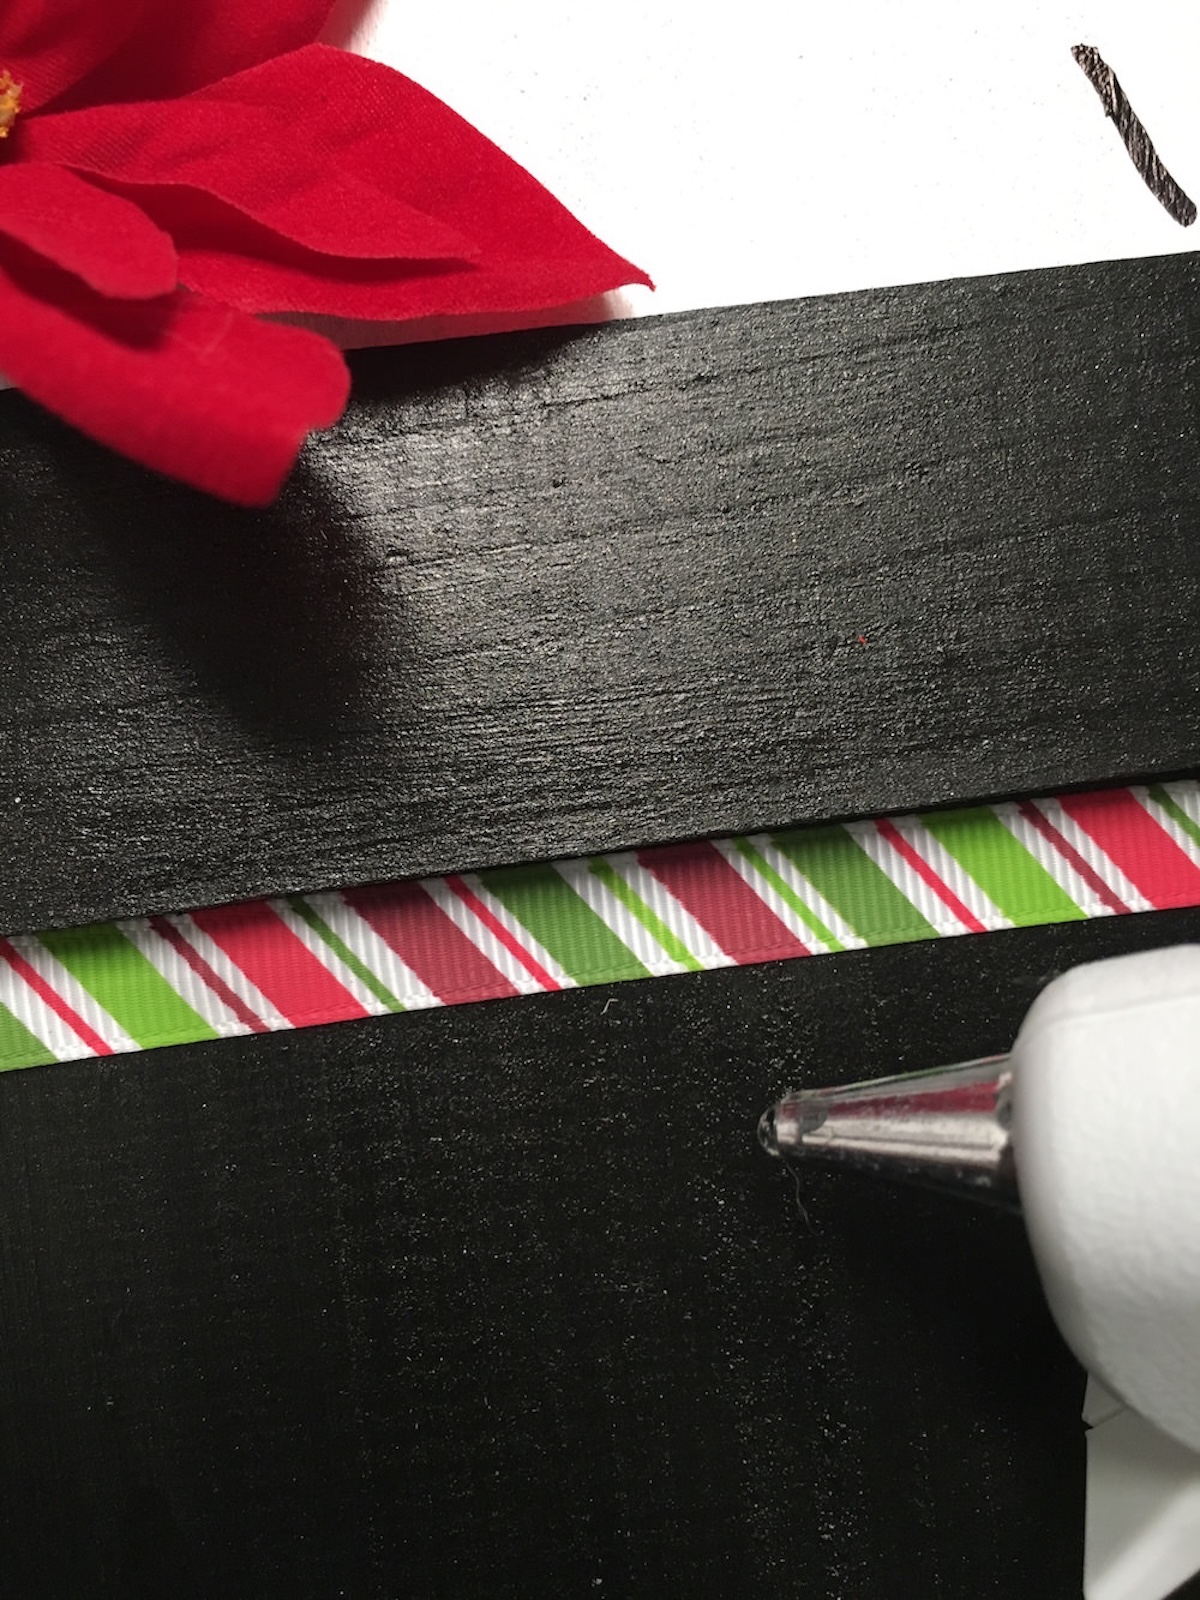
- Glue the hat onto the top of the snowman’s head and attach the ribbon and floral accents with a hot glue gun. Let dry completely before hanging.
Notes
You can also make the curves in the snowman's nose with regular sandpaper, but it's just going to take a bit longer.
For writing the numbers: I just went for it, but I know it's hard to make things even. If that's an issue for you, I recommend taking scrap paper and making a template of the face. Tape two sheets together if you have to.
Use that template to get the numbers in the right place. Then you can place the template over the snowman's face and use a pencil to write over the tops of the numbers - you'll be able to see the placement where the pencil made grooves on the face.
