
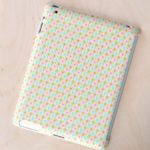
This DIY iPad case started as a $1 find from the dollar store! I then decoupaged a leftover fabric scrap to the outside, turning it into a custom case.
Skills Required: Beginner. The only part that is a little tricky is cutting the holes and areas around the ports. Just work slowly and follow my instructions and you should be fine.

A recent trip to the dollar store revealed all sorts of new surfaces that I could decoupage. There is a new Dollar Tree in the area and they have some pretty good stuff! One of the goodies that caught my eye was a plastic iPad case for $1 (of course).
I wanted an iPad case and I have fabric stash, so the two came together to make this DIY iPad case. It’s so easy and would make a great gift. See how I made this lovely dollar store craft!
Gather These Supplies
- iPad case from Dollar Tree – they have a variety of sizes for whatever iPad you currently have!
- Fabric Mod Podge
- Satin Mod Podge
- Fabric of your choice – use a thin cotton
- Paintbrush
- Scissors
- Detail scissors (like the ones in the Mod Podge tool kit)
- Waxed paper
- Sandpaper
Keep in mind that Mod Podge makes fabric slightly transparent, so if the fabric isn’t very thick you’ll need to make sure that the iPad case is white (or matches the fabric) so that it doesn’t look crazy.

This is so easy – honestly I think this would make a great craft for kids OR adults! Get the printable how to below:
DIY Tablet Case
Equipment
- Detail scissors
Materials
Instructions
- To prepare the fabric, paint a medium layer of Mod Podge on the fabric and let dry. Cover an area big enough to cover the iPad case.

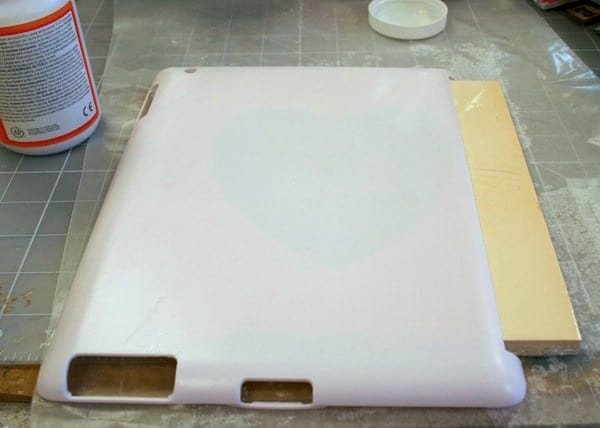
- Place the iPad case on a support and lightly sand it so that the Mod Podge will adhere more easily. You just need to rough up the surface.
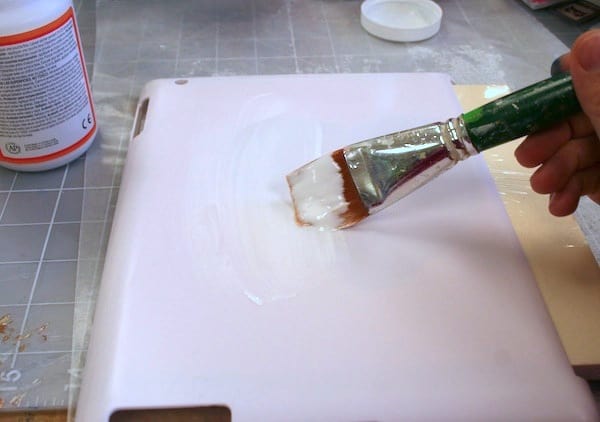
- Paint a layer of Mod Podge onto the case and smooth the fabric down on the top. Let dry.
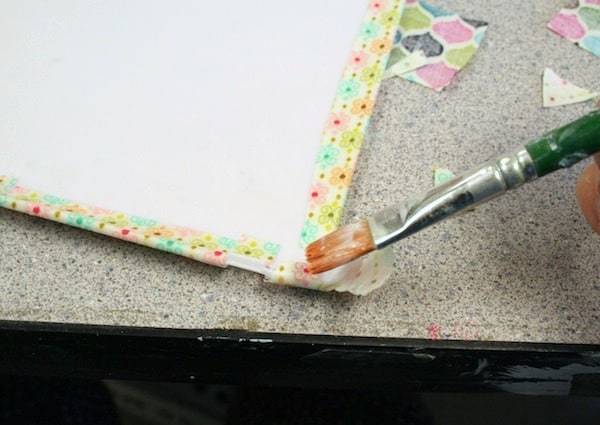
- Tackling the edges takes some time. Make sure that folding over the fabric wouldn't affect the fit of the case, then paint the sides down.
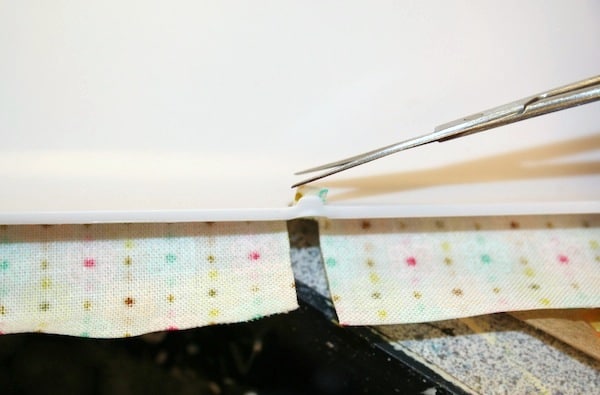
- I used the detail scissors to trim around the ports and areas where parts of the iPad need to come through. The detail scissors are quite sharp so I also used them to poke the camera hole (then I folded the fabric back in this area).
- Let everything dry and then give it a few topcoats. Let dry completely before putting on your iPad.
Notes
Would you ever try a DIY tablet case of your own? I’d love to hear in the comments! I’d also love for you to check out the following projects:


I love this idea! I just completed my first Mod Podge project ever! It was a lot of fun and I can see how addicting this would be!
Great Idea! I seen those today and thought wow, That is a great deal. But I dont have a Ipad so didnt get it. Love the use of the fabric, Im going to have to check out that Fabric Mod podge.
so simple and pretty! Thanks for the great idea.
That is awesome, I have a pink clear one that I hate, and I have the rest of the stuff 🙂
what a lucky find! my favorite dollar store find is pregnancy tests! who knew?
Very cute! Great fabric choice it’s so pretty. Thanks for sharing this project!
This is so amazing! If I ever get an iPad I will definitely be doing this!
Would that work on the cover that “folds” up? Would it make it too stiff to “fold” or “roll”?
Hi Pab! It wouldn’t make it too stiff, but it might crack . . . I’m not sure :/
Amy, I love this!! I am going to be looking for an ipad case that I can give a little makeover on my next trip…too bad I’ve already been for the day. I guess it will have to wait a day or too. Anyhoo…looks adorable!!!
I love your I pad guide :D, I wonder if that OK by you I will share this tutorial in my blog ?
with credit and link to your blog 🙂
http://toelahandmade.blogspot.com/
Hi Naomi! I allow one picture and a link – I do not allow republishing of full tutorials. Thank you!!
Great Thanks 😀 That will do just good, I just think its great tutorial that worth to share 😉
This is so cool! I need to run out and buy a case now so I can transform it!
That is so cute! I was wondering, do y think oilcloth would be too thick? I was just wondering, because then it would be waterproof. I will have to go look for mine tomorrow!
Hi CheRalee! You could try it with oilcloth, but you might have issues folding it over the edges because it’s too thick. So you would have to cut it a little differently. You also couldn’t seal it on the outside because it’s already got a coating (but I’m guessing you can glue it down with Mod Podge just fine).
COOL! I HAVE BEEN TRYIN TO FIND WHR I CAN BUY THE MOD PODGE HERE IN NIGERIA AND I STILL CAN FIND CANT WAIT TO LAY MY HAND ON IT THO!