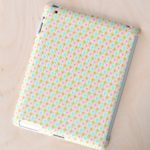
DIY Tablet Case
Learn how to make an iPad case using a dollar store find! It's easy to do with Mod Podge.
Yield: 1 case
Cost: $1
Equipment
- Detail scissors
Materials
Instructions
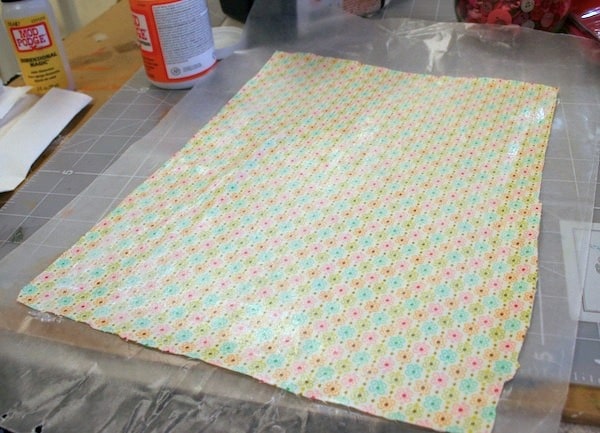
- To prepare the fabric, paint a medium layer of Mod Podge on the fabric and let dry. Cover an area big enough to cover the iPad case.
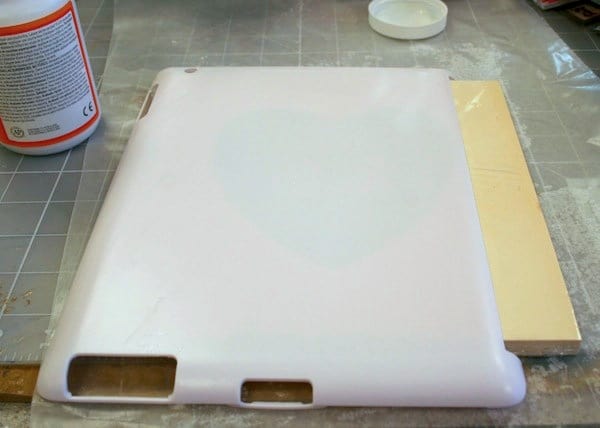
- Place the iPad case on a support and lightly sand it so that the Mod Podge will adhere more easily. You just need to rough up the surface.
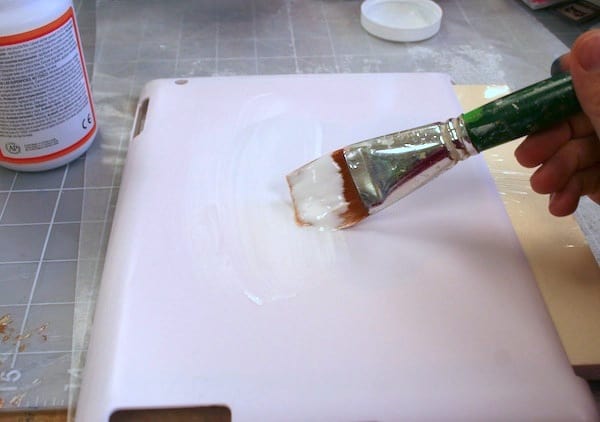
- Paint a layer of Mod Podge onto the case and smooth the fabric down on the top. Let dry.
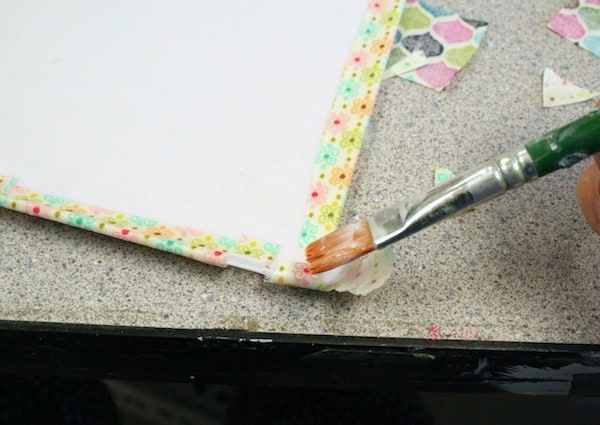
- Tackling the edges takes some time. Make sure that folding over the fabric wouldn't affect the fit of the case, then paint the sides down.
- I used the detail scissors to trim around the ports and areas where parts of the iPad need to come through. The detail scissors are quite sharp so I also used them to poke the camera hole (then I folded the fabric back in this area).

- Let everything dry and then give it a few topcoats. Let dry completely before putting on your iPad.
Notes
I prepared my fabric using Fabric Mod Podge. I did this because I wanted a relatively durable and highly water resistant finish on the case, and Fabric Mod Podge does just that.
You might have to hold some areas of fabric for a minute or so until they attach, and you are probably going to have to cut the corners and fold them like a present to make them work.