
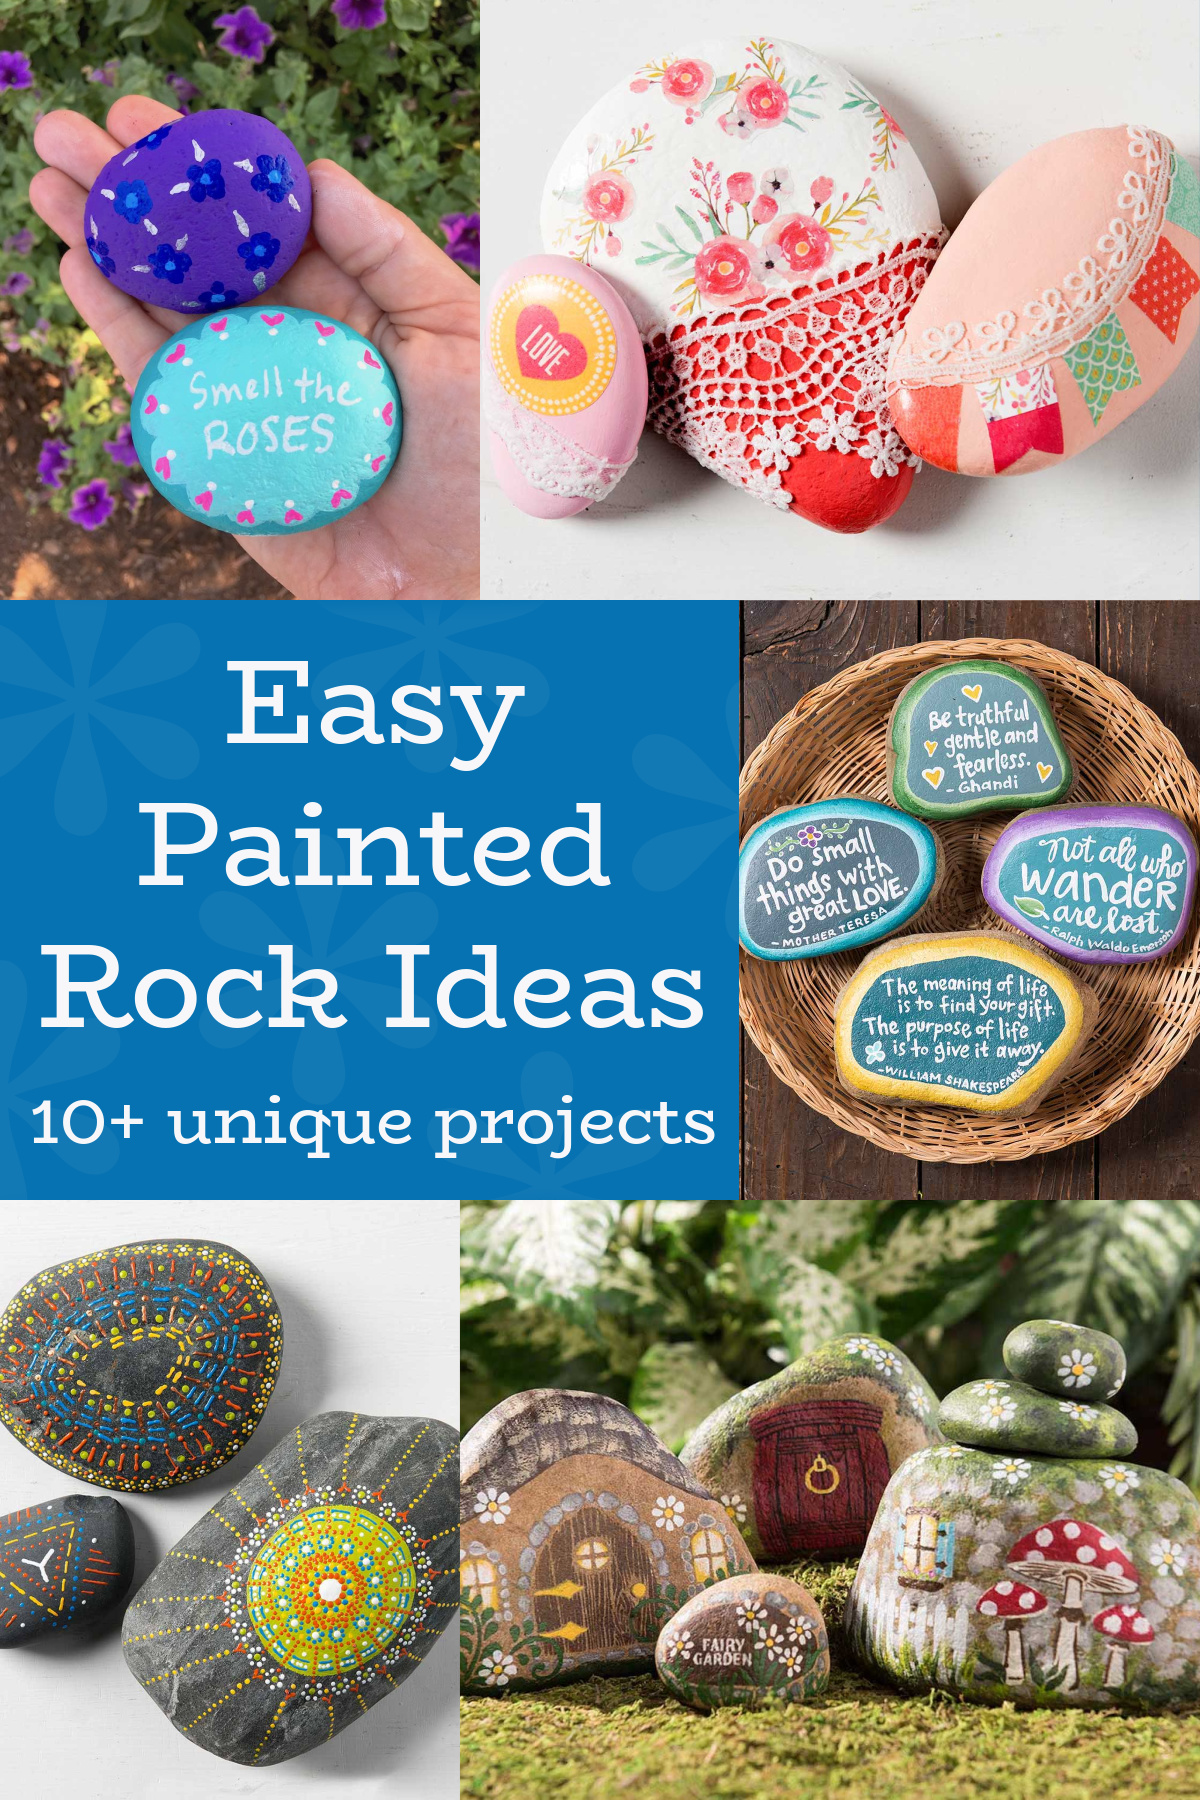
Get TEN ideas for beautiful painted rocks PLUS instructions on how to paint them! Rock painting is a fun activity for adults, seniors, or kids, and makes great gifts or home decor.
Don’t forget to scroll down to the bottom of the post to watch a video. You’ll learn how to make the fairy garden rocks shown in this post!
Skills Required: Beginner. These painted rock ideas are extremely EASY. There are a few tricks for making them, but I’ll go over that in each description. If you follow the instructions, you’ll have success.
Rock painting ideas are all the rage right now! I’m not sure if you’ve heard of the Kindness Rocks project, but it’s the reason why people began painting rocks in the first place (besides the fact that it’s just fun to do).
Rock Painting Tips
The idea behind these rocks is that you will decorate them and place them in locations for others to find as a “random act of kindness.” Isn’t it a cool idea? It’s a great spring or summer craft for kids or adults.
I love the thought of making someone happy with a pretty rock and inspirational message. In a world where we’re just looking for a little something to brighten our days, these rocks are perfect!
Of course you can also keep the rocks for yourself or give them as gifts. Decorative rocks are perfect for displaying on shelves, in your garden, or as vase filler (the smaller ones, anyway!).
How to Paint Rocks to Achieve Success
Here are my favorite tips for achieving the best painted rocks:
Pick Smooth Surfaces
Pick smooth, flat rocks. You can decorate any rock, but it’s harder to decorate ones with ridges. If you can’t find them in nature, the craft stores sell them as do home improvement centers.
Wash the Rocks
Wash the rocks before decorating them. You want to remove dirt so that it doesn’t mess your design. You can wash several at once with dish soap and leave in a colander to drain and dry.
Seal Before Painting
Seal the rock before painting on it. Use Mod Podge or another clear brush on or spray sealer. This helps so that the rocks (which are porous) don’t suck the life out of your markers. Another option: prime with white paint to help the colors that you paint on top appear more vibrant.
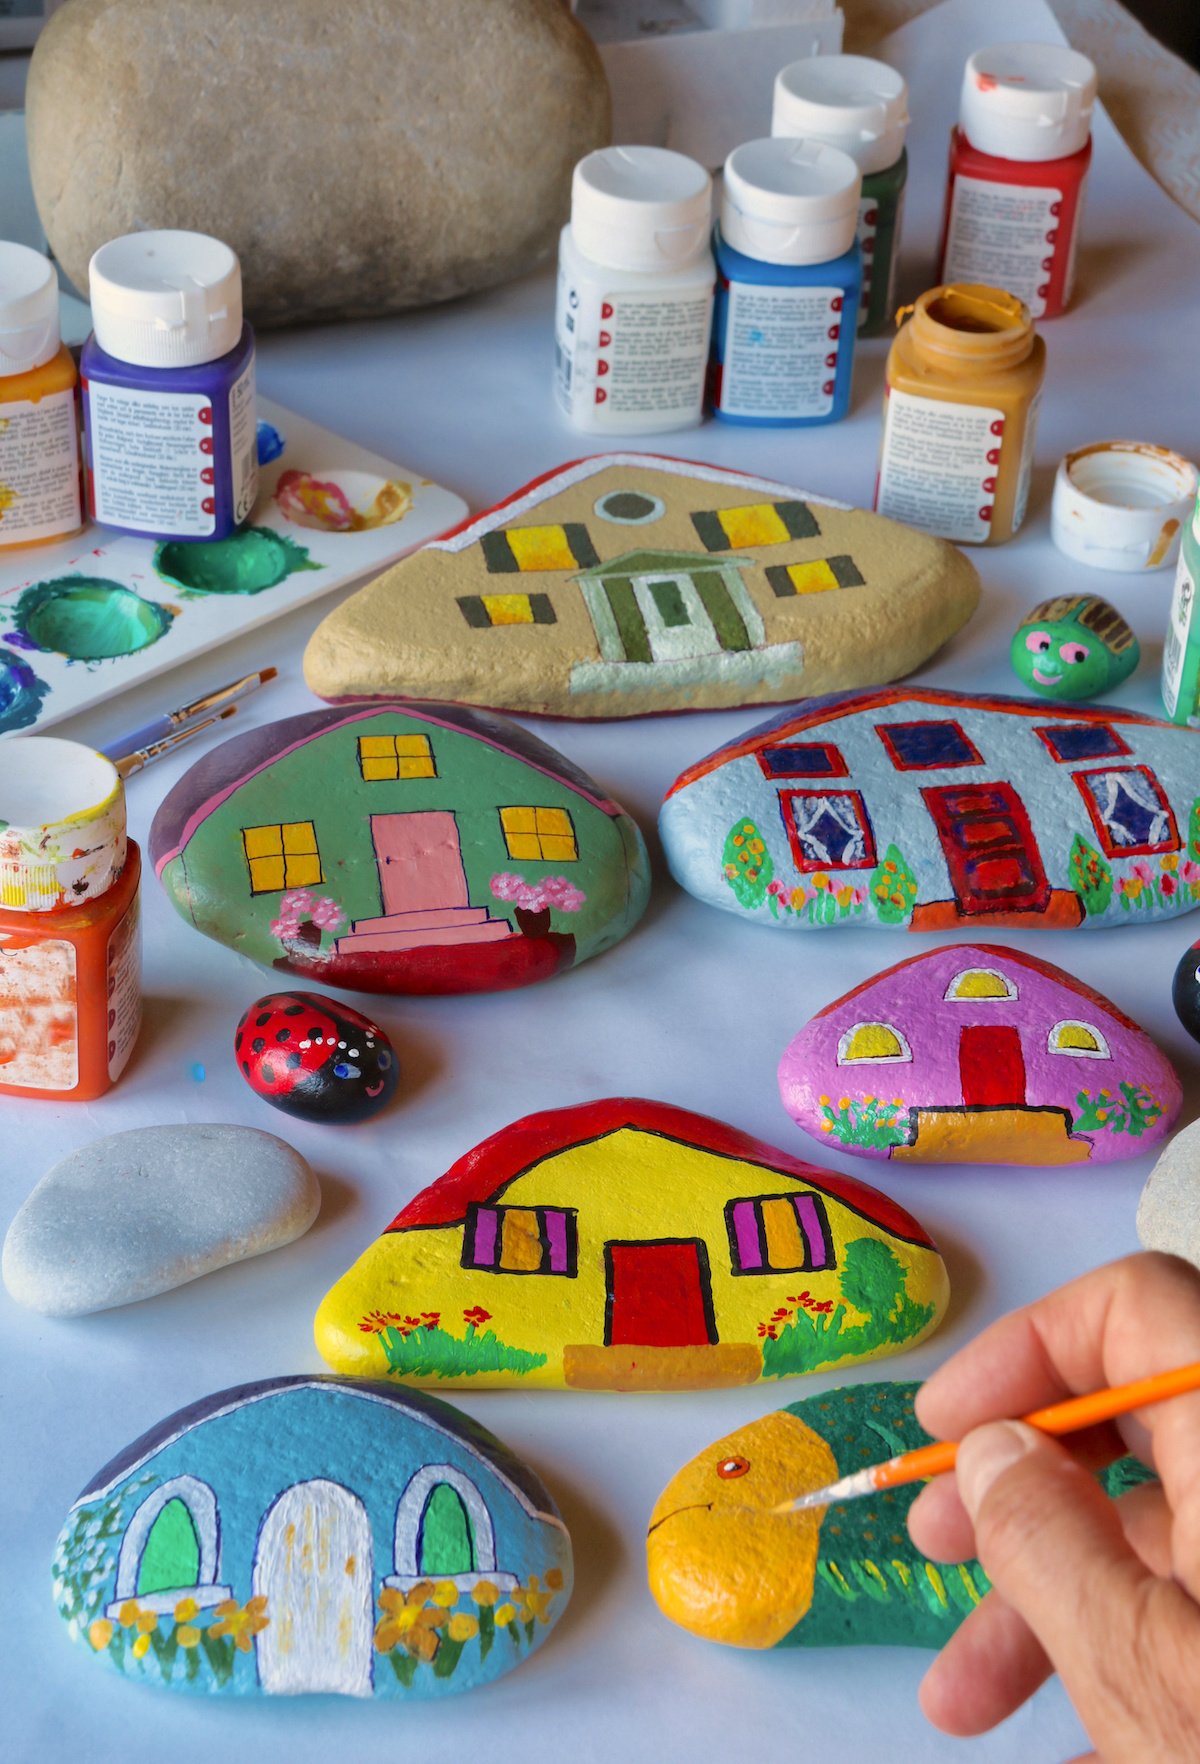
Use Multisurface Paint and Paint Pens
You won’t need many painting supplies for your rocks. Brushes, paint, a basin or water jar, and paint pens.
Paint your design on top and use several coats . . . let dry between layers. Use outdoor or multi-surface acrylic paints to help them hold up to the elements.
Use oil based paint pens or markers made for rocks. These work the best for me! Just make sure to let the base fully dry before any writing. The best rock markers of all time? POSCA paint pens!
Use Small Tools
Use small brushes, the ends of your paint brushes, or a stylus to make small details and/or dots.
Seal When Done
Finish off your rocks with a coat (or two or three) of Mod Podge Outdoor OR a comparable brush on or clear spray sealer. This will help protect your beautiful painted rocks from the elements.
You Can Always Start Over
And my favorite tip: if you mess up, wipe it off or wash it away while the paint is still wet. You can dab a corner of a paper towel in water and do it quickly and easily. Trust me . . . we’ve all had to do it. You’ll have a blast learning how to paint rocks!
Now that you have my favorite tips, check out these 10 painted rock ideas below. There are so many ways to decorate rocks to make them fabulous – which one of these is your favorite?
Painted Rock Paperweights
The trick for rock art with quotes on top? Paint your base colors, then let dry. Then write your quote with a white gel pen, leaving enough room so that you can use a liner brush or thin paint pen to go over the top of each letter.

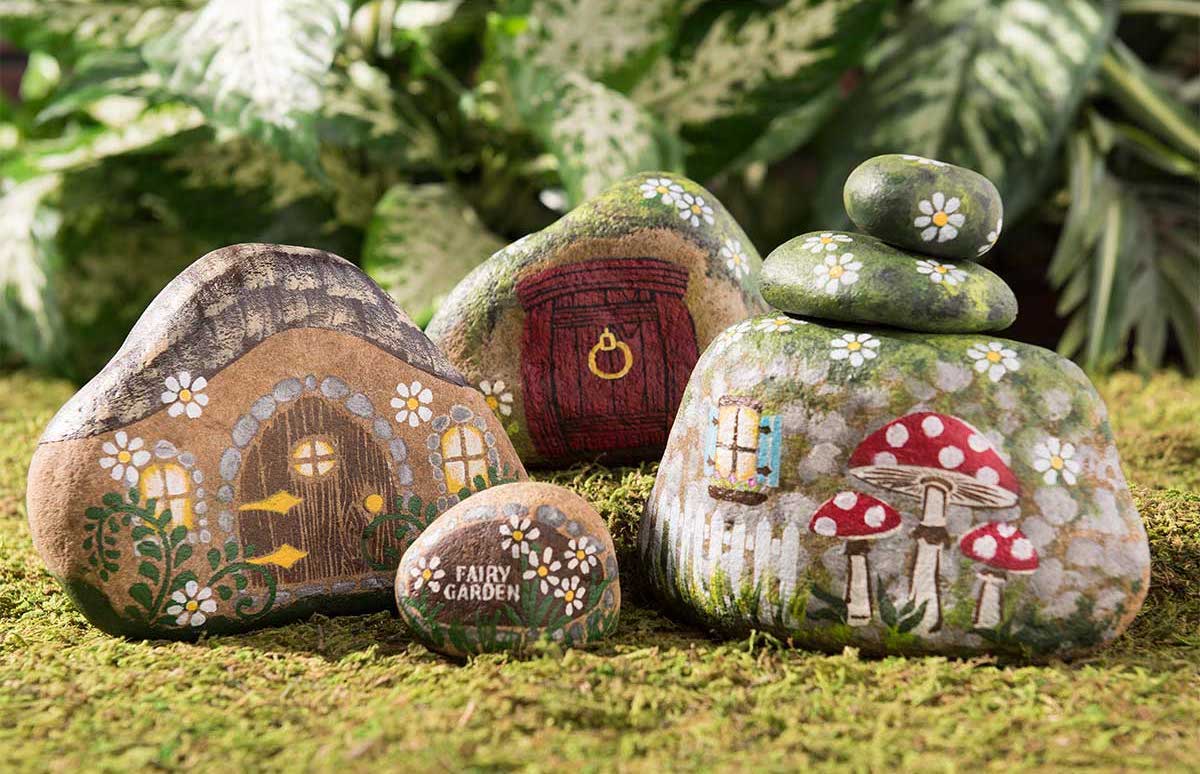
River Rock Fairy Garden Houses
You might think someone with a very steady hand painted these decorative rocks, but nope – they were designed with stencils!
Stencils are going to be your best friend for this project (plus the video at the very bottom of this post shows you how to make the rock on the left with the door).
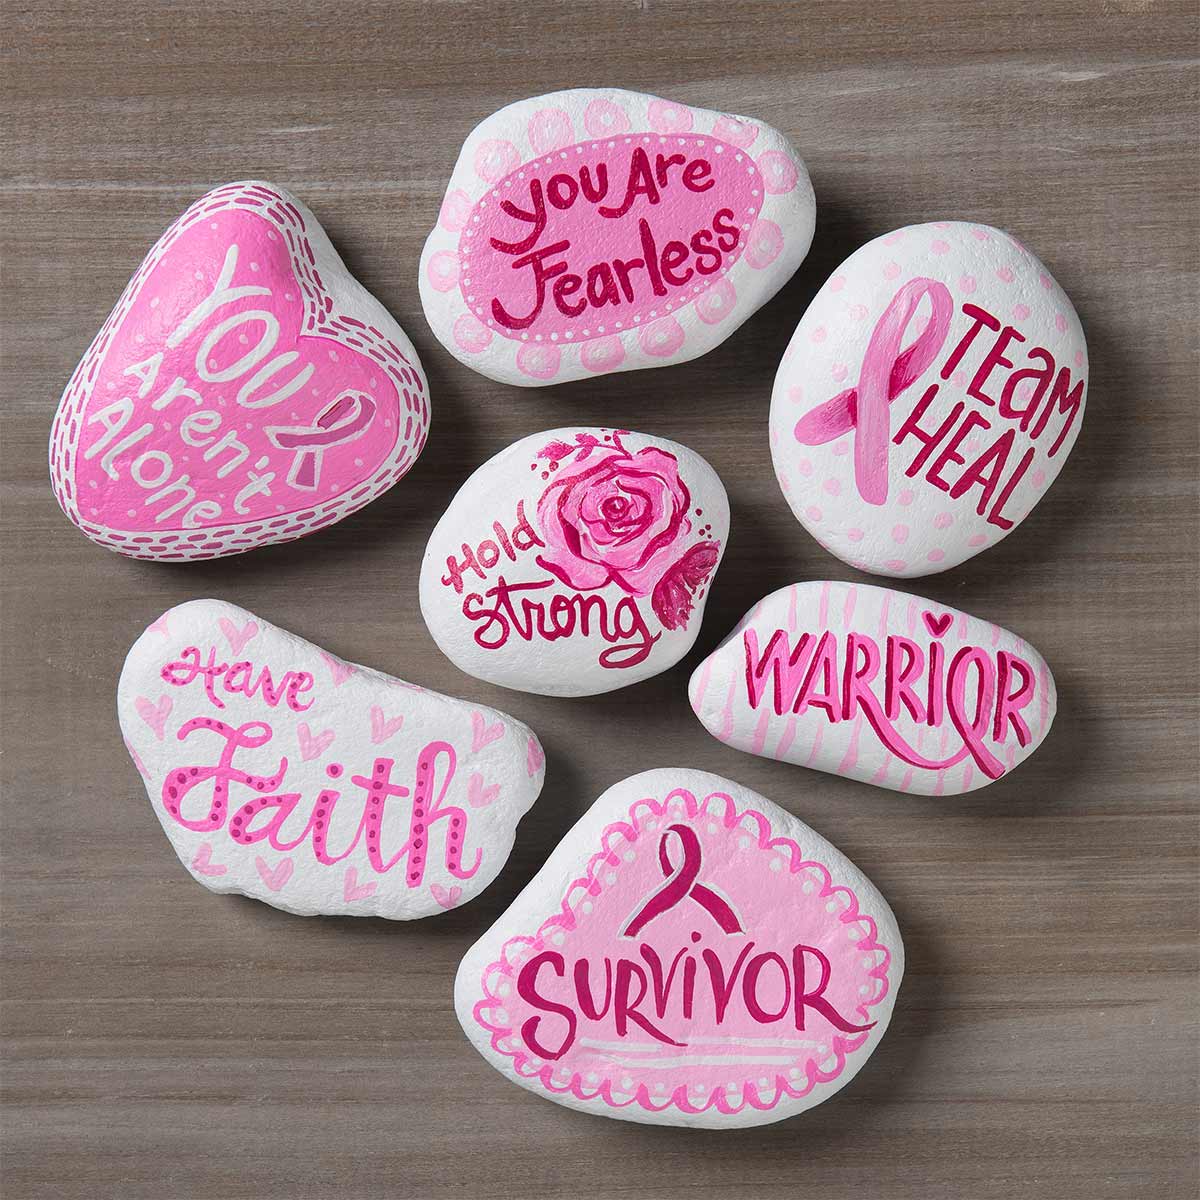
Breast Cancer Awareness Kindness Rocks
My aunt is recovering from breast cancer and these painted rocks would be a great gift for her! If you feel uncomfortable with the lettering, use a white gel pen as your template as I suggested in the first project . . . then paint over the top with a liner brush. As an alternative, you can also stencil words on top of the rocks OR decoupage them.
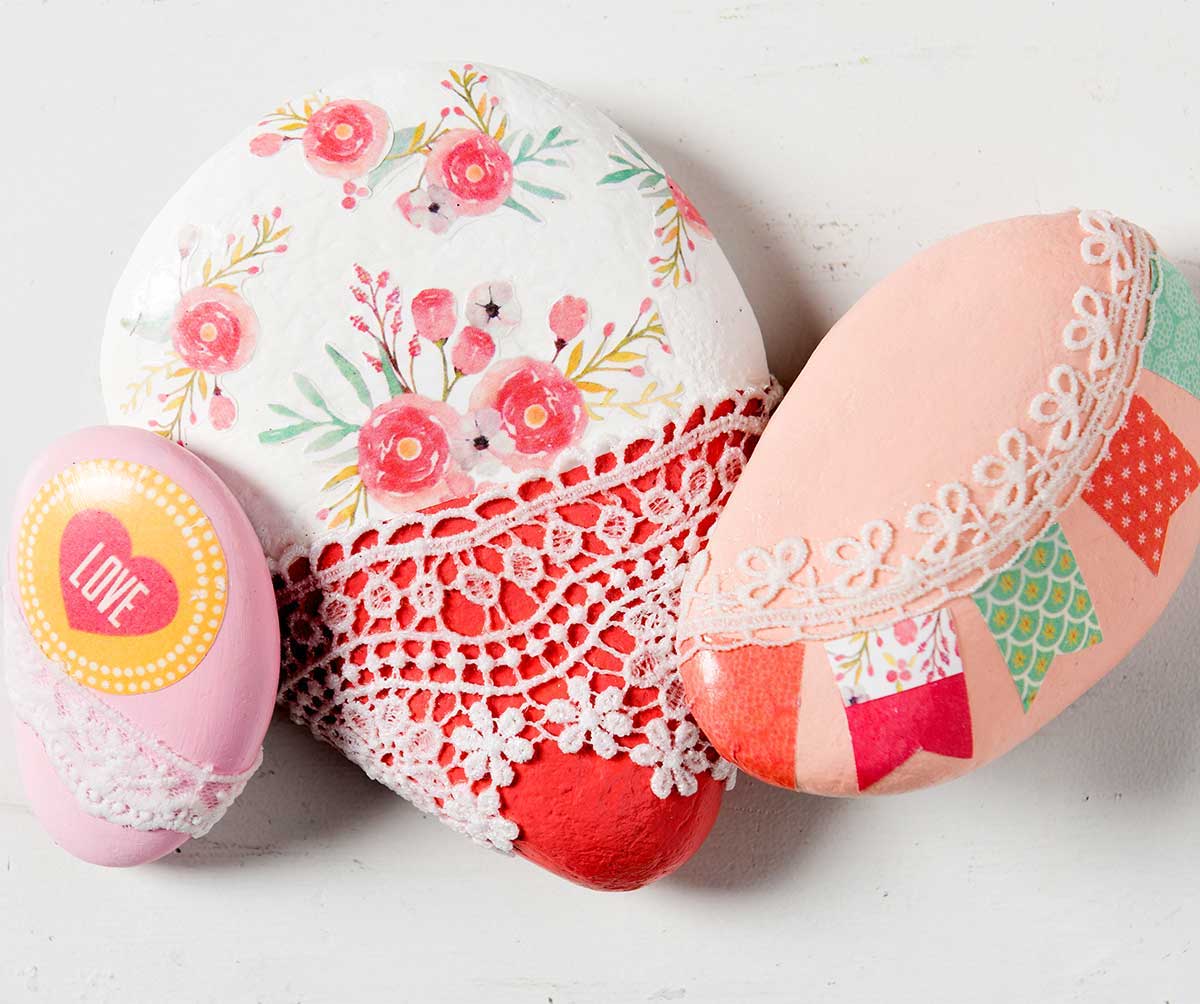
Decorate Decoupage Rocks
If you want to learn how to paint rocks but want to start with something easy, these decorative rocks are perfect! You’ll simply basecoat (completely cover) with a solid color, then use Mod Podge to apply scrapbook paper and lace on top.
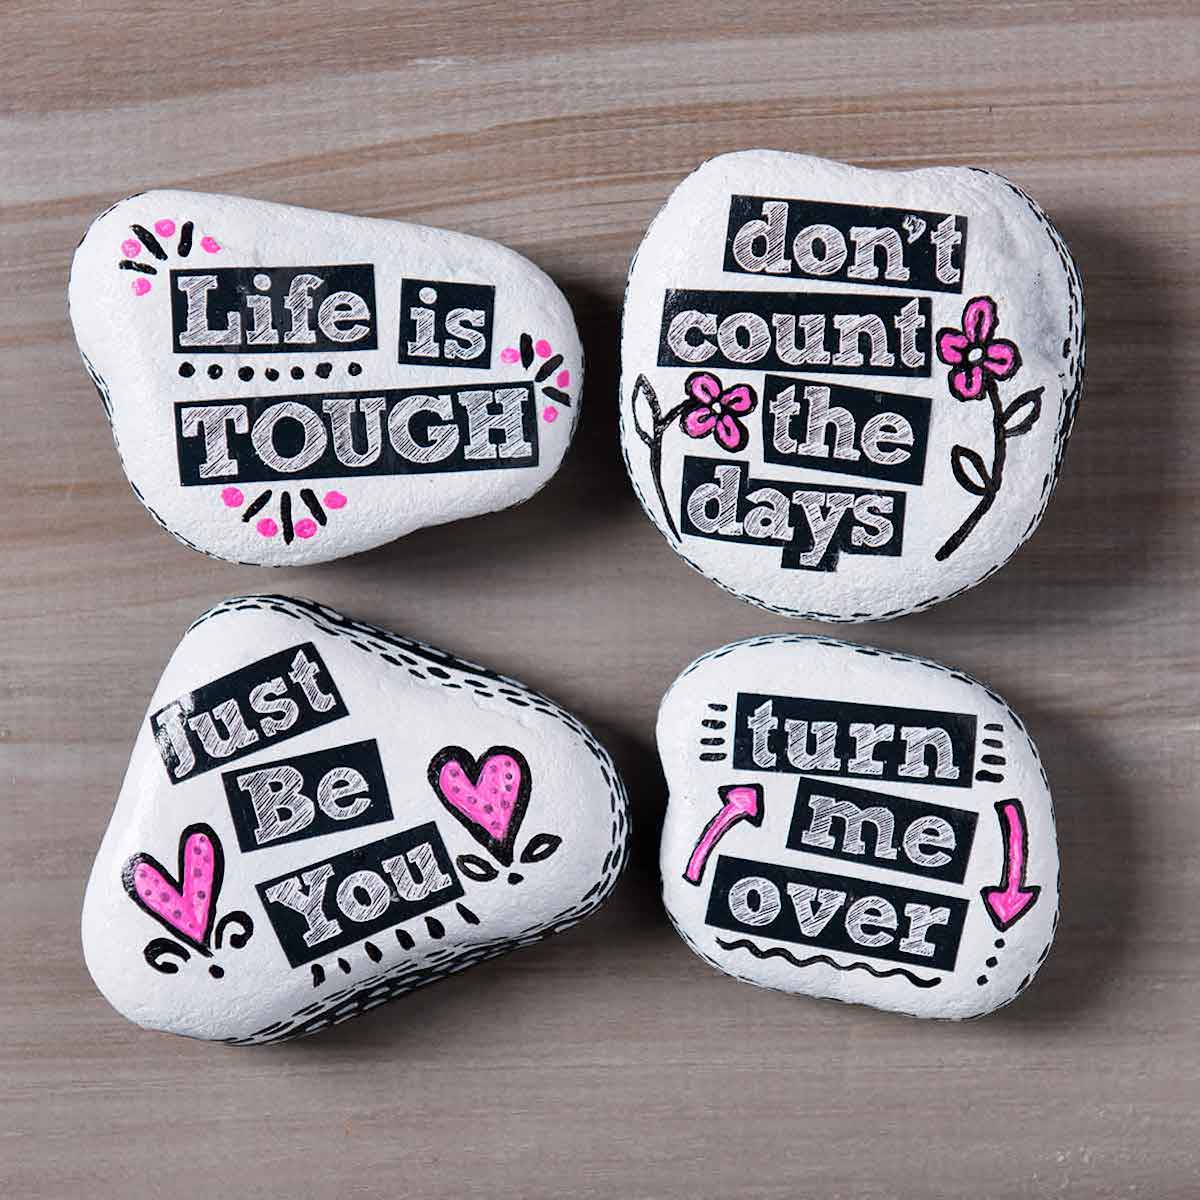
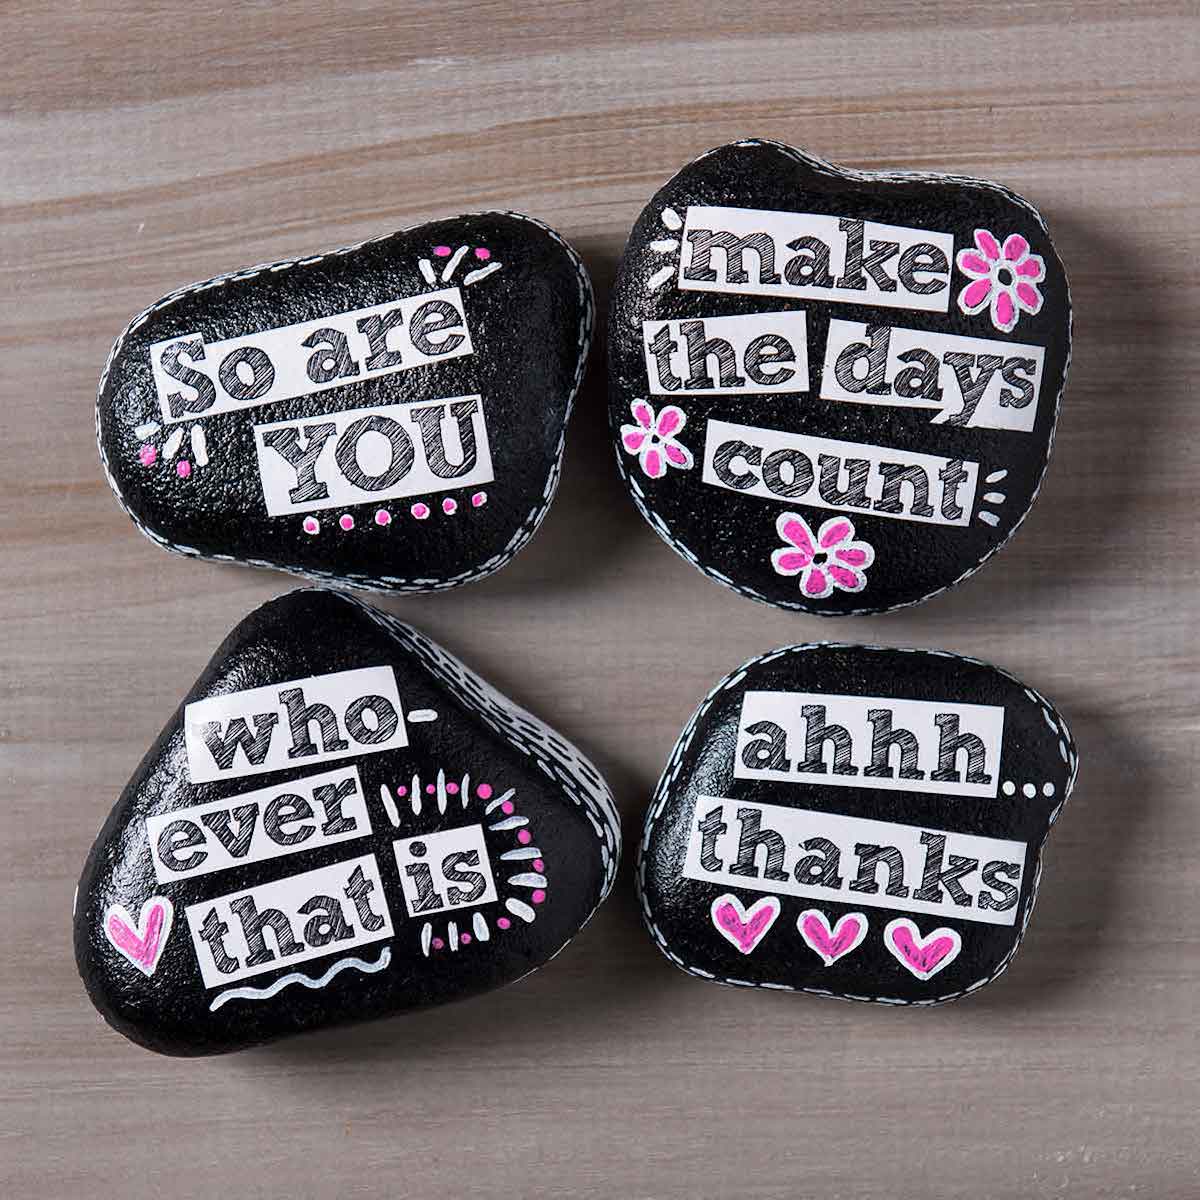
Flip Rocks DIY
These decorative rocks are perfect for hiding outside! They have a message decoupaged on one side . . . flip them over and they have something else to say. You could even tell silly knock knock jokes with them.
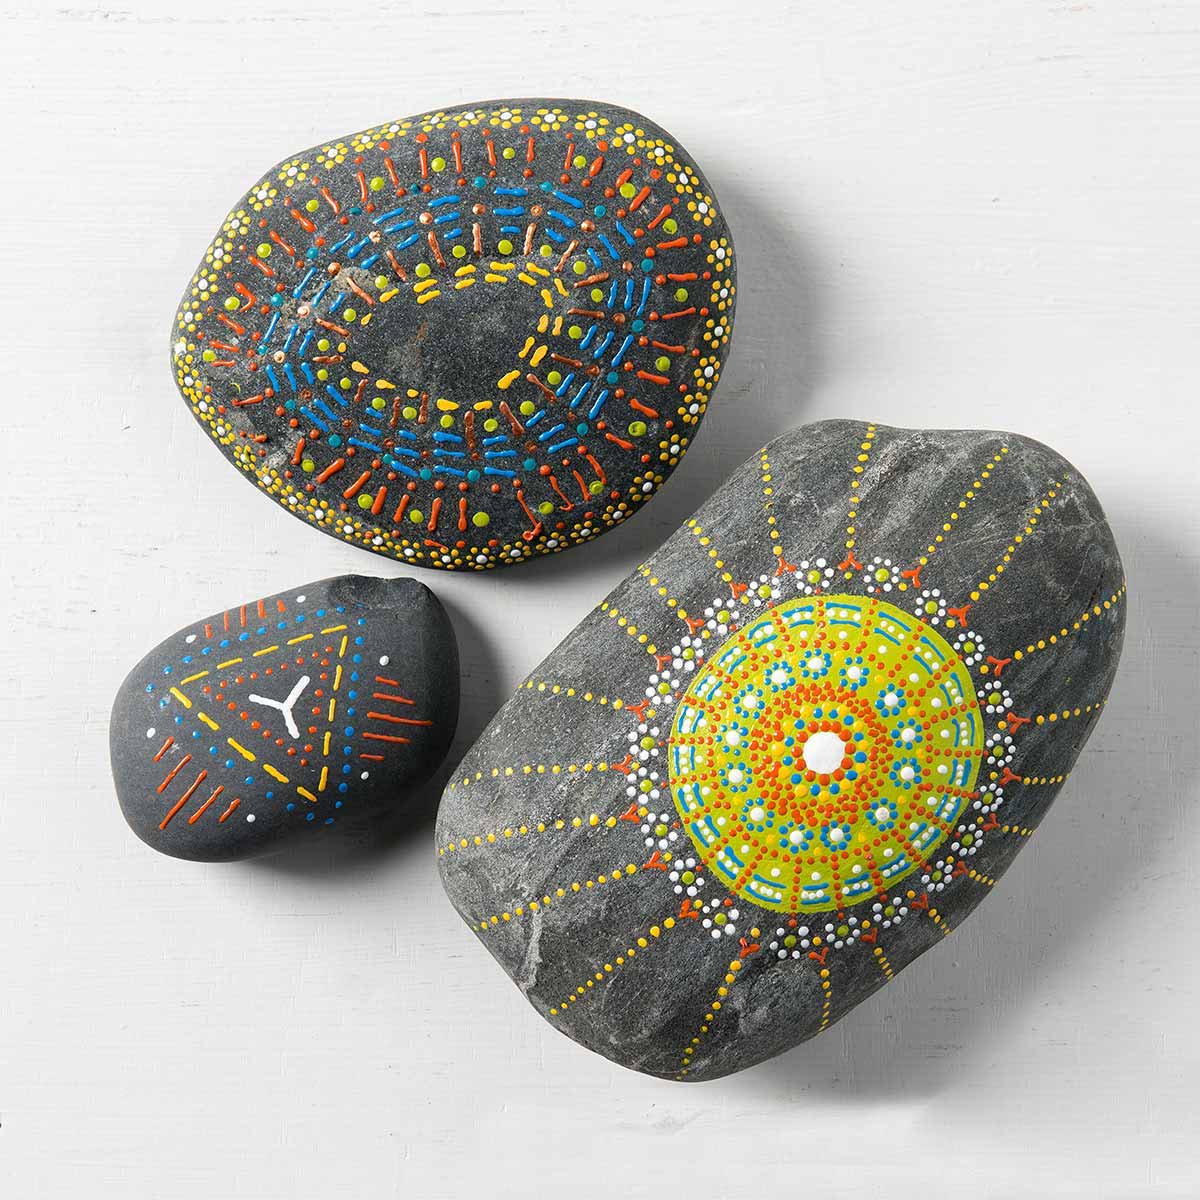
Painted Mandala Rocks
You might think these mandala rocks are difficult given the detailed design – but I promise you, they aren’t! You can use toothpicks or a stylus to achieve the dots. You’ll need patience and a lot of paint colors, but anyone can do it.
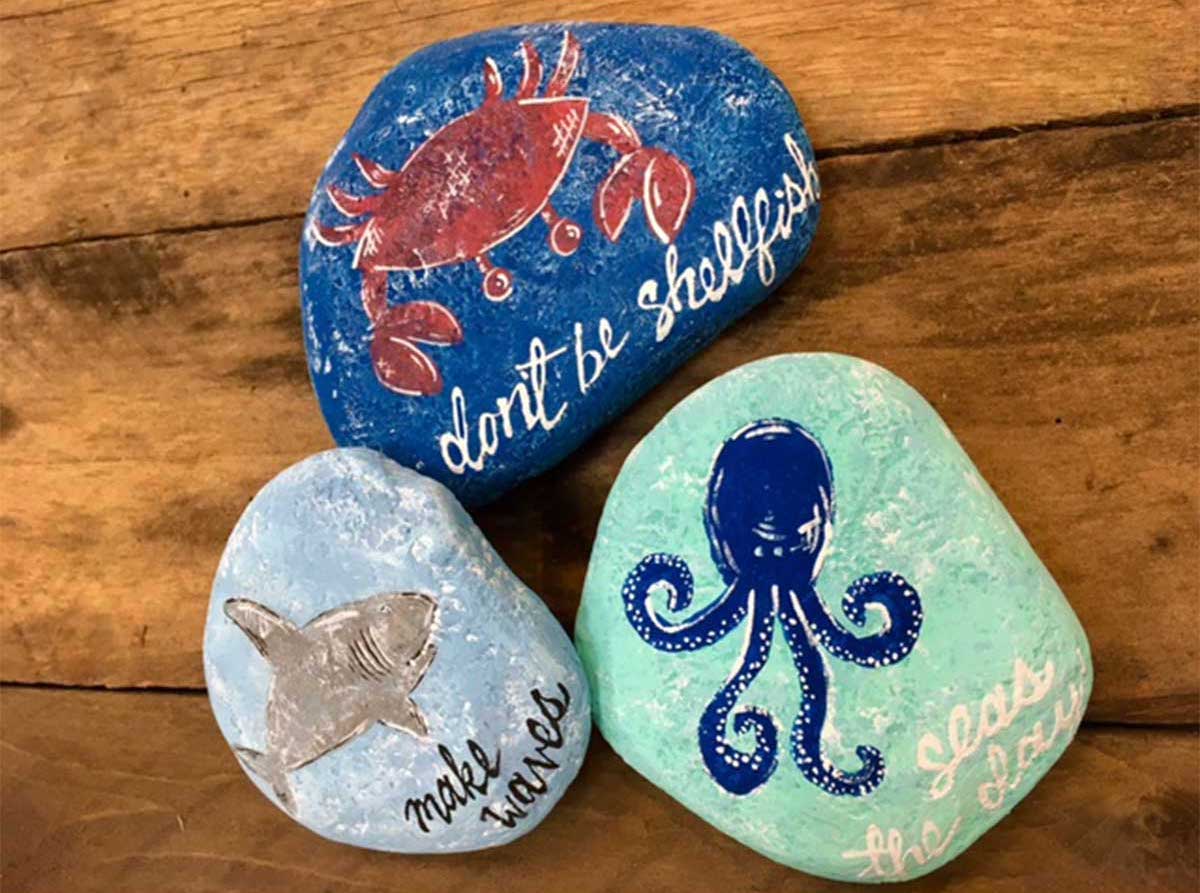
Beachy Rocks
These decorative rocks have a distressed look, but they were actually made with stencils. Then some details were added and some distressing was achieved with sandpaper. I love the beachy feel and that’s a perfect place to hide them.
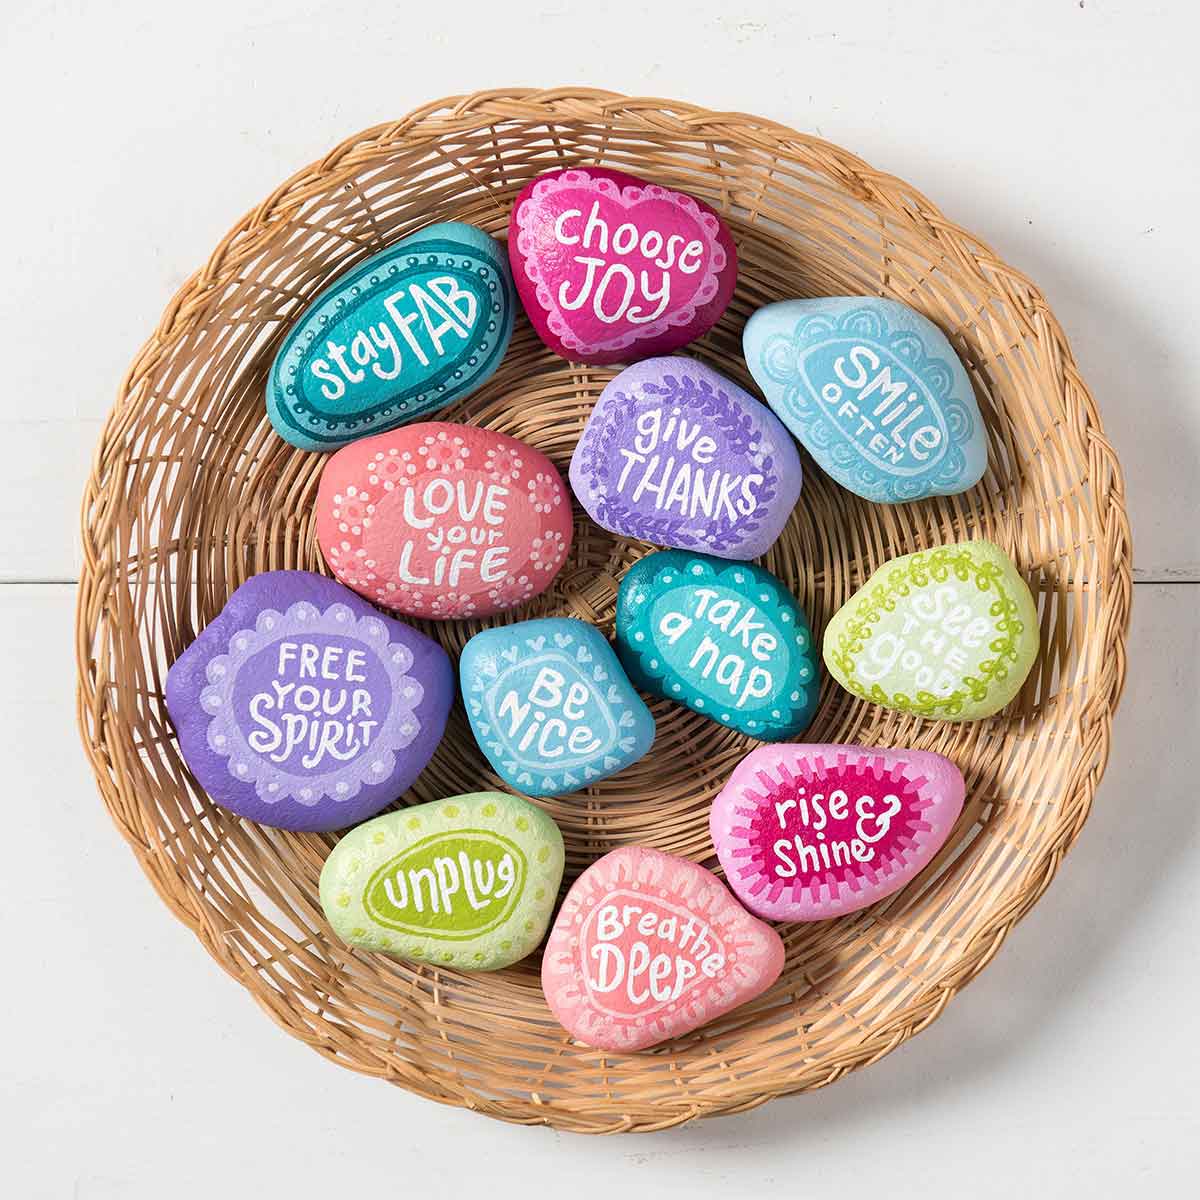
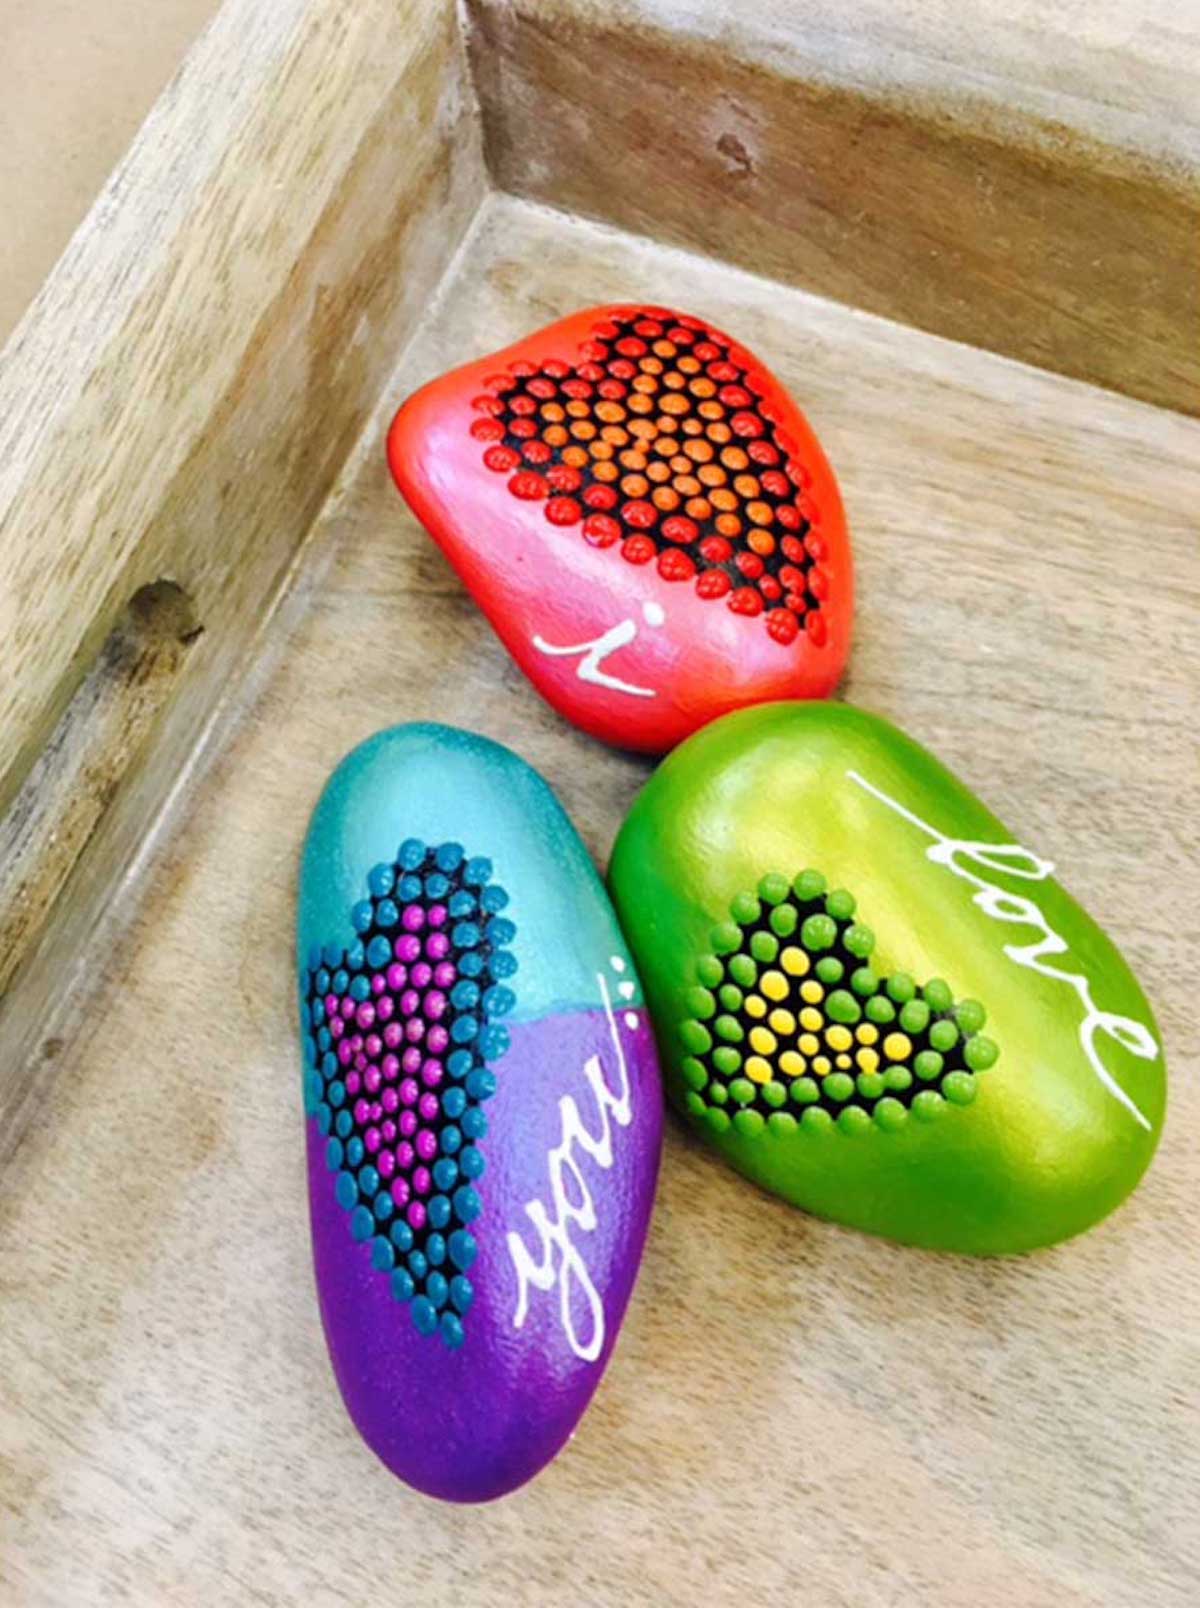
Feel Good Message Stones
I love the bright colors and messages used with these painted rocks! This is a project just like the first one I shared – you’re going to use the white gel pen and a liner brush to achieve the writing. Of course, there are white oil based paint pens if you prefer to do the script that way.
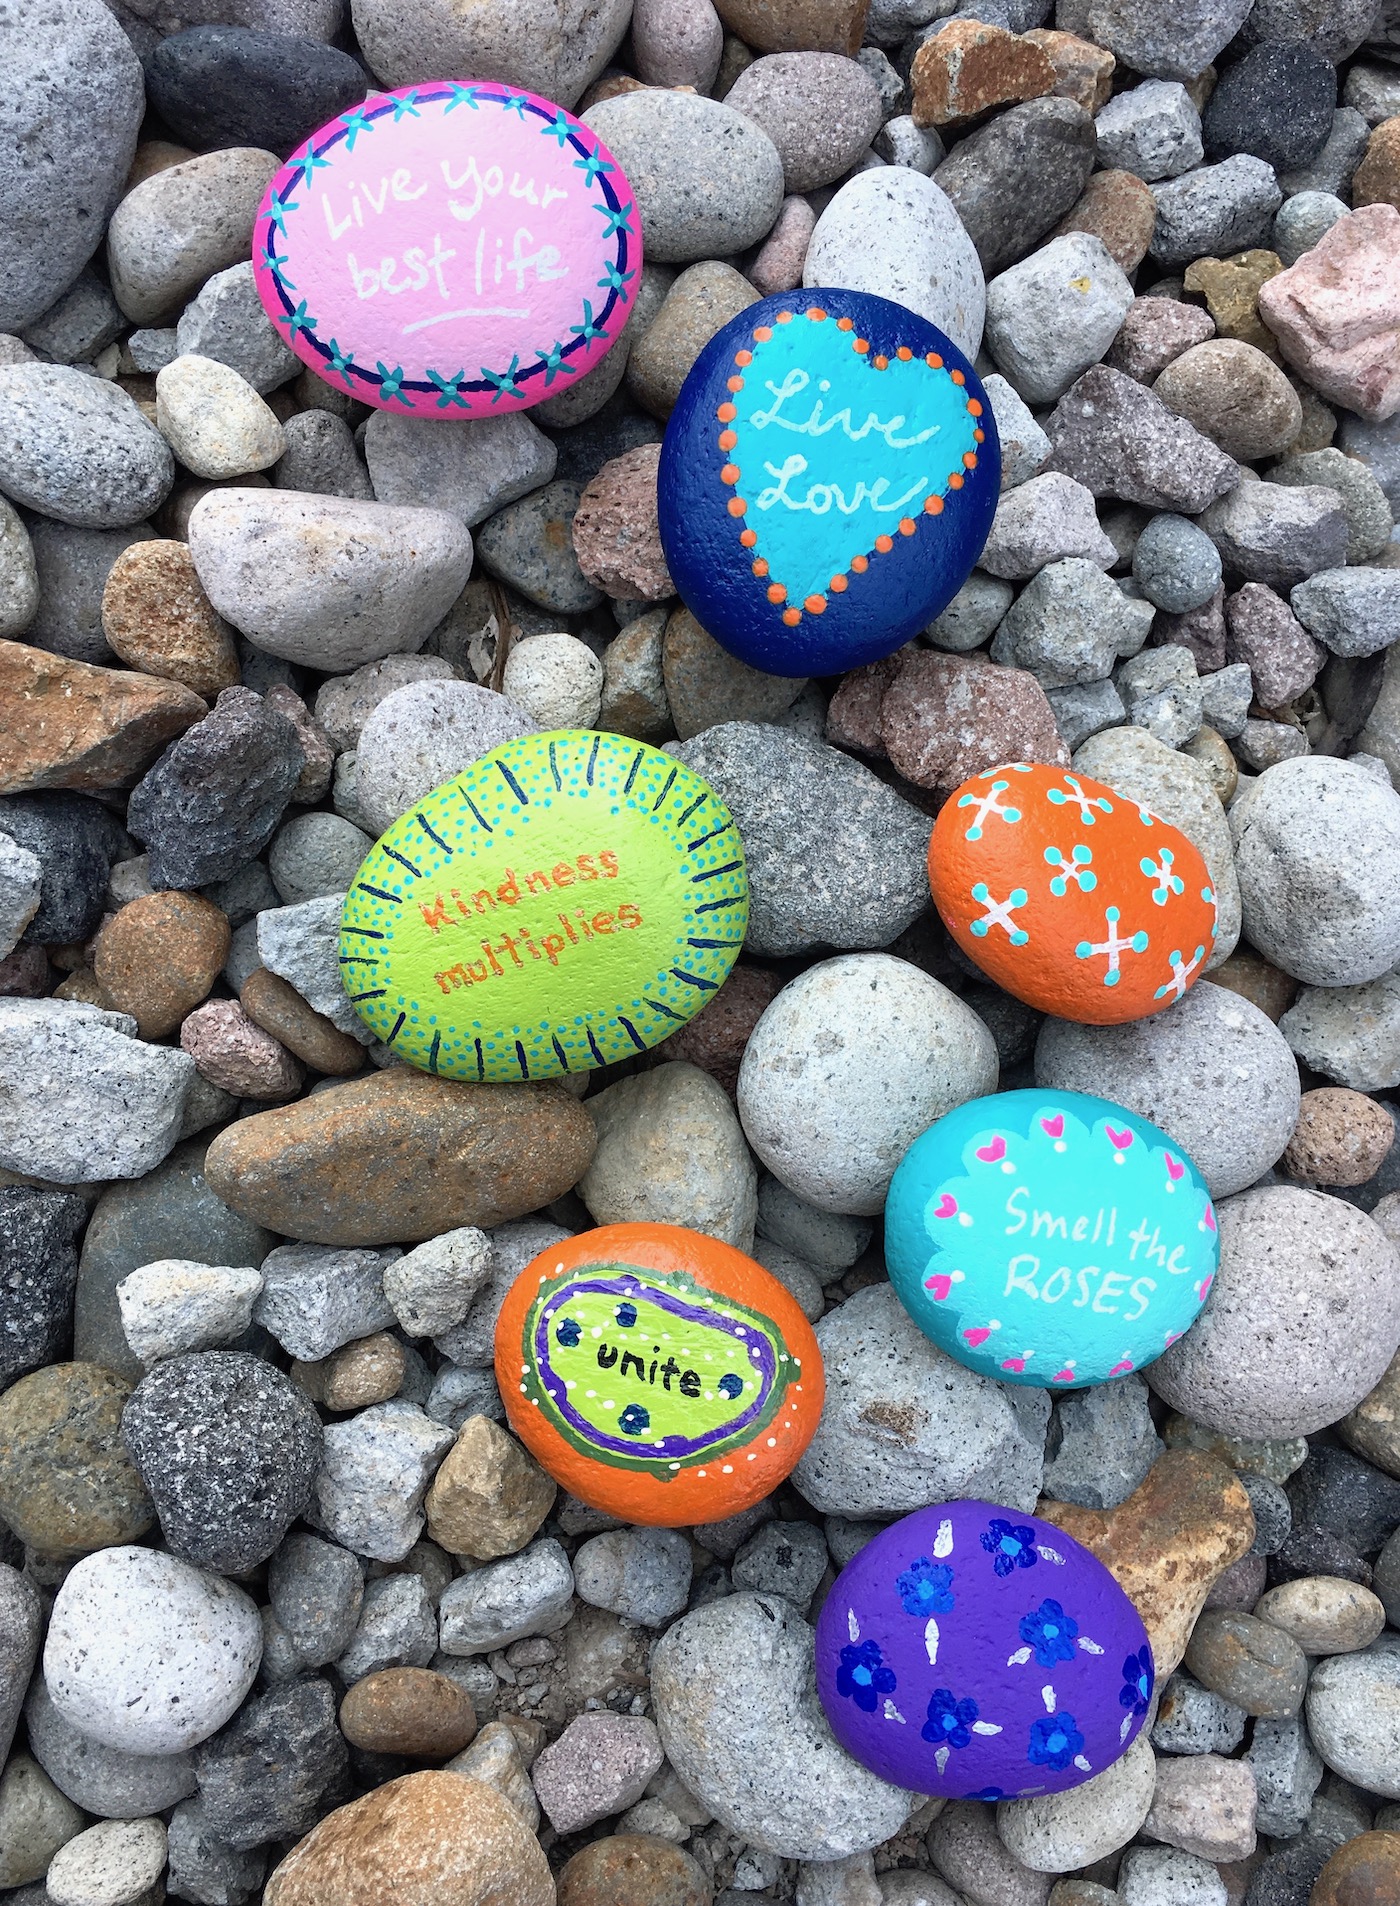
Rock Painting Ideas
My mom and I were teaching ourselves how to paint rocks, so we started with these little beauties for our first try. Once we tried, we were hooked . . . but these rocks were how it all began.
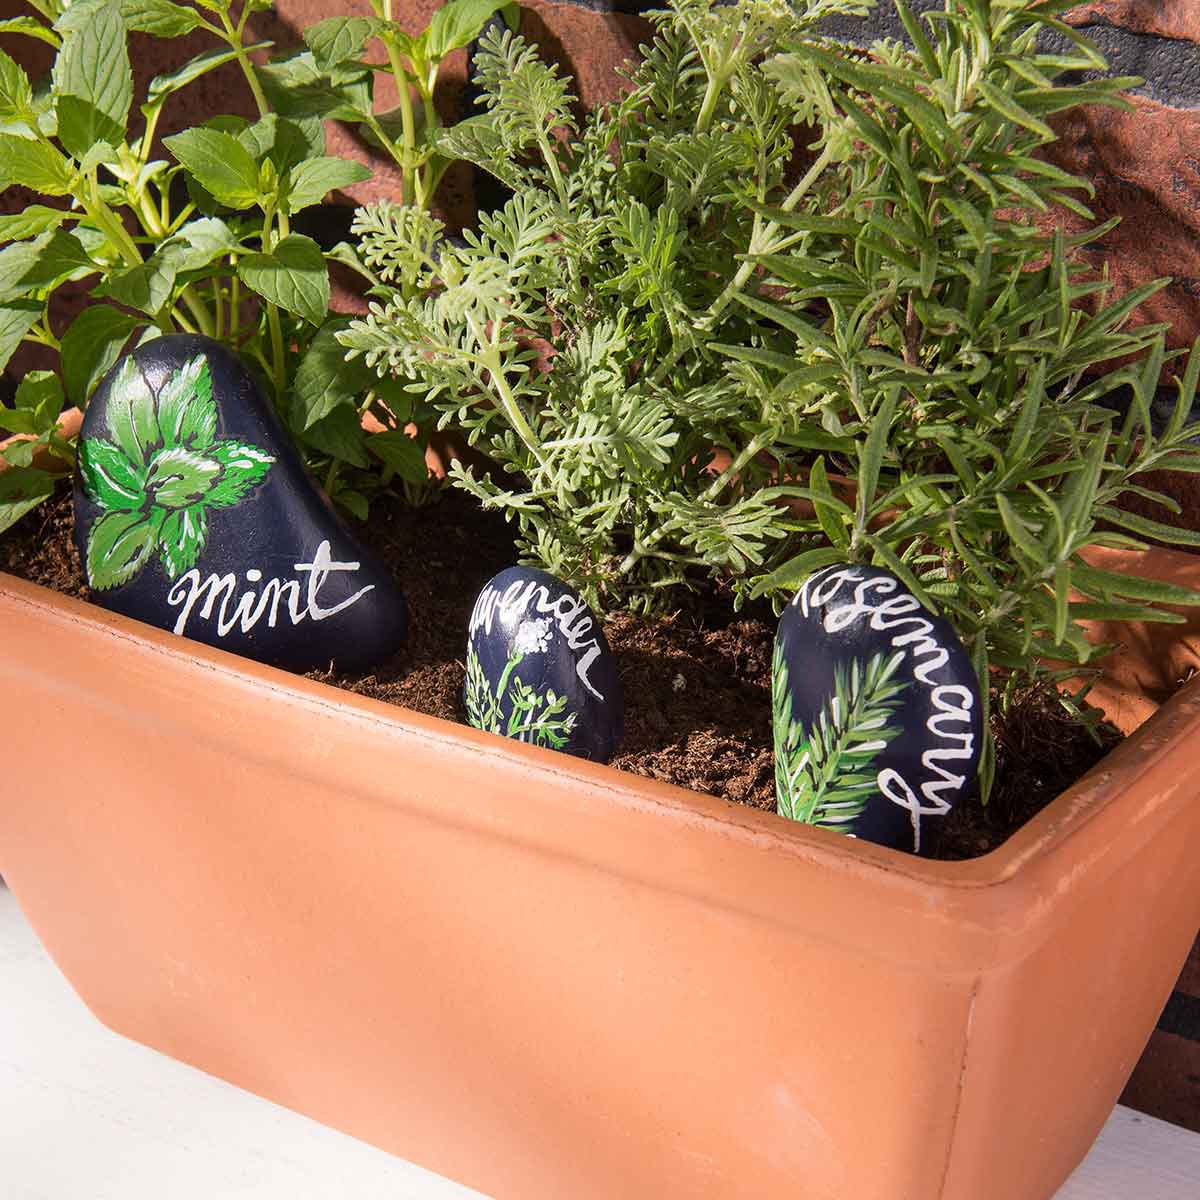
Rock Herb Markers
Sketch the herbs of your choice on the rocks (after painting them black) using chalk. If that’s not really up your alley, simply print out pictures of the herbs online and decoupage them to the rocks instead. Either way, these make fantastic garden markers! Use them for a variety of crops.
Heart Rocks
Okay, I said I was only going to share ten painted rocks, but I couldn’t help myself . . . these color shift rocks are too cool for school! I wrote an entire guide for Color Shift Paint, and once you put this paint on a surface like a rock, you’ll never go back. Trust me.
Now that you know how to paint rocks, you’ll want to see the video I promised! Make a rock fairy garden using these techniques. You’ll see how easy it is – just click PLAY in the video in this post.

Painted Rocks
Equipment
- Paintbrush(es) of various sizes
- Water basin
- 1 Stylus (optional)
Materials
- Rocks smooth and flat are best
- Acrylic outdoor paint
- Sealer like Mod Podge Outdoor
- Paint pen(s)
- Stencils optional
Video
Instructions
- Pick smooth, flat rocks. Wash the rocks before painting them. Use dish soap and warm water. Leave in a colander to drain and dry.
- Seal the rock before painting on it. Use a clear brush on or spray sealer.
- Paint your design on top and use several coats . . . let dry between layers.
- Use small brushes or a stylus to make small details and/or dots on the top of your rock.
- Use gel pens and then paint pens to write on your rocks. Let dry completely.
- Finish off your rocks with a coat (or two or three) of an outdoor sealer. Let dry completely before putting outside.
Notes
Did you enjoy these painted rocks? I’d love for you to check out these related crafts to do at home I think you’re going to love!


Thanks but I want some examples of rocks that have been used in crayons and I also want it in kids version
Is it already in kids version?
I LOVE so many of these designs. You’re so talented.
I especially love the first ones, the paperweights with the quotes, with one teensy exception:
“Not all who wander are lost” is a J.R.R. Tolkien quote (the author of the Lord of the Rings and The Hobbit), not attributed to Ralph Waldo Emerson.
A few RWE quotes that might be small enough to fit on a rock:
“The only way to have a friend is to be one.”
“Adopt the pace of nature: her secret is patience.”
“Once you make a decision, the universe conspires to make it happen.”
“What lies behind you and what lies in front of you, pales in comparison to what lies inside of you.”
I might try some of those.
Thanks for the inspiring post!
ps: Your hand lettering is on-point and I will apply my envy to practice to try to be half as good as you.
Hi Veronica! Thank you for the kind words! You are so sweet. I believe that you can letter too. There are two options. Take a hand lettering class (you can download practice sheets online also) OR transfer the text with carbon transfer paper and then use a marker over it. You too can be a lettering artist! 😀
Love these rock painting idea! very creative and beautiful, thank you for sharing 🙂
I tried using outdoor mod podge and it has a sticky feel to it even after several days.
It will go away eventually. Or you can put a brush on clear or spray sealer on top. This will protect the rocks even more!
Love this – lots of ideas and things to do
I had a lot of rocks left over from a flower bed landscape. Now I know what to do with hem.
Love this idea!
can’t wait to do this with my kids.
Another good idea thanks