Do you want to learn the easiest way EVER to make a paper banner? Here it is! Use cardstock, Mod Podge, confetti, and a few other supplies. ANYONE can do it!
Skills Required; None. Even if you’ve never crafted before, you can make this project. You’ll be cutting paper, adding Mod Podge, and sprinkling confetti.

Hello, craft enthusiasts and party planners! Jessica here, bringing a burst of joy and color straight from The Confetti Bar—your go-to haven for everything bright, sparkly, and undeniably happy.
In our little corner of the internet, we champion the art of celebrating life’s moments, big or small, with a sprinkle of confetti and a whole lot of love.
Today, I’m thrilled to share a DIY project that’s as easy as it is enchanting: creating your very own paper banner! Whether you’re gearing up for a birthday bash, a last minute family gathering, or just want to add a dash of whimsy to your space, I’ve got you covered.
This tutorial is all about crafting a banner that not only shouts ‘celebration’ but does so with a flair that’s uniquely you.

If you’re thinking, ‘But Jessica, my crafting skills are as shaky as a leaf in a hurricane,’ fret not! I promise, this project is simpler than tying your shoelaces, and the results? Absolutely stunning.
And guess what, there’s a twist! What’s a party without a little sparkle? We’re not just making any banner; we’re making a confetti-adorned declaration of fun.
Each piece of cardstock is a canvas for the confetti that dreams are made of, all held together by the wonder glue that is Mod Podge.

So, grab your supplies – chances are, you already have everything you need right at home – and let’s dive into a world where paper isn’t just paper, and a banner is more than a decoration.
It’s a statement. It’s art. It’s a banner that doesn’t just say ‘party’ but screams ‘an unforgettable adventure is about to unfold.’
By the end of this tutorial, you’ll have mastered the art of ‘how to make a paper banner’ in a way that’s not only SUPER DUPER simple but also incredibly fun and unique. Ready to embark on this crafting journey with me?
Let’s turn that plain cardstock into a carnival of joy that will light up faces and spaces alike. After all, in our world, happiness isn’t just celebrated; it’s crafted, one piece of confetti at a time!

Gather These Supplies
- Cardstock or scrapbook paper (in the color of your choice)
- Confetti!
- Mod Podge (You can use any kind, really, but if you want to get a little extra fancy, try some Sparkle Mod Podge so you get a subtle glitter effect behind the confetti!)
- Sponge brush (+ a plate to pour the Mod Podge to dip your brush for easy application)
- Double-sided tape
- Ribbon, twine, or raffia
- Scissors or a paper cutter
Tips and Thoughts for This Project
Make sure to leave enough ribbon on each end to hang your final project.
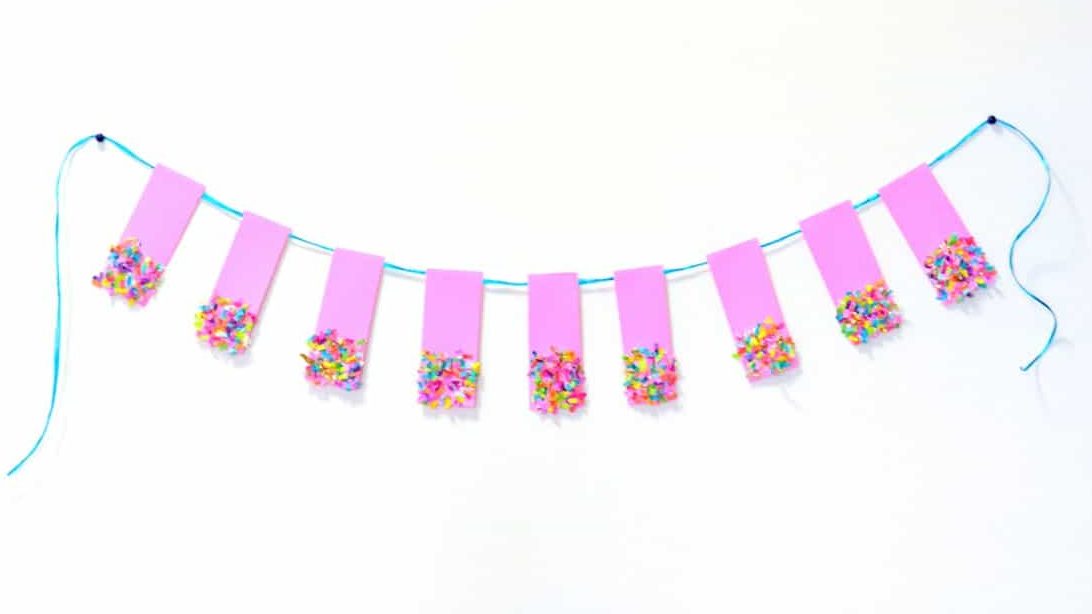
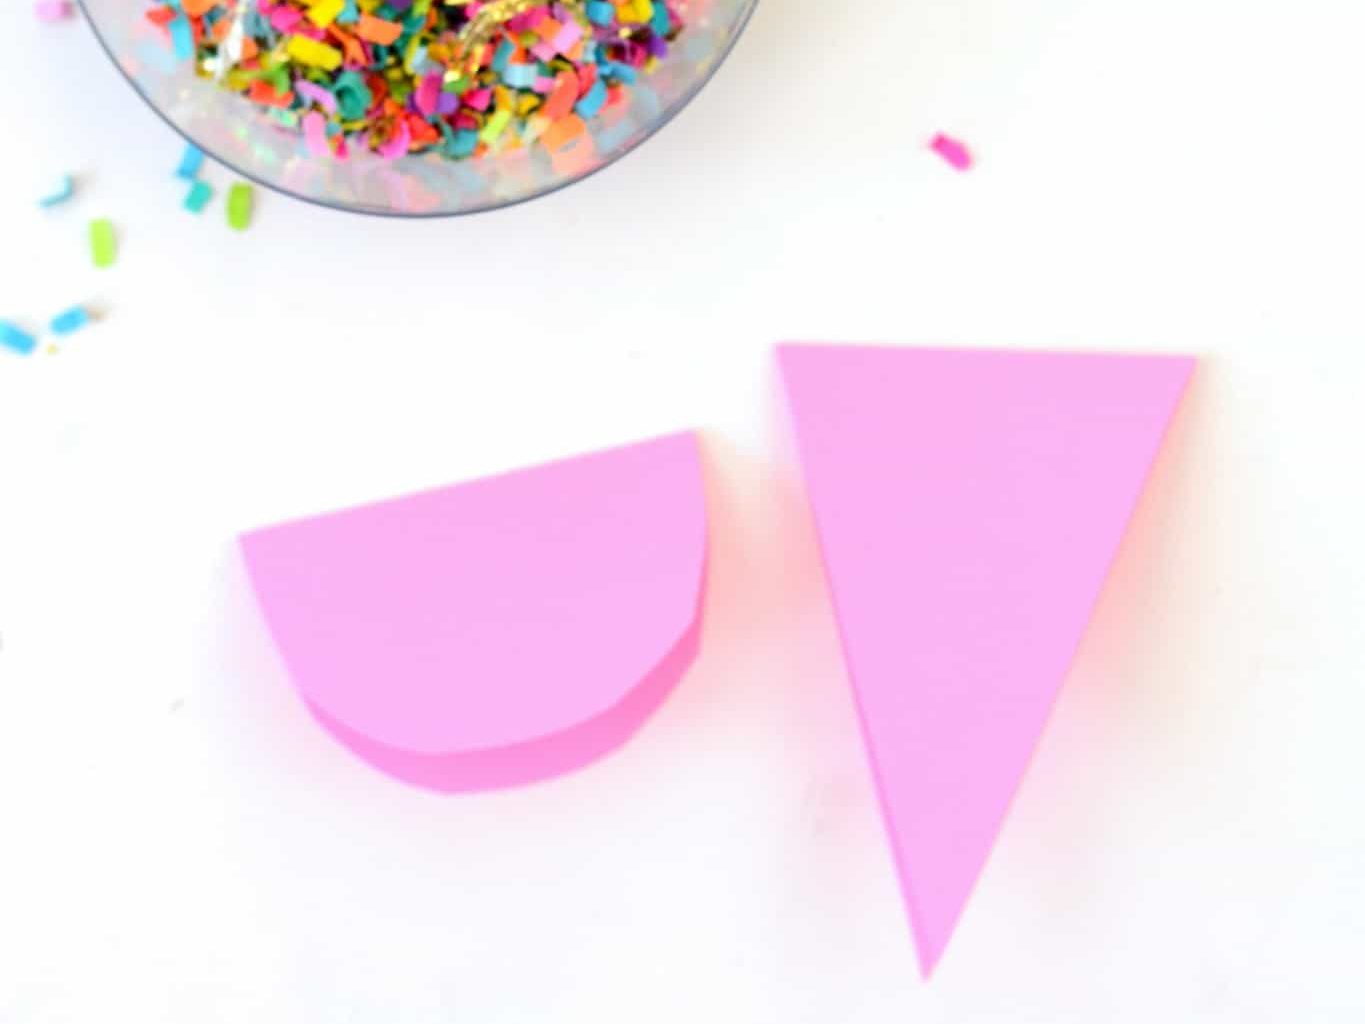
Any time you make a banner, you can get really crazy and experiment with different paper shapes, like maybe a half-circle or a triangle. You can also use markers or crayons to write messages on the banner pieces.
Get the printable how to card for this project below:
Make a Paper Banner
Equipment
Instructions
- Fold your 8.5"x11" piece of card stock in half and divide it into four equal pieces. Make small pencil marks if needed.

- Cut the paper into strips, leaving the folded edge intact.

- Using a piece of double-sided tape, attach the ribbon between the edges of the cardstock. Space the pieces evenly, making sure to leave enough ribbon on each side to hang.

- Continue until full length of the banner desired is reached.

- Working one piece at a time, coat the bottom half of each banner piece with a layer of Mod Podge.

- Sprinkle on some confetti, press down, and shake off the excess.

- Let your banner dry for an hour or so and you're ready to party!

Notes
Hello, endless possibilities! If you make a paper banner of your own using this tutorial, post it and tag @modpodgerocks so we can see!
You can also check out our blog for more fun, but don’t forget to check out the following projects as well:
Confetti Balloons • Confetti Candle Holders • Confetti Coasters • Confetti Letter • Confetti Party Favors • Confetti Tray • Confetti Shoes • Decorate a Champagne Bottle • DIY Glitter Glasses • DIY Lace Crowns • DIY Paper Garland • DIY Place Cards • DIY Wine Charms • Fabric Banner • Spring Garland





This banner will be perfect for my niece’s birthday party!