
Tired of bow clutter? Learn how to make a DIY hair bow organizer that’s cute, easy, and perfect for any kid’s room. A fun, functional craft project! Also you can personalize it in minutes.
Skills Required: Advanced Beginner. You will need to know how to use Mod Podge, hot glue, and die cut vinyl to complete this craft.
Let’s talk about the black hole of hair accessories.
You know the one: that mysterious dimension where bows, clips, and elastics go to disappear, never to be seen again. You bought a pack of 40 glitter barrettes last month. How are there only three left—and one of them is permanently tangled in the carpet?
If this sounds familiar, friend, it’s time for a stylish intervention.
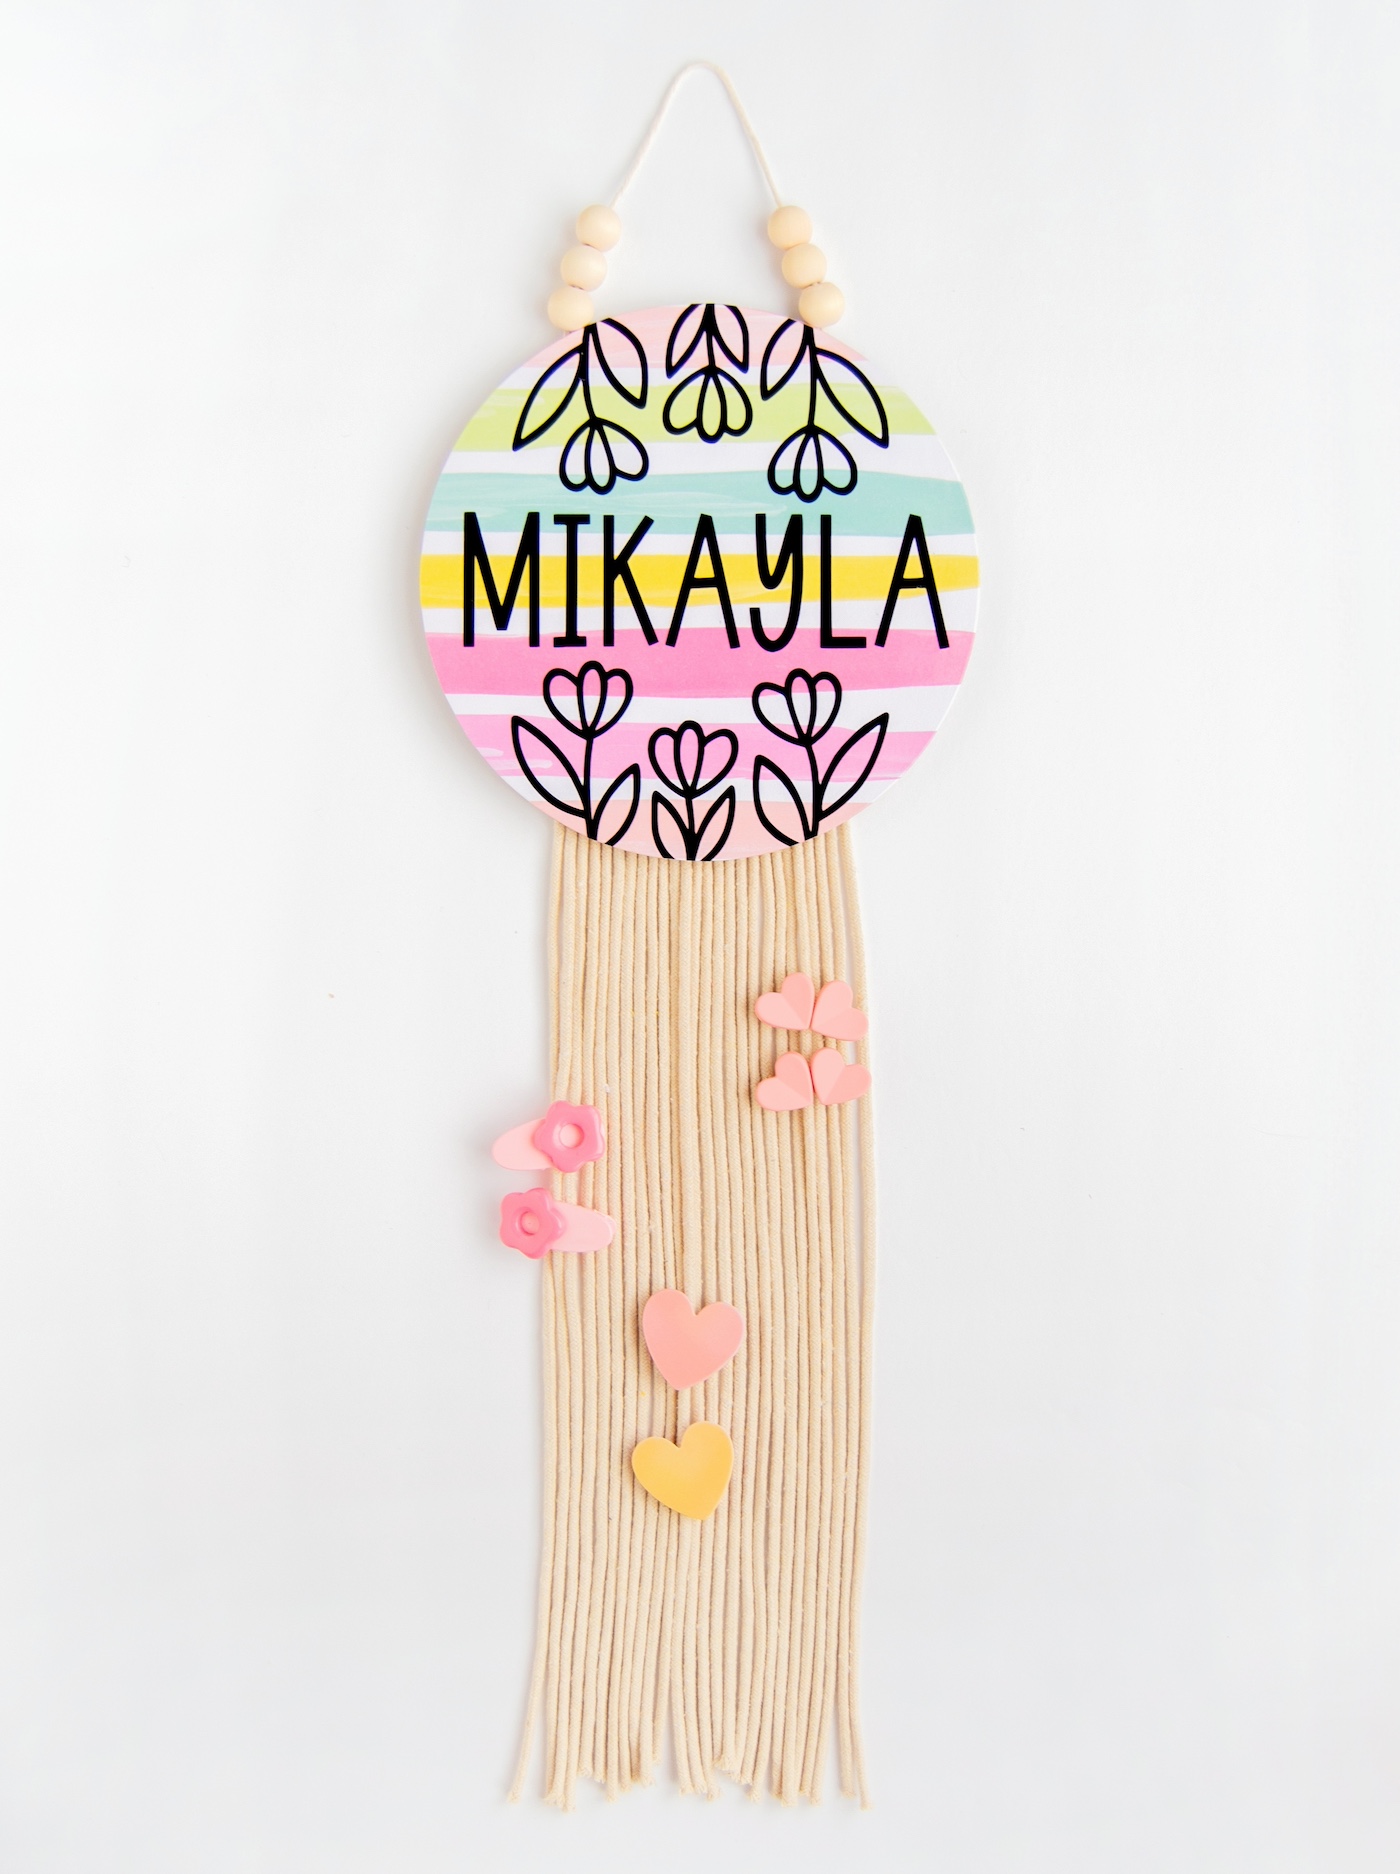
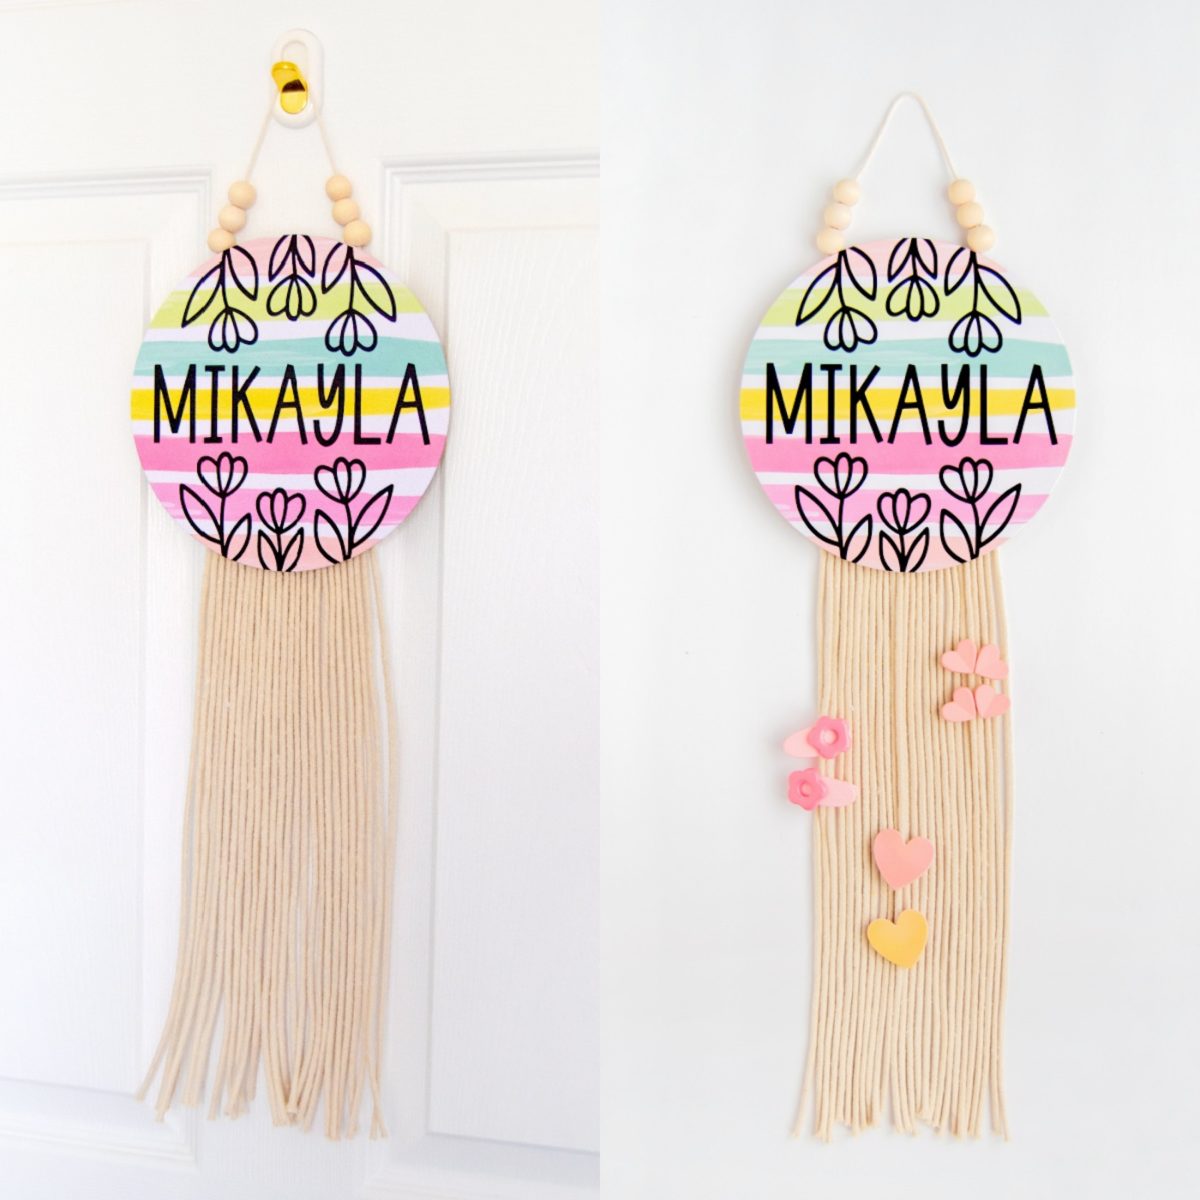
Enter: the DIY hair bow organizer. She’s cute, she’s functional, and she’s here to save your morning routine (and your sanity).
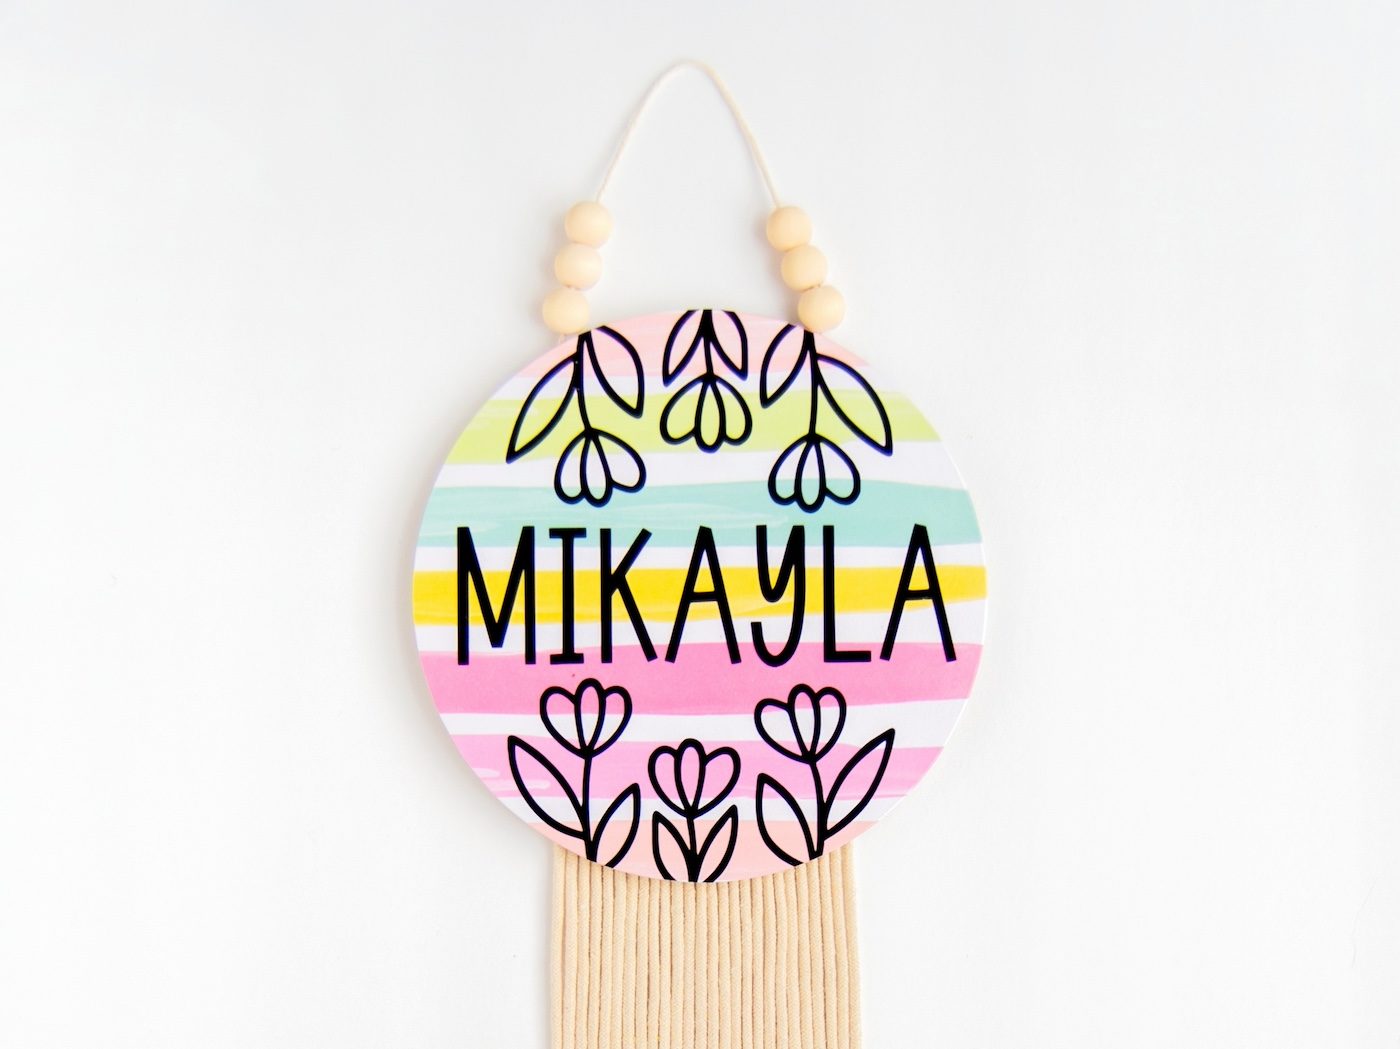
This wood plaque organizer is a wall-worthy home decor solution to the never-ending bow chaos—and she’s totally customizable to match your kid’s room, your craft room, or even a gift theme.
Why You’ll Love This Project:
- You don’t need fancy tools. (Unless you count Mod Podge as a tool, which—honestly—you should.)
- It’s a great use for that scrapbook paper you’ve been hoarding.
- No die cutter? No drama. I’ve got low-tech options for the vinyl section.
- Kids can help too—especially if you’re okay with a little extra glitter on your floor. #Memories
Pro Tips Before You Start:
- Go with a Mod Podge finish that suits your style—Matte for farmhouse chic, Gloss for bright and modern, or Sparkle if you believe every bow deserves a little disco.
- Use macrame cord in colors that match your kiddo’s aesthetic—or let them pick. When they’re involved, they’re more likely to use it.
- Want to gift this? Personalize it with a name or monogram using vinyl or letter stickers.
Have older children? Teens and preteens can likely make it themselves, and make the paper and art more age appropriate.
And let’s be honest: it feels very satisfying to hang this on the wall and say, “See? We’re an organized family now.” (Just don’t open the junk drawer.)
Ready to ditch the drawer disaster and show those bows who’s boss? Let’s get crafty. If you want to use our floral designs – the SVG and PNG are available for personal use.
Get the printable how to card for this easy craft idea below:

DIY Bow Organizer
Equipment
- Die cutter
- Squeegee
Materials
- 1 Wood plaque round
- 1 sheet Scrapbook paper
- Mod Podge Gloss
- Vinyl
- Clear transfer tape for vinyl
- Macrame cotton cord
- Thin cotton cord
- 2 Popsicle sticks
- Wood beads
Instructions
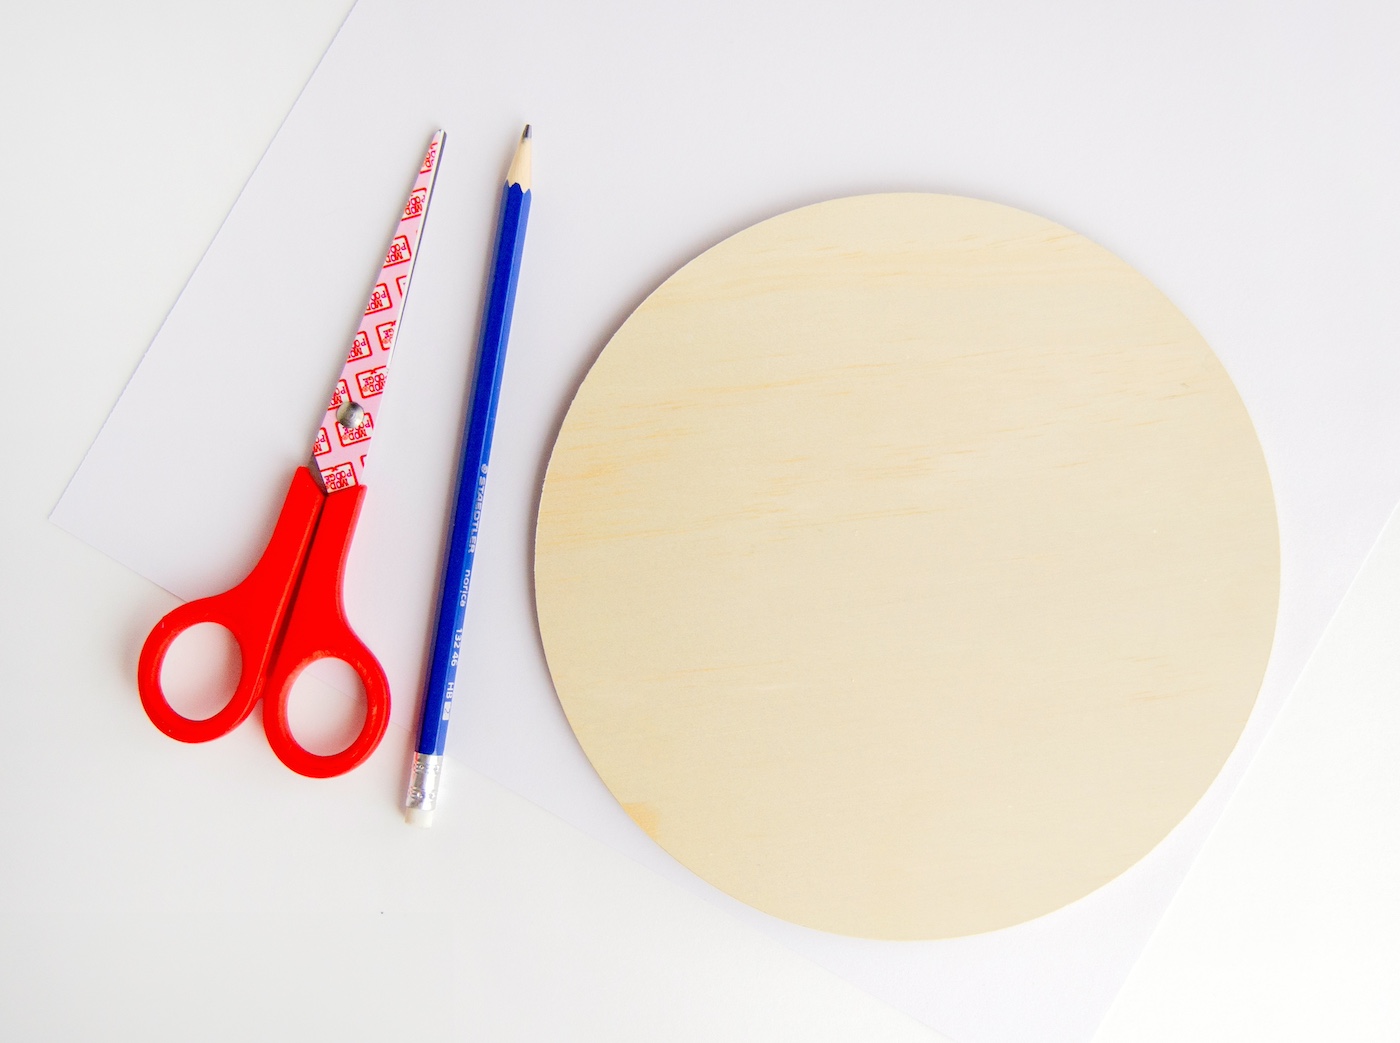
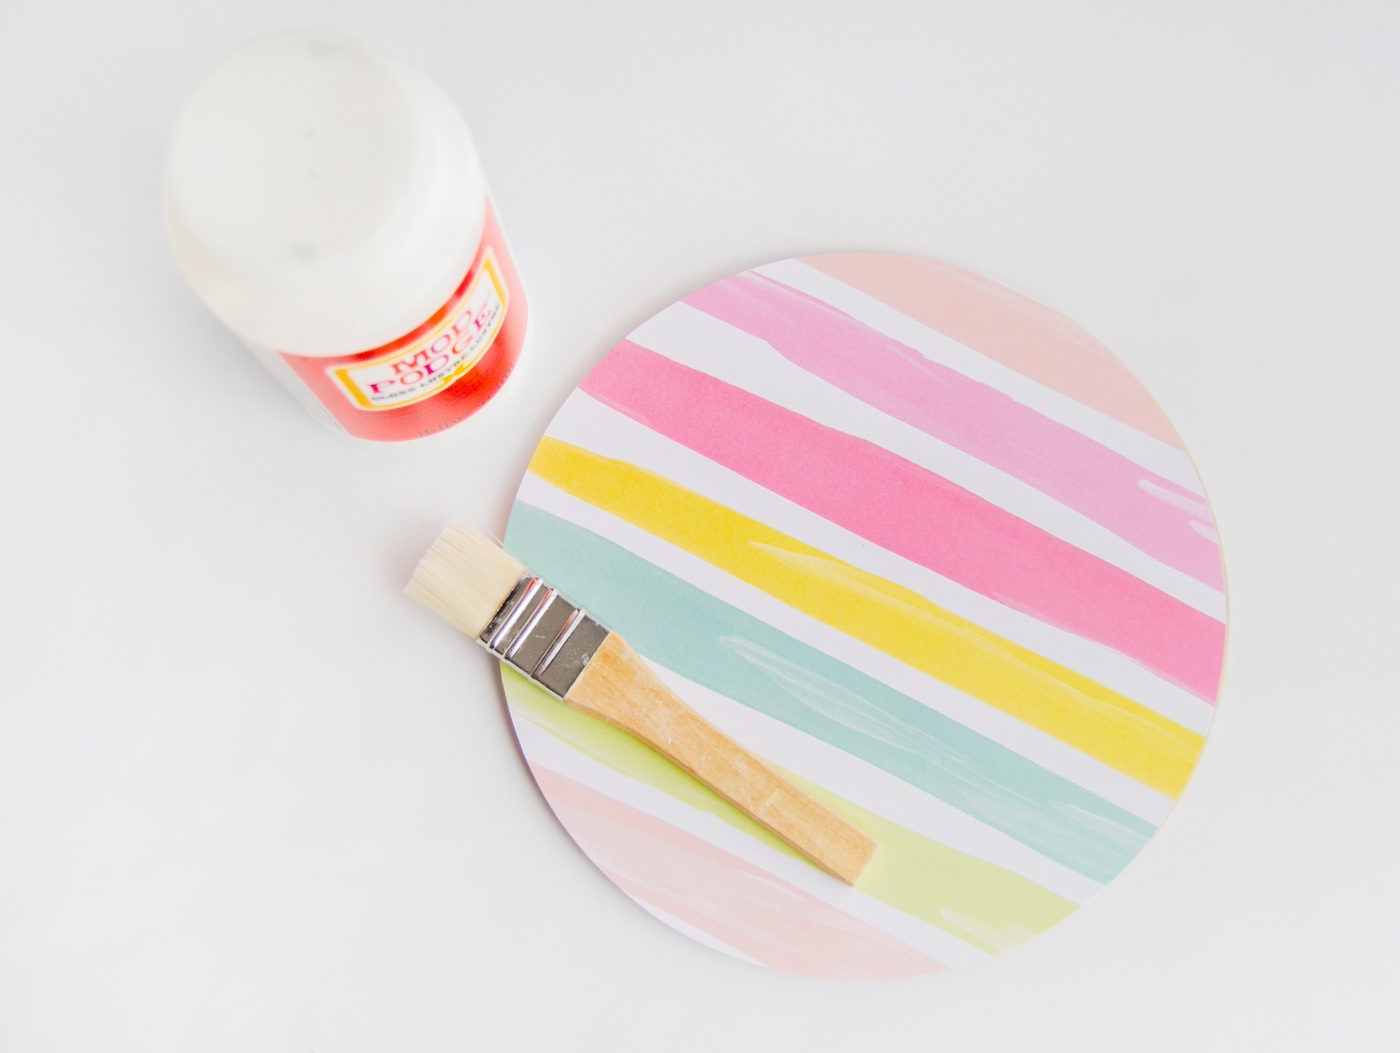
- Trace the circle (or whatever shape of plaque you have) onto the back of your scrapbook paper of choice and cut to size with the scissors.
- Apply a thin but even amount of Mod Podge onto the surface of your plaque and adhere your scrapbook paper. Use a squeegee tool to push excess Mod Podge to the sides of the plaque and ensure an even, smooth surface. Let it dry for 15 – 20 minutes.
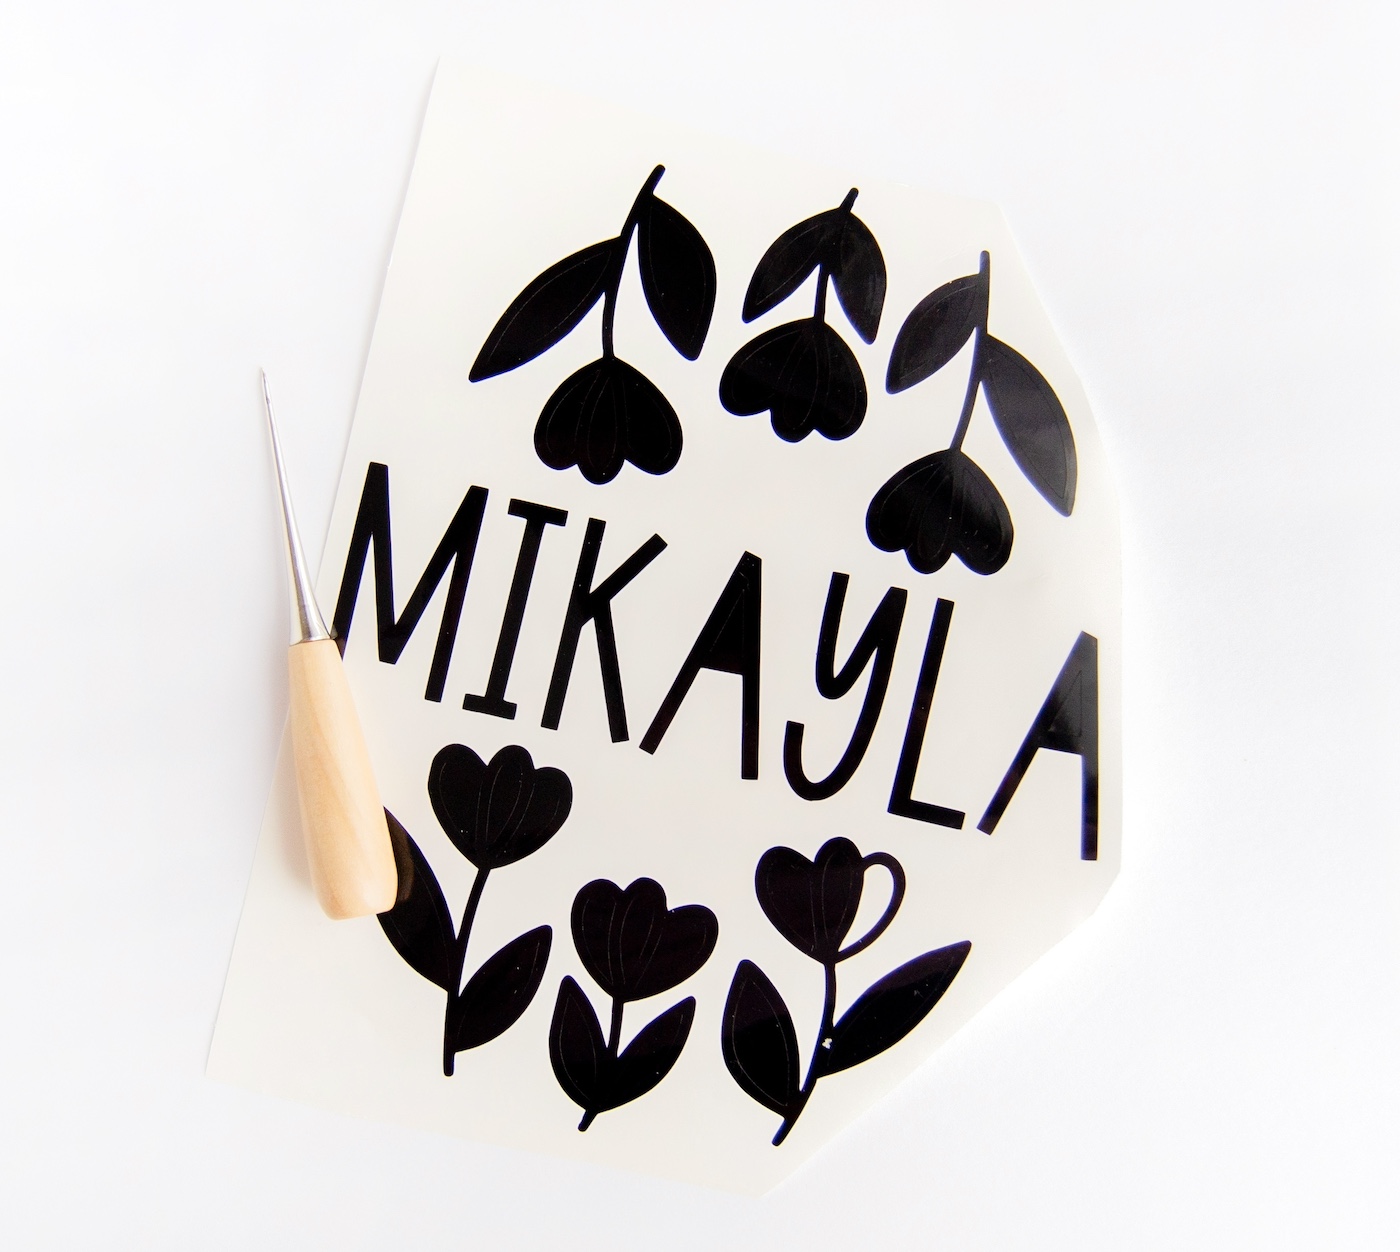
- Size the floral design and your chosen name depending on how big your plaque is on your cutting software, and cut. Weed (remove) the excess vinyl and the insides of the letters and floral design.
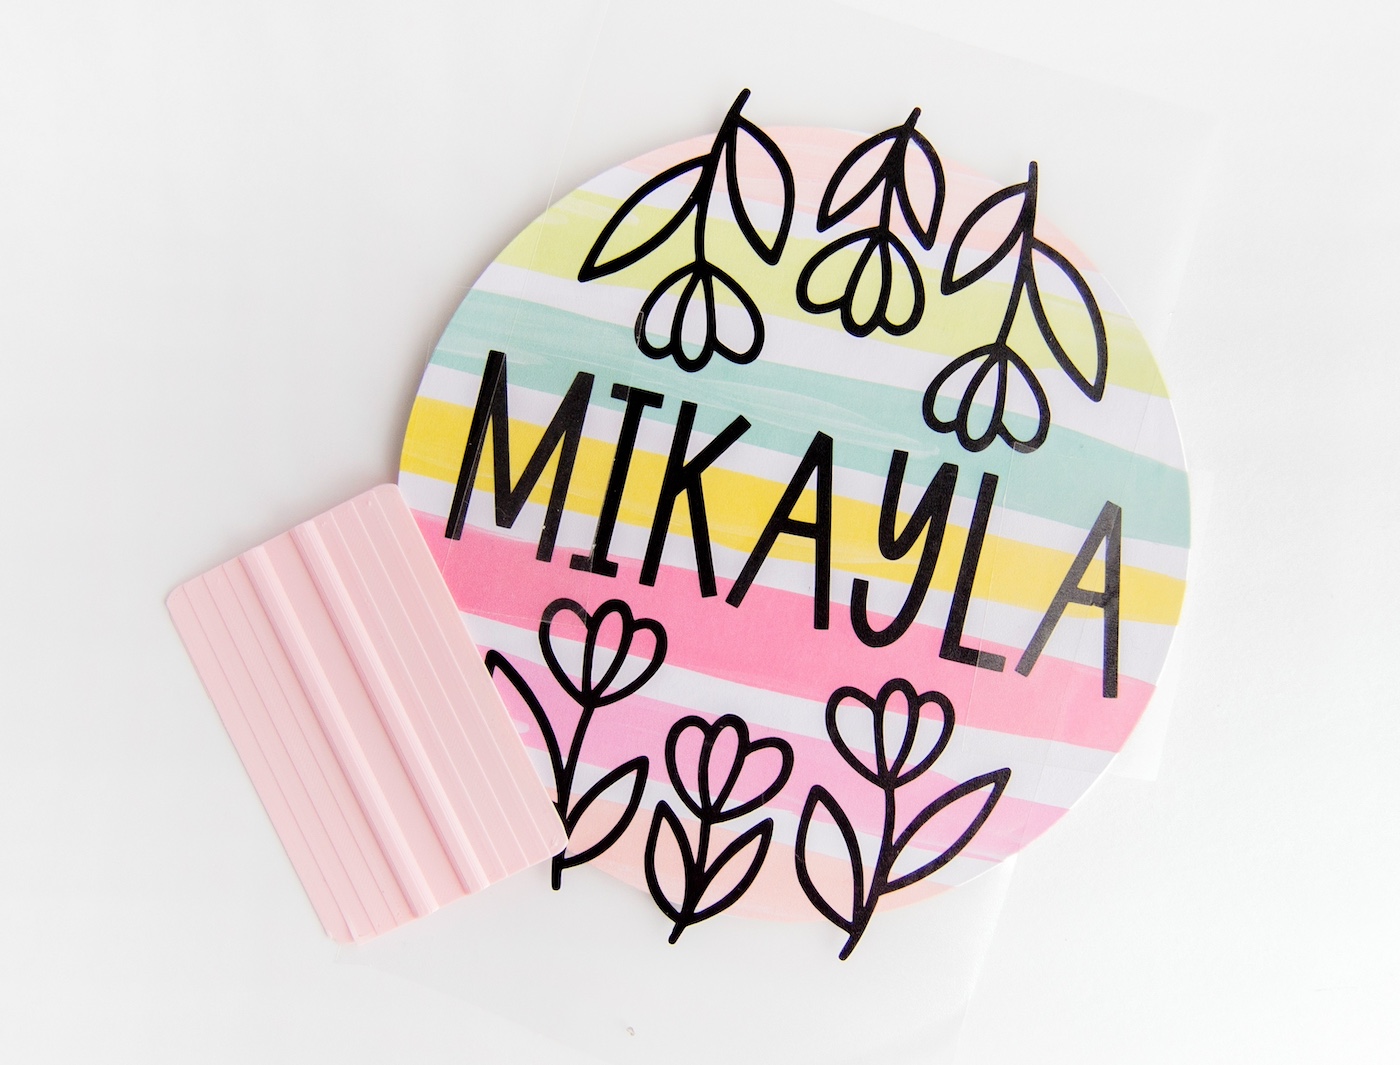
- Use transfer tape to apply your vinyl design onto the plaque, making sure it’s adhered before carefully peeling the transfer tape off. Cut any excess vinyl that goes over the edge of your plaque.
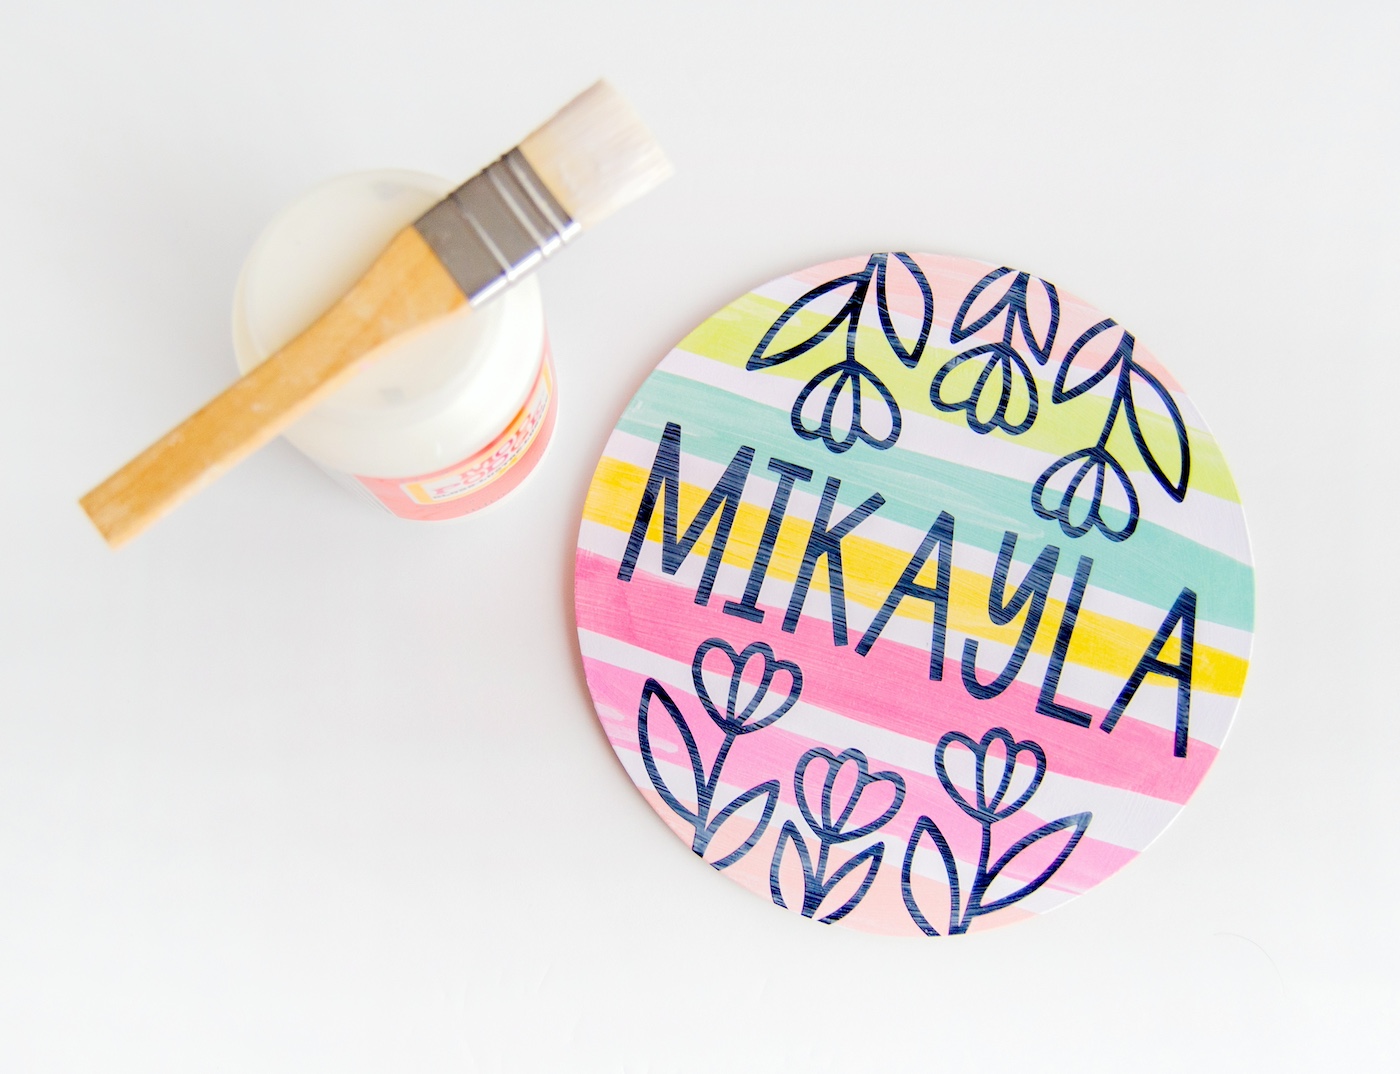
- Apply a thin coat of Mod Podge over the vinyl-ed plaque to protect the paper and vinyl from getting stained, scraped, or damaged. Let dry.
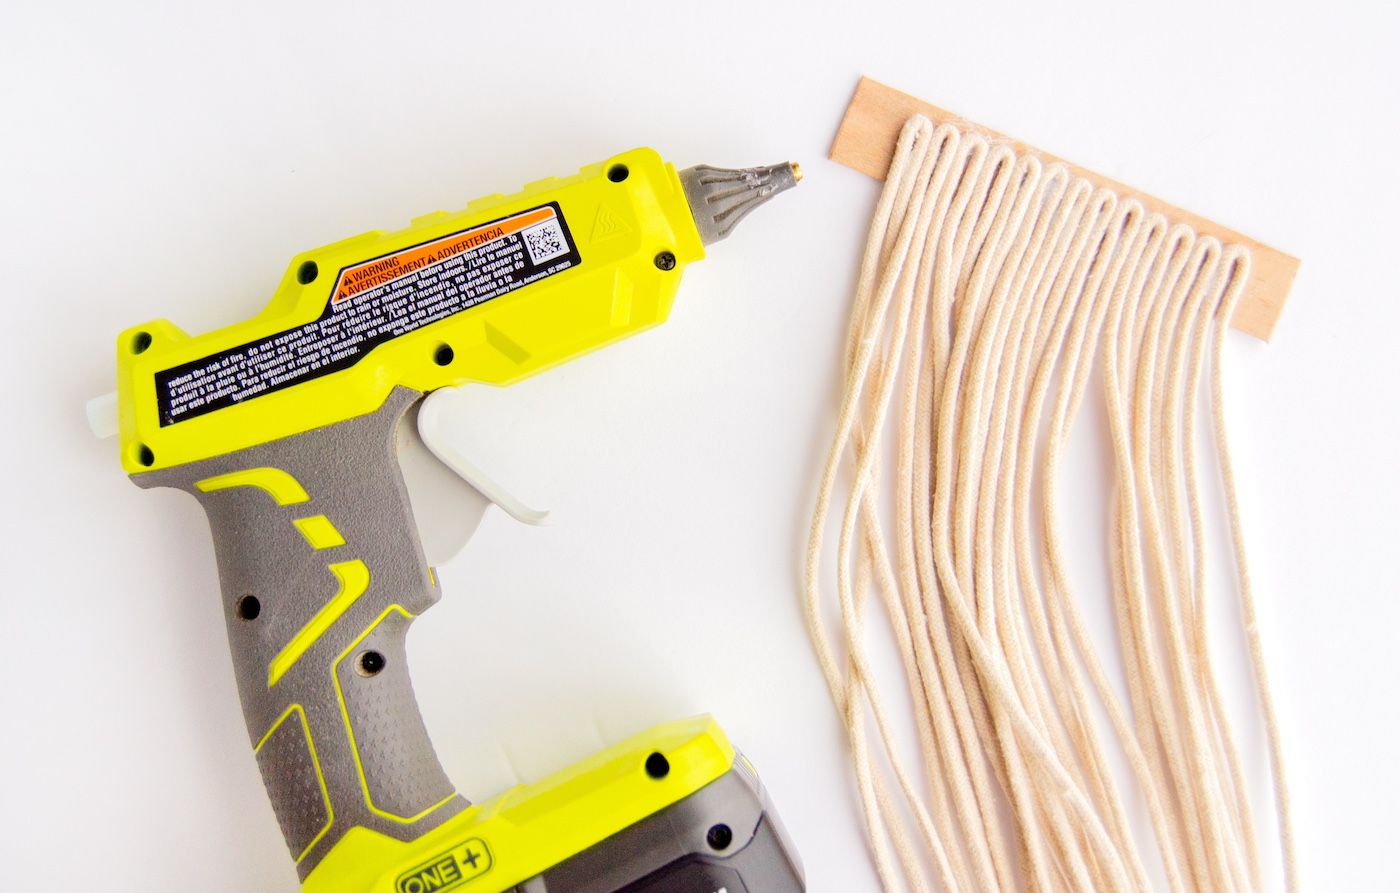
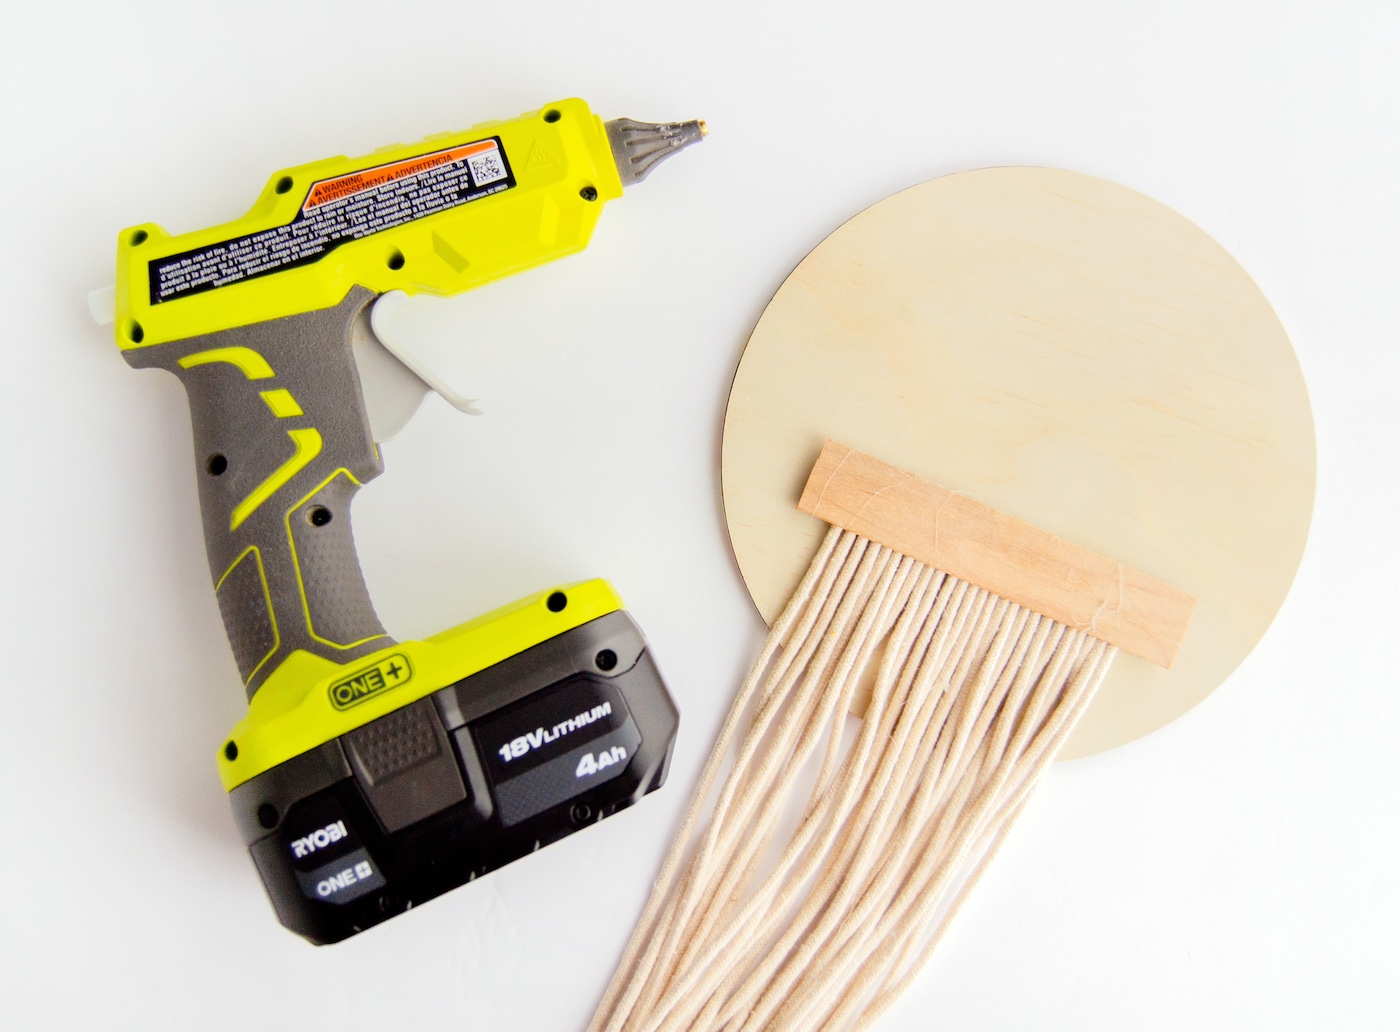
- Cut 24” long strands of macrame cord (or shorter if you want a shorter holder). I cut 13 lengths. Fold them in half and use hot glue to adhere all of them onto a piece of a wide popsicle stick. You may want to cut the ends of the popsicle stick if there is any excess, or if it hangs over the edges of your plaque.
- Use hot glue to attach the bottom hanger onto the back of the plaque, making sure it’s centered and straight when you look at it from the front side of the plaque.
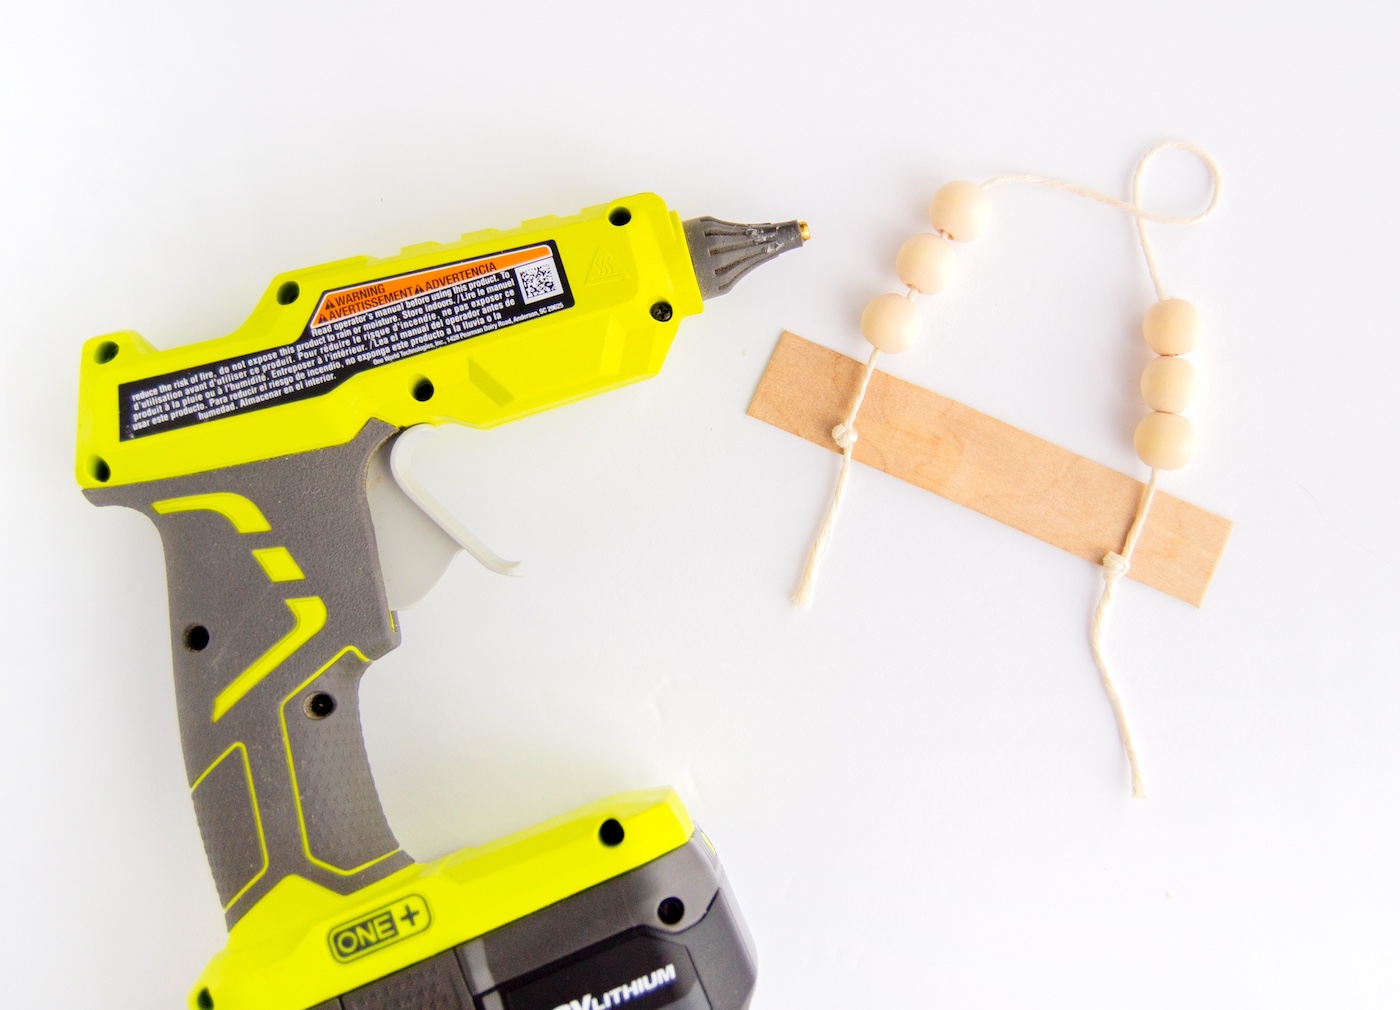
- Cut a length of thin cotton cord and tie a knot on each end. You can also choose to add beads for a more boho-modern look, but you can skip this if desired. Use hot glue and attach each end onto one side of a popsicle stick.
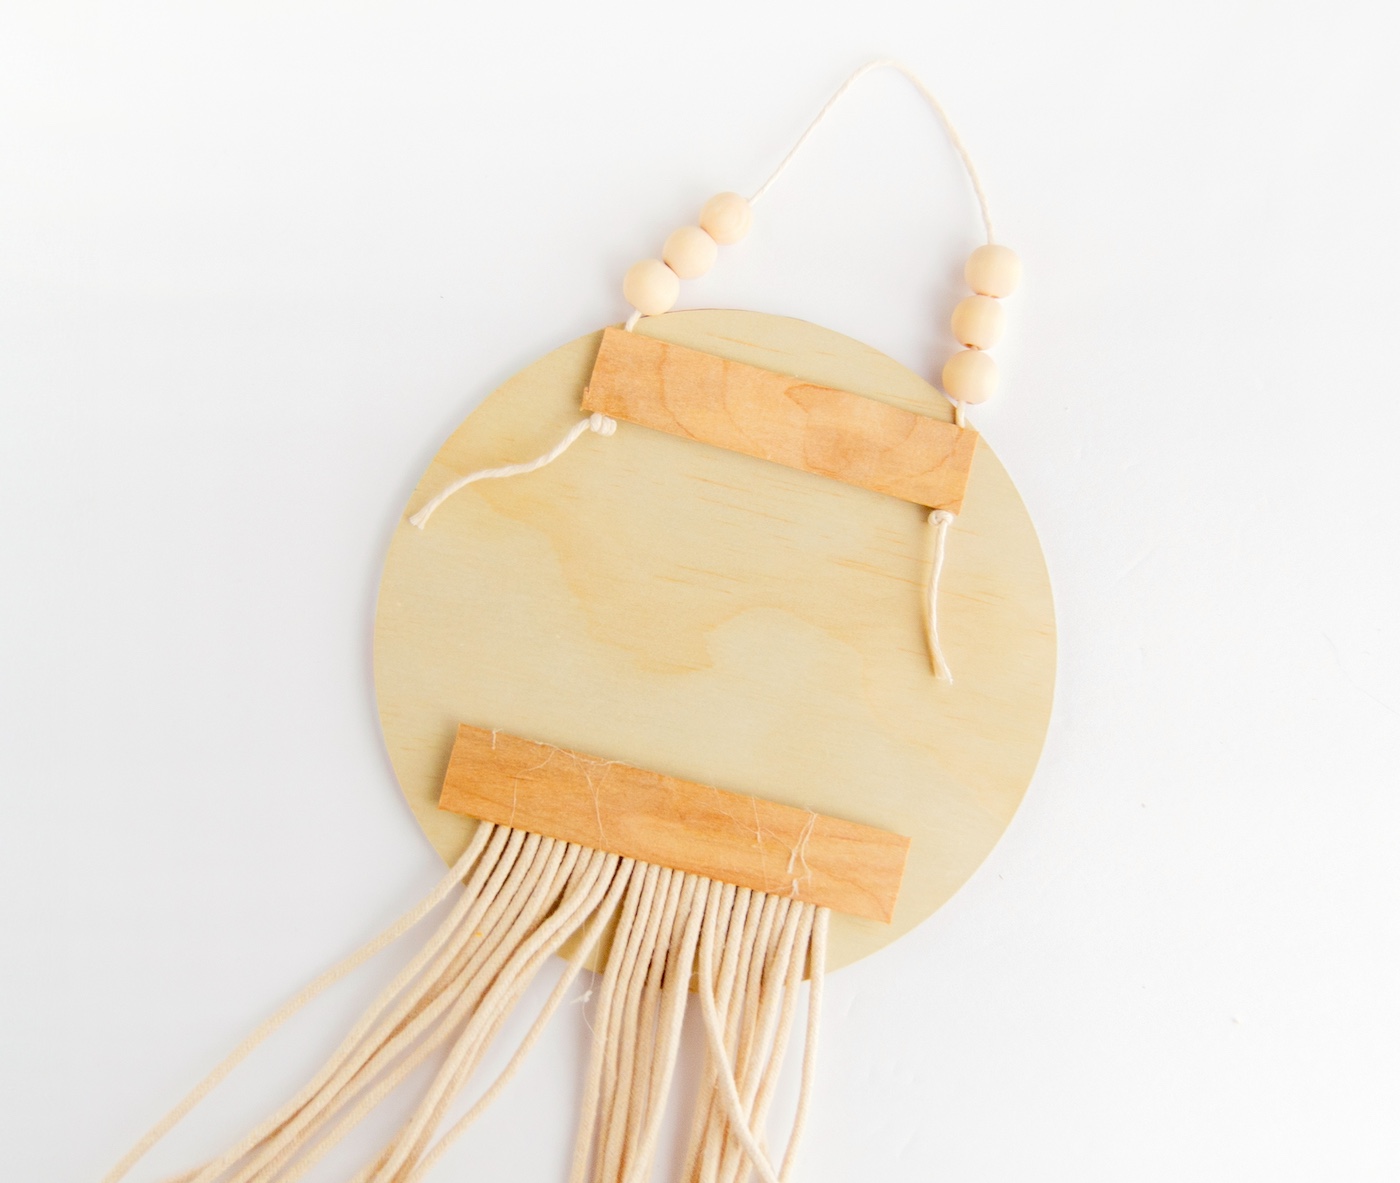
- Use hot glue to attach the hanger onto the back of the plaque, making sure it’s centered and straight like step 7. Let the hot glue cool completely before hanging.
Notes
What do you think of this bow holder? Let me know in the comments! I’d love for you to check out these other posts as well:
Cardboard Letters • Decorative Push Pins • Decorate a Memory Box • DIY Closet Dividers • DIY Photo Mat • DIY Cork Boards • Ice Cream Stick Wall Hanging • Mason Jar Night Light • Mini Plastic Animal Art • Wood Welcome Sign


Hi Amy, I think this sign for hanging bows is adorable. I ❤️ it. I have a 10 year old granddaughter who could really use a Bow Hanger sign like this. I don’t own a Die Cutter but I do have Cricut Explore 2. I just need to learn how to use it. Lol. Or, I will use stick on letters. Thank you for sharing this project. I will get on this project as soon as I get over suffering with this terrible cold.
OMG thank you for the sweet comment! Good luck on your cold – I hope you feel better soon!
@Amy, Thank you so much. I had to get antibiotics for a really bad sinus infection. I have finished those but still have a bronchial cough. I am going into week 4 with this cold. I have to go see the doctor again on Monday. I will be glad when this is gone and I feel better. I will send you a picture of my Bow and Barette holder after I get it made. ❤️🙂
Use a little longer ribbon, and sew a few loops in it and you have a bow and headband holder.
What an adorable idea! You could put any kind of clip on this, you could even use it as a peg holder! Very creative
With soon to be 4 little girls, I definitely need to make some of these! Thanks for the great tutorial.