
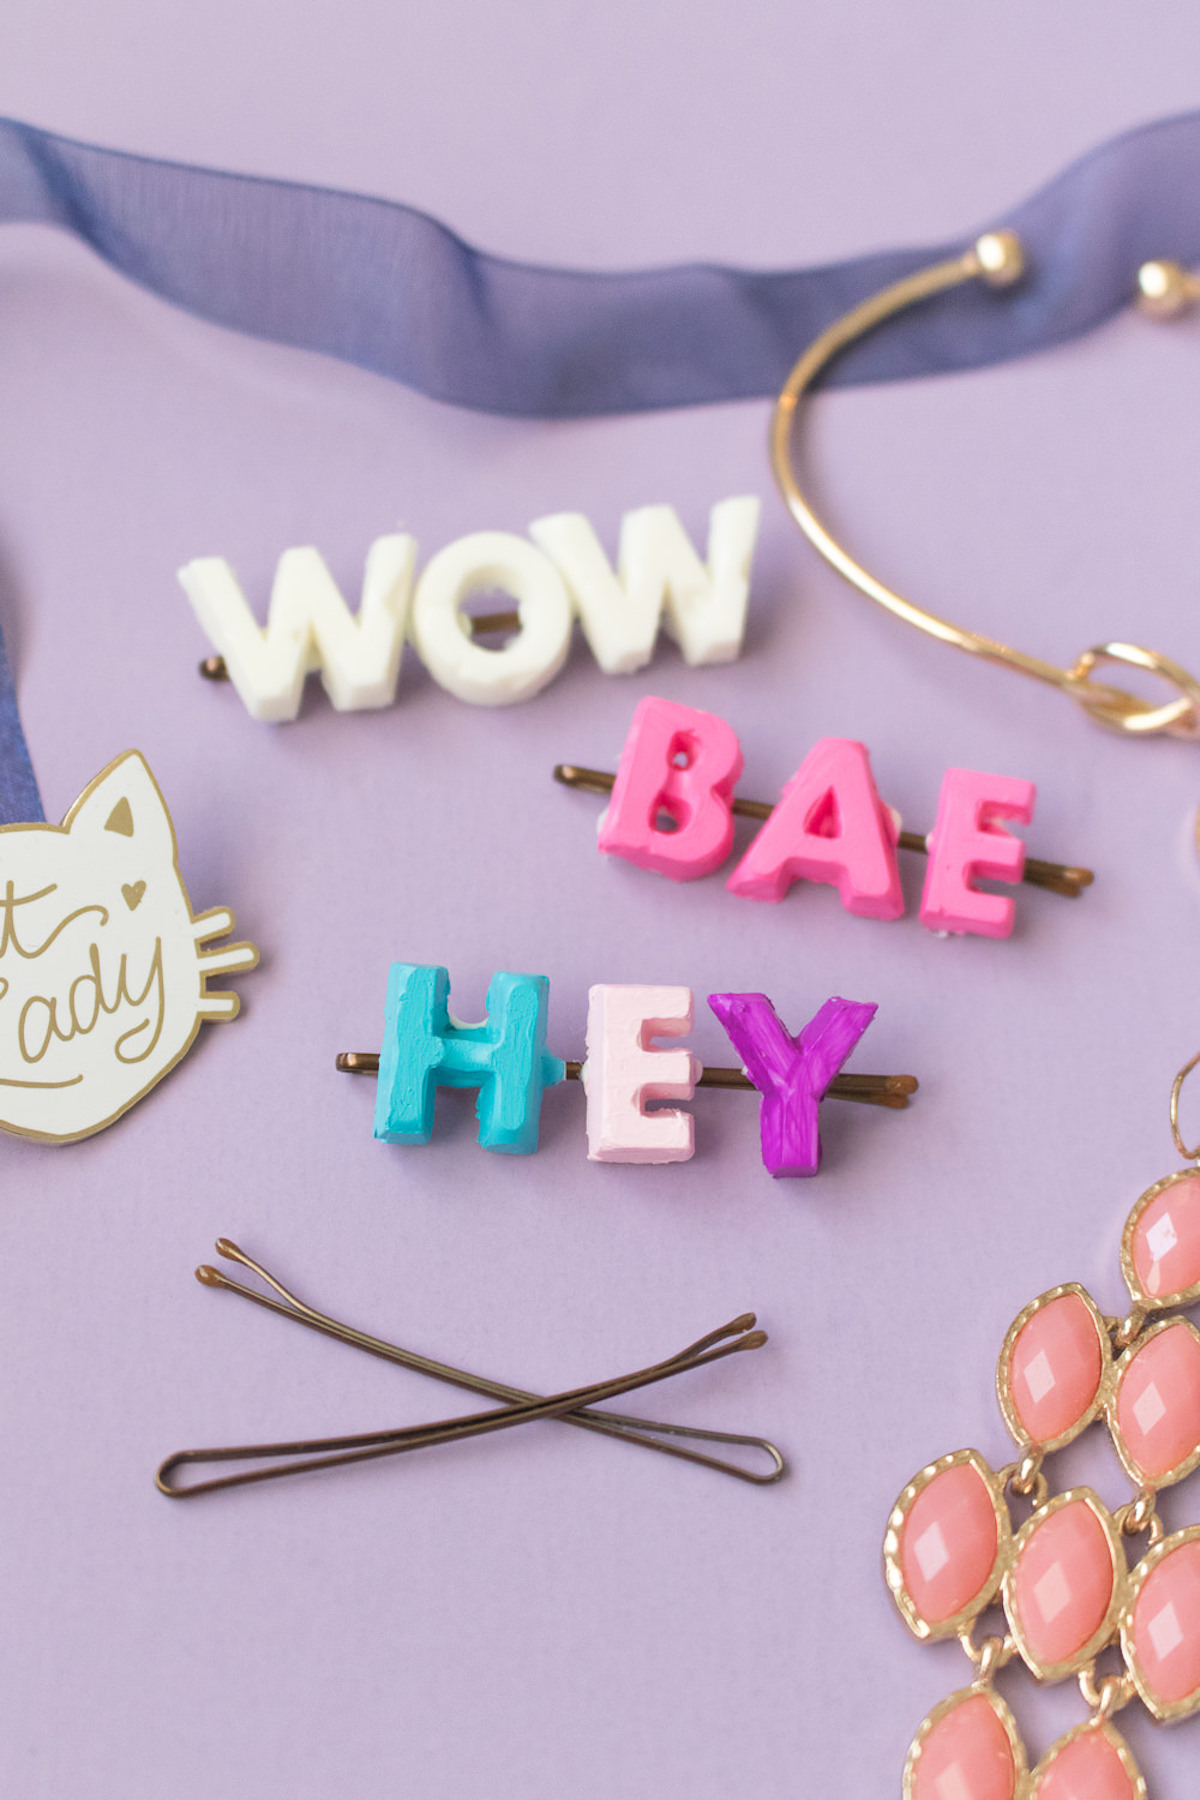
Use silicone molds and hot glue to create your own DIY hair pins! Make them with the sayings and paint colors of your choice. SO easy.
Skills Required: Beginner. You need hot glue gun experience – which sounds silly, but getting hot glue into the tray can take a moment. However, it’s a relatively simple project that is easily achieved.
Hello, fashion crafters and DIY enthusiasts! Holly here from Club Crafted, ready to add a dash of pizzazz to your hairdo with something you probably never thought you’d stick in your hair – hot glue!
Yes, we’re turning this craft room staple into the trendiest hair accessory on the block with some DIY hair pins that are as sassy as they are simple.
Imagine turning heads with your very own custom, graphic hair pins, flaunting words that make a statement – without you having to say a word.
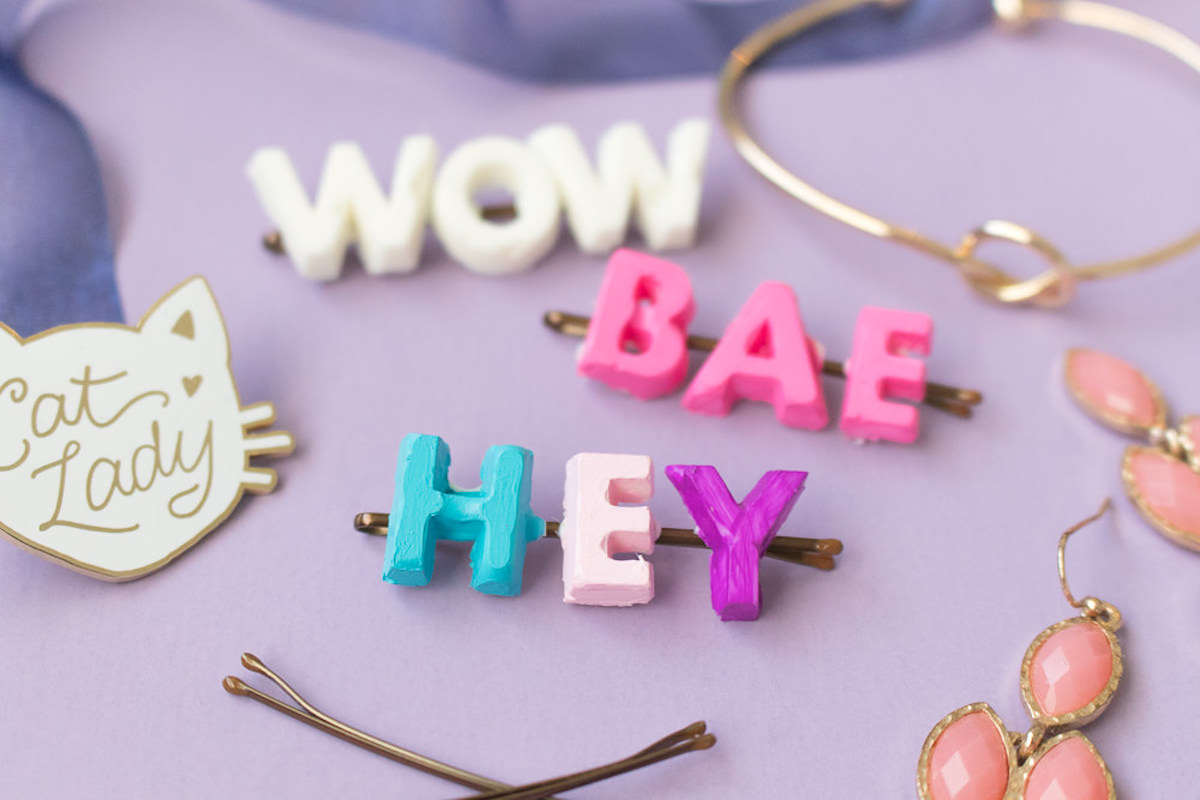
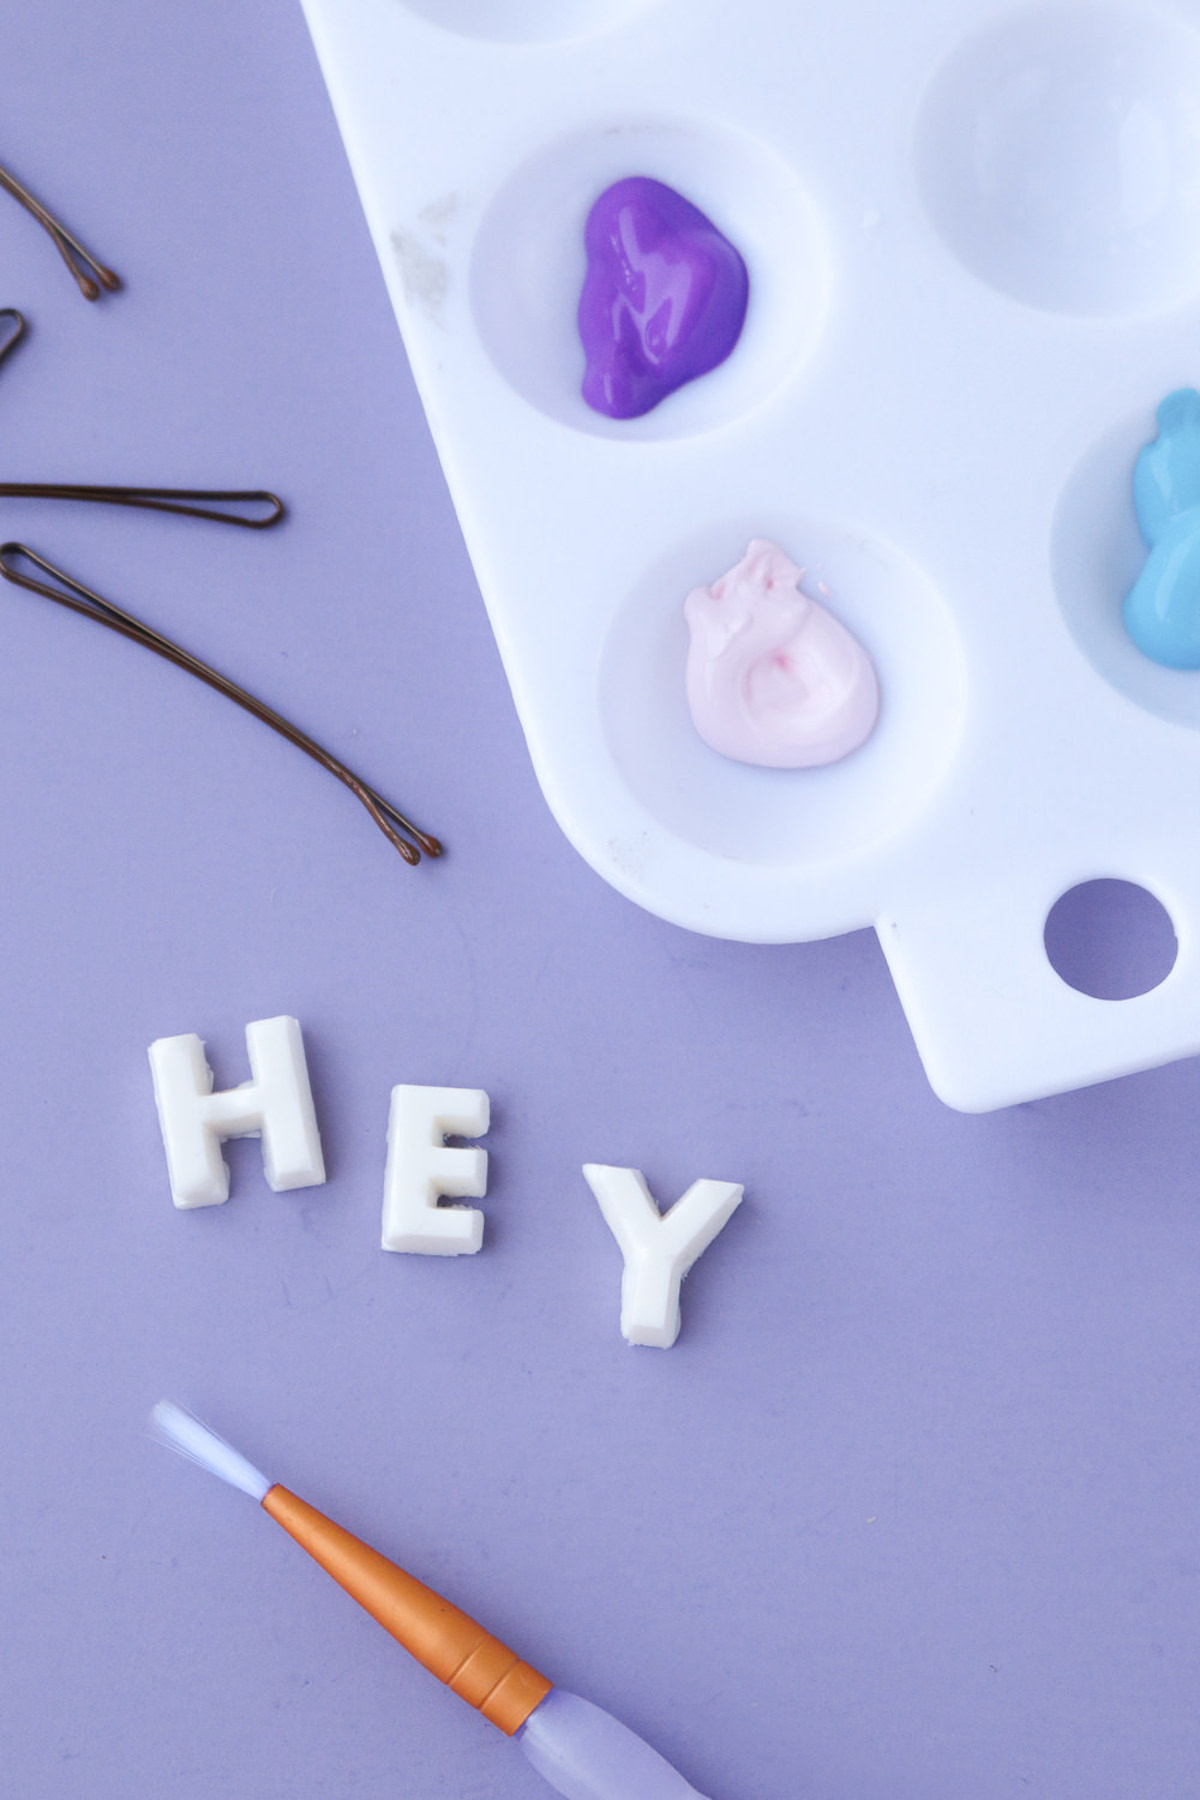
Whether you’re feeling ‘WOW,’ ‘BAE,’ or just a casual ‘HEY,’ these homemade hair pins are about to become your new go-to for adding a personal touch to your look.

I’ve been eyeing those chic hair pins with cute sayings everywhere, but why break the bank when you can DIY? That’s right, it’s time to unleash your inner fashionista and tailor-make these accessories to match your unique style.
With a sprinkle of hot glue magic and a handy alphabet mold, the world of words is at your fingertips… or should I say hair tips?
Why hot glue, you ask? Well, apart from the sheer thrill of turning something so ordinary into fashion gold, it’s all about that quick dry time.
No waiting around for resin, clay, or cement to set – we’re all about instant gratification here!
So, grab your bobby pins, pick your favorite short and sweet words, and let’s get to some cute painting.
Whether you’re jazzing up your everyday look, adding flair to a special occasion, or simply want to wear your mood in your hair, these DIY hair pins are your ticket to effortless style.
Follow along as I show you how to make the coolest hair accessories you never knew you needed. Let’s do this!
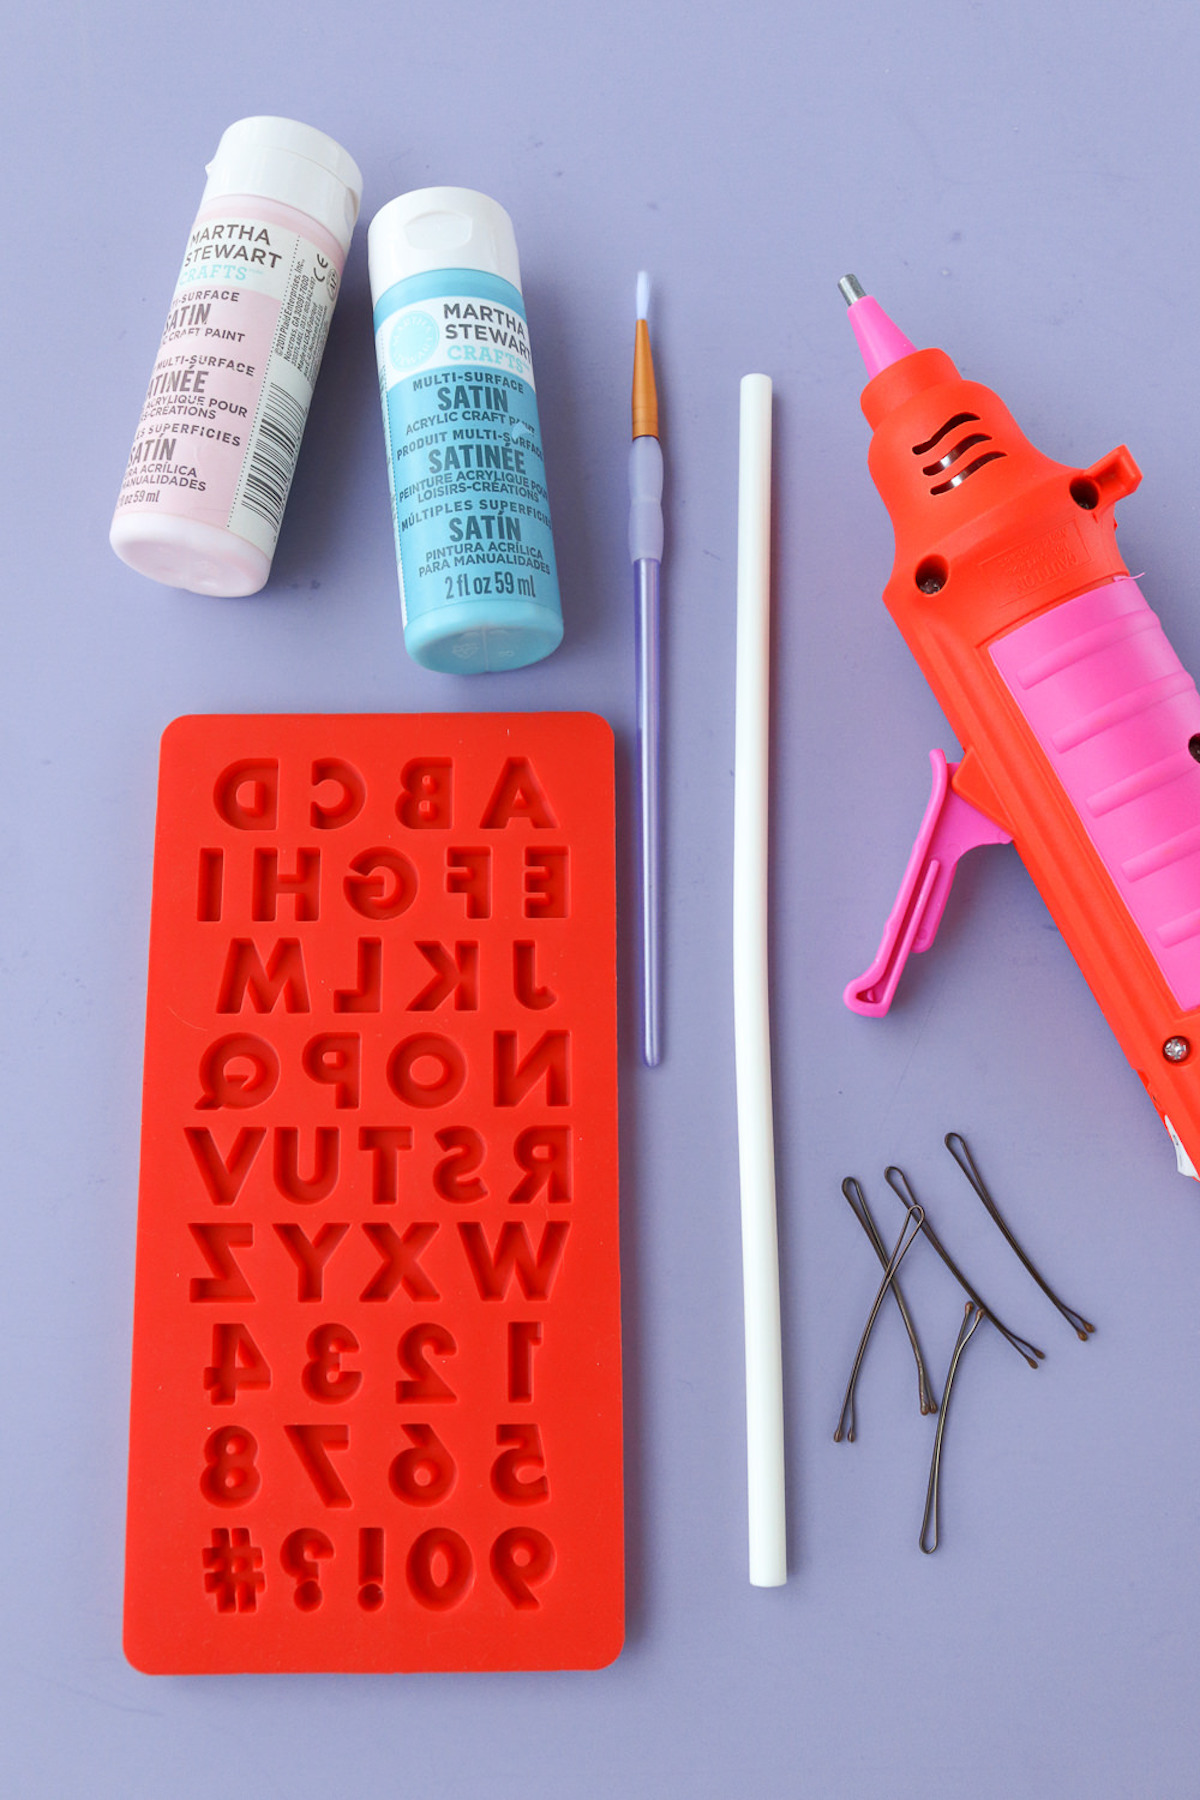
Gather These Supplies
- Hot glue sticks – I used white but you can also use clear (or another color)
- Hot glue gun
- Silicone alphabet mold (letters about .5 inches tall)
- Bobby pins
- Craft paint
- Small paintbrushes
- E-6000
Tips and Thoughts for This Project
You can do this on hair clips too as well as bobby pins. This might even be fun to do with a headband! Think of how long you could get the words. 😮
For an average sized bobby pin, you should limit words to three letters, but this DIY could also work with large clips/pins. Then you’d be able to add more letters.
Skip the painting step by using colorful glue sticks.
Carefully insert the DIY hair pins in your hair (beware, the glue can potentially pull at your hair!) and have fun with your unique sayings!

Get the printable how to card for this craft below.

DIY Hair Pins
Materials
- Silicone mold
- Bobby pins
- Acrylic paint
Instructions
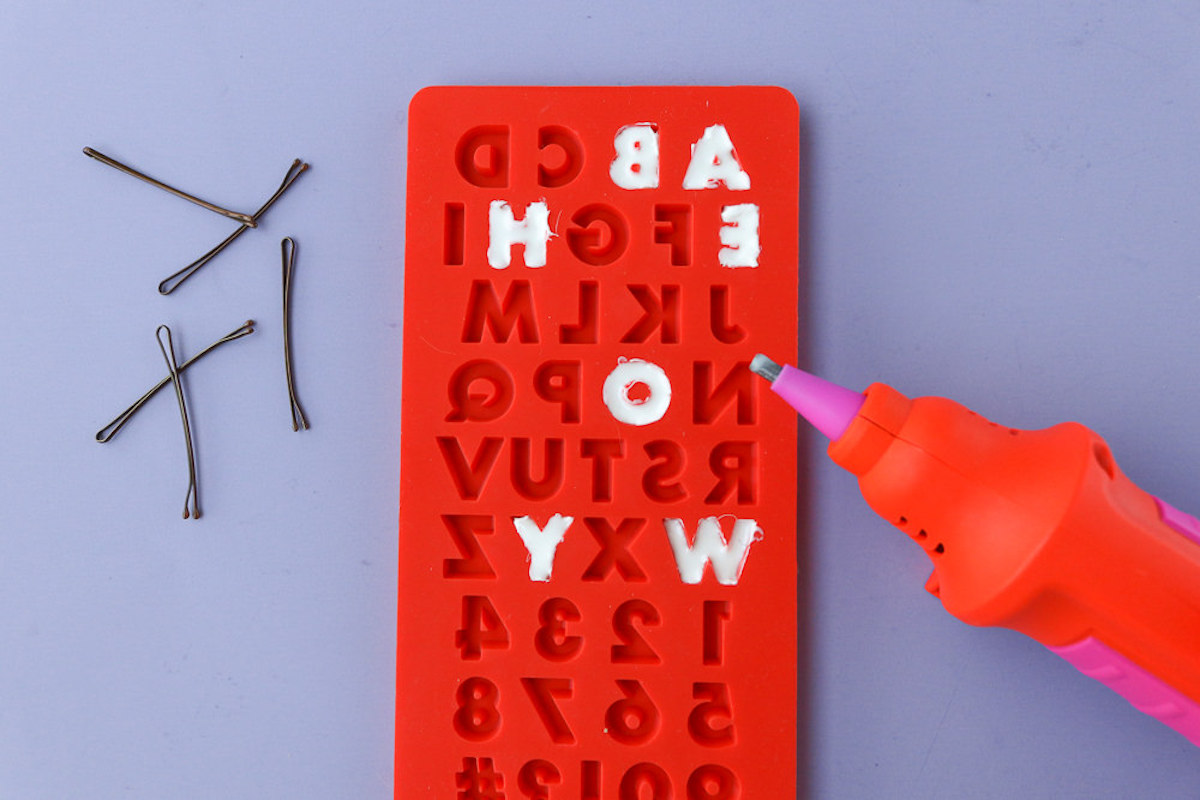
- Head up your hot glue gun. Once hot, fill the desired letters with glue. Work carefully to ensure the entire mold is filled. Let cool for five minutes.
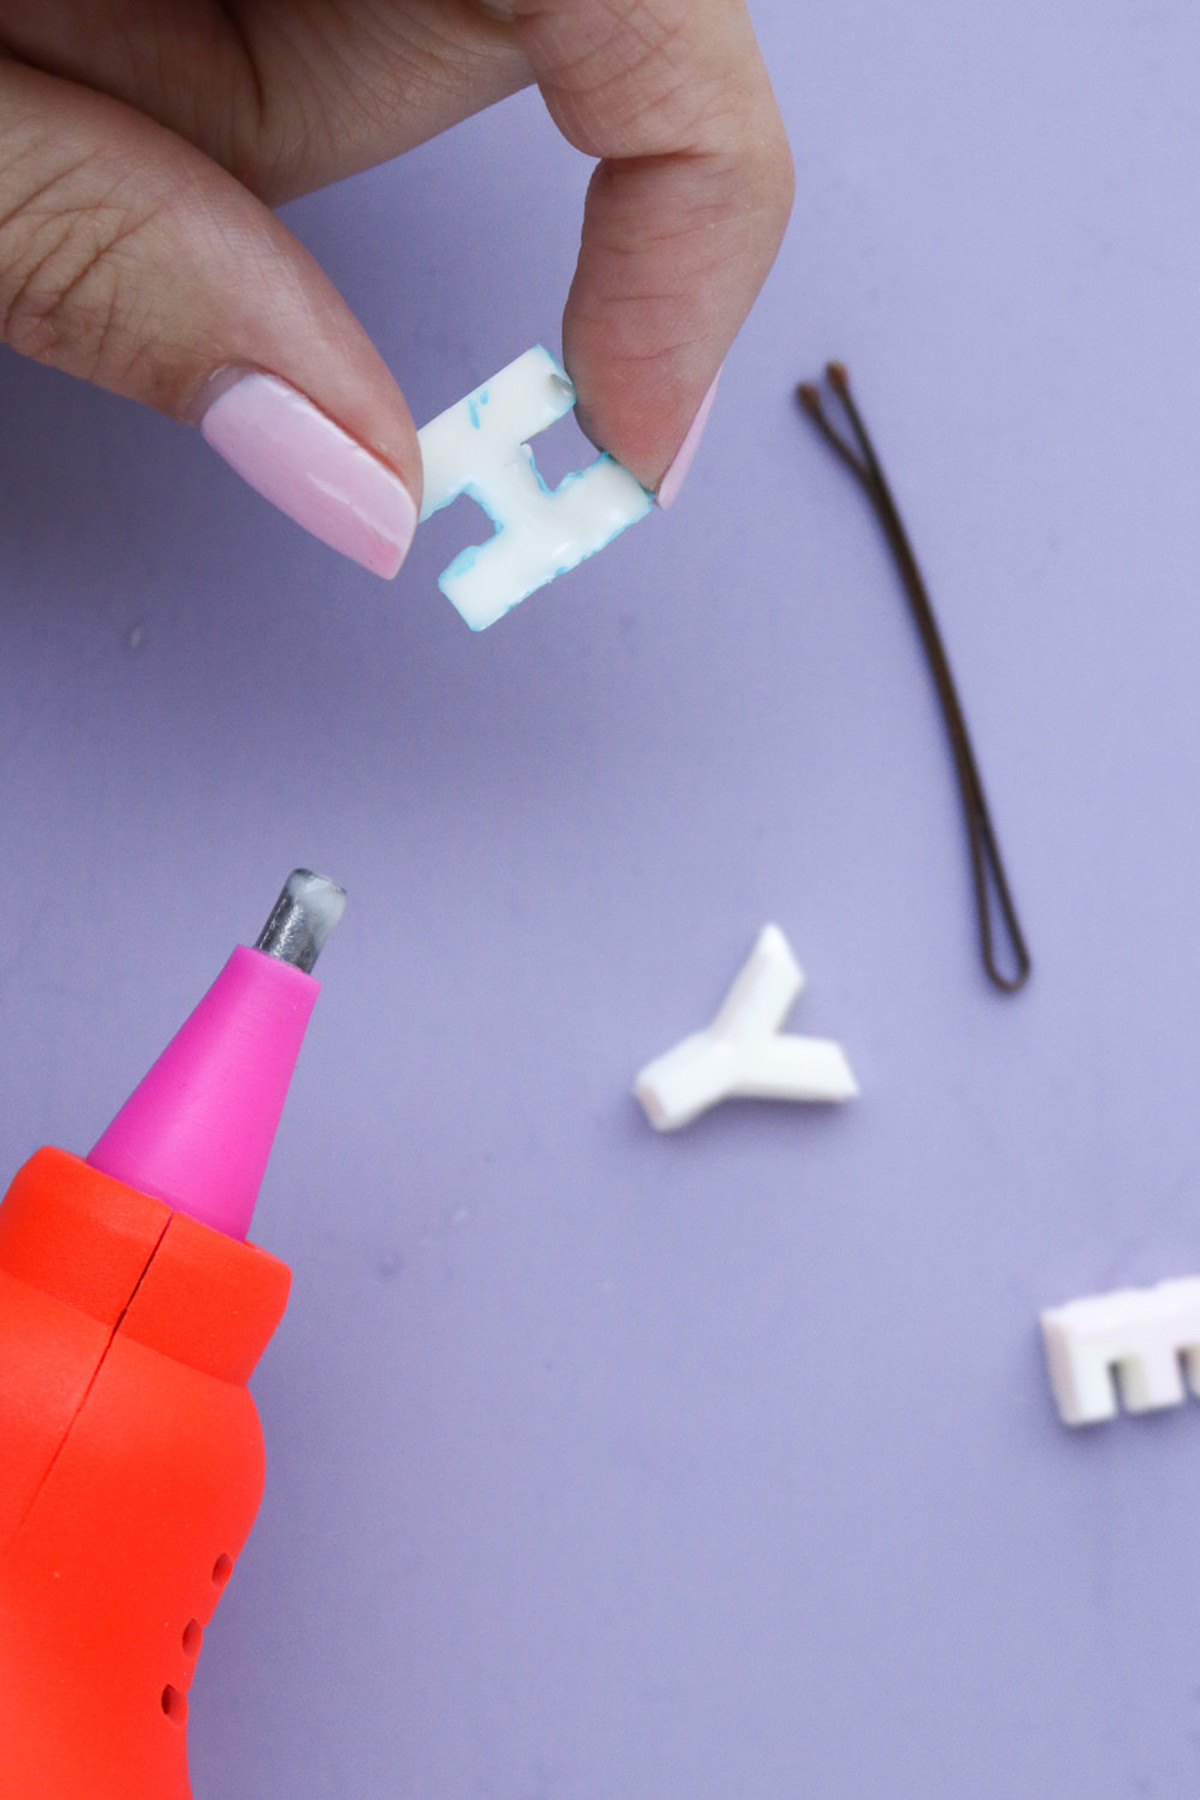
- Remove the letters from the mold. Use a pair of scissors to very carefully cut away uneven sides or loose glue.
- Paint letters in desired colors, let dry and paint a second coat for best results. Let dry.
- Open the bobby pins and attach to the side of the letters with the flat side facing up. Use hot glue to attach the backs of the letters to the tops of the bobby pins. Make sure the letters are facing the correct direction as you would insert the pins into your hair.
Notes
Don’t forget to visit me at Club Crafted for more ideas! I’ve also got another simple accessory DIY you should check out . . . this glitter cell phone case! I’d also love for you to visit these other posts:


Looks great how well do the letters stay on the pin?
If you use an E-6000, they are not easy to remove!
These are so cute and easy to make! I would totally put them on a pin backing since enamel pins are so trendy right now 🙂 Great blog!
-Jenna