
Make sparkly DIY hot glue rings with paint and glitter! This fun and easy craft lets you create colorful, custom jewelry in just a few simple steps.
Skills Required: None. You’ll be using a glue gun to make these rings – you don’t need any prior crafting skills for this jewelry project.
Hey there, fellow fashionistas and crafty souls! It’s Holly from Club Crafted, back with a dazzling DIY that’s going to stick with you – quite literally!
It’s time to talk about my latest obsession: hot glue jewelry. Yes, you read that right.
Who knew that the hot glue gun, usually deep in the drawers of craft rooms, could be the star of a high-fashion jewelry project?
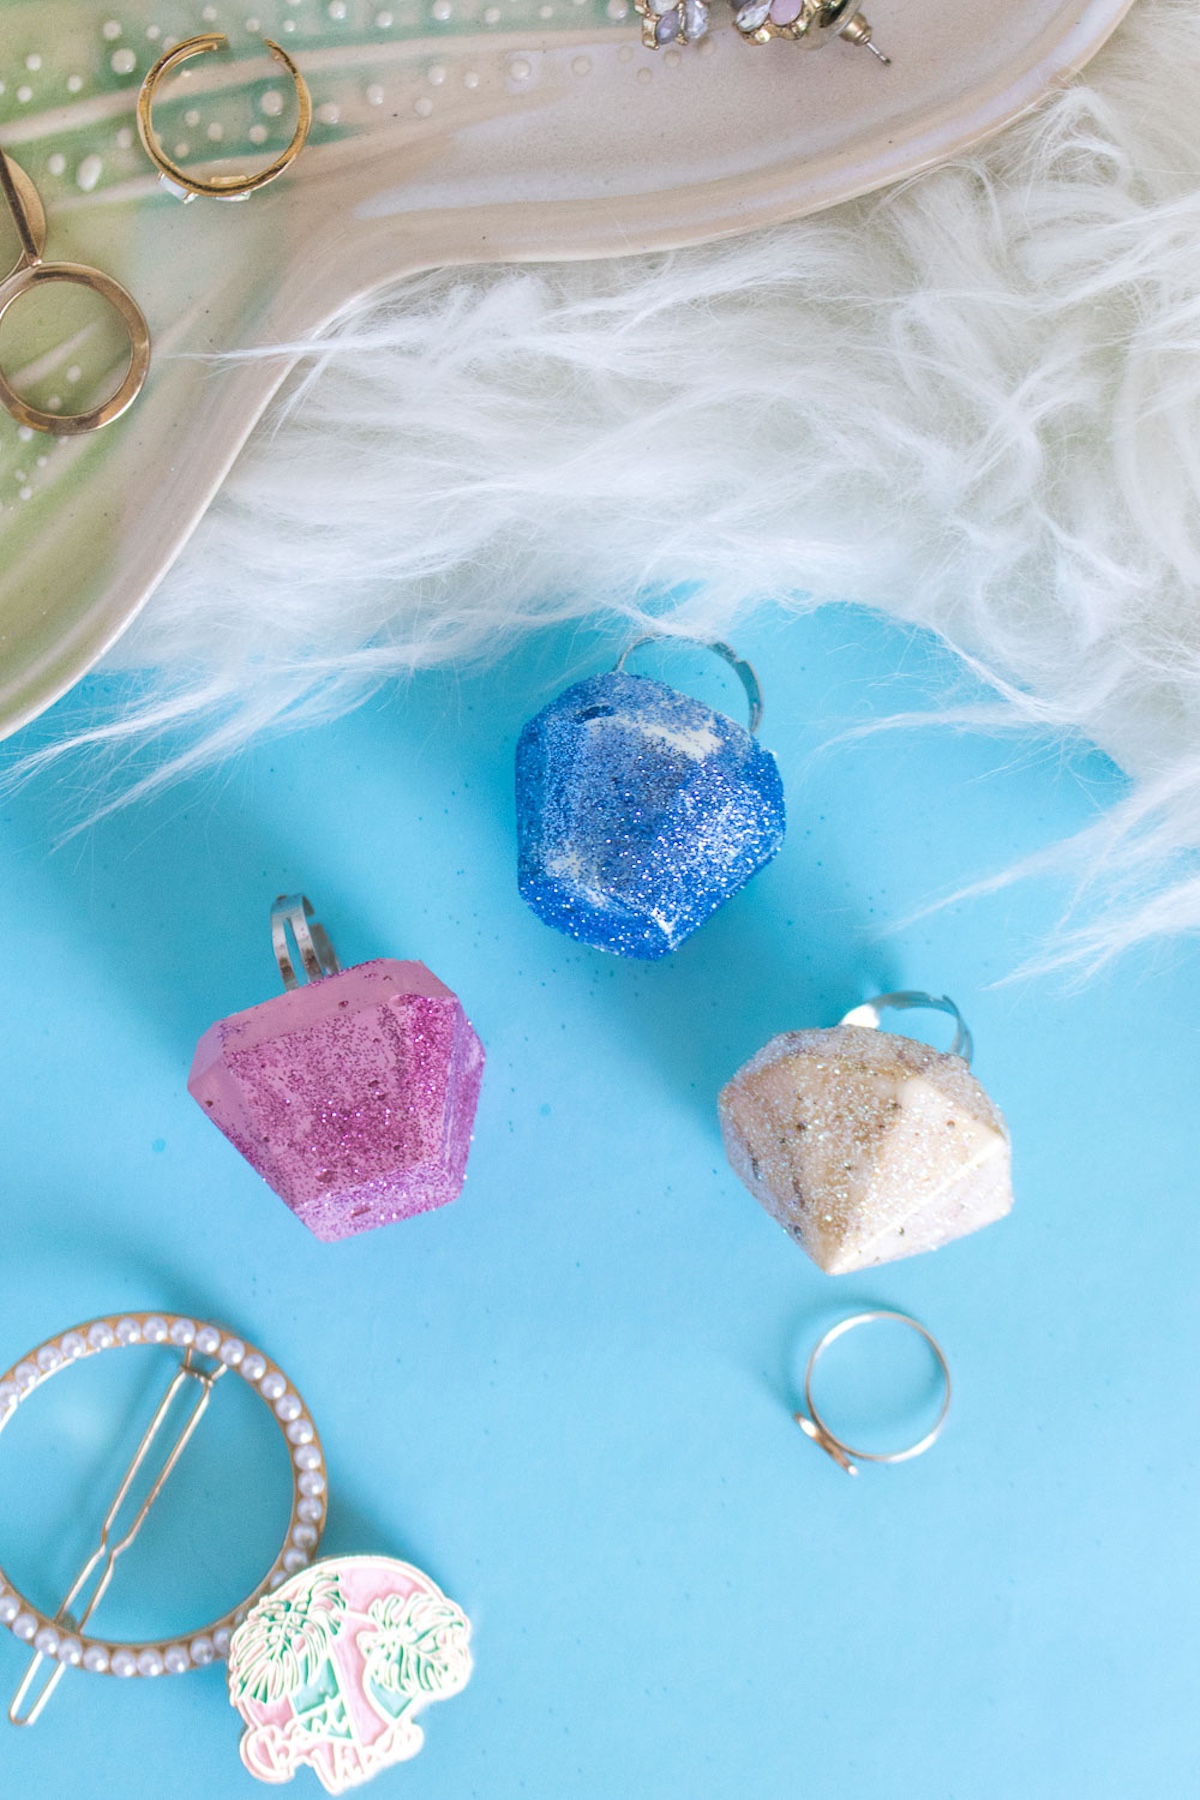
Imagine rings so eye-catching and glittery, they look like they belong in a treasure chest rather than on your hand.
This fashion craft is not just a project; it’s a statement – a testament to the power of creativity (and a little bit of glue).
And here’s the kicker: no one will guess that these stunning pieces are crafted from hot glue. That’s right, we’re turning this everyday adhesive into the stuff of fashion legend. It’ll be our stylish secret.
(Get ready to expand your hot glue horizons with a tutorial for DIY hair pins too!)
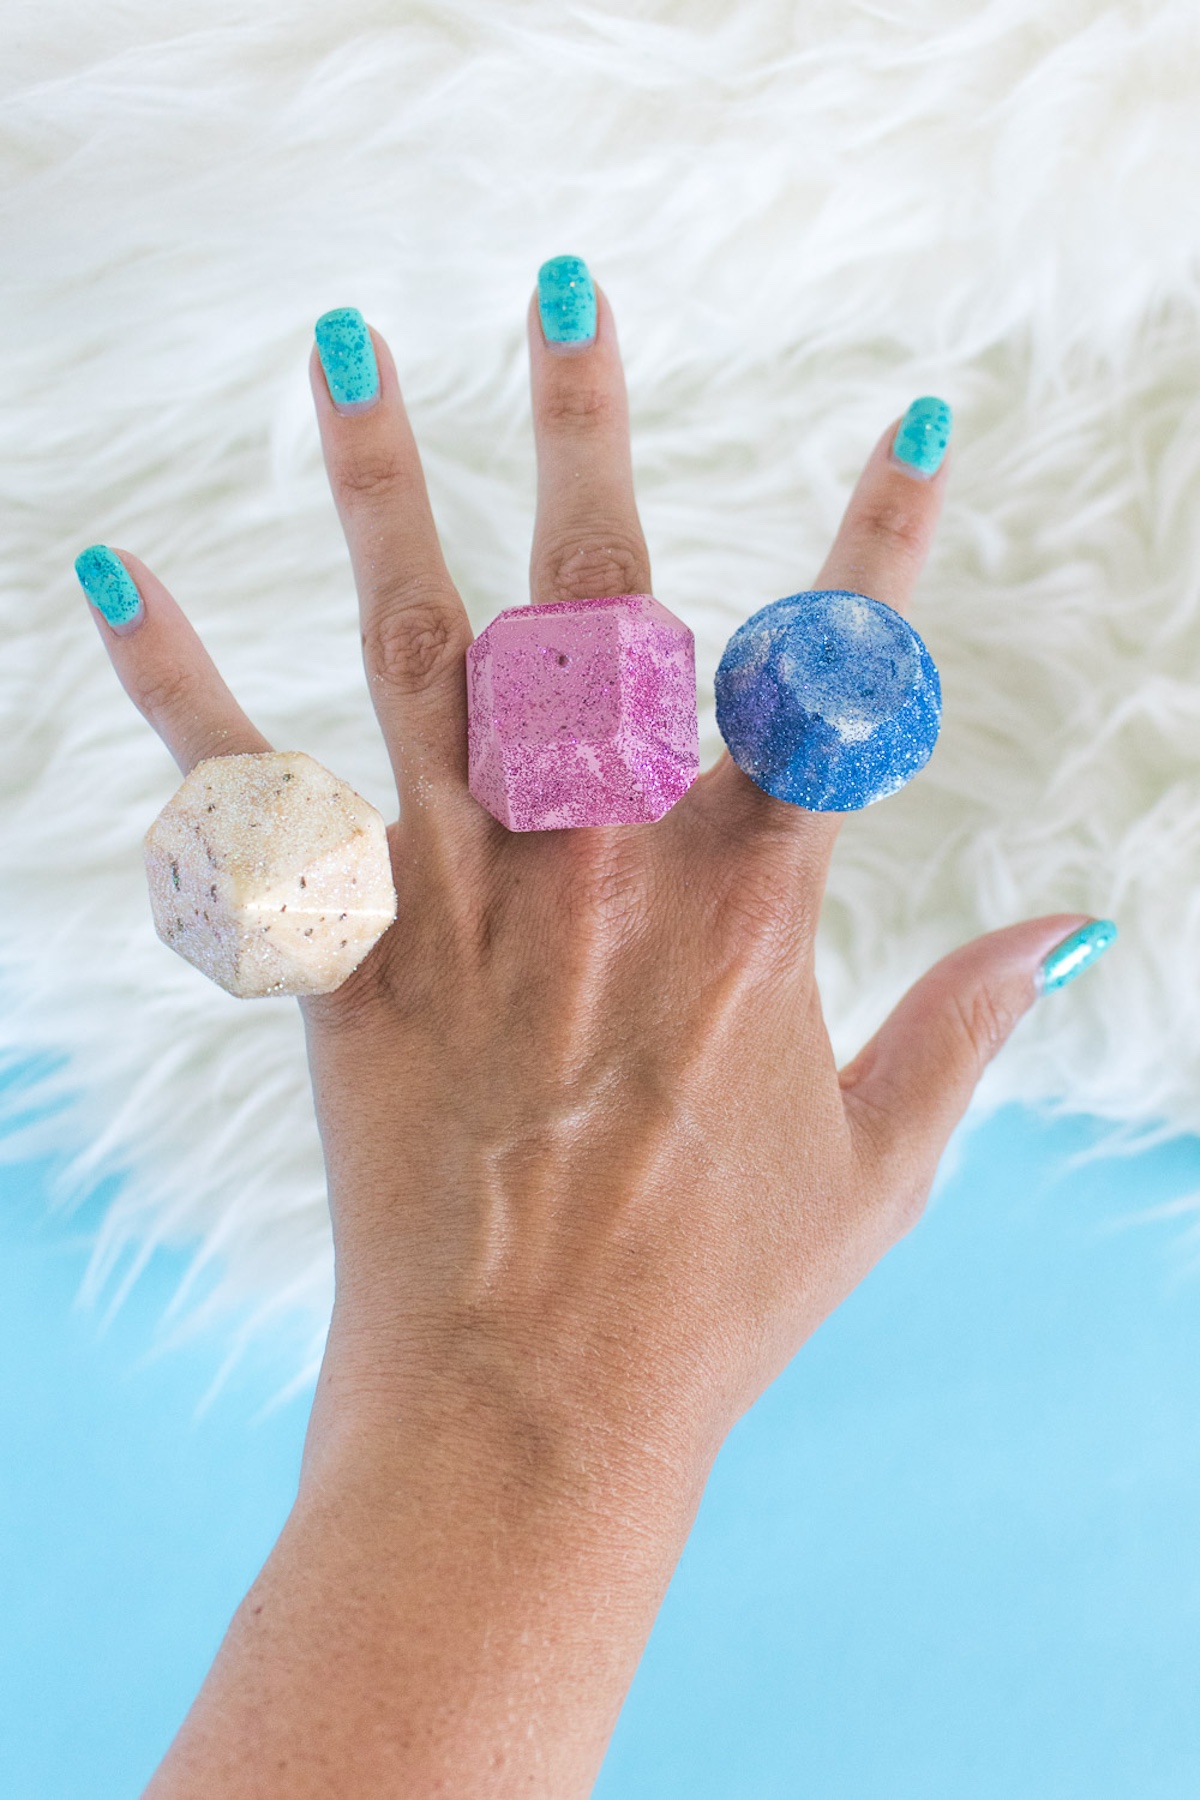
Now, I know what you’re thinking: ‘Giant gem rings? Aren’t those a bit much?’ But hear me out. I gifted a bunch to my niece, and let me tell you, she was over the moon!
The blue one practically became a permanent fixture on her hand. These rings are perfect for jazzing up your holiday outfits, adding pizzazz to party attire, or simply bringing some everyday sparkle to your life.
Best of all, making these hot glue rings is as easy as it is fun. It’s the kind of craft that brings out the kid in you, playing with colors and molds, and ending up with something surprisingly chic.

They should dry quickly, and they’re ready to use! You can certainly do this with any silicone mold, and the hot glue hold up very well and feel lightweight, so it’s perfect for making rings and similar jewelry.
Scroll down to discover how to make your very own hot glue rings – a craft so fun and fabulous, you’ll be looking for excuses to wear them!

Make Rings with Hot Glue
Materials
- White glue sticks
- Ring blanks
- E-6000 optional
Instructions
- Heat up the hot glue gun and load the desired glue stick. Slowly use the gun to fill a gem mold with layers of glue. Make sure to fill the glue to the top of the mold in each crevice and repeat.
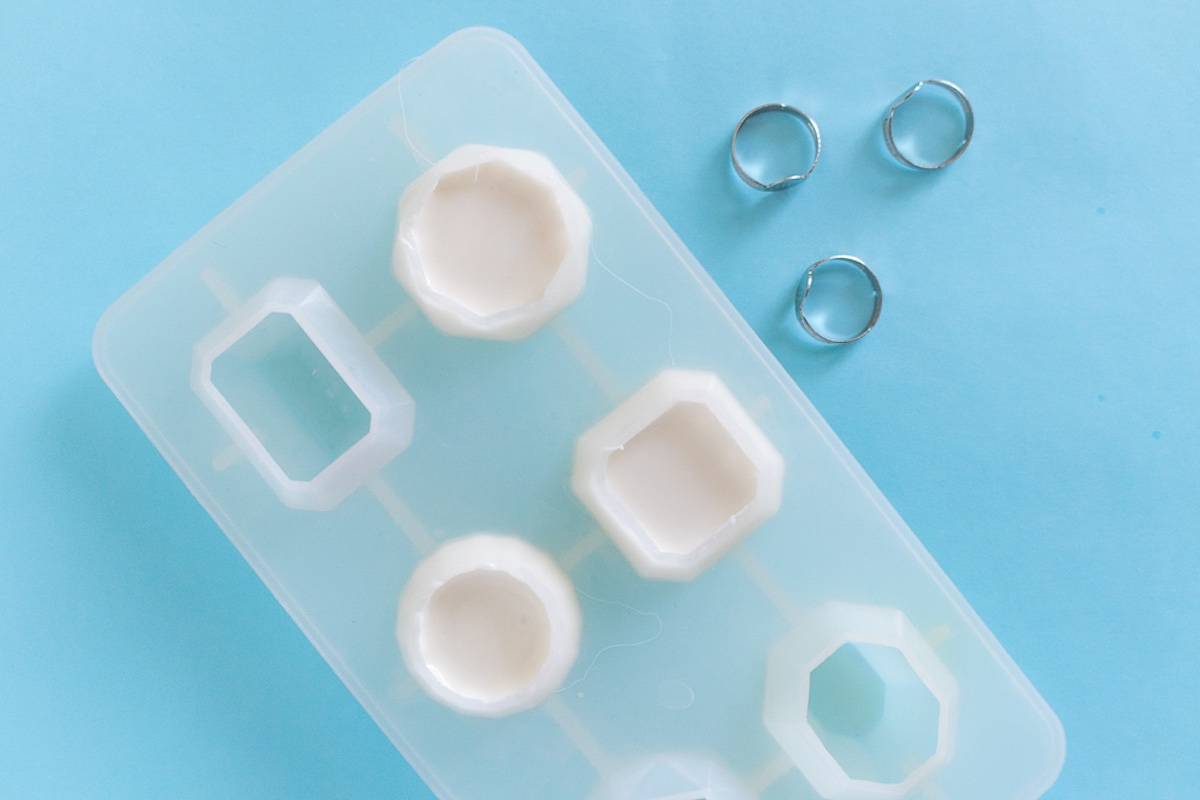
- Once the glue has dried and cooled to the touch, carefully remove the shapes from the mold. They should remove easily. Trim any glue strings if necessary.
- Use the hot glue gun to attach the ring blanks to the flat bottom of the gems. For a stronger bond, use E-6000. Let cool/dry.
- Paint the gems as desired! Use a combination of paint and glitter to make the gem rings sparkle. Paint a layer of color and sprinkle glitter on top. Let dry and repeat if necessary.
Notes
Let me know what you think of this project in the comments! Want to get ideas for some other Mod Podge jewelry crafts? Check out these other posts:


were can I get the mold?
The craft stores have silicone molds as well as Amazon!