
Make EASY Halloween button art for your wall! This canvas art project is so easy, even a kid could make it. Perfect Halloween decor!
Skills Required: Beginner. Even if you’ve only Mod Podged a few times, you’ll be good for this project. Just allow for proper drying times to prevent wrinkles on the background.
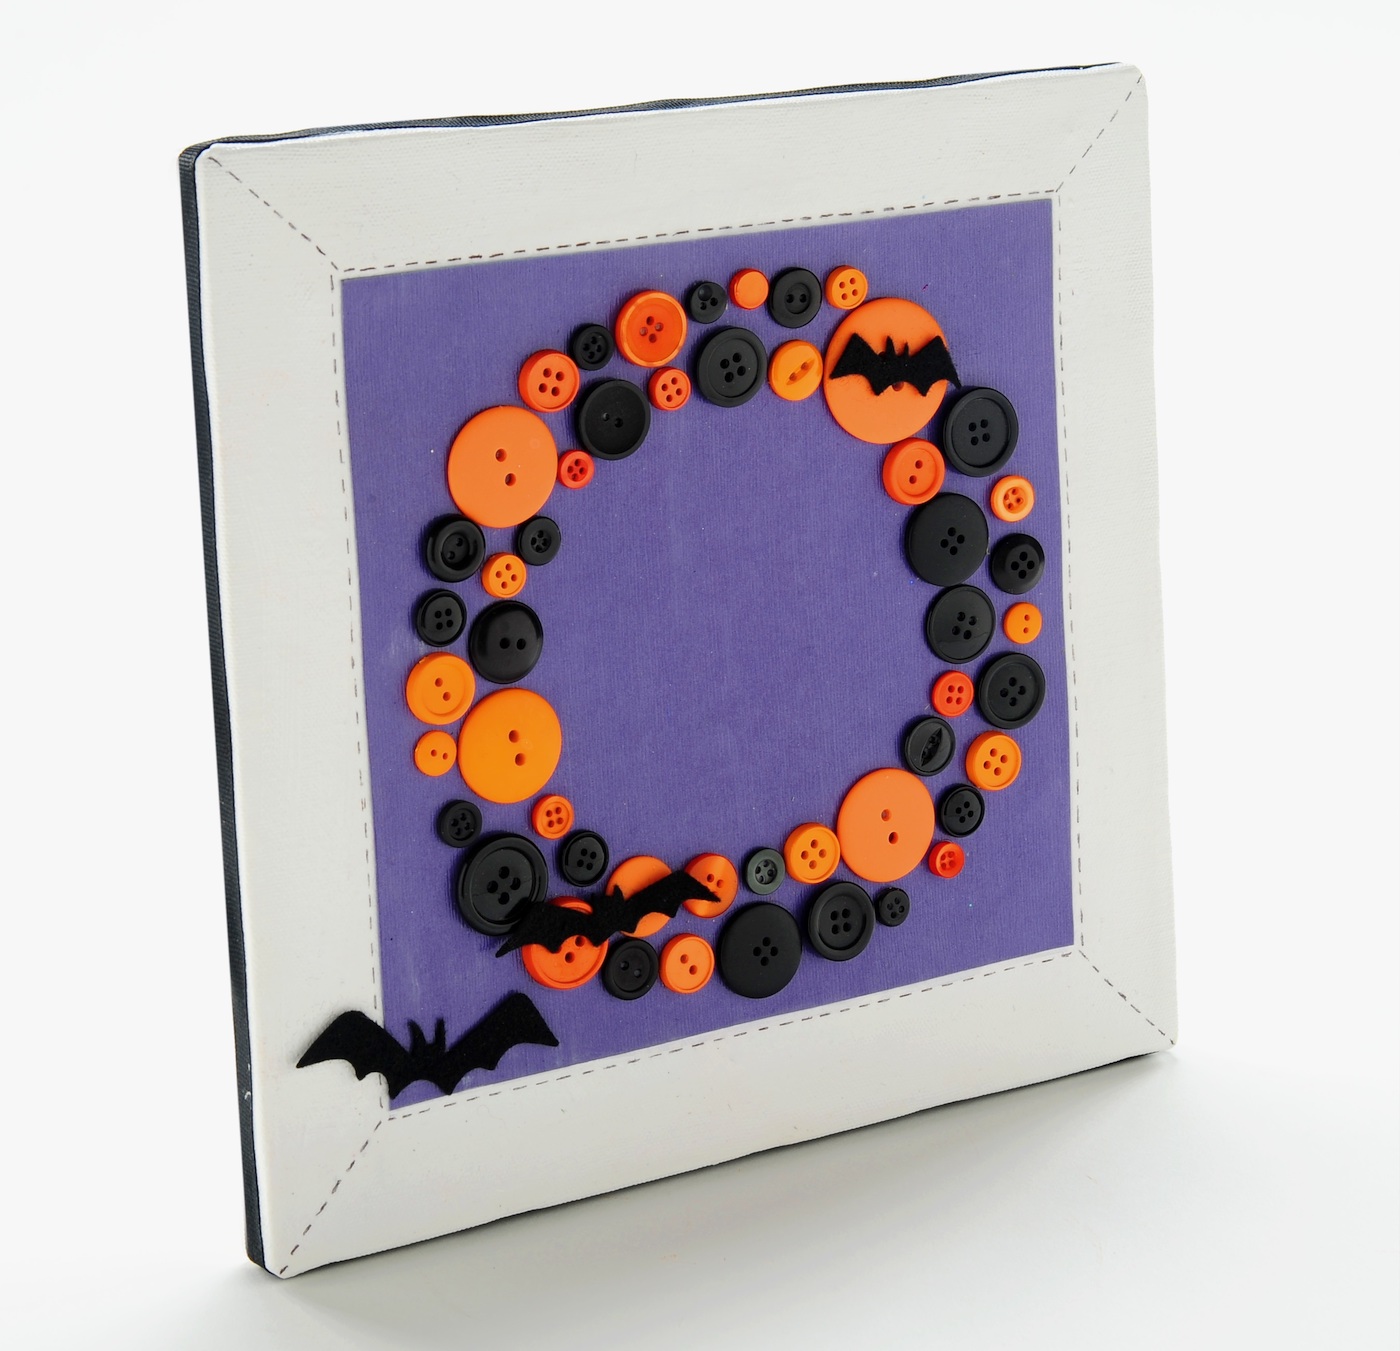
You know Halloween is my favorite holiday, so I had to do my part to contribute to the crafty projects out there. I wanted a door hanging and I wanted to use buttons – this Halloween wall art is what I came up with. I’m tickled pink (I mean purple, orange and black) about my new DIY Halloween decoration!
This button wall art would make a great Halloween craft for kids . . . that’s how simple it is. I’m thinking that I should do one for Christmas as well, but we’re so not even there yet, right?
Here’s how I made this lovely Halloween craft.
Halloween Canvas Art
Gather These Supplies
- Square canvas – mine is 12″ x 12″
- FolkArt Acrylic Paint – Titanium White
- Mod Podge Gloss
- Cardstock – 1 sheet of purple
- Buttons – black and orange mix
- Craft Glue
- Felt – 1 piece of black
- Scissors or craft knife and mat
- Sharpie – Ultra Fine in Black
- Ribbon – Black, at least 50″
- Sizzix Big Shot and Bats #3 Die – if you don’t have a die cutter, then hand cut some bat shapes

Diving into my button bin is one of life’s little pleasures. As you can see, I pulled out a bunch of orange and black buttons in various sizes.
I wasn’t sure how many I was going to use, so I just made sure that I had a bunch. Set them aside.
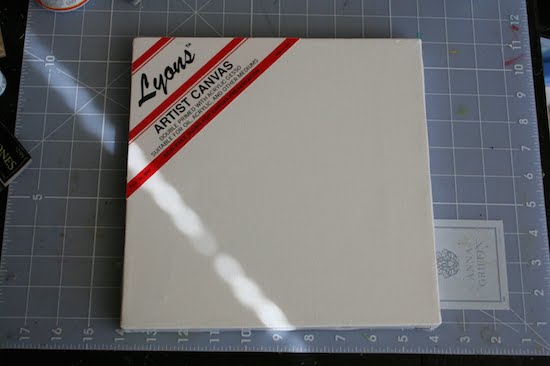
Here’s my square canvas. The only reason that I’m showing you this picture is to mention that you probably won’t want to go any smaller than 12″ x 12″ because it will be difficult to make your buttons into a wreath – especially if you have larger buttons. You can go bigger if you would like.
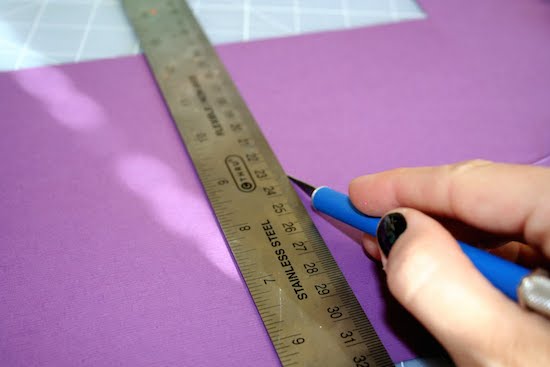
Cut your purple paper to fit a square inside of the canvas. I think I left a little over an inch on all sides, so that would make my paper a little under 10 inches square. Set your paper aside.
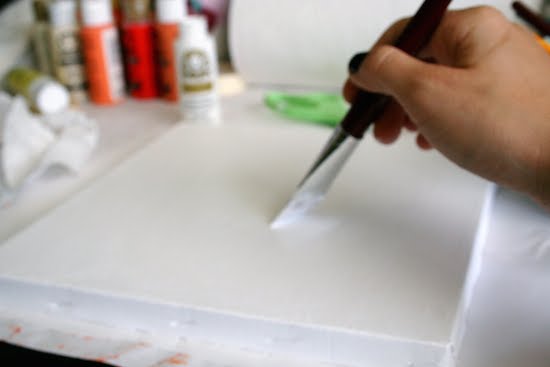
Paint your canvas white. This isn’t necessarily required, but if you feel the canvas, it’s very textured without a coat of paint.
I always coat a canvas with paint to prepare it, even if it’s white. Paint helps smooth it out. That and I become nervous if a canvas isn’t painted – weird quirk.
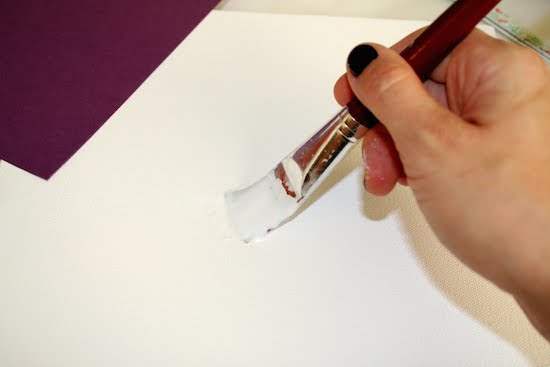
Grab your Mod Podge and spread it onto the canvas in a medium layer. Make sure to have your purple paper close by.
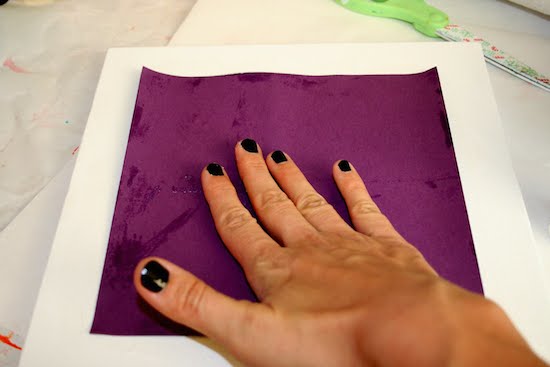
Quickly put your paper down onto the canvas and smooth, smooth, smooth. The great thing about canvas is that it is flat, so you can smooth from the front and from the back.
Wipe away any Mod Podge that comes out the sides. Allow to dry for 15 – 20 minutes.
You may notice in this picture that the color of my paper has changed. Yep! I messed up the first time around.
My paper was cattywampus on the canvas, so either the canvas wasn’t straight or my vision wasn’t. Hmmm.
I cut a new piece of paper and Podged it down, then waiting the 15 – 20 minutes.
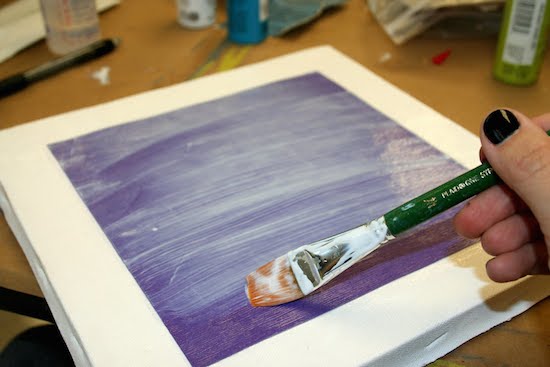
Once it’s dry, spread a layer over the entire canvas. Allow to dry.
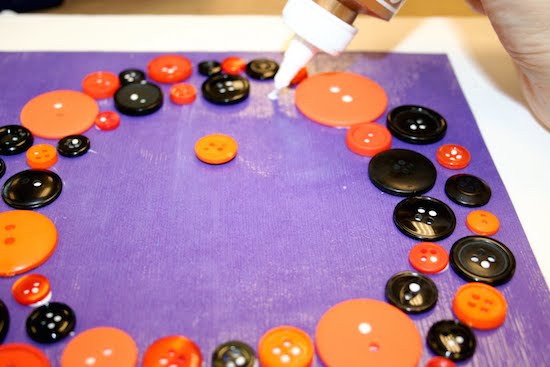
Whee, buttons!! This is the part that takes some time and little adjusting. Grab your buttons and start placing them down in a circle on the purple paper.
You’ll be replacing small buttons with larger ones, moving some to make your wreath look more circular and then switching positions.
You’ll get there eventually! Once you are happy with your buttons positioning, glue them down with the craft glue.
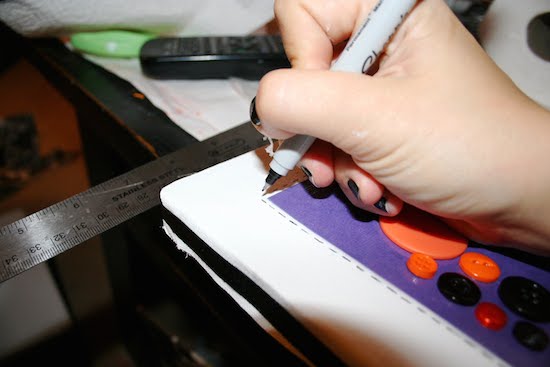
My Halloween wall art needed a little something extra, so I took my Sharpie and added some “stitching” around the paper and then in the corners. You might want to use a ruler to help you. I had to.
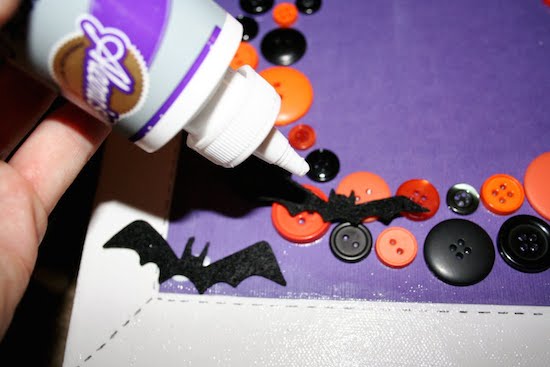
As a finishing touch, cut your bats out of felt (either with your die cutter or by hand) and then glue onto your Halloween wall art. Allow to dry before displaying.
If you enjoyed making this Halloween wall art, I’d love for you to check out these other holiday ideas:
BOO Letters • Cheesecloth Ghost • Coffin Tray • Decorating Wood Cutouts • Decorative Blocks • DIY Wreath • Dollar Tree Wood Pumpkin • Door Hangers • Duct Tape Pumpkin • Fairy Garden • Halloween Ornaments • Halloween Rocks • Mason Jar Lanterns • Mummy Luminaries • Paper Cones • Potion Bottles • Spooky Candle Holders • Spooky Pumpkins • Wall Decor • Window Art • Witch Hat Garland • Wood Ghost Decor


This is adorable, Amy. I added it to my fall decor round-up.
xoxo
Love this! I also wanted to let you know I featured it on my blog today. Feel free to grab a button 🙂
https://www.artsyfartsymama.com/2011/09/pinteresting-features-n-shtuff_25.html
Thanks so much for linking up at the FaveCrafts blog hop! That button wreath is cute (I love buttons)!! I hope to see your link next month too 🙂
That is super!!! And may I add, I love your Halloween Black nails…I have glow in the dark nail polish, it’s tons o’ fun for the season.
My Show n Tell is my newest Witch for my collection.
The link is HERE I’d love to have you stop by for a visit.
LOVE IT!! I’m buying MOD PODGE TOMORROW.FINALLY JUMPING into it. I’m SO EXCITED!!!
I just wanted to stop by and let you know that I linked to this post today from the Home & Garden channel at Craft Gossip. 🙂
Your feature will appear in the main Craft Gossip RSS feed, on the main home page and can be found directly here
https://homeandgarden.craftgossip.com/5-fun-halloween-ideas/
If you would like a “featured by” button, you can grab one here!