Have you tried the Mod Podge Sheer Colors? They are so easy to use – make these simple, pretty tinted mason jars in just a few minutes!
Skills Required: None. Even if you’ve never used Mod Podge before, you’ll be able to complete this project.
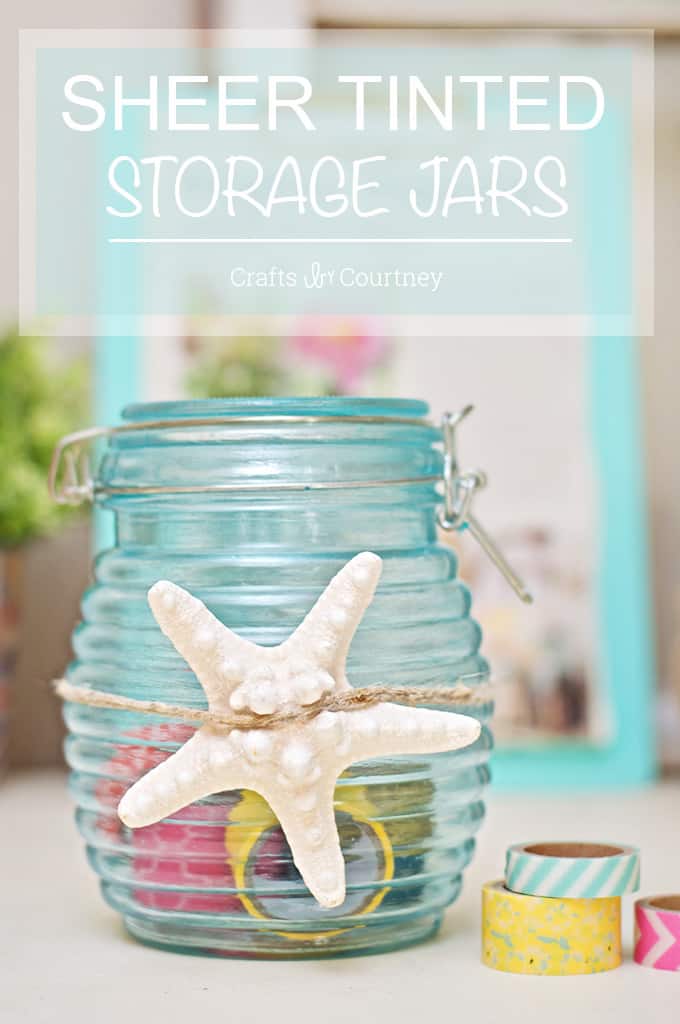
Hi, it’s Courtney from Crafts by Courtney. Today I’m sharing one of the easiest DIY beach decor projects I’ve ever done.
I’ve been browsing my Coastal Living Magazines and seeing all these beautiful blue vases. I really wanted to try to recreate one for my craft room. I’m a huge fan of summer themed ideas, and these are perfect.
I went to my local craft store and found bottles of Mod Podge Sheer Colors. They had the perfect tint of blue I wanted to use. Note: Sheer Colors have been discontinued, so use the recipe for dyeing Mod Podge here.
My friend gave me these cute little jars for my birthday. I thought they would be perfect to give them that coastal makeover using the sheer tint. Mason jar crafting, here I come!
Tinted Mason Jars
Gather These Supplies
- Glass jar
- Mod Podge Gloss
- Food coloring
- Decorative rope
- Starfish
- Scissors
- Paintbrush
- Hot glue gun (optional)
TIP: If you can’t find Mod Podge Sheer Colors, use the recipe found in this post to tint Mod Podge any color you like.
Getting Started
For this project you can use whatever kind of glass jar you want. I just loved this one so much and thought it would be perfect to store some of my craft supplies in.
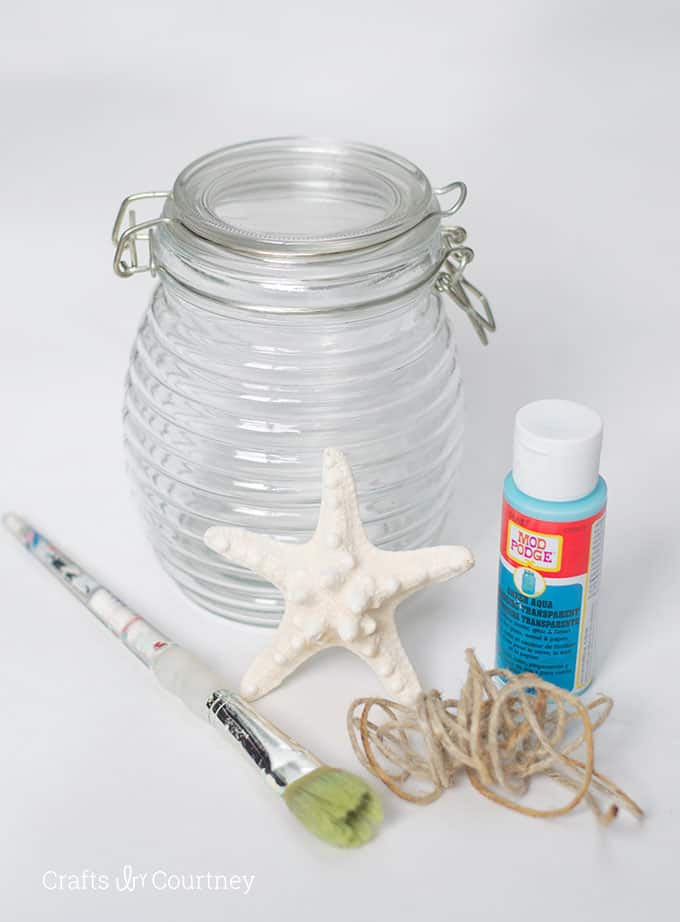
I was super excited to get started!!
Step 1 – Prep Glass Jar
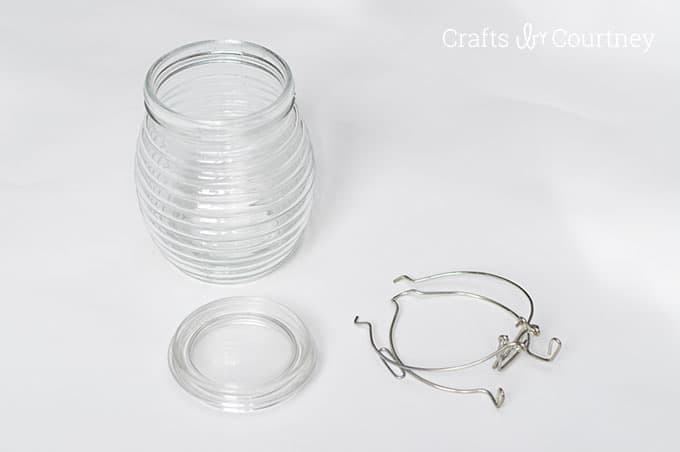
I took my jar apart so that it would be a little easier to paint.
Step 2 – Add Tint to Jar
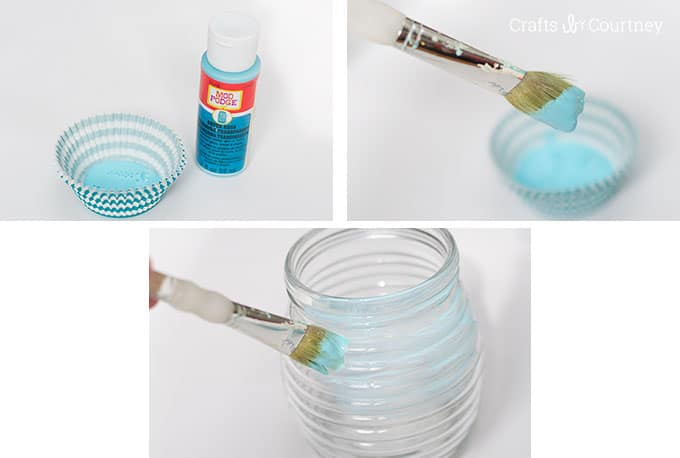
Now the easy part, adding your paint! I went over the whole jar with my sheer color tint and let dry 30 minutes.
Quick Tip: I tested the tint out on another jar using a foam brush. I the finish wasn’t as smooth as I wanted. This jar I used a paint brush and the results were a lot better.
Step 3 – Add Final Coat of Tint
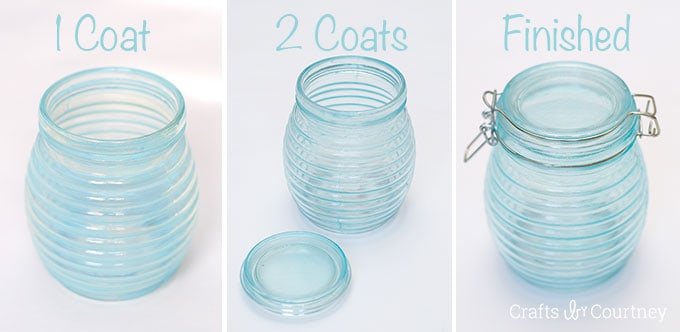
For my tinted mason jars, I added a total of two coats to each jar. I was debating on adding a third, but I really like how the two coats turned out so I left it.
Step 4 – Finishing Touches
Now let’s finish up our project by adding our decorative shell to the front!!
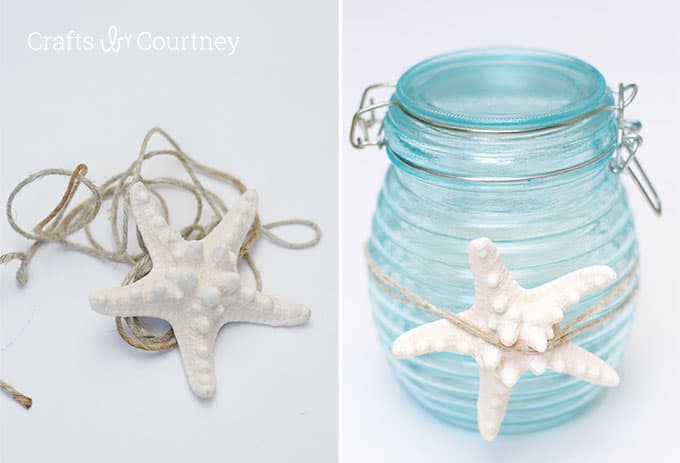
I pulled out some rope and used it to keep my starfish on. You can also use the hot glue gun to keep the starfish secure. Super simple project, right?!
These are going to look great in my new craft room! I have a ton of blue mason jars to decorate around them. I really like how the starfish looks on the front of it!
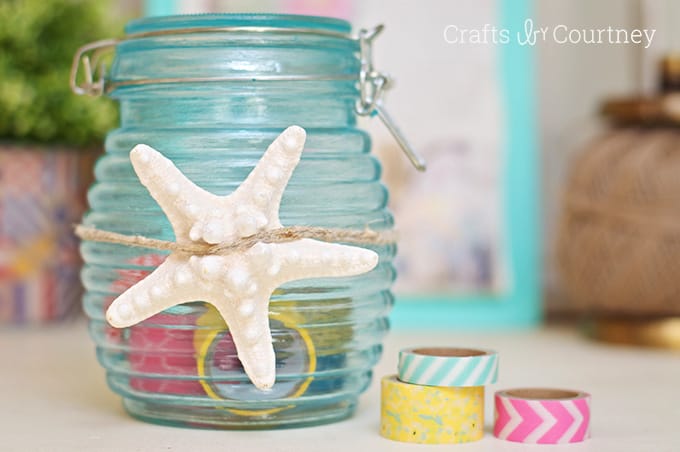
This really is a beautiful blue color!
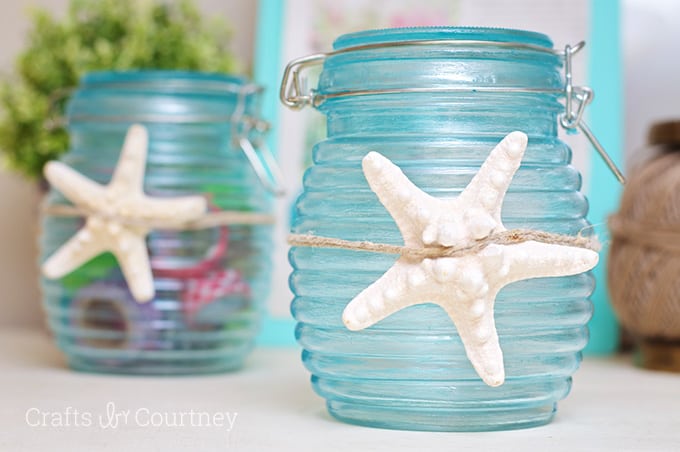
I can’t wait to try more projects using the Mod Podge Sheer Tint! It really turned out beautiful and so easy to use. I see some spring and summer projects in my future!!
I hope you loved this craft. If you enjoyed these tinted mason jars, I’d love for you to check out these other projects:




So cute -LOVE this idea! Can these be washed? Or should they be sealed so they could be washed? If sealing in needed, would it be sealed w/ a Mod Podge product?
These cannot be washed. But you could probably add dye or food coloring to the Dishwasher Safe Mod Podge and try to recreate it? I haven’t tried it yet!