
Use Mod Podge to do a photo transfer to glass! The decal method is the most successful way to get transfer on glass that I’ve found. Scroll down to the bottom of this post to see a video of this method in action!
Skills Required: Intermediate. You should expect some trial and error with this project. The decals are somewhat thin and it takes some practice to learn how thick to make the medium and how much paper to rub off. It helps if you’ve used Mod Podge or photo transfer medium before.
Nothing makes a house feel more like a home than pictures of friends and family. I especially love collecting and displaying old photos that family members haven’t seen.
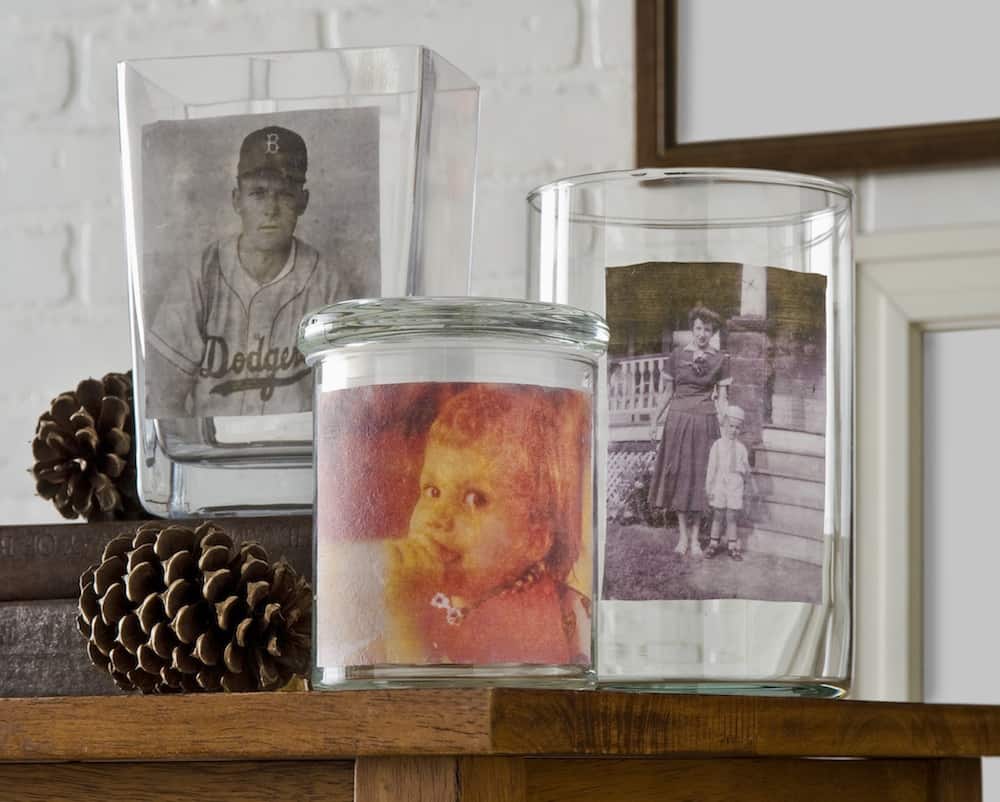
Here is an interesting way to display vintage photos on glass vases using a Mod Podge photo transfer process – it’s call the decal method. What I like about it is that the photos look very rustic after being transferred, so this project goes well with farmhouse decorating.
Photo Transfer to Glass
The decal method is the most successful way of doing a photo transfer to glass that I’ve ever found and I highly recommend it.
Let’s dive into the decal method and into a few frequently asked questions you might have about transferring photos to glass before I share the tutorial with you. I’ve done this a lot and have failed a lot, so I’m excited
The Decal Method
I’m sure you’ve noticed that glass is a slick surface. You can Mod Podge a photo directly to glass, but can you photo transfer to glass? The answer is no – not directly. You’ll need to use the “decal method.”
In the decal method, you’re going to print out photos on printer paper (not photo paper) and then paint them with Mod Podge photo transfer medium.
You’ll let that dry, rub away the paper, and a decal of the medium will be left behind. You’re going to use this as a decal to place on the glass. The nice thing about this method? It’s basically a glass cling, and you can (typically) remove it and reuse as necessary.
(Another related method is the packing tape image transfer if you want to check that out! It works on glass too but has a different effect).
Transferring Photos – Tips for Success
What are my most important tips for a photo transfer to glass? Here they are:
- Use a medium layer of the transfer medium – obscure the image entirely so you can’t see any portion of it. Thicker is better than thinner, otherwise your decal will be too thin and tear easily.
- Reverse any images with words so that they appear correctly when the transfer is complete.
- Use thinner printer paper. You are going to rub away all the paper, so nothing too thick – 20 lb or less is good.
- Don’t rub too much in one place or you’ll tear the decal. Wet, rub, let dry a little, then repeat. The decals are slightly fragile.
- Understand that the images are always going to have a vintage look. This is the case when you transfer any image to wood, canvas, etc. as well. That is the result of using this medium.
Ready for the project? Let’s get to it – and learn how to transfer photos to glass using the decal method. Get the printable how to card below.

Photos on Glass
Equipment
- Printer and paper
- Wax paper or a silicone mat
Materials
- Glass vases of various sizes
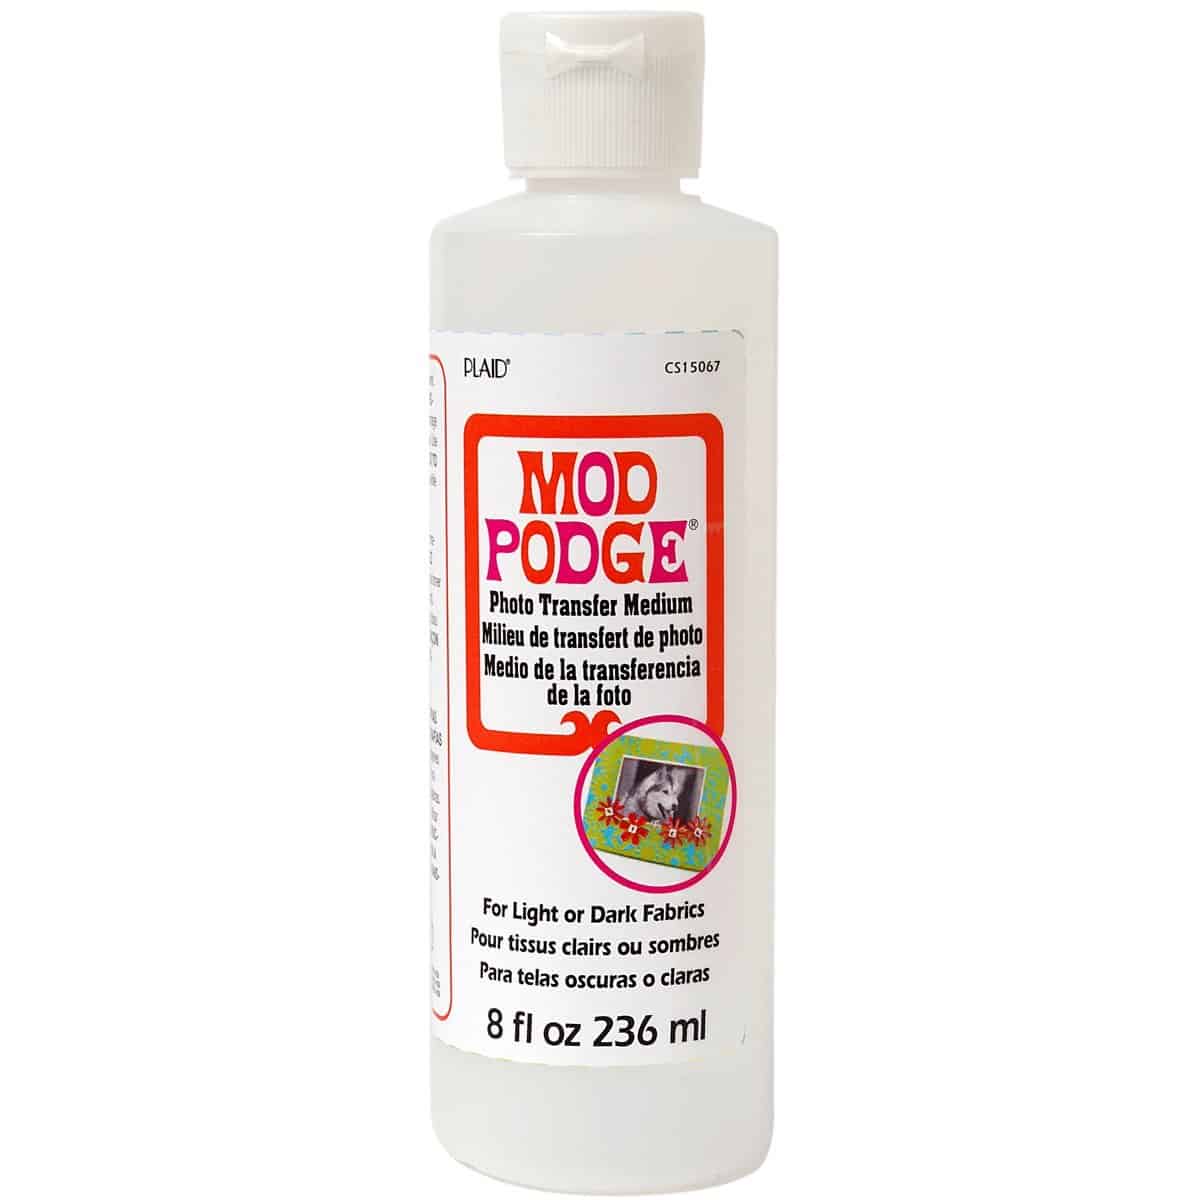
- Mod Podge photo transfer medium
Video
Instructions
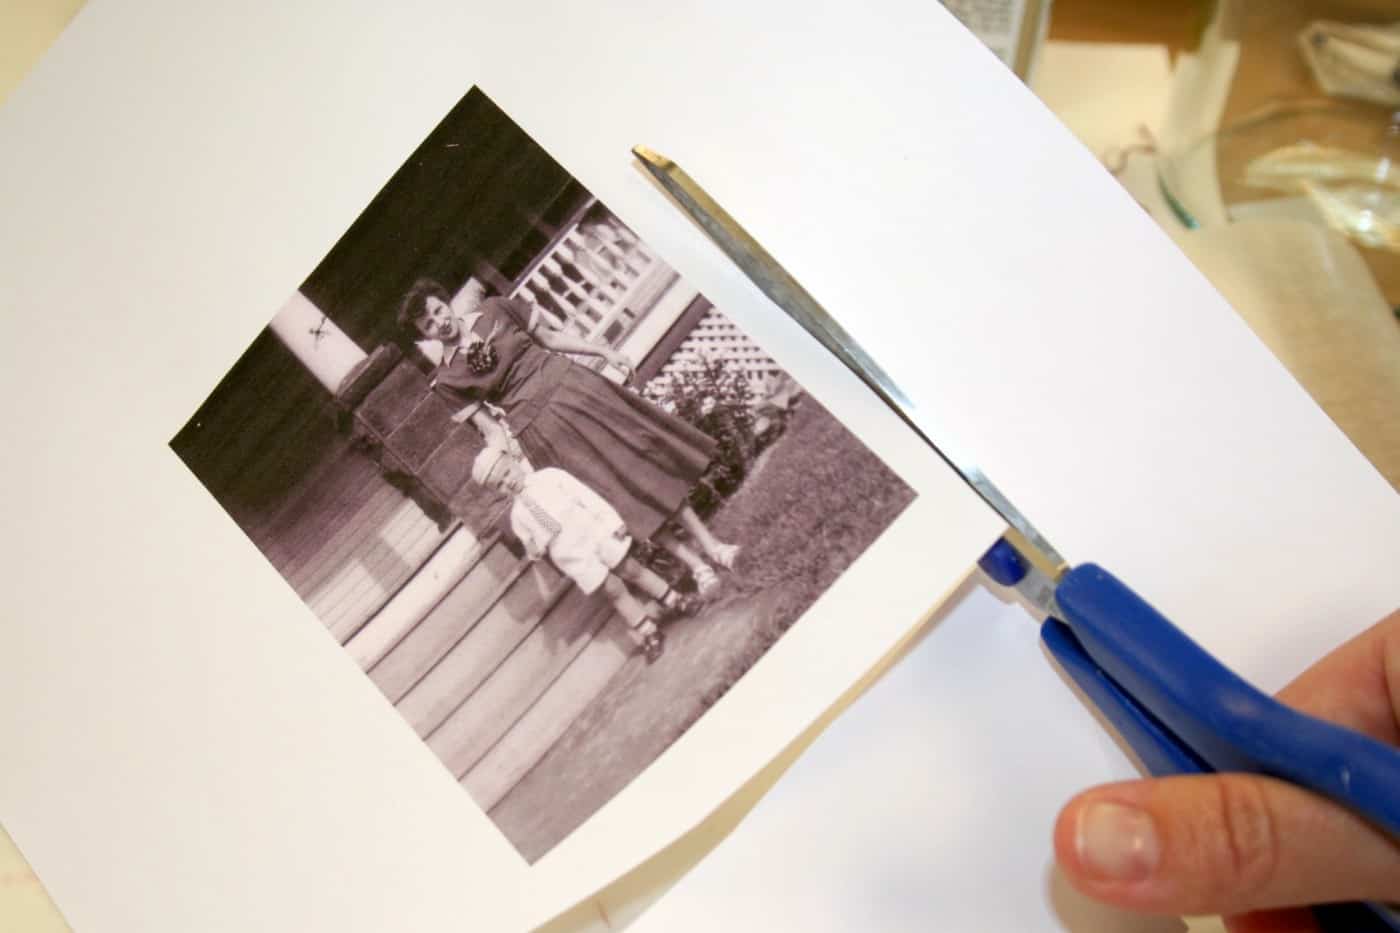
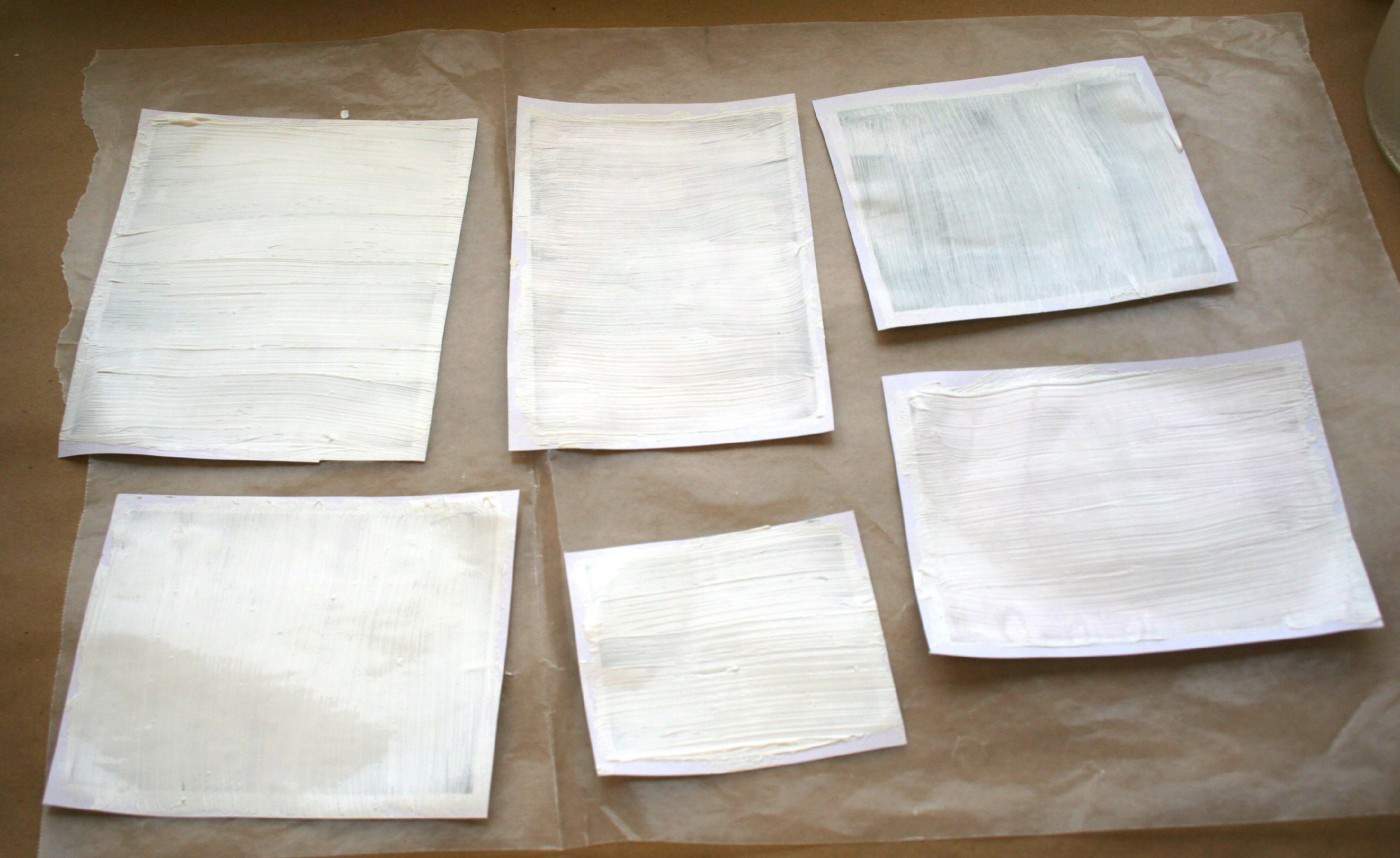
- Print out the images and cut out with the scissors. Leave approximately a 1/2” – 1” border around the image.
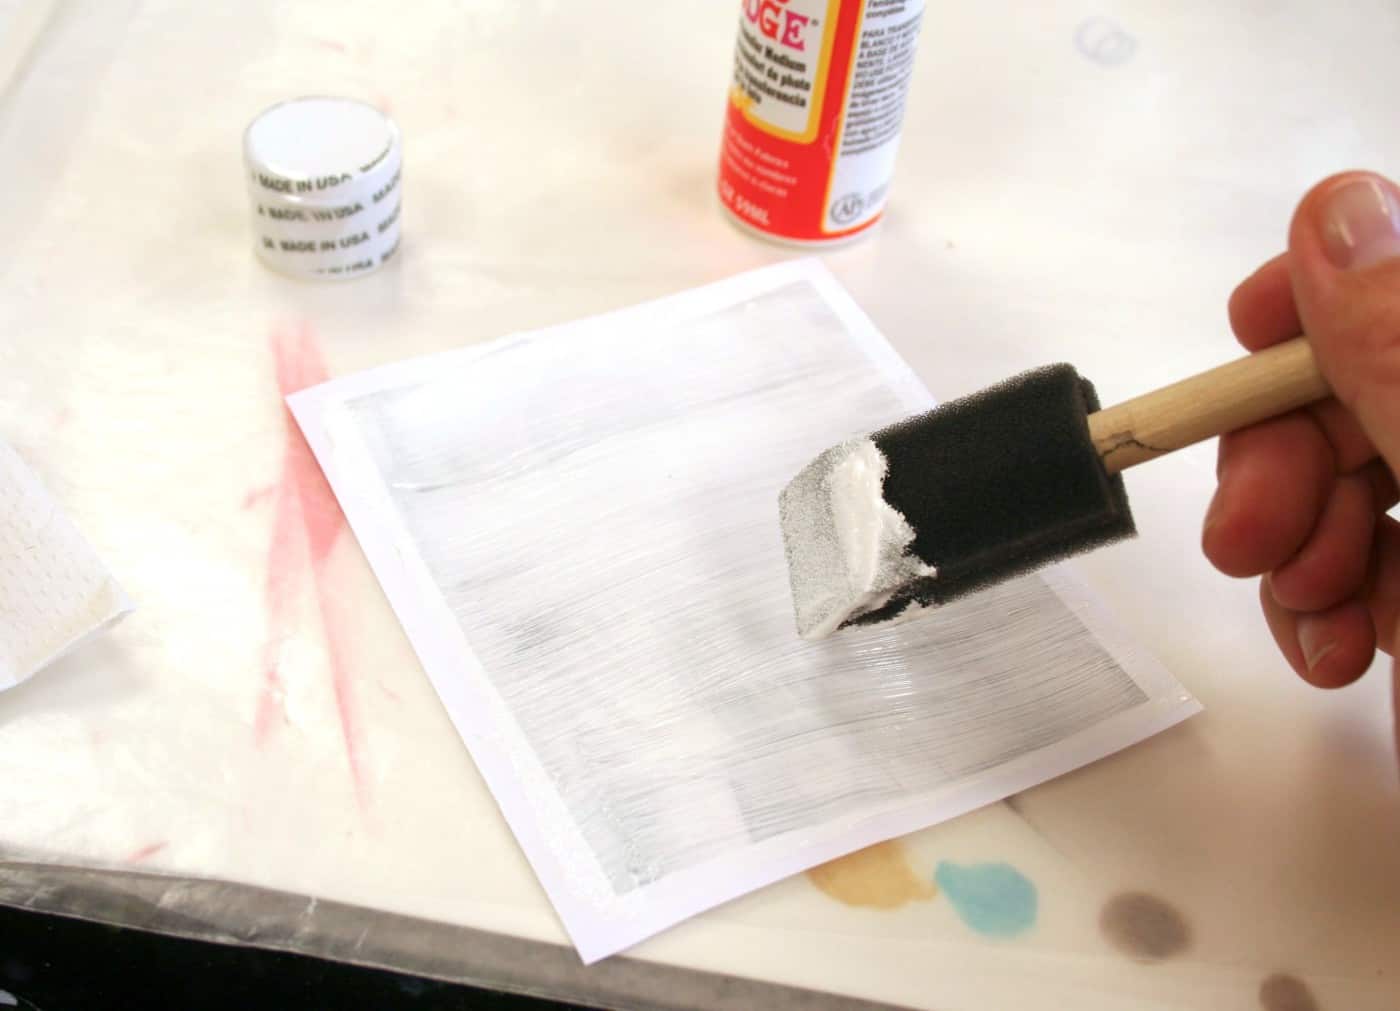
- Lay the photos face up on wax paper. Spread medium in a thick layer using the foam brush until you can no longer see the photo. Then place on wax paper (keeping the photo transfer medium and photo face up).
- Let the photos completely dry overnight on the wax paper.
- Once dry, turn a photo over, dampen in the sink (or with a spray bottle) and start rubbing away the paper. You can use your finger and medium pressure.
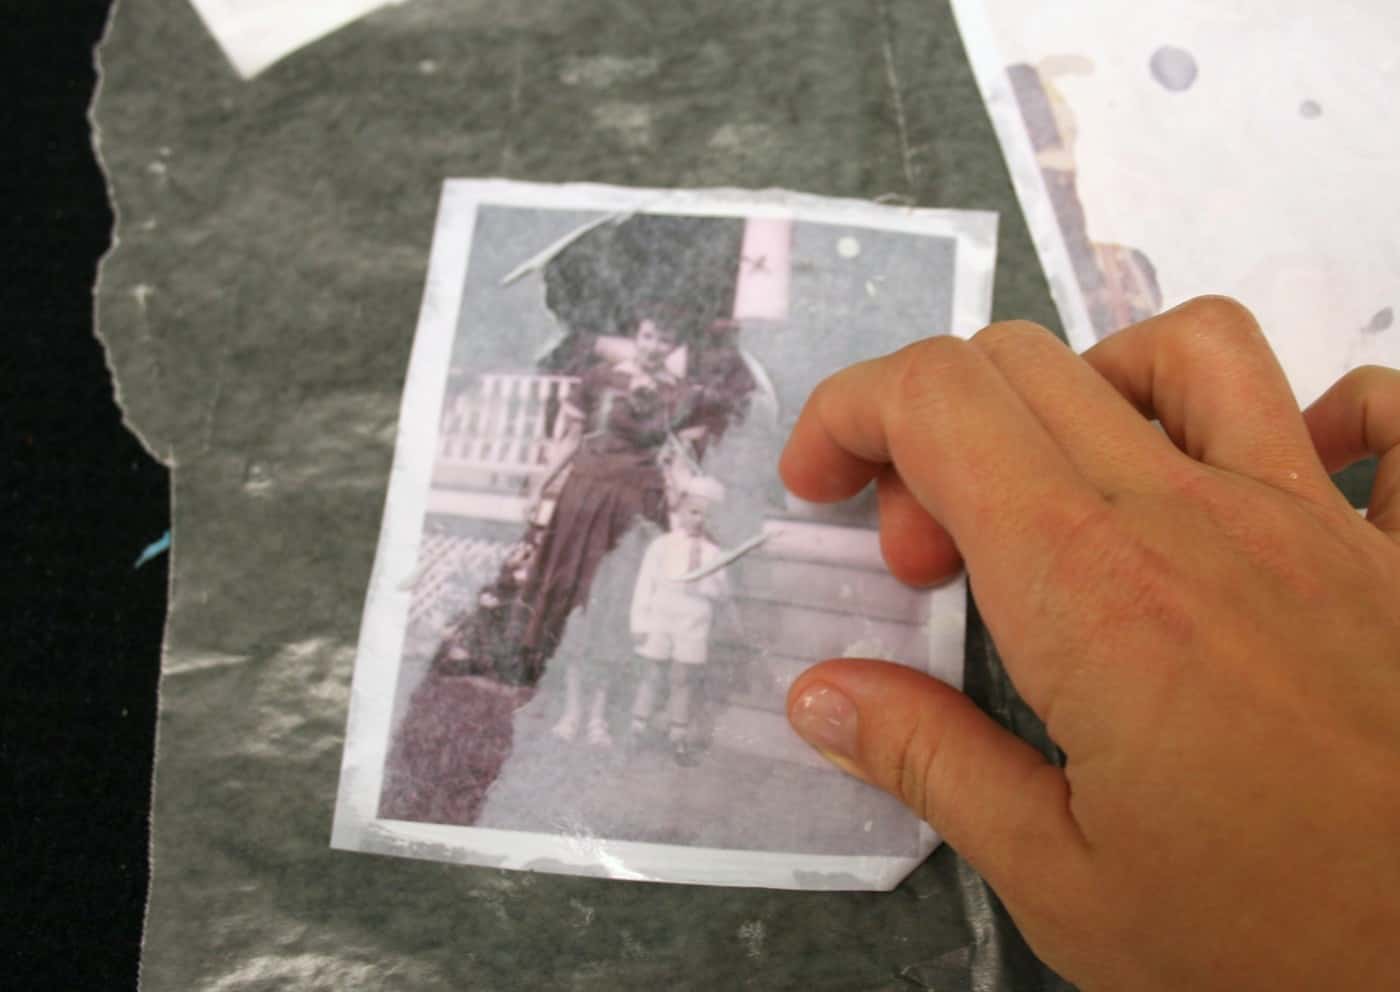
- Let the photos dry and see if there are additional areas where you need to rub away paper. Continue to be gentle when rubbing.
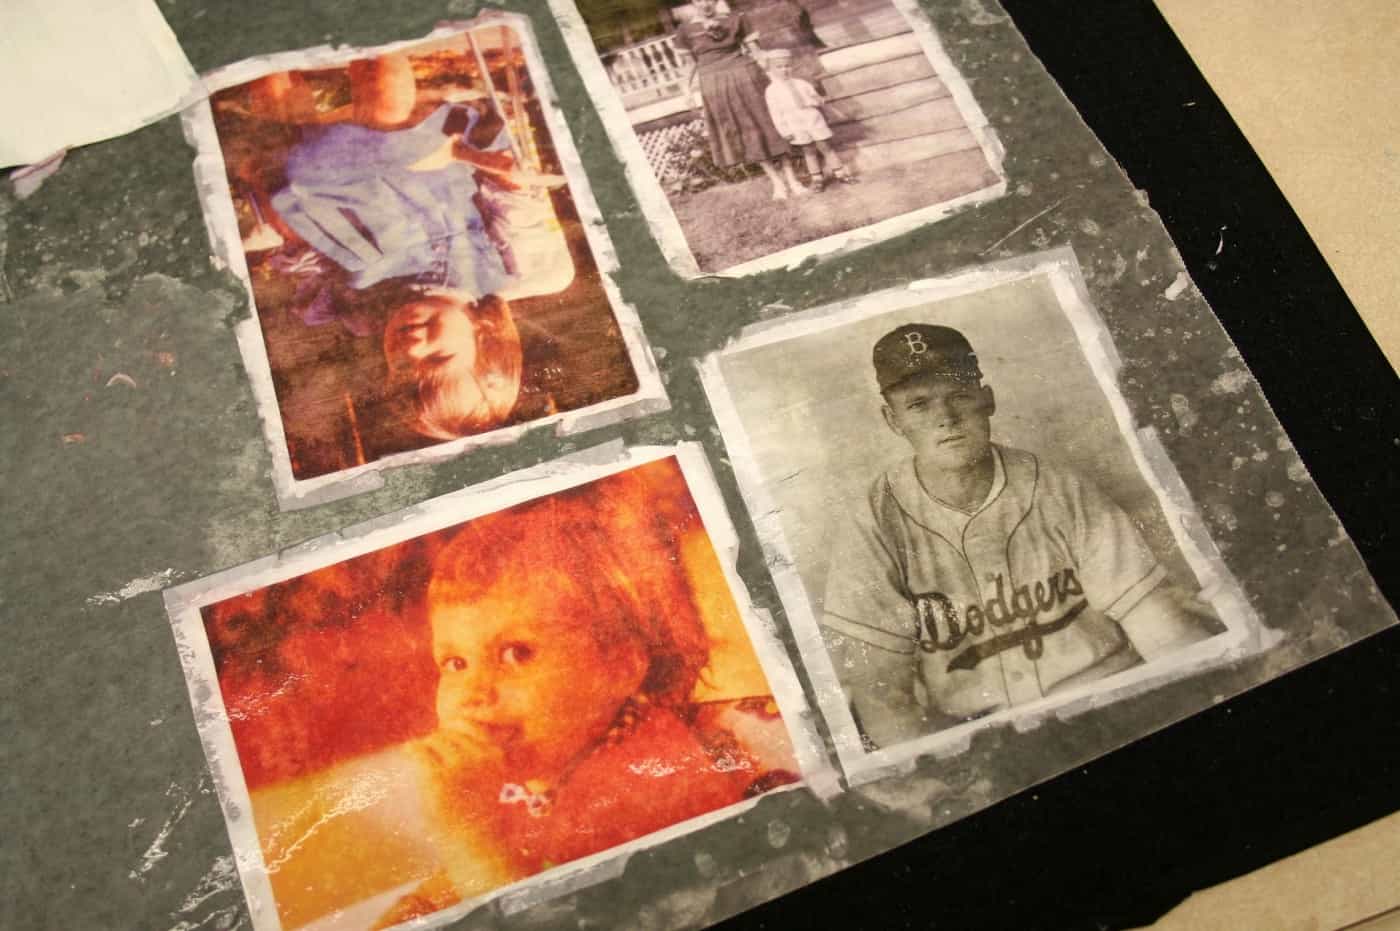
- Cut out the images and adhere the photos to glass. They will stick if you rub, so rub carefully.

Notes
I love the idea of doing this photo transfer on recycled glass bottles, mason jars, or any other containers you can get from the thrift store. Let me know what you think! Plus check out these other photo transfers here:
Breakfast in Bed Tray • Christmas Napkins • Family Reunion Centerpiece • How to Transfer Photos to Wood • Inkjet Transfer • Photo Keychain • Photo Pillows • Photo Transfer to Canvas • Transfer Paper to Fabric • Transfer Photos to Fabric • Transfer to Metal


Can I transfer it to a drinking glass? If so, hand wash or dishwasher safe? If no to the above, recommendations for a way to transfer image to glass as almost an etching or etching method..?
Hi JA! No you can’t transfer to a drinking glass (that you can wash). I don’t know any way to do it and have it dishwasher safe except to hire a company online that can print on glassware. This might help: https://www.glasswithatwist.com/how-we-digitally-print
@Amy, what if you transferred it to the glass and then did a quick coat of resin Epoxy over that? Would it then be dishwasher safe?
If the resin is dishwasher safe, then yes!
I’ve successfully done this transfer now I’m wondering will the results be the same using my canon printer
Hi Tashante! You can try it and see if it works (I’m assuming it’s inkjet). It may bleed. SOME inkjet printers work but not many. Just let the printouts dry for a few days and do a sample to see 🙂
Can you use any mod Podge. I have gloss-luster
Hi Carolyn! For this particular project you’ll need to use the photo transfer medium.
How do I make these transfers permanent? Will they lift up on the edges if I don’t apply a sealer? I’m just curious because I saw, can be reusable and I would hate for something to lift up on the edges…(I’m making a vintage bottle of poison as a gift for a friend)
Hmmmm – these aren’t meant to be permanent. Honestly if you want them to be permanent, I would just print them and Mod Podge them directly to the glass like this: https://modpodgerocksblog.com/decorate-bottles-with-vintage-labels/
I wouldn’t do a photo transfer.