
Do you want to learn how to decoupage the right way? Learn to Mod Podge with my simple seven step process that is successful every time.
I’ve been decoupaging – also known as Mod Podging – for over 16 years. I’ve done hundreds of projects. If you follow my process below, you’re pretty much guaranteed good results. There is also a video in this post if you’d like to see decoupage in action.

Do you want to be a perfect Mod Podger? Who doesn’t want to learn how decoupage and be great at it, I ask! I’ve been decoupaging for many years, and I’ve got a tried-and-true method that I’m very excited to share with you.
You will be a Mod Podge expert in no time.
Here are the seven steps I always take to get a perfect project, every time. Decoupage is an amazingly easy craft for adults (and kids) once you get the hang of it! Sure, you’re going to need to practice, but that’s to be expected with any new hobby. Learn to Mod Podge below.
How to Decoupage, with Mod Podge
Before you start, you might be wondering – what is decoupage? I use the word in two ways. I use it as a noun with the Wikipedia definition: “the art of decorating an object by gluing colored paper cutouts onto it in combination with special paint effects, gold leaf and so on.”
Mod Podge is a glue that you can decoupage with!
And I also use “decoupage” as a verb . . . such as, “to decoupage paper onto a surface.” With Mod Podge, of course! And with that, let’s jump into the process of decoupage.
Step One: Prepare Your Surface
Before you get started, you want to make sure your project surface is ready. Almost anything can be used to create a decoupage project. Suitable surfaces include wood, papier mache, terra cotta, tin, cardboard, and glass.
Clean your surface if necessary. Wood can be sanded with a light grit sandpaper. Make sure any dust is wiped away.

Only SOME plastics are okay for decoupage – I recommend testing a small area before completing your entire project to make sure that the Mod Podge will adhere.
Step Two: Prepare Items to be Decoupaged
Measure and trace items to be decoupaged, such as fabric or paper. You’ll be much happier if you cut everything to fit before Mod Podging instead of after.

Fabric – Wash and dry the fabric (do not use fabric softener). Iron (if necessary) and then lay out on a covered work surface. Wax paper is preferable for covering your table. Using a brush, paint a light coat of Fabric Mod Podge onto your fabric. Allow to dry. This will allow you to cut the fabric like paper without frayed edges.
Paper – Most items, especially thicker papers and scrapbook papers, are ready to use with Mod Podge as is. If you are working with inkjet printouts, read this post.
Are you working with tissue paper or napkins? You’ll probably want to use another method specifically for thinner materials – try the iron on method.
Step Three: Cut Items to Fit Your Surface
Cut out your paper, fabric, or whatever it is that you are planning to decoupage. Experiment with design elements to determine the layout of your piece.

Add interest to your design by using large and small pieces, layering and overlapping elements and coordinating colors.
Step Four: Paint the Surface
Basecoat your surface with acrylic paint. Many items need to be basecoated before decoupaging if your surface is unfinished. I recommend FolkArt acrylic paints. Chalk paint also works well.
Tip: I’ve spent enough time with bad brushes in my life that I’m now an advocate of good brushes. Invest in some good quality brushes like these or these and then take care of them.

Let your surface dry completely before moving onto the next step.
Step Five: Adhere Each Item With Decoupage Medium and Smooth
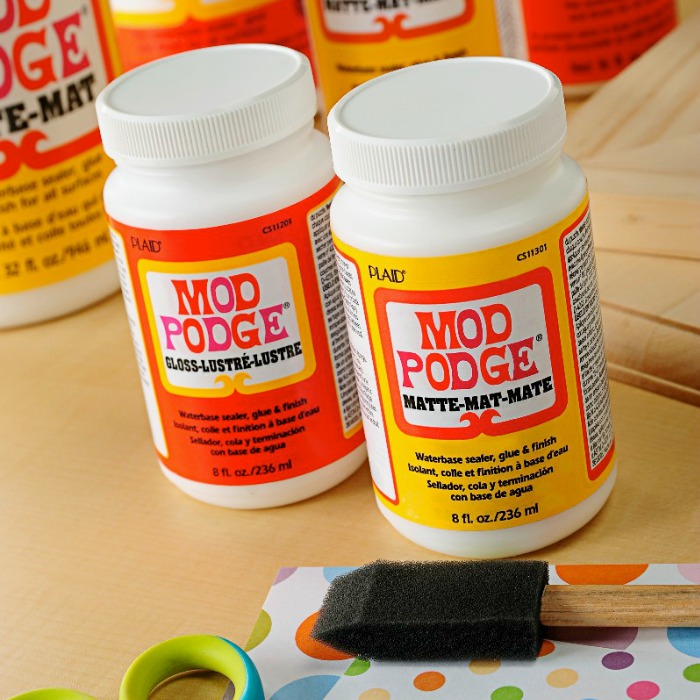
If you aren’t sure what to pick, that’s totally understandable – that’s why I’ve written this Mod Podge formula guide that you should visit. It explains everything.
Always start with the underlying design elements and work your way upward (when layering). Apply a medium layer of decoupage medium to the surface.
It’s better to add too much than too little. Too little Mod Podge and you will get wrinkles – and you can always wipe away excess.

Place your item(s) to decoupage on top of the Mod Podge and smooth, using your hands or a brayer.
Keep smoothing until all of the bubbles are gone. Then, AND THIS IS IMPORTANT, let your project dry for 15 – 20 minutes. Don’t put a top coat on right away.

Tip for working with large pieces: smooth from the center outward. Air bubbles can be removed with the brayer from the Mod Podge Tool Set.
Step Six: Add a Protective Coat to the Project
Apply a medium layer of Mod Podge to the top of the project. Allow to dry and then repeat. The number of coats you finish with is up to you, but I recommend at least two.
When you finish, if you experience any tackiness or just want to add durability, add a clear spray or brush-on sealer to the top. You can also use resin. We do that a lot with coasters, where you need heat protection.

EXTRA FINISHING TIP: For a very smooth finish, wet a piece of #400 grit sandpaper with water and sand lightly between coats. Wipe dry and polish with #0000 steel wool on the final coat.
Step Steven: Add Embellishments
Add any embellishments on top of the decoupaged surface with your favorite craft glue. Let dry completely. If you’re gluing to glass, I recommend a stronger glue like E-6000.

Once you’re done adding embellishments, your project is complete.
For more information on how to decoupage and an FAQ, go here! And if you need over 200 decoupage projects to try, you can find my project gallery here.


You make it look so easy. It was very inspiring. I need to get going. Thank you.
So true I totally agree with your comment.
Very informative and helpful. I’m getting ready to decoupage my kitchen table. Thank you for all the helpful tips.
I have used Modpodge and love the quality and protection of my projects. I made a book from a school copybook covered with great papers and the midpodge ciating protects the book coverings.
Great information. Marvelous tutorial. Excited to start using this method.
Awesome, this was everything I needed to know to get started de copodging.
Excellent level of instructions
This really helps, I have been using mod podge for years, and was not getting the full effects of it! Thank you so much for sharing!
Can i add antique crackle to modge podge after i completed my project?
Hi Sampie! Yes you can. As long as it is acrylic based.
Hi Amy. Every time I modge podge I get the worst bubbles. I’m adhering a paper poster to wood. It works fine when I modge podge the back and stick it down. But when I go to put a layer on top it starts to bubble (a lot) from underneath and look terrible. I end of rubbing and praying like a mad woman. It’s happened with the past two projects. I did wait at least 20 minutes before applying the top coat. Any advice?
@Lorie, I hear spraying some lacquer or varnish on both sides of napkins prevents wrinkles when decoupaging. Think I would try that for a poster too. I decoupage a lot but never with posters. When I use thick scrapbook paper I always mist both sides with water first and dab dry immediately with paper towel. Then I lay that damp paper on top of decoupage glue while it’s wet and press out air bubbles with a plastic page protector over my paper. And immediately cover with more decoupage glue. That method never fails me on THICK SCRAPBOOK PAPER.
@Amy L.,
I have a wooden box that I have stenciled with acrylic paint. Do I need to do anything with the untreated wood before decoupageing on both types of surfaces?
Also, thank you for the tip regarding spraying thicker paper with water before laying it on the modge podged surface.
Hi Audrey! You don’t have to do anything to the untreated wood – you can Mod Podge directly onto unfinished wood. And actually, thicker paper is fine, but thinner paper needs to be wet. 🙂
Can you discourage into canvas?
Hi Sybil! You absolutely can! Here are some good examples: https://modpodgerocksblog.com/mod-podge-on-canvas-ideas/
Yes, Sybil – you can! Take a peek at this article: https://modpodgerocksblog.com/mod-podge-on-canvas-ideas/
Thanks for specific information so we can follow and try this technique.
Excellent question!
@Sybil Hughes,