
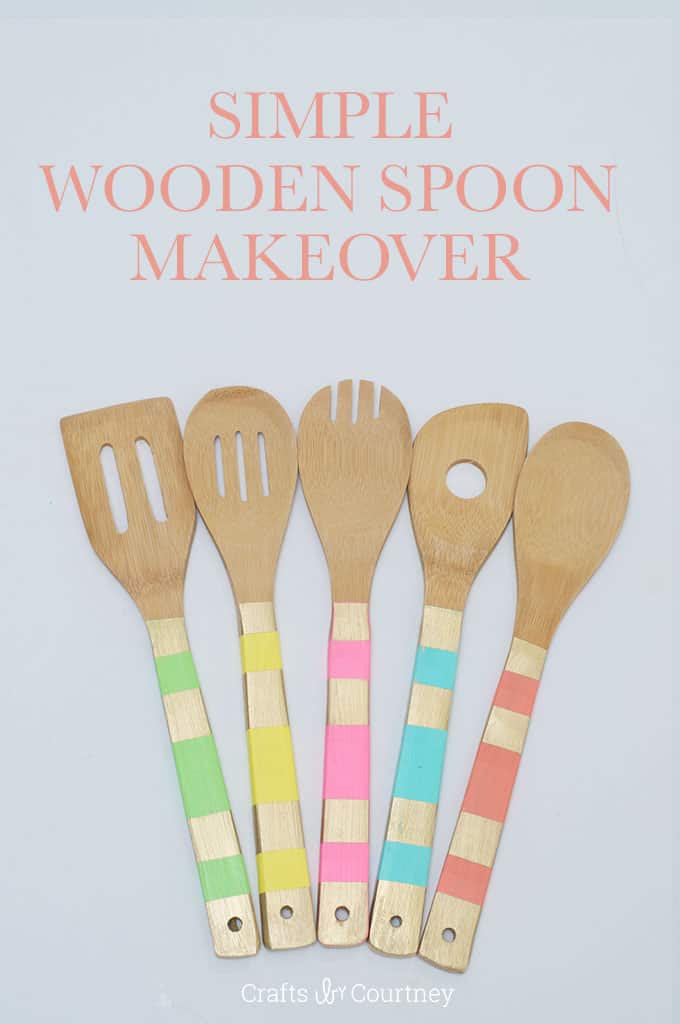
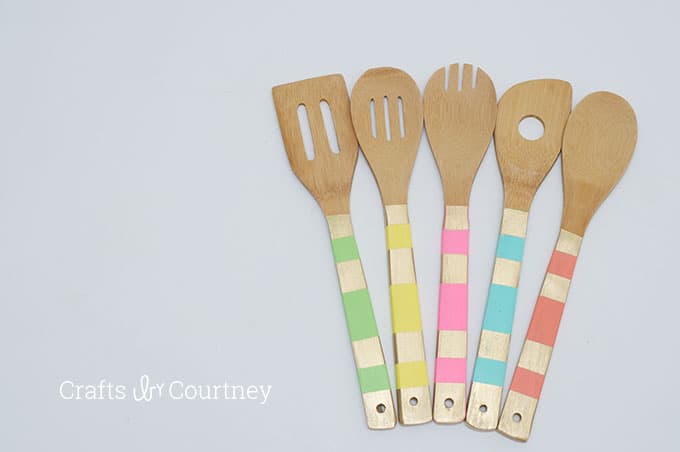
Use Dishwasher Safe Mod Podge for this unique wooden spoon makeover – these are so colorful and make great gifts!
So . . . I’ve been wanting to do a wooden spoon makeover for a while now.
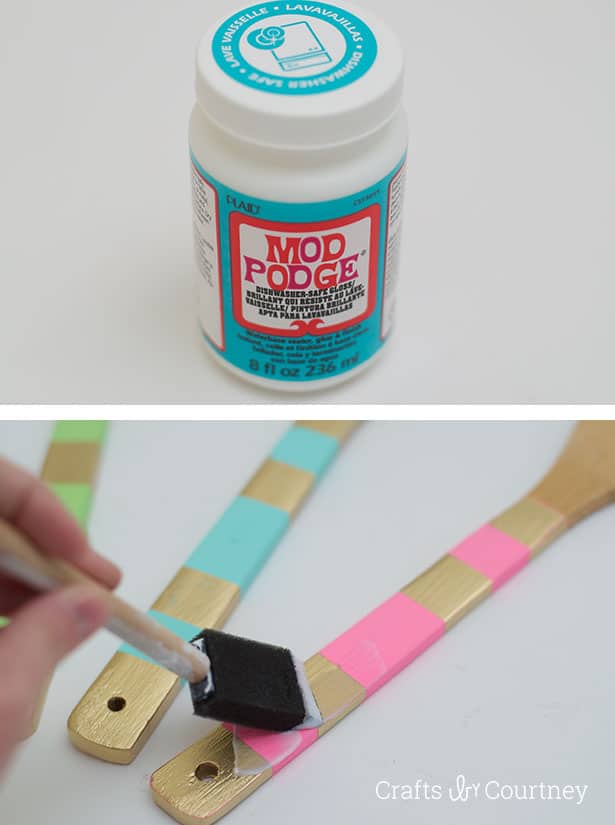
While I was browsing the craft store looking at ALL the Mod Podge products, I found Dishwasher Safe Mod Podge. So I grabbed it up!! Don’t forget to use your super “Handy Dandy” 40% coupon if you’re at Michaels or JoAnn’s!!
I ran to TJ Maxx and HomeGoods to find some pretty wooden spoons. Unfortunately they were all out, so I headed to Wal-Mart and found a pack of 5 for $6.00 (total score there)! You can also get spoons like this from Dollar Tree. After I had my spoons, I ran home to get crafting.
Painted Wooden Spoons
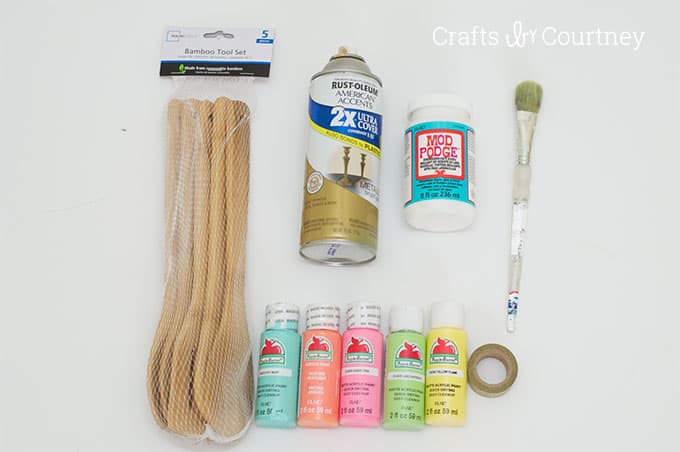
For this project you’re going to need:
Gather These Supplies
- Wooden Spoons
- Paint
- Dishwasher Safe Mod Podge
- Gold Spray Paint
- Washi Tape
- Paint Brush
Getting Started
While I was at the craft store, I also picked up some paint colors. I really wanted to go BRIGHT with these spoons. I’m in the process of painting my kitchen white (including my cabinets) and I want “POPS” of color in it.
I gathered up my supplies to begin this wood craft! Learn more below.
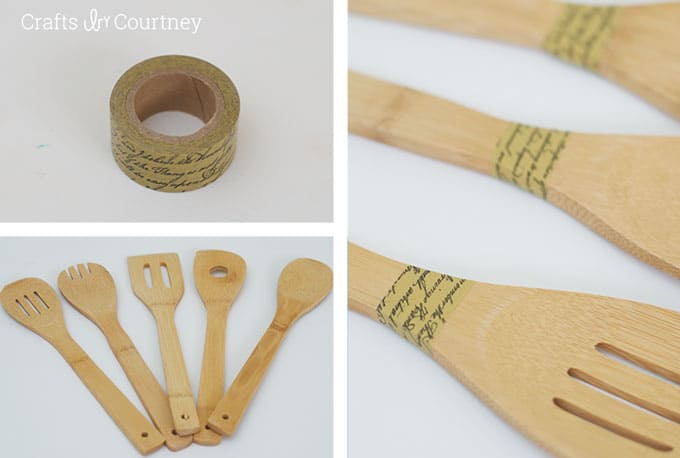
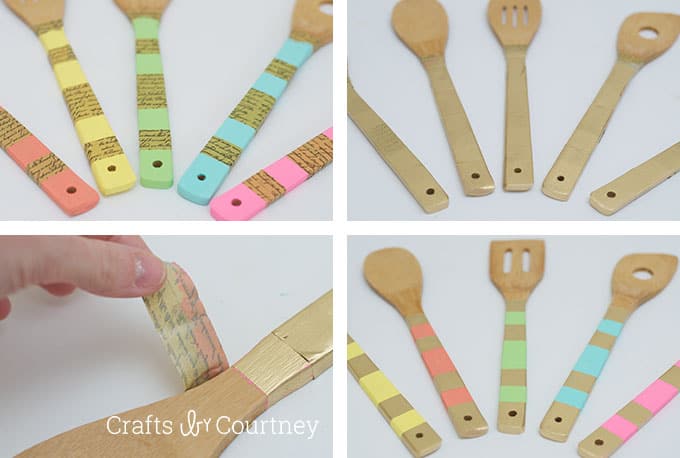
Step 1 – Tape Off Wooden Spoons
First, I pulled out my “Trusty” Washi Tape and taped off the bottom of the spoons. I wanted to go all the way down the handle.
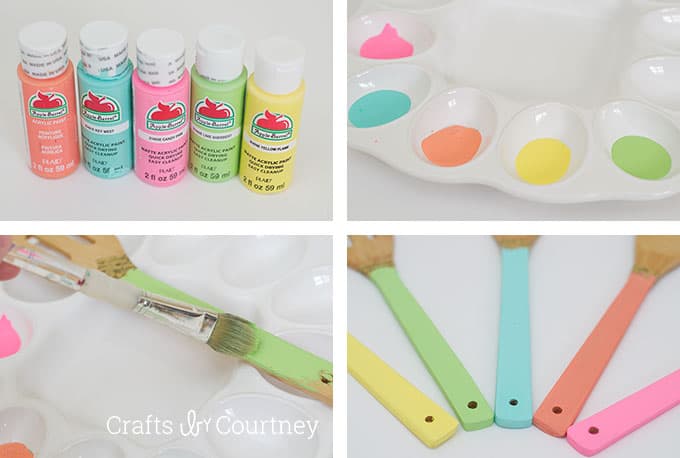
Step 2 – Paint Wooden Spoons
Next, it’s time to add our bright paint colors! I added two coats on each spoon, letting each coat dry 30 minutes each.
I’m really loving these colors, I think there very Spring-y/Summer-y!
Step 3 – Spray Paint Spoons
When I first started this project, I didn’t intend on spray painting them. I had a couple “testers” before I started this project. I added glitter to the tip, and of course I had to try making it coastal by stenciling an anchor on it (if you follow me, then you know I’m obsessed with all things coastal).
Finally, I tested out the gold spray paint and really liked how it turned out.
Once again, I taped it off and added one coat of spray paint to both sides. I let the paint dry outside for an hour. Don’t you think they look so pretty?!
Step 4 – Add Mod Podge
Now for the most important part…to KEEP these spoons looking good and safe for washing. The Dishwasher Safe Mod Podge!
I read the directions and it says to paint on 2 -3 coats, then let dry an hour each. Finally (and the most crucial part), let cure for 28 days.
Finishing Touches
Now all I have to do is wait the 28 days for these to cure, then I can start using my new fancy spoons!! I can’t wait!
This wooden spoon makeover would also make a great gift for someone. Personalize them to match their favorite colors.
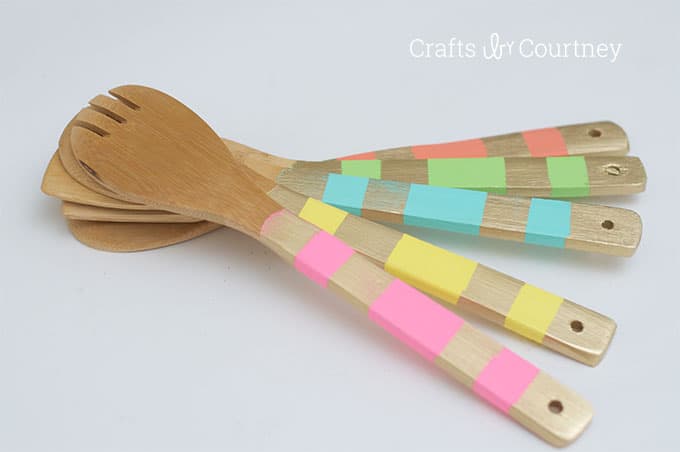
As always, I really enjoyed working on this project. It’s so exciting to come up with craft projects for the house. I really enjoy my crafting time, and the best part (I get to tell all you amazing Mod Podge Rocks followers about it)!! I hope you enjoyed the tutorial, until next time . . .
If you enjoyed this craft idea, I’d love for you to check out these other projects:


This is too cute! I have been eyeing some like these on Etsy for ages, I will have to try making these!
This is super nice, simple, easy & looks awesome 🙂
What a nice gift for any occasion! Inexpensive, easy to do and USEFUL to boot!!