
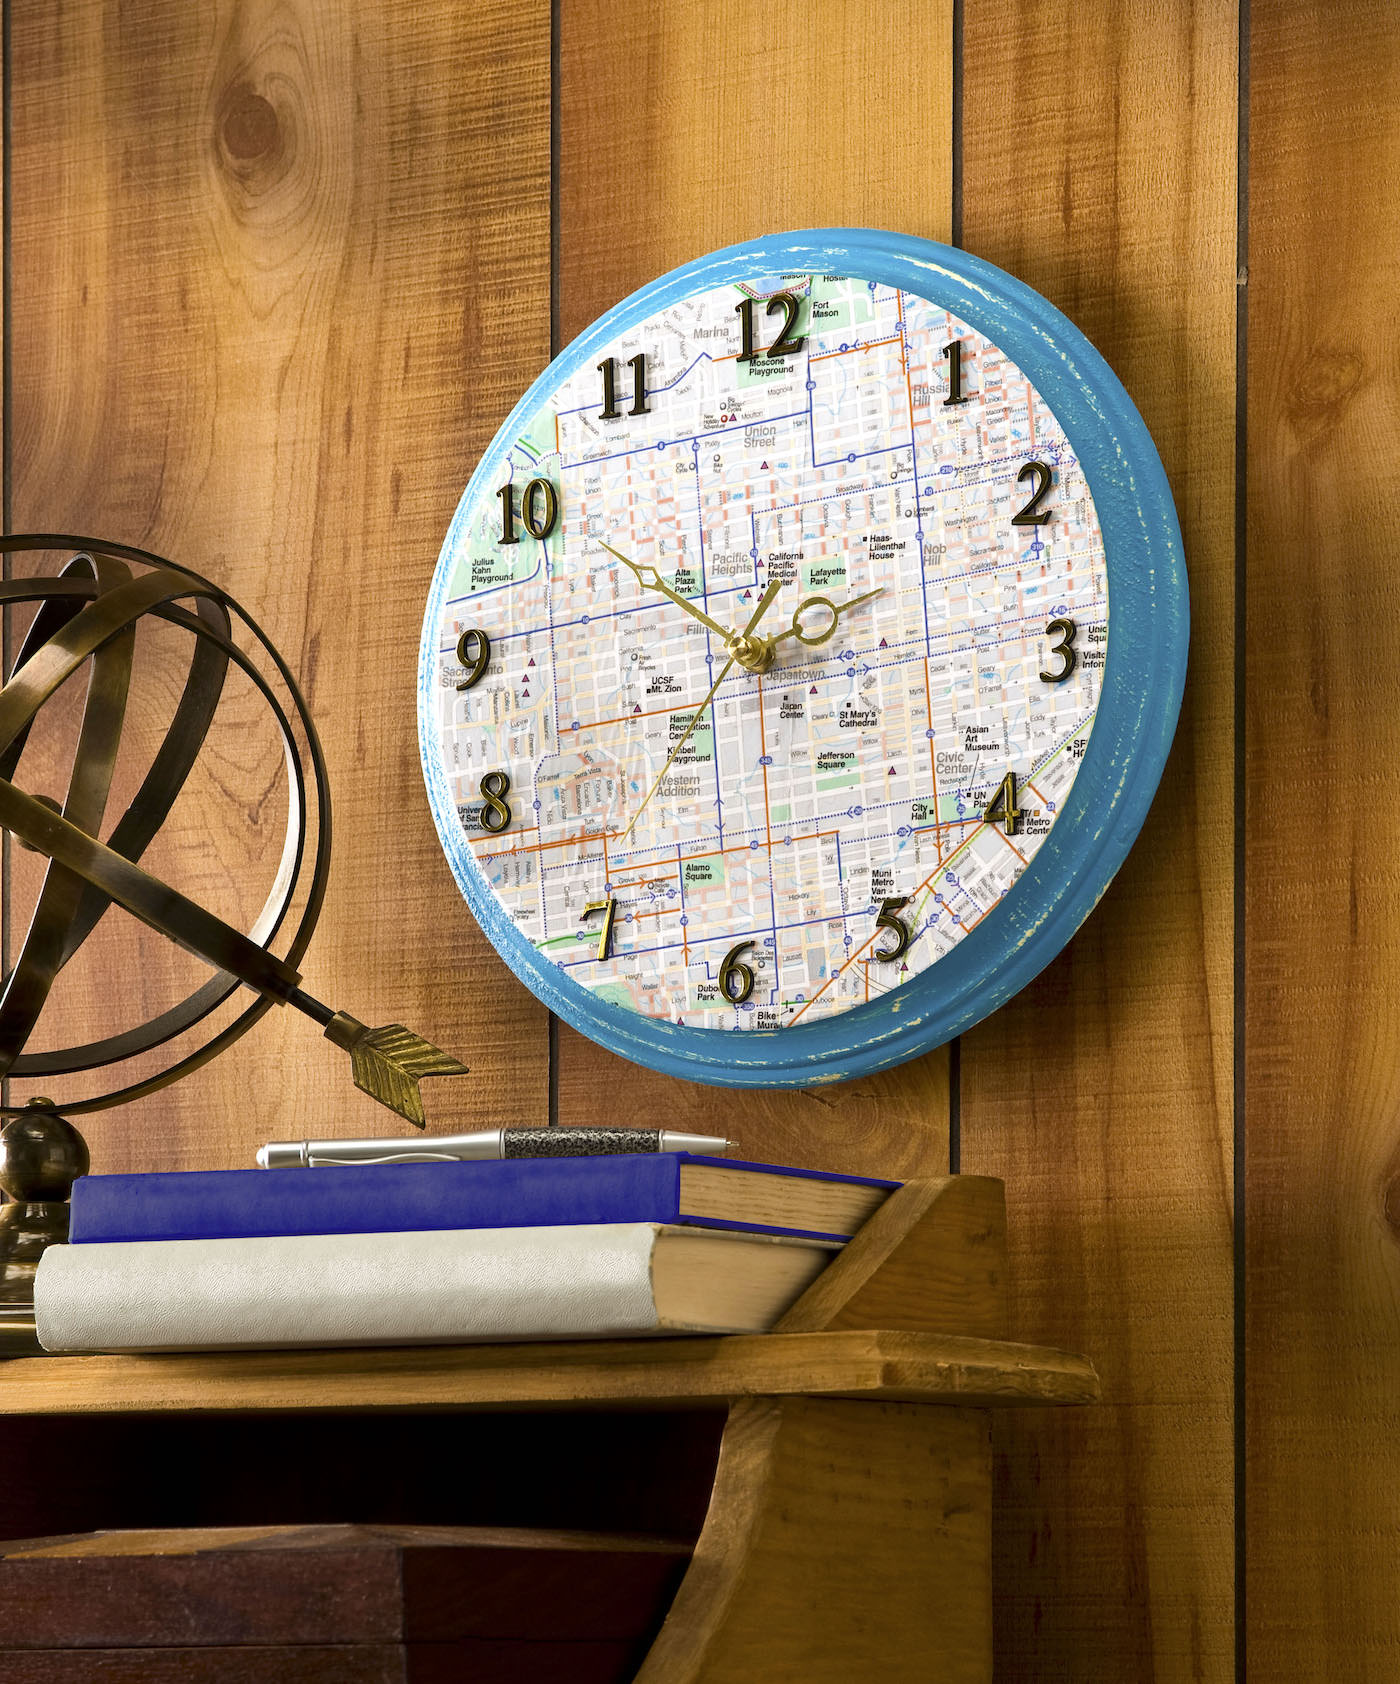
If you want to decoupage with maps, you’ll love this map clock! It’s very easy to make with a few simple supplies and Mod Podge.

I had to jump on board the map craft train, my friends. I hadn’t done a map decoupage craft yet and figured it was just about time. I needed a gift for a dude and figured something like this would be perfect for his office or man cave. I think it would make a great Father’s Day craft, too!
I love the idea of picking a location special to the recipient and printing out maps to use in this project. If you do that, be sure to print the maps out with laserjet so there is no smearing.
Or you can spray both sides of your printouts with hairspray or clear acrylic sealer. You can also use real maps!
In addition to decoupage, I used gold and distressing for a more vintage look, and I’m really happy with the results. This clock is very easy to make – here’s how I made this wood craft.
DIY Map Clock
Gather These Supplies
- Wood clock base, any size – you can also use a wood plaque and drill a hole in the center
- Clock hands and numbers to fit your base – I bought a kit
- Mod Podge Satin
- FolkArt paint – Coastal Blue, Buttercream
- Map or map image printed on a laser or dry ink jet printer
- Wax candle
- Paintbrush
- Tracing paper
- Pencil
- Craft knife
- Ruler
- Scissors
- Stencil tape
- Sandpaper
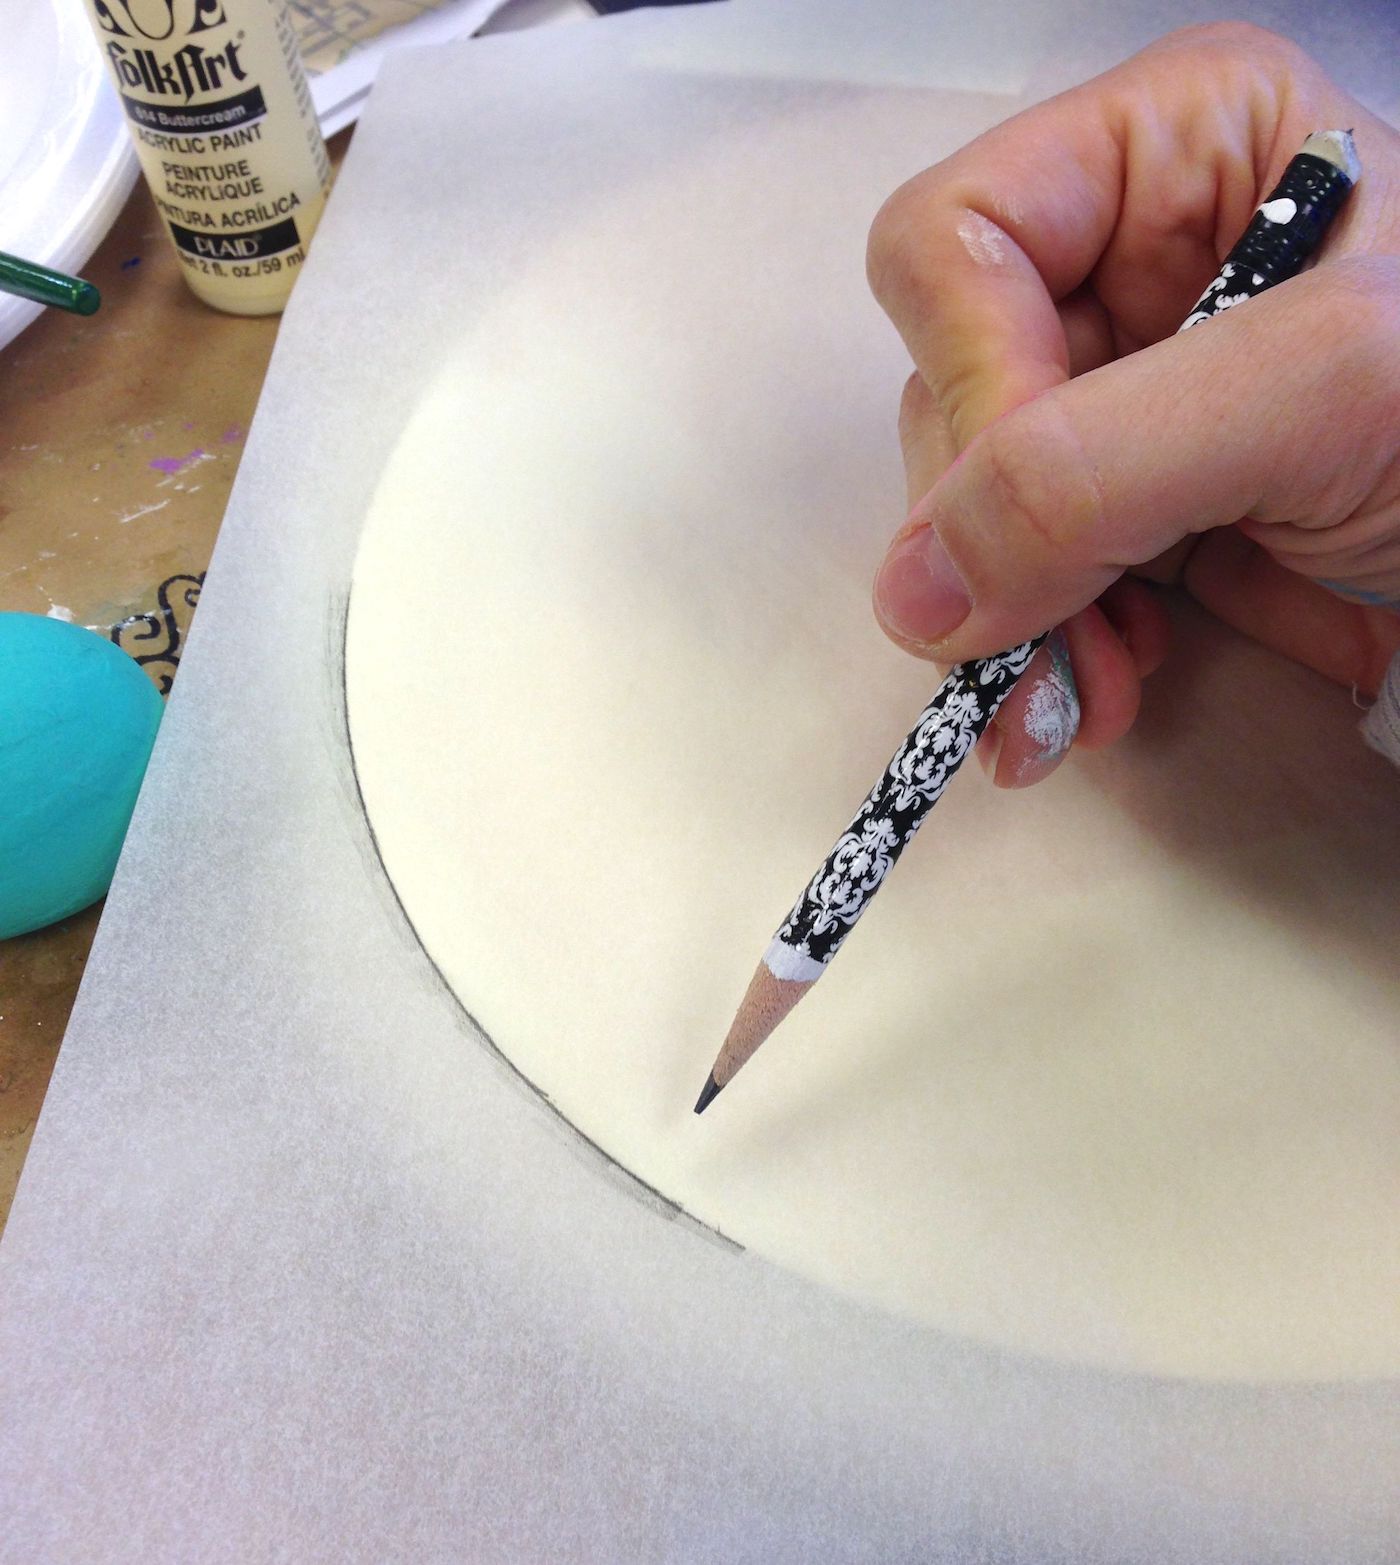
My first challenge was figuring out how to cut a map to fit the face of the clock. With the edge around the face, you can’t just place it down on paper and trace.
So what I did is use tracing paper and a pencil to make a rubbing of the face. It worked great!

My second challenge was to figure out how to print out a map to cover the face of the clock (one piece of printer paper wasn’t large enough). So all I did was find a map I liked and enlarged it in PowerPoint to cover two sheets of paper.
Then I printed both sheets out, matched them up and used a ruler and craft knife to cut the sheets. Match the sheets carefully if you want them to be exact. Then tape the two pieces together in the back.
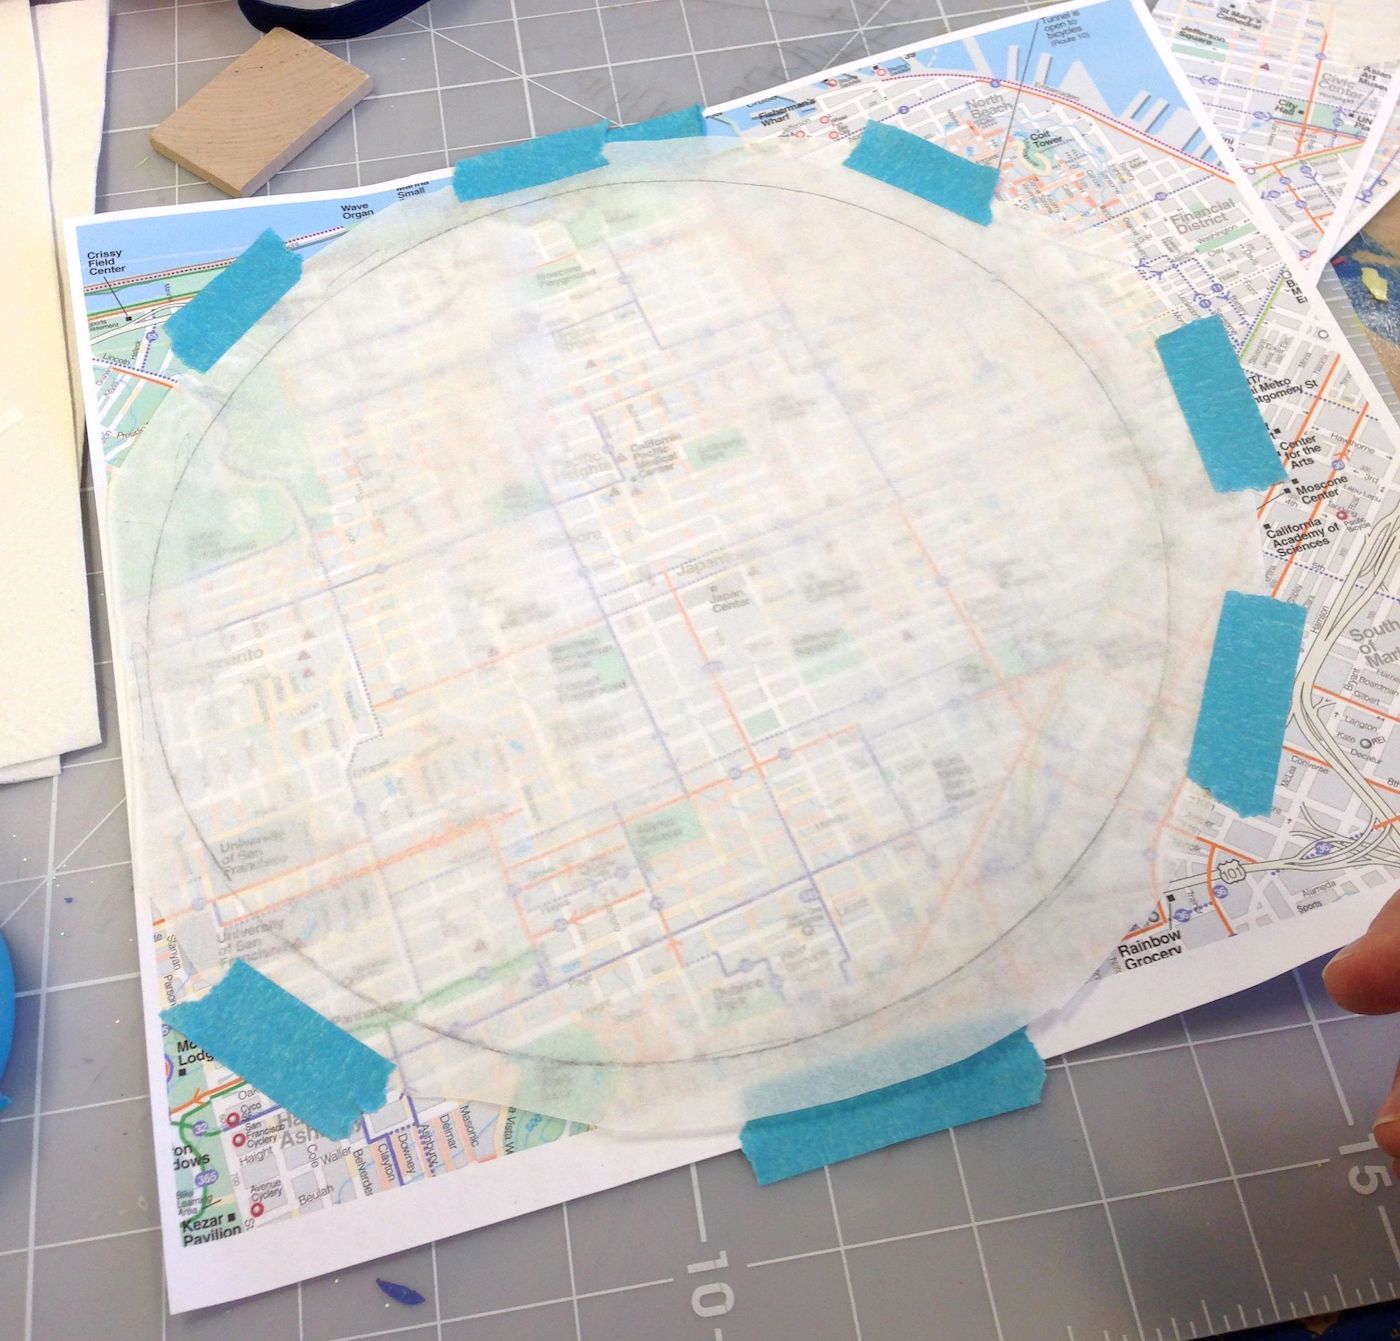
Tape the clock face tracing down on the front of the map using stencil tape. Cut the clock face shape out with scissors and set aside.

Paint the clock base with Buttercream. You don’t really need to worry about the entire face – just the rim and the sides. Let dry.

Use your candle to rub wax on various parts of the clock face where you want distressing. The edges are a great place for that. Or really just any random area. It’s hard to get distressing wrong.
Once you have rubbed the candle all over, paint Coastal Blue on top and let dry.
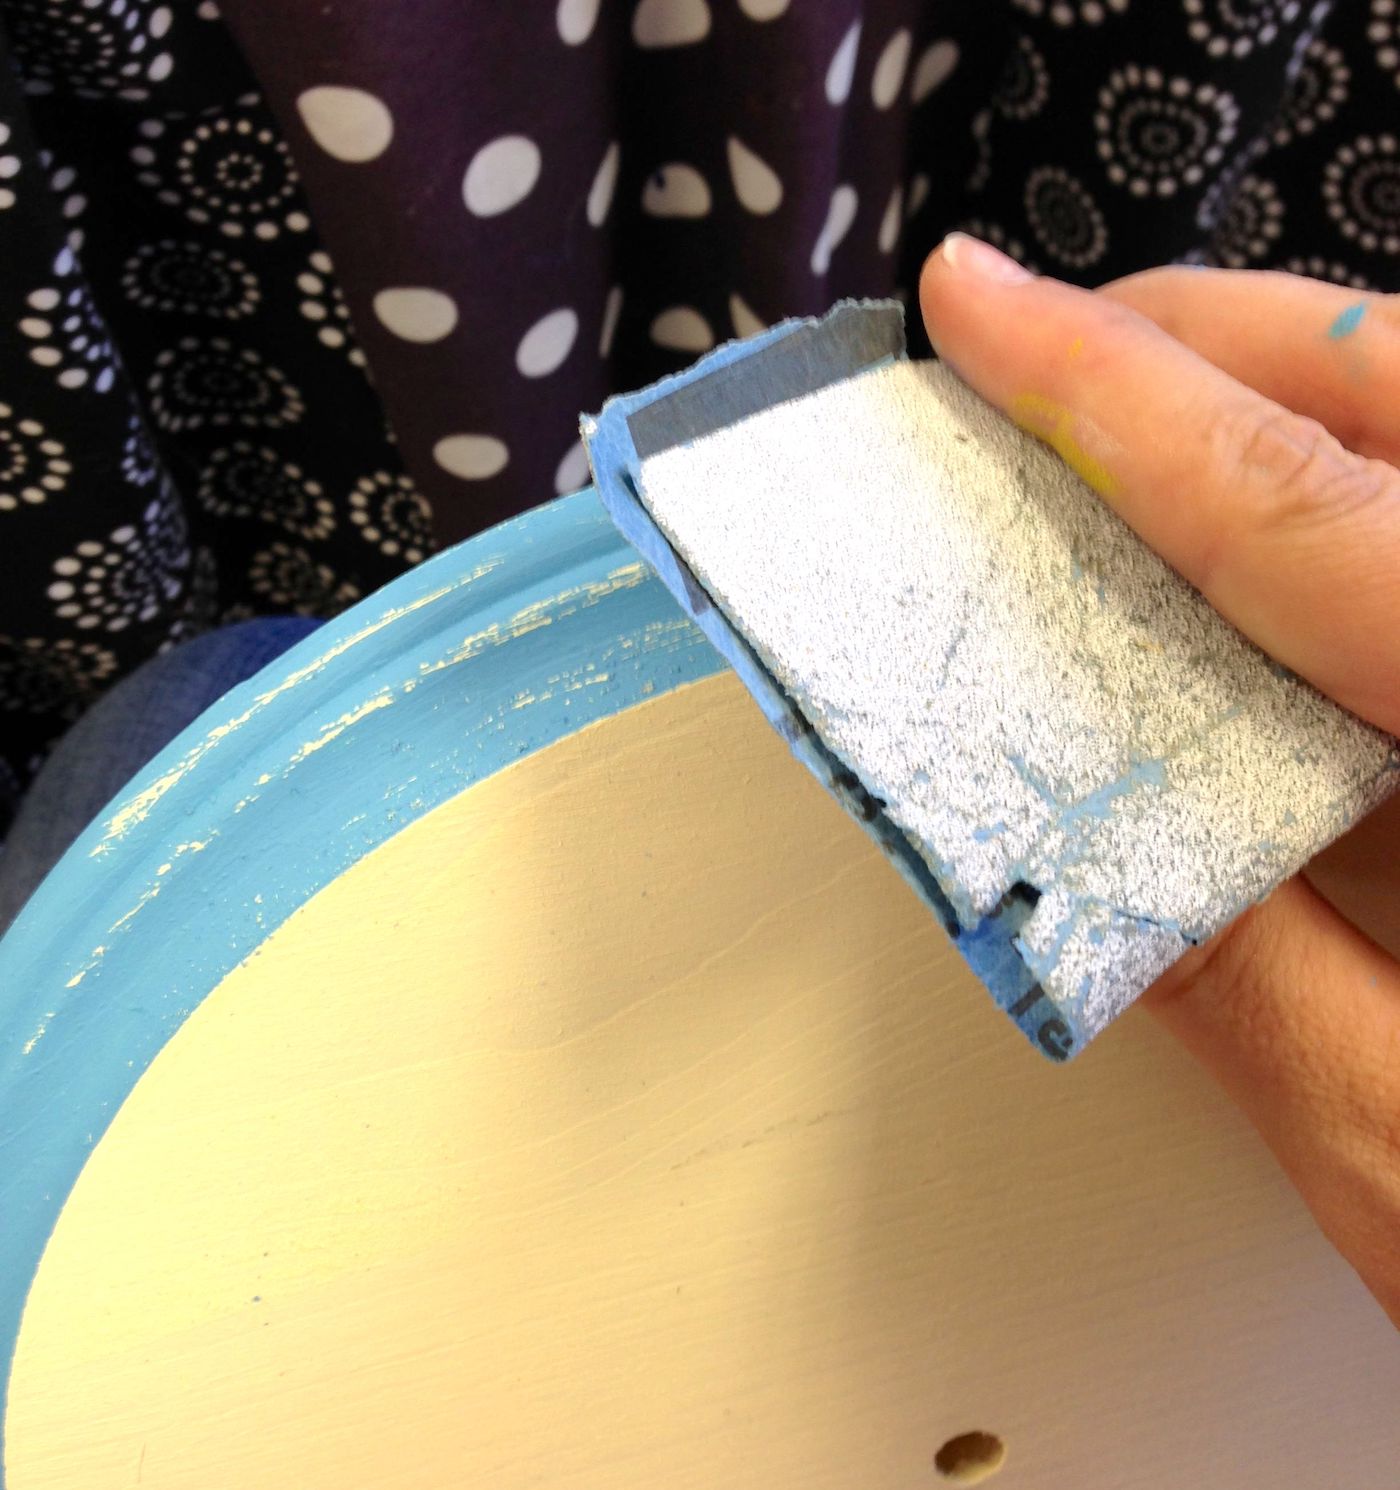
Once the Coastal Blue is dry, use the sandpaper to remove paint in random areas. Sand a little bit more for more distressing, and a little bit less . . . for less.
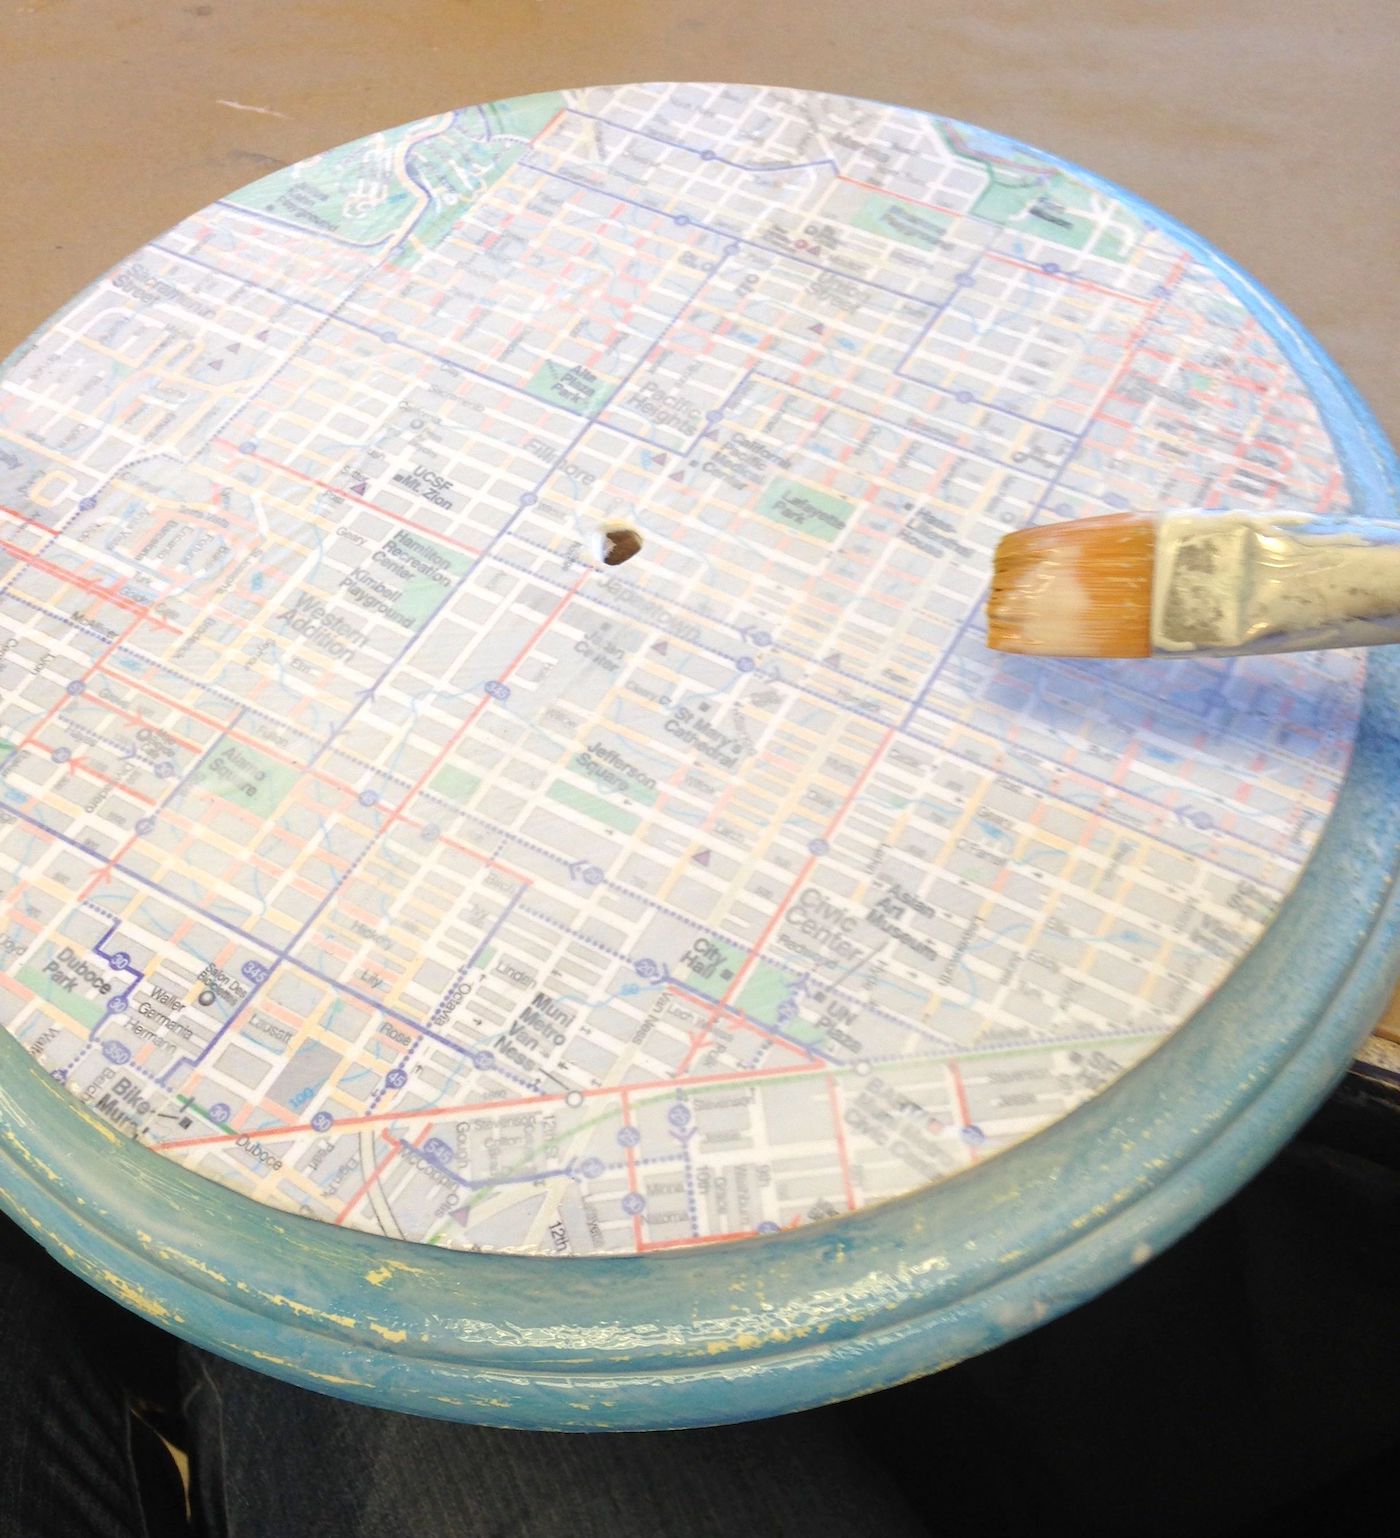
Once you are done sanding, add Mod Podge to the front of the face of your clock and smooth down the map. Let dry for 15 – 20 minutes and then put a top coat over the whole clock. Let dry and add another layer.
I hope you like my antique map clock. What would you make with a map? Let me know in the comments! I’d also love for you to visit these other projects:


Are Wood Clock Bases available in the UK if is where?
I love this Amy!! I might have to make one for my office!
Thanks for linking up! I’ve featured your post in my wrap up https://tidymom.net/creative-summer-ideas/
have a fabulous rest of the weekend!
You are the mod podge queen. I’ve been making things from your blog and links in your blog.