Use an old window to create fun and spooky DIY Halloween window art – perfect for a vintage or rustic themed holiday! Very easy to make.
Skills Required: Intermediate Beginner. The only reason I would call this more than a beginner project is just the amount of time it requires. You’re going to invest a few hours to complete the entire window.
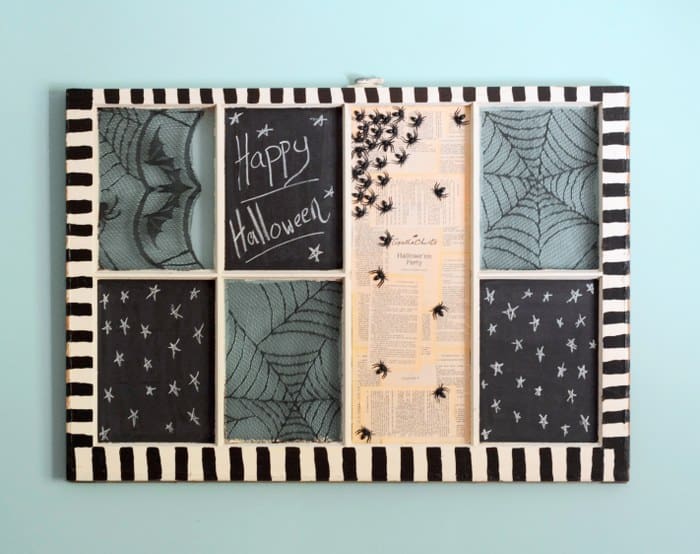
Hi guys, it’s Ashlee from My So Called Crafty Life. I am SO excited Halloween is right around the corner, so I am here to share a fun, spooky Halloween wall art idea with you all! If you’re into making your own DIY Halloween decorations, this is going to be a fun project for you.
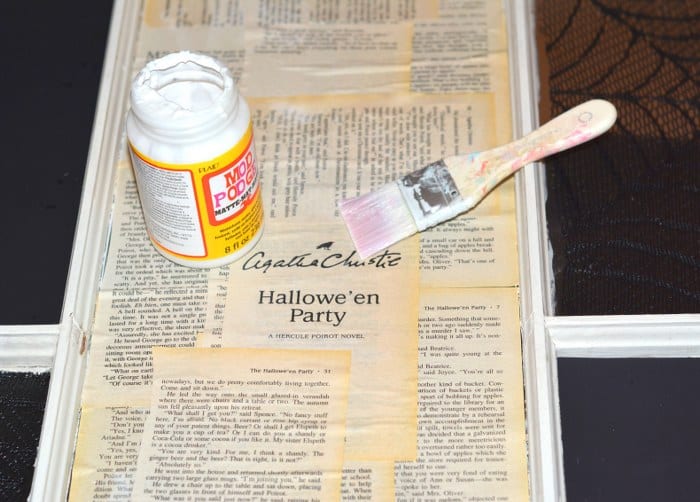
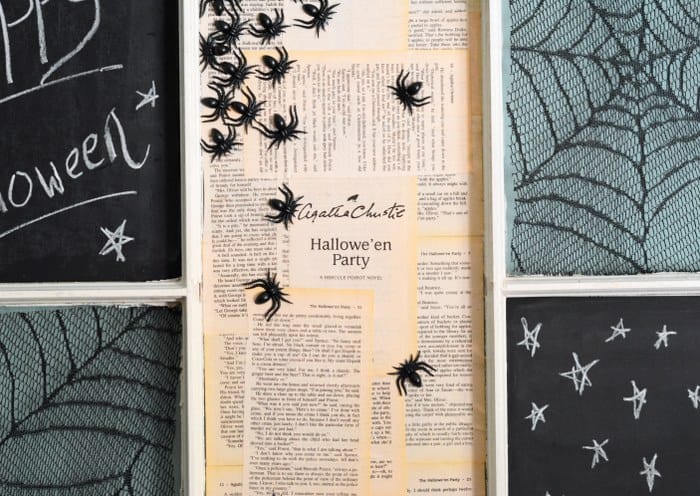
I am a big Agatha Christie fan! I have been reading the Poirot Detective series of hers in order from book one to thirty-seven, and adore them all. I wanted to do a some Christie-themed wall art for Halloween this year.


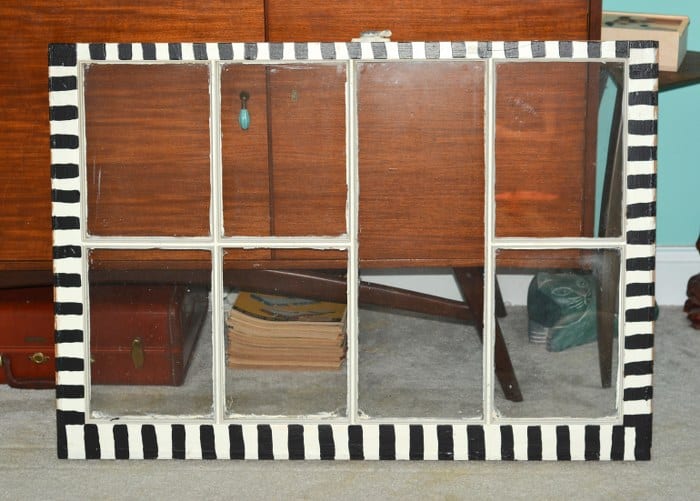
So I dug out an old window from my parents’ old barn and went to town with the Mod Podge! Here’s what you’re going to need.
Gather These Supplies
- An old window
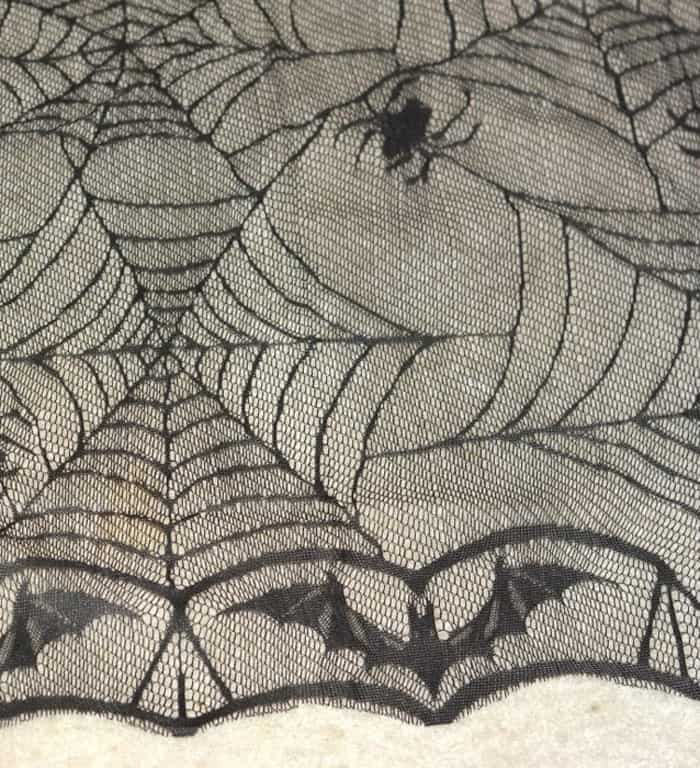
- Lace – I used a Halloween lace tablecloth from Michaels
- Acrylic Paint
- Chalkstock
- Old Book
- Plastic Spiders
- Hot Glue
- Mod Podge Matte
- Foam Brush or Paint Brush
- Roller
- Ruler
- Scissors
- Chalk
This is a fun Halloween display and can be customized to your style easily by the lace and book you choose. I think it would be cute to make it with a cute kid’s Halloween book, too.
I know this window is definitely going to be the star in my holiday decor for years to come. I hope you all will try making your own spooky window art sometime too!
Get the printable how to here:

Halloween Window Art
Equipment
- Ruler or tape measure
Materials
- Old window
- Mod Podge Matte
- Black lace pieces
- Chalkboard cardstock or paint
- Book pages
- Plastic spiders
- Craft paint
- Chalk
Instructions
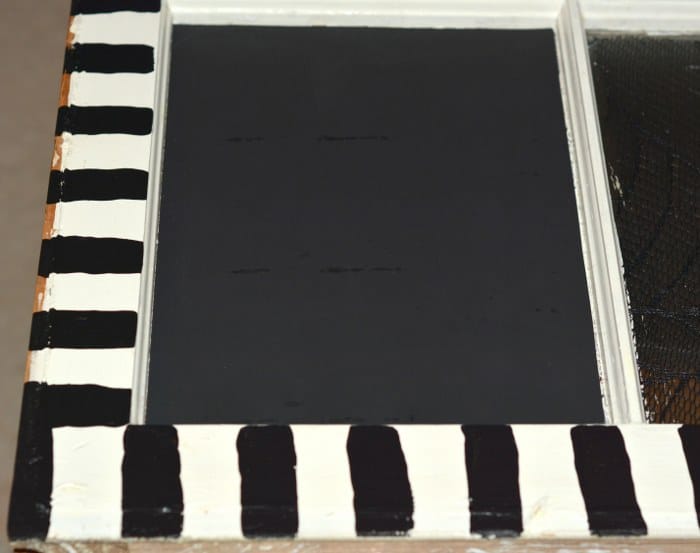
- Clean the window and the panes of glass. Let dry. Paint stripes around the frame with black paint and a large brush. They don't need to be exact. Let dry.

- Measure the glass panes with the ruler. Cut the lace and chalkboard cardstock to fit the panes with the ruler and scissors.

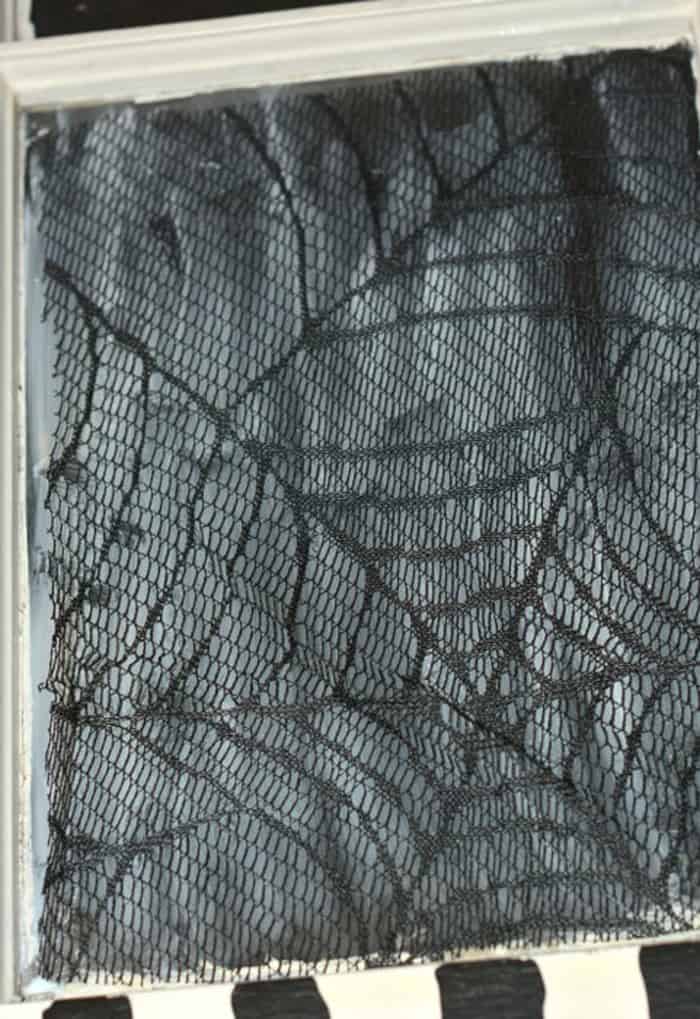
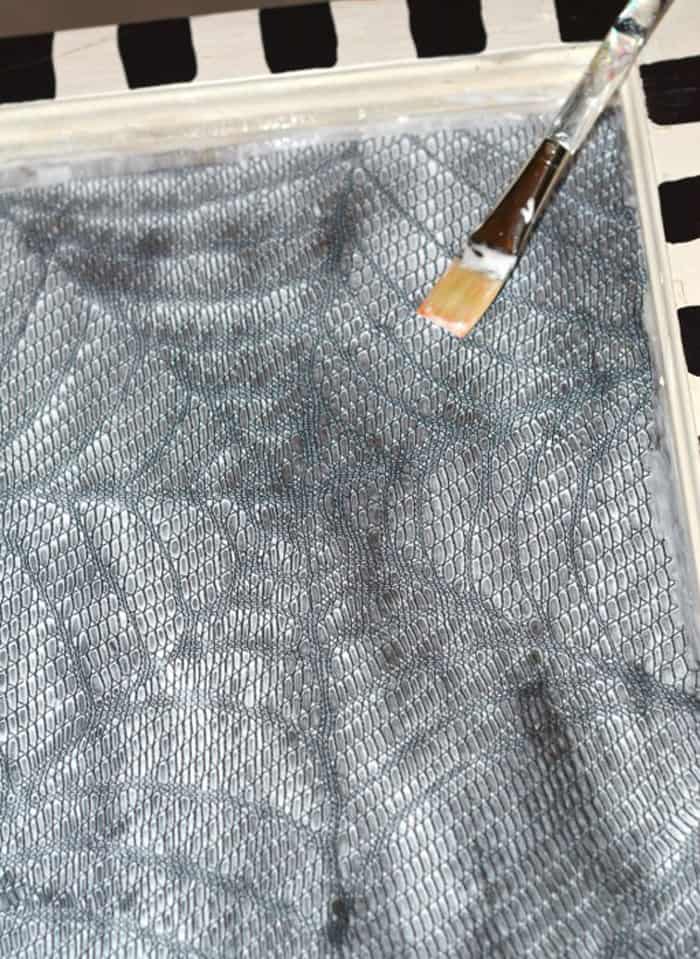
- Add the lace. Brush a layer of Mod Podge on one of the panes. Lay the lace onto the coated pane and lightly press down.

- Apply a thicker coat of Mod Podge over the lace and let dry.

- To add the cardstock, apply a thin layer of Mod Podge onto a pane and press down. Use the brayer to smooth (don’t let the Mod Podge get onto the front). Let dry.

- For the center pane cut several book pages, apply a layer of Mod Podge to the glass, and smooth them down one by one. Overlap as needed and let dry. Repeat until the window is covered. Go back and apply a coat of Mod Podge to the entire frame, minus the chalkboard cardstock. Let dry completely.
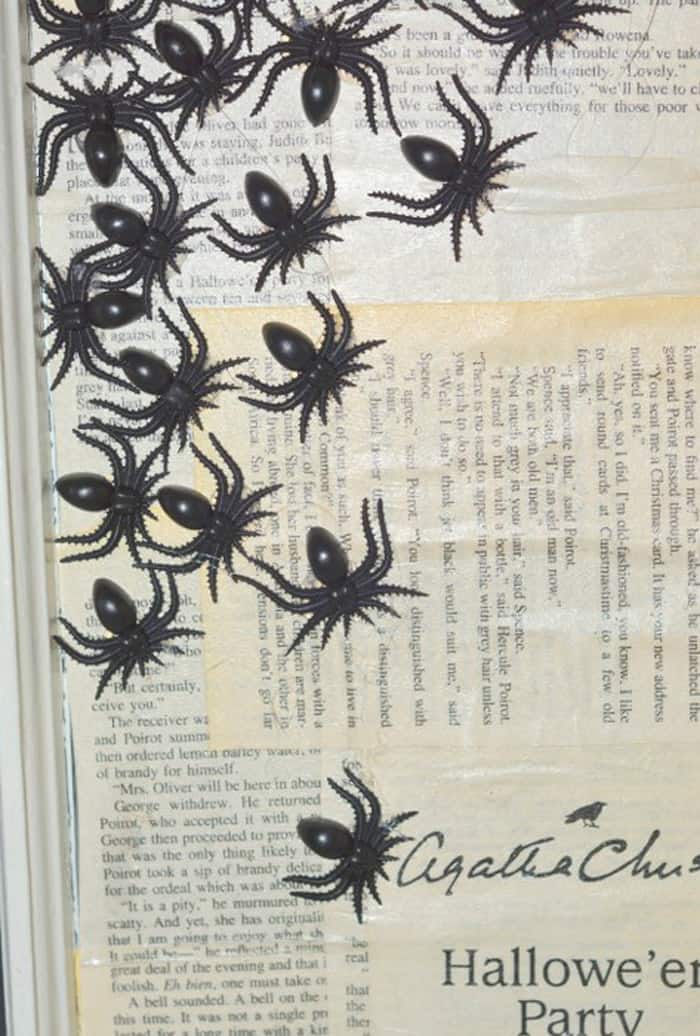
- Add spiders with hot glue to your window, randomly as desired. Let dry completely before displaying.

- Prep the chalkboard panes as instructed with a piece of chalk.

If you all would like to see more of my work you can find me on my blog, My So Called Crafty Life, here! I’d also love for you to check out the following craft ideas: