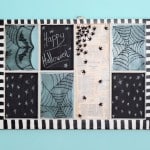
Halloween Window Art
Learn how to make this Halloween window decor with a variety of supplies and Mod Podge. This art would look great displayed on a holiday mantel.
Yield: 1 window
Cost: $50
Equipment
- Ruler or tape measure
Materials
- Old window
- Mod Podge Matte
- Black lace pieces
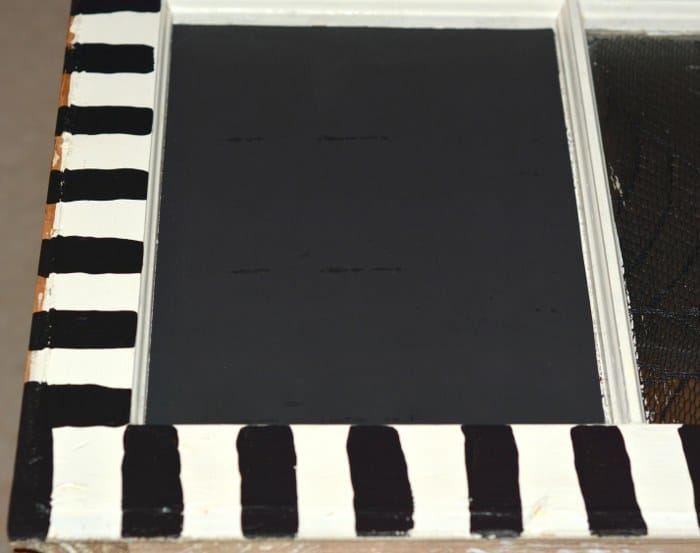
- Chalkboard cardstock or paint
- Book pages
- Plastic spiders
- Craft paint
- Chalk
Instructions
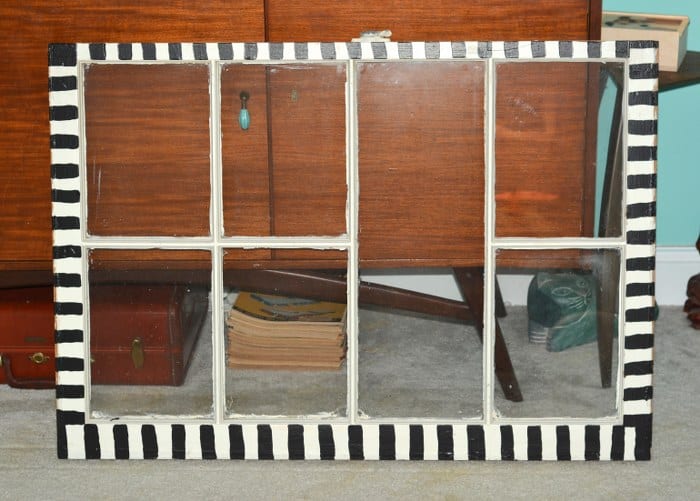
- Clean the window and the panes of glass. Let dry. Paint stripes around the frame with black paint and a large brush. They don't need to be exact. Let dry.
- Measure the glass panes with the ruler. Cut the lace and chalkboard cardstock to fit the panes with the ruler and scissors.
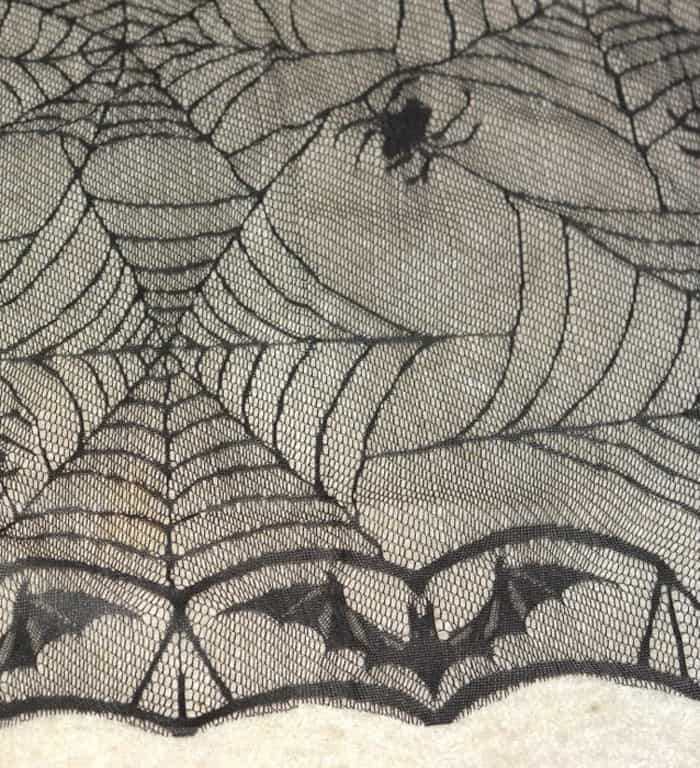
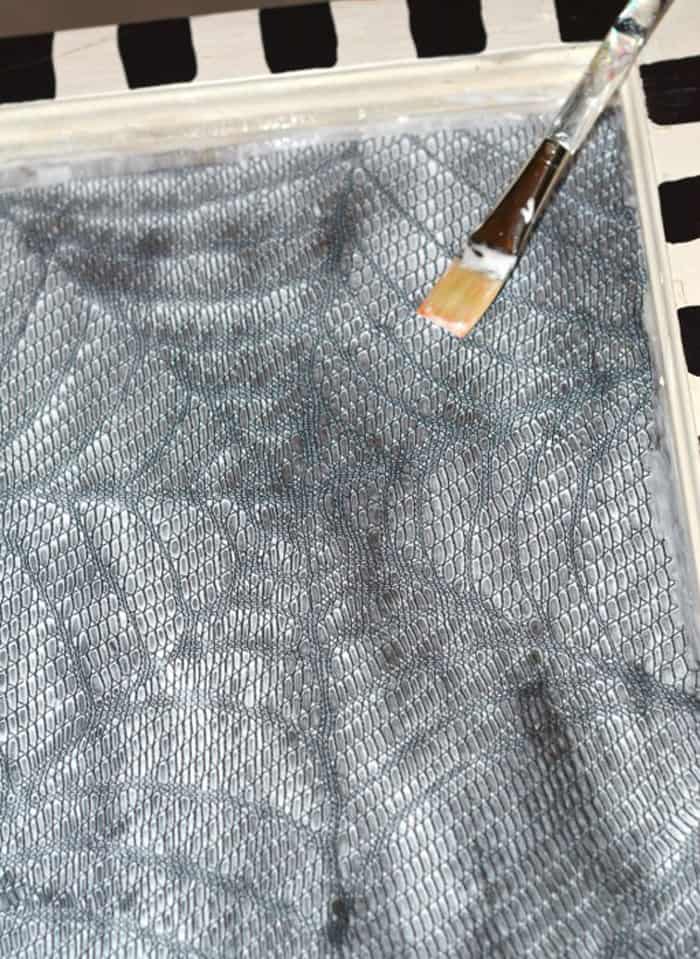
- Add the lace. Brush a layer of Mod Podge on one of the panes. Lay the lace onto the coated pane and lightly press down.
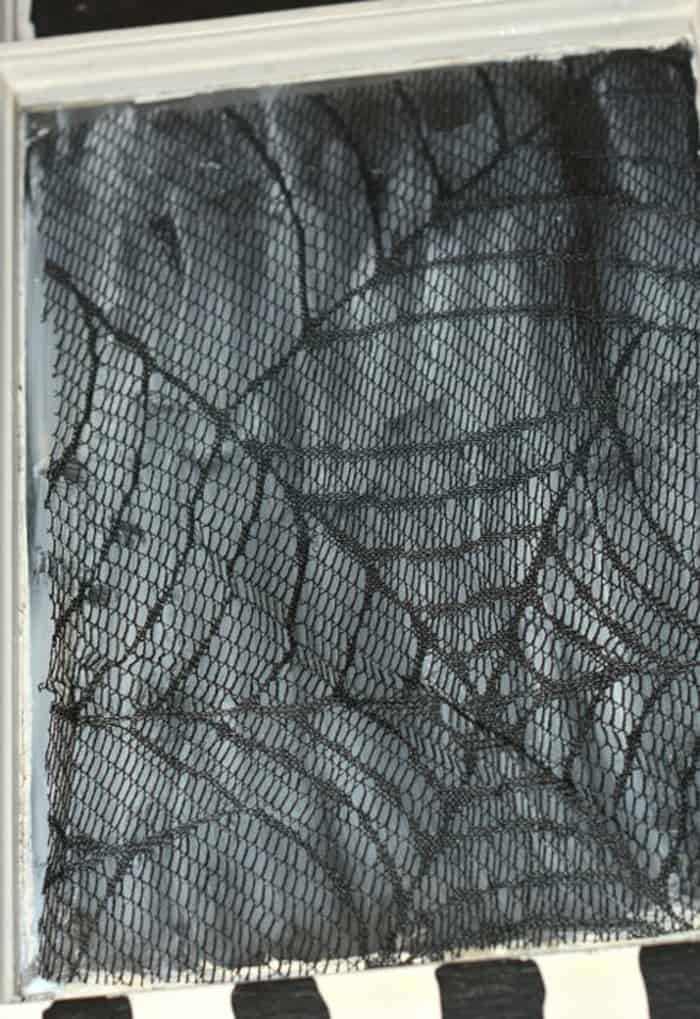
- Apply a thicker coat of Mod Podge over the lace and let dry.
- To add the cardstock, apply a thin layer of Mod Podge onto a pane and press down. Use the brayer to smooth (don't let the Mod Podge get onto the front). Let dry.
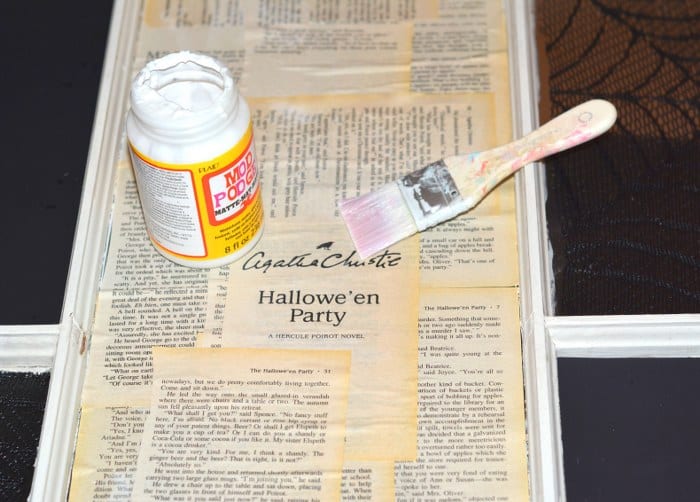
- For the center pane cut several book pages, apply a layer of Mod Podge to the glass, and smooth them down one by one. Overlap as needed and let dry. Repeat until the window is covered. Go back and apply a coat of Mod Podge to the entire frame, minus the chalkboard cardstock. Let dry completely.
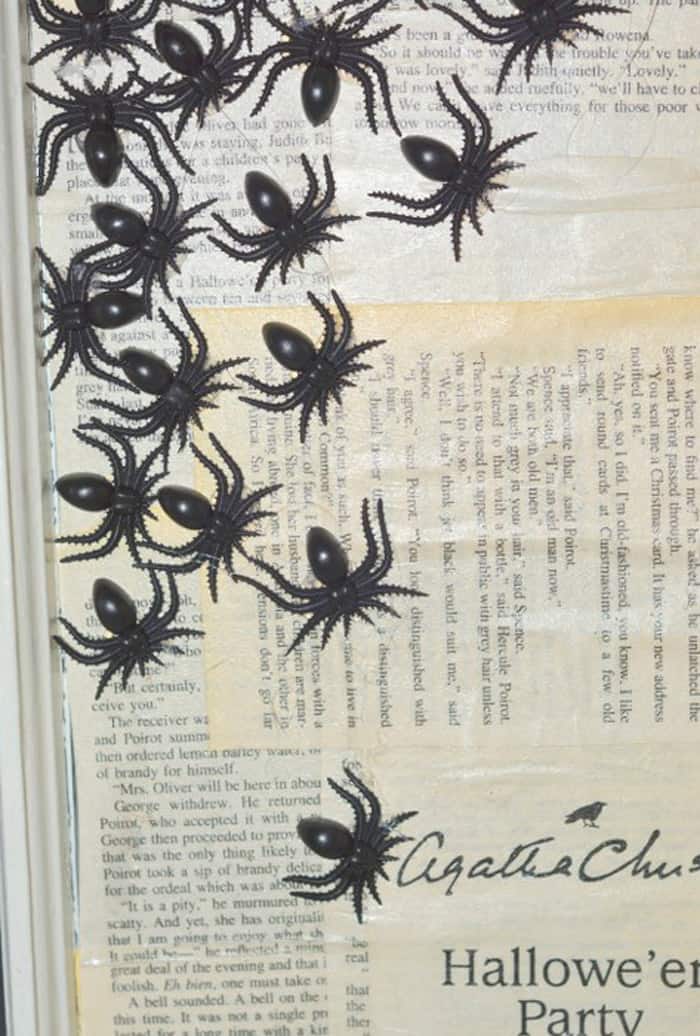
- Add spiders with hot glue to your window, randomly as desired. Let dry completely before displaying.
- Prep the chalkboard panes as instructed with a piece of chalk.
