
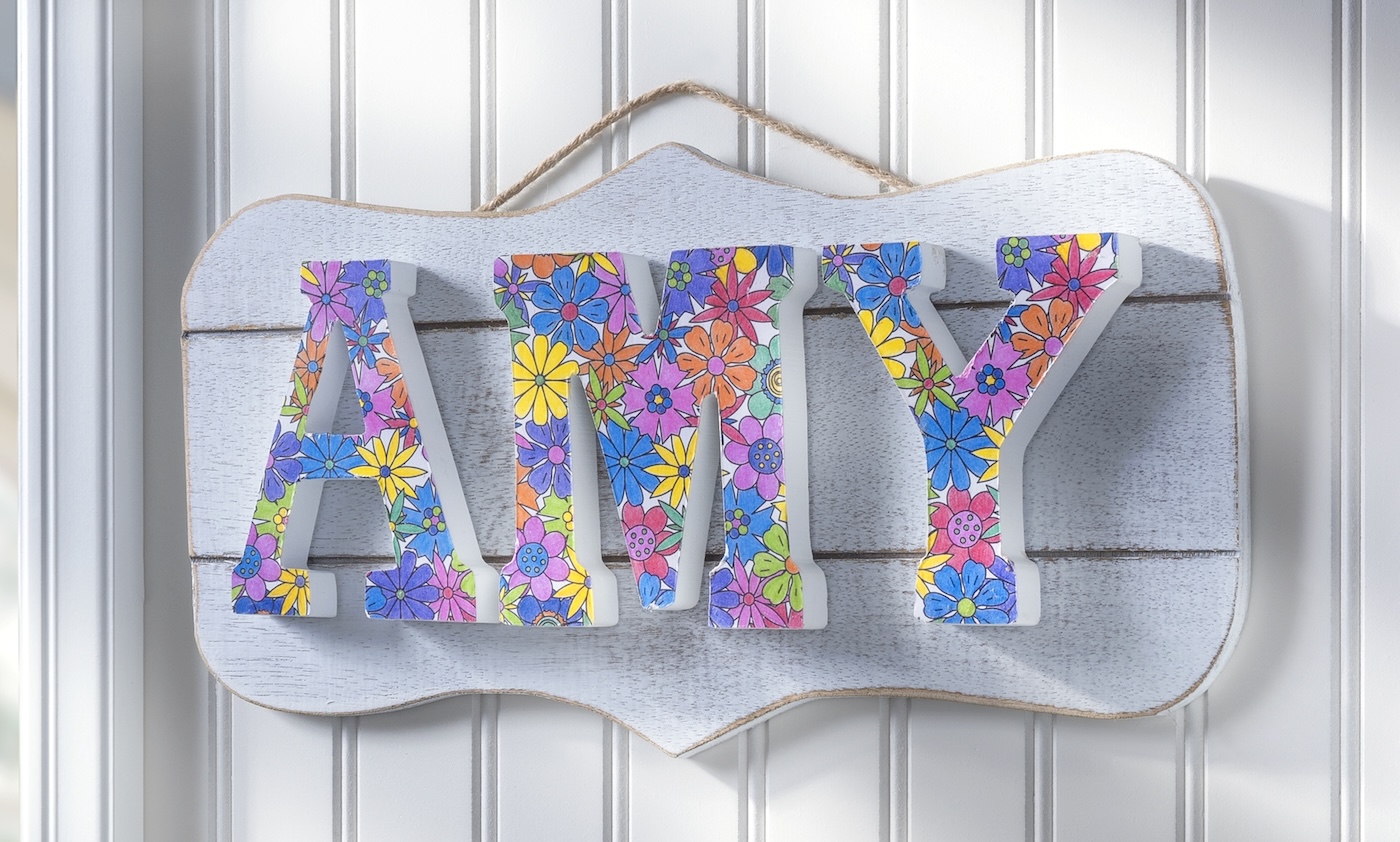
Turn your adult coloring pages into a fun DIY name plaque with Mod Podge! A colorful, creative, and personalized way to decorate your space. Scroll down to the bottom of the post to get a video of this DIY in action!
If you’re an adult coloring enthusiast (or just have a stash of finished pages with nowhere to put them), this DIY name plaque is the perfect way to turn your artwork into something both beautiful and functional!
Instead of leaving those vibrant, hand-colored designs hidden in a book, why not showcase them as personalized wall decor?
This project is a creative and easy way to customize a name or word using wood letters, Mod Podge, and your favorite coloring pages. The result? A one-of-a-kind piece that blends relaxation with crafty magic!

Whether you’re making one for yourself, a child’s room, or as a thoughtful handmade gift, this project lets you celebrate both your creativity and love for color.
The best part? You get to enjoy the relaxing process of coloring and craft something totally unique at the same time.
Plus, with so many coloring books and letter styles available, the possibilities are endless. Ready to turn your coloring pages into decor? Let’s get started!

DIY Wooden Name Plaque
Equipment
- Brayer optional
- Copier optional
Materials
- Weathered wood plaque
- Wood letters spelling the name of your choice
- Coloring book
- Colored pencils
- Mod Podge Hard Coat
- Craft glue
Video
Instructions
- Grab wood letters in the name or initials of your choice. My name is short and sweet! You'll need to choose a plaque that fits the name based on the length.

- Begin coloring. You can color the entire page or just enough to cover one of your wood letters. Now – at this point, you have two options. You can color in additional pages and have different designs on your letters, or you can make color copies of the page. I’ll leave that up to you!

- Trim the design down around the colored area with your scissors.

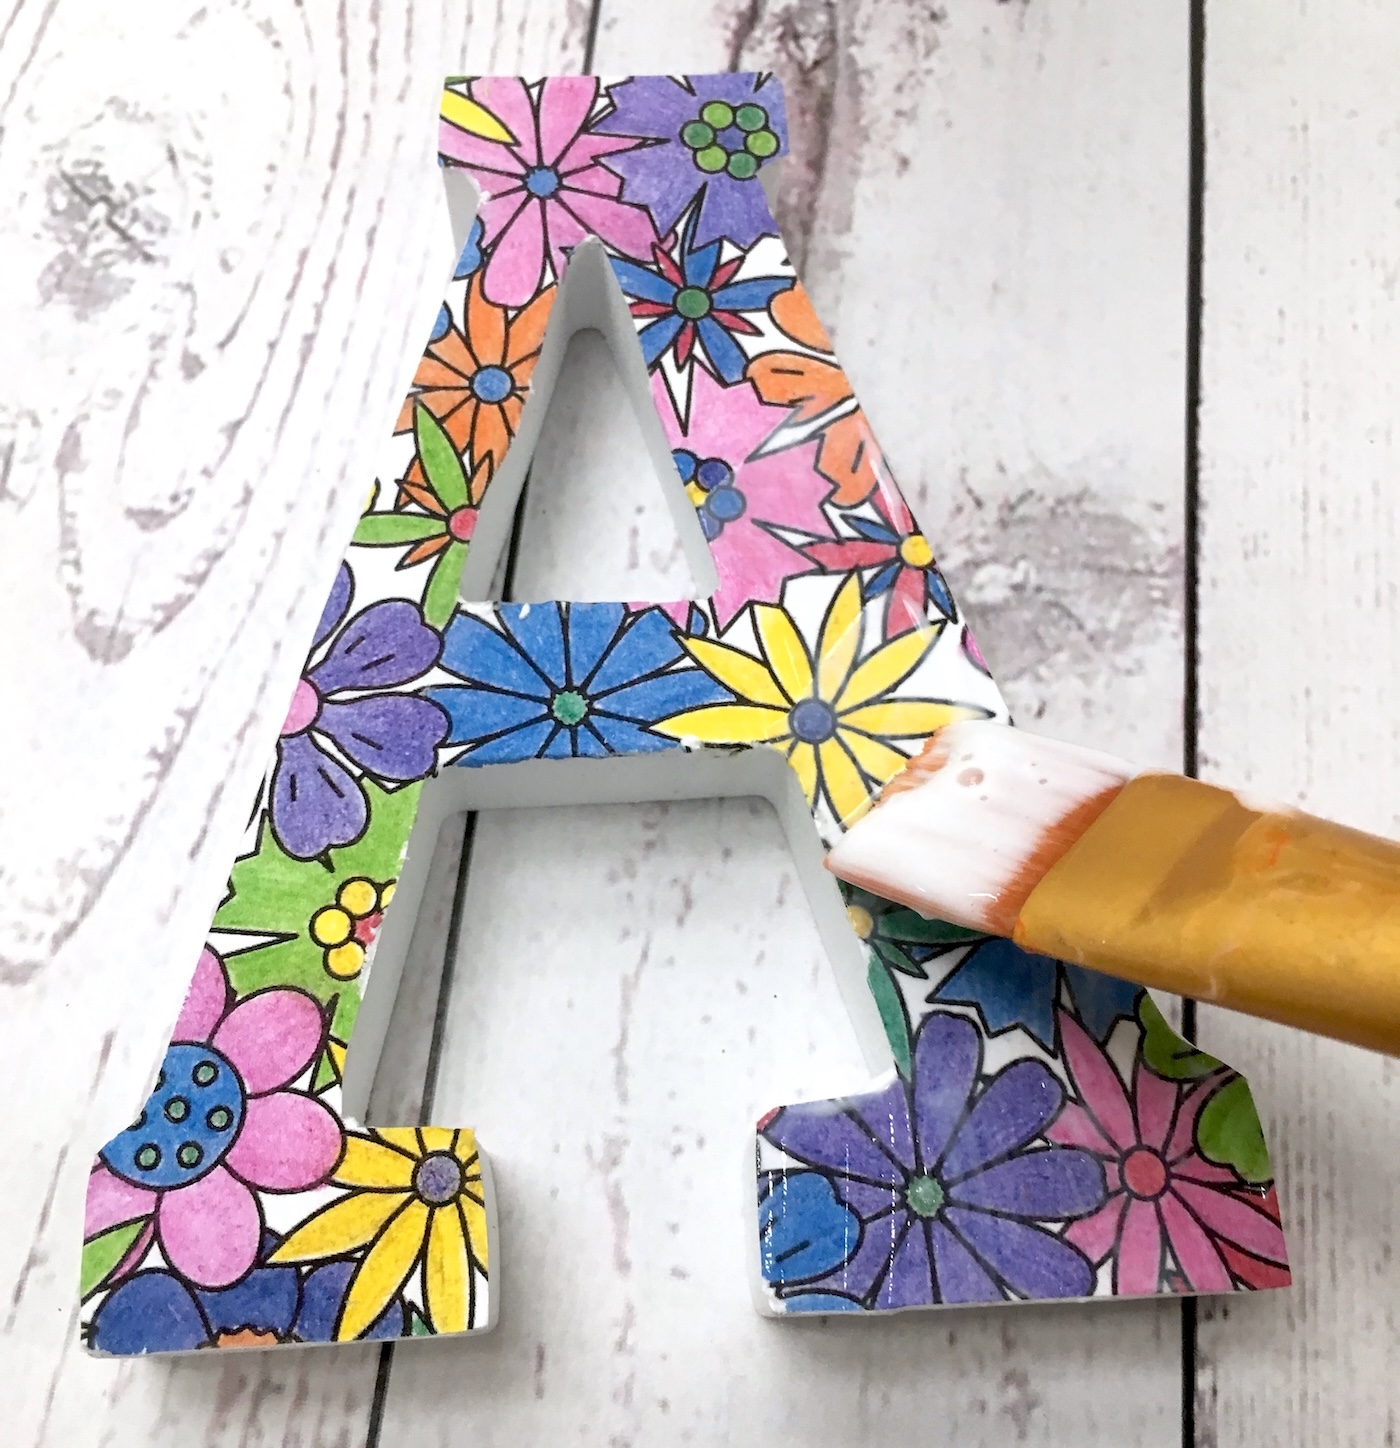
- Start with one letter at a time. Flip the coloring page over and place a thin layer on the back.
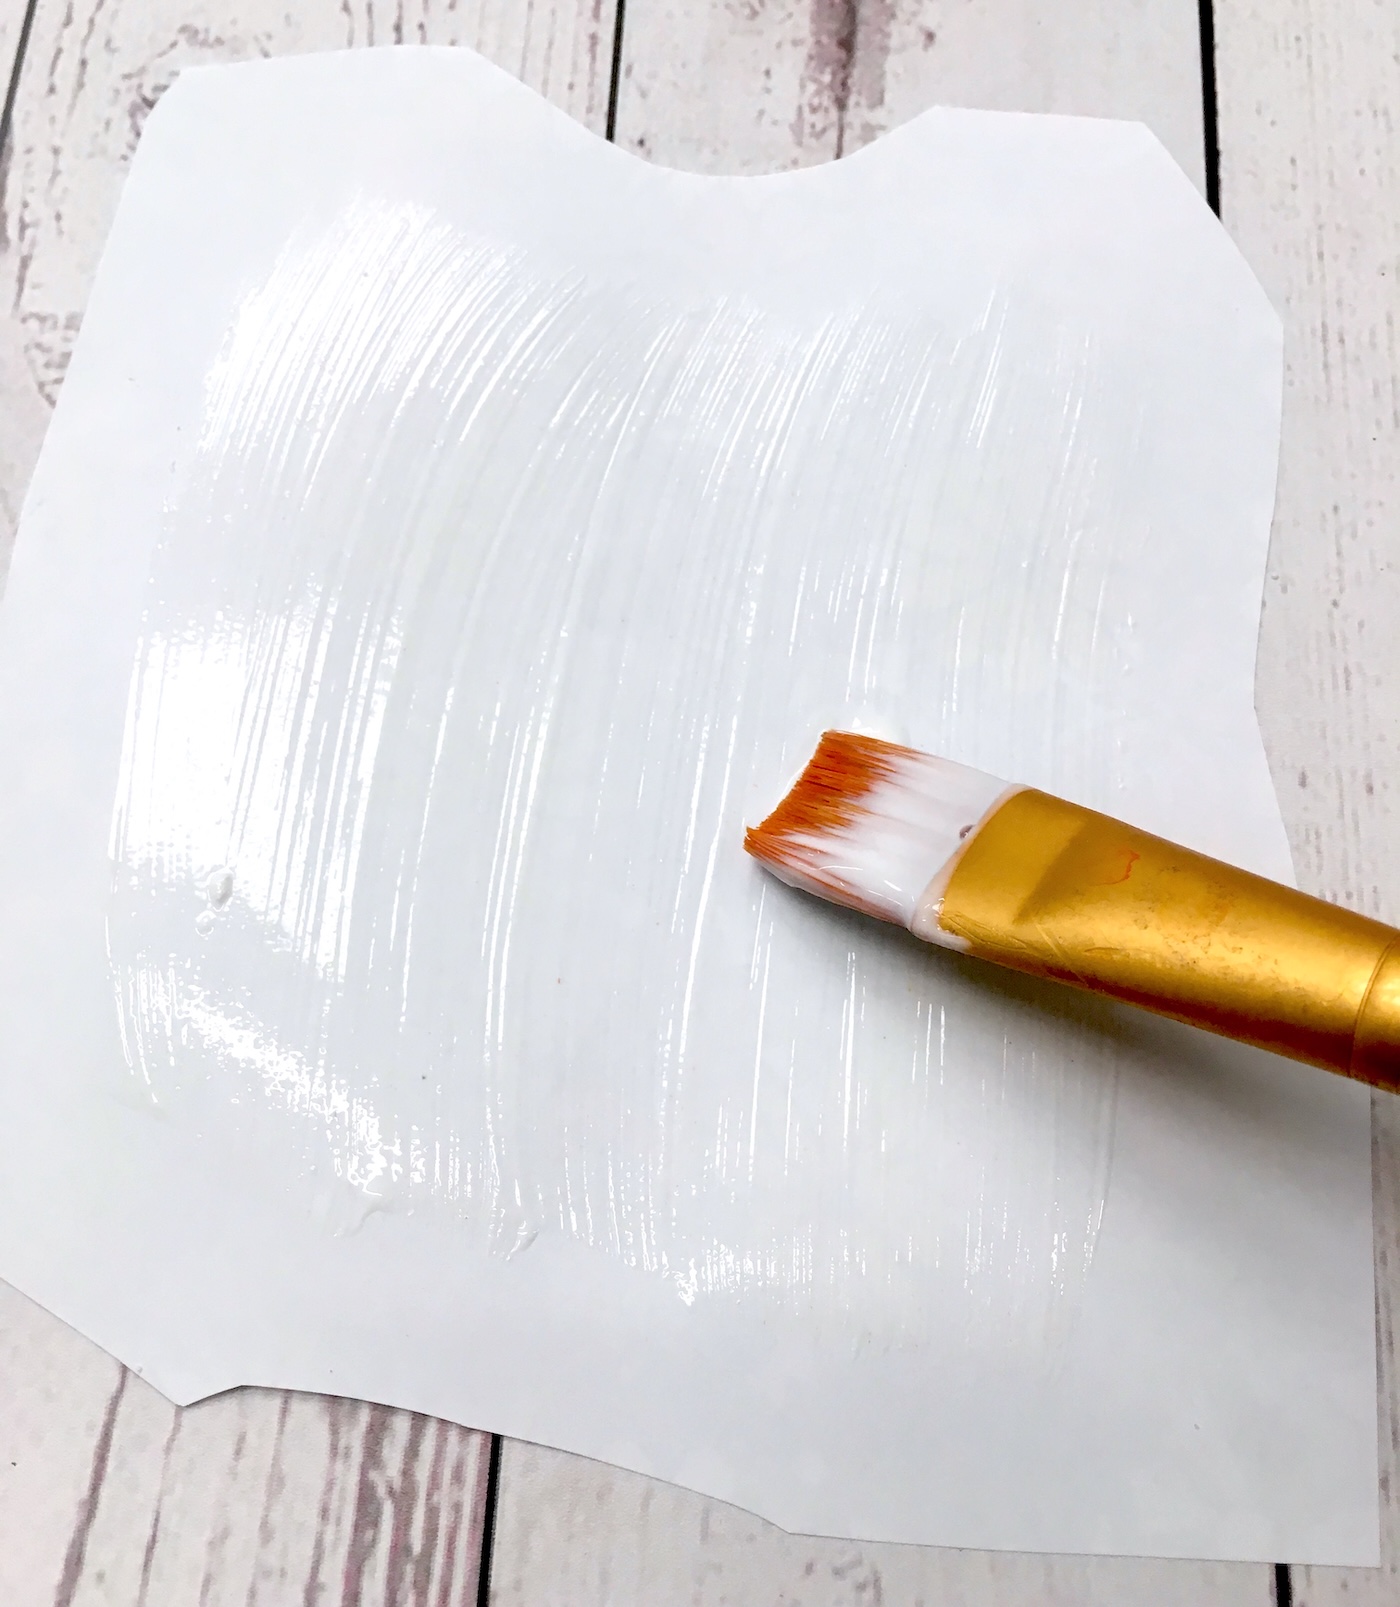
- Place a thin layer of Mod Podge on the front of the letter and place down onto the back of the coloring page.
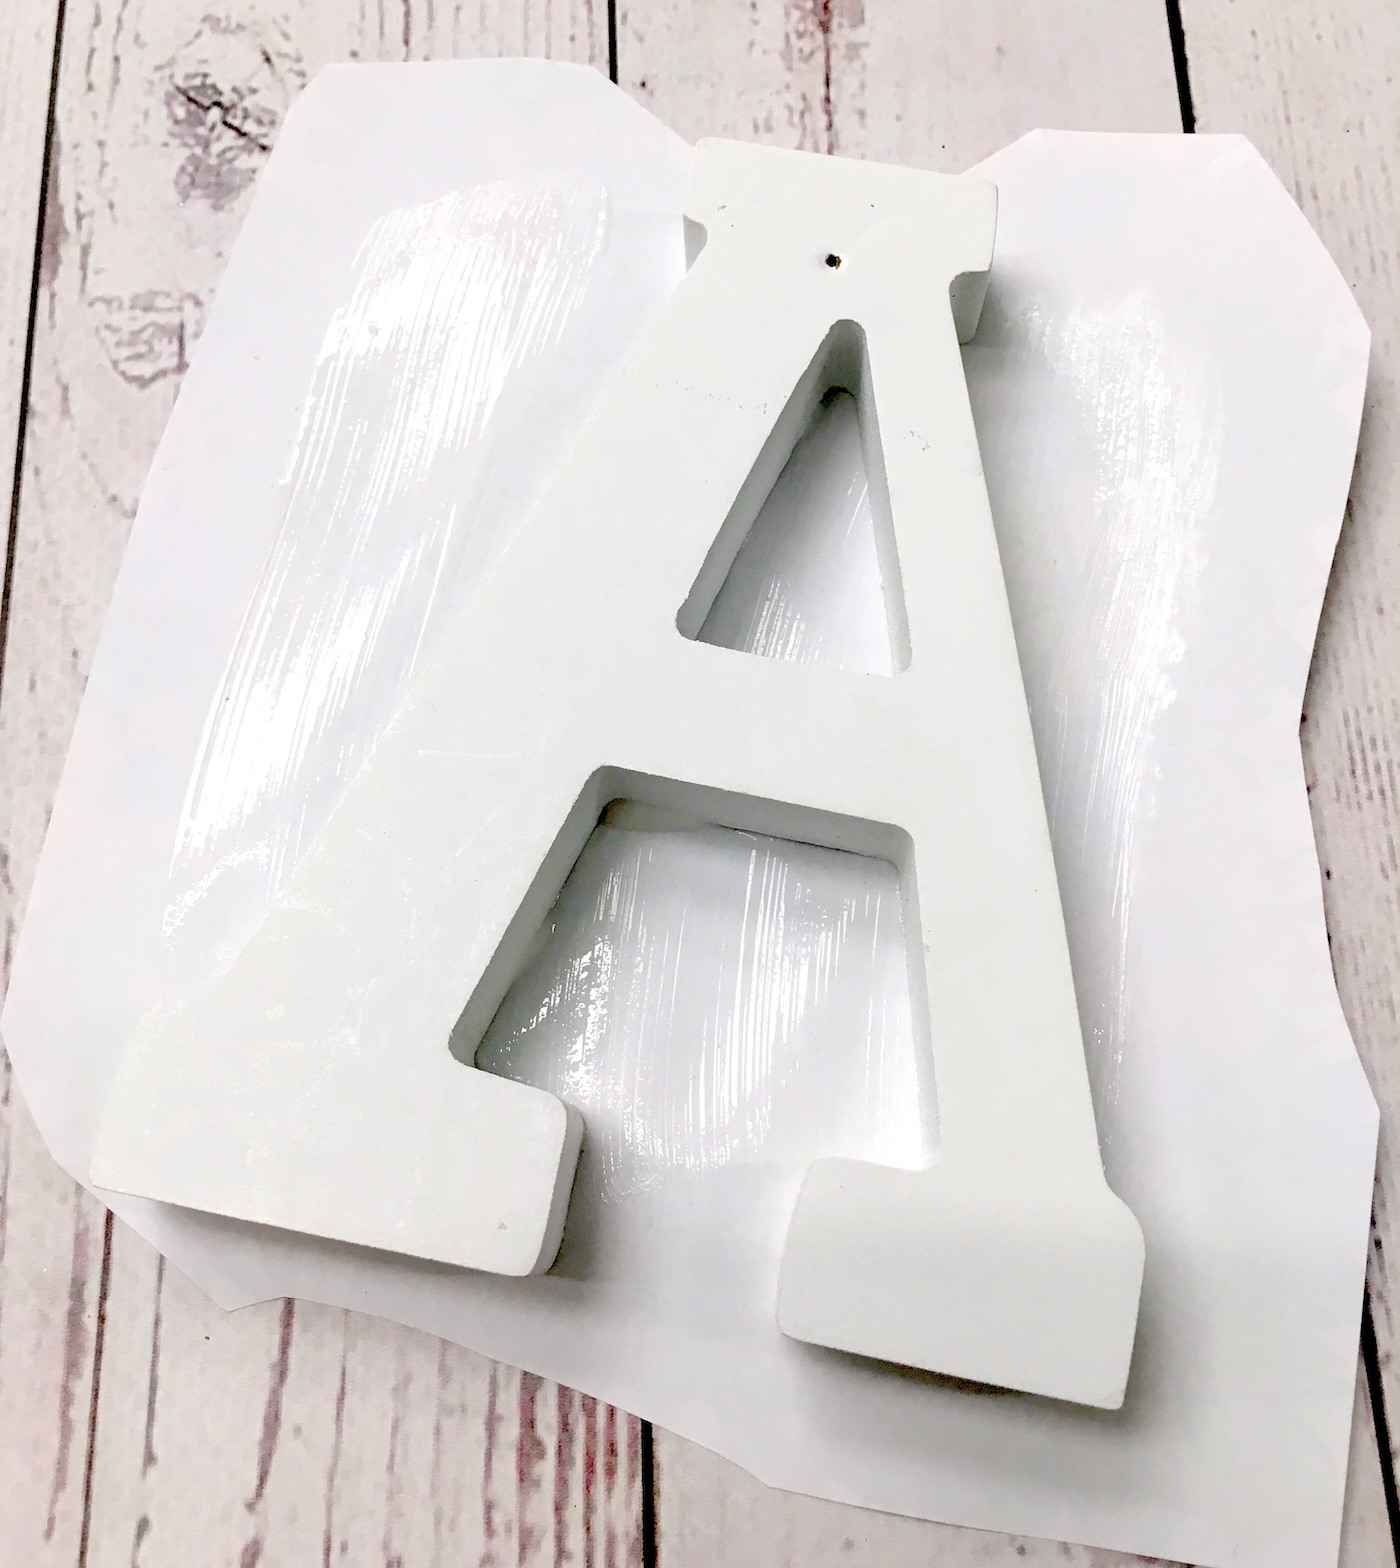
- Turn the letter over and smooth. It’s optional to use a brayer, but I love this one! Let your letter dry for 15 – 20 minutes.

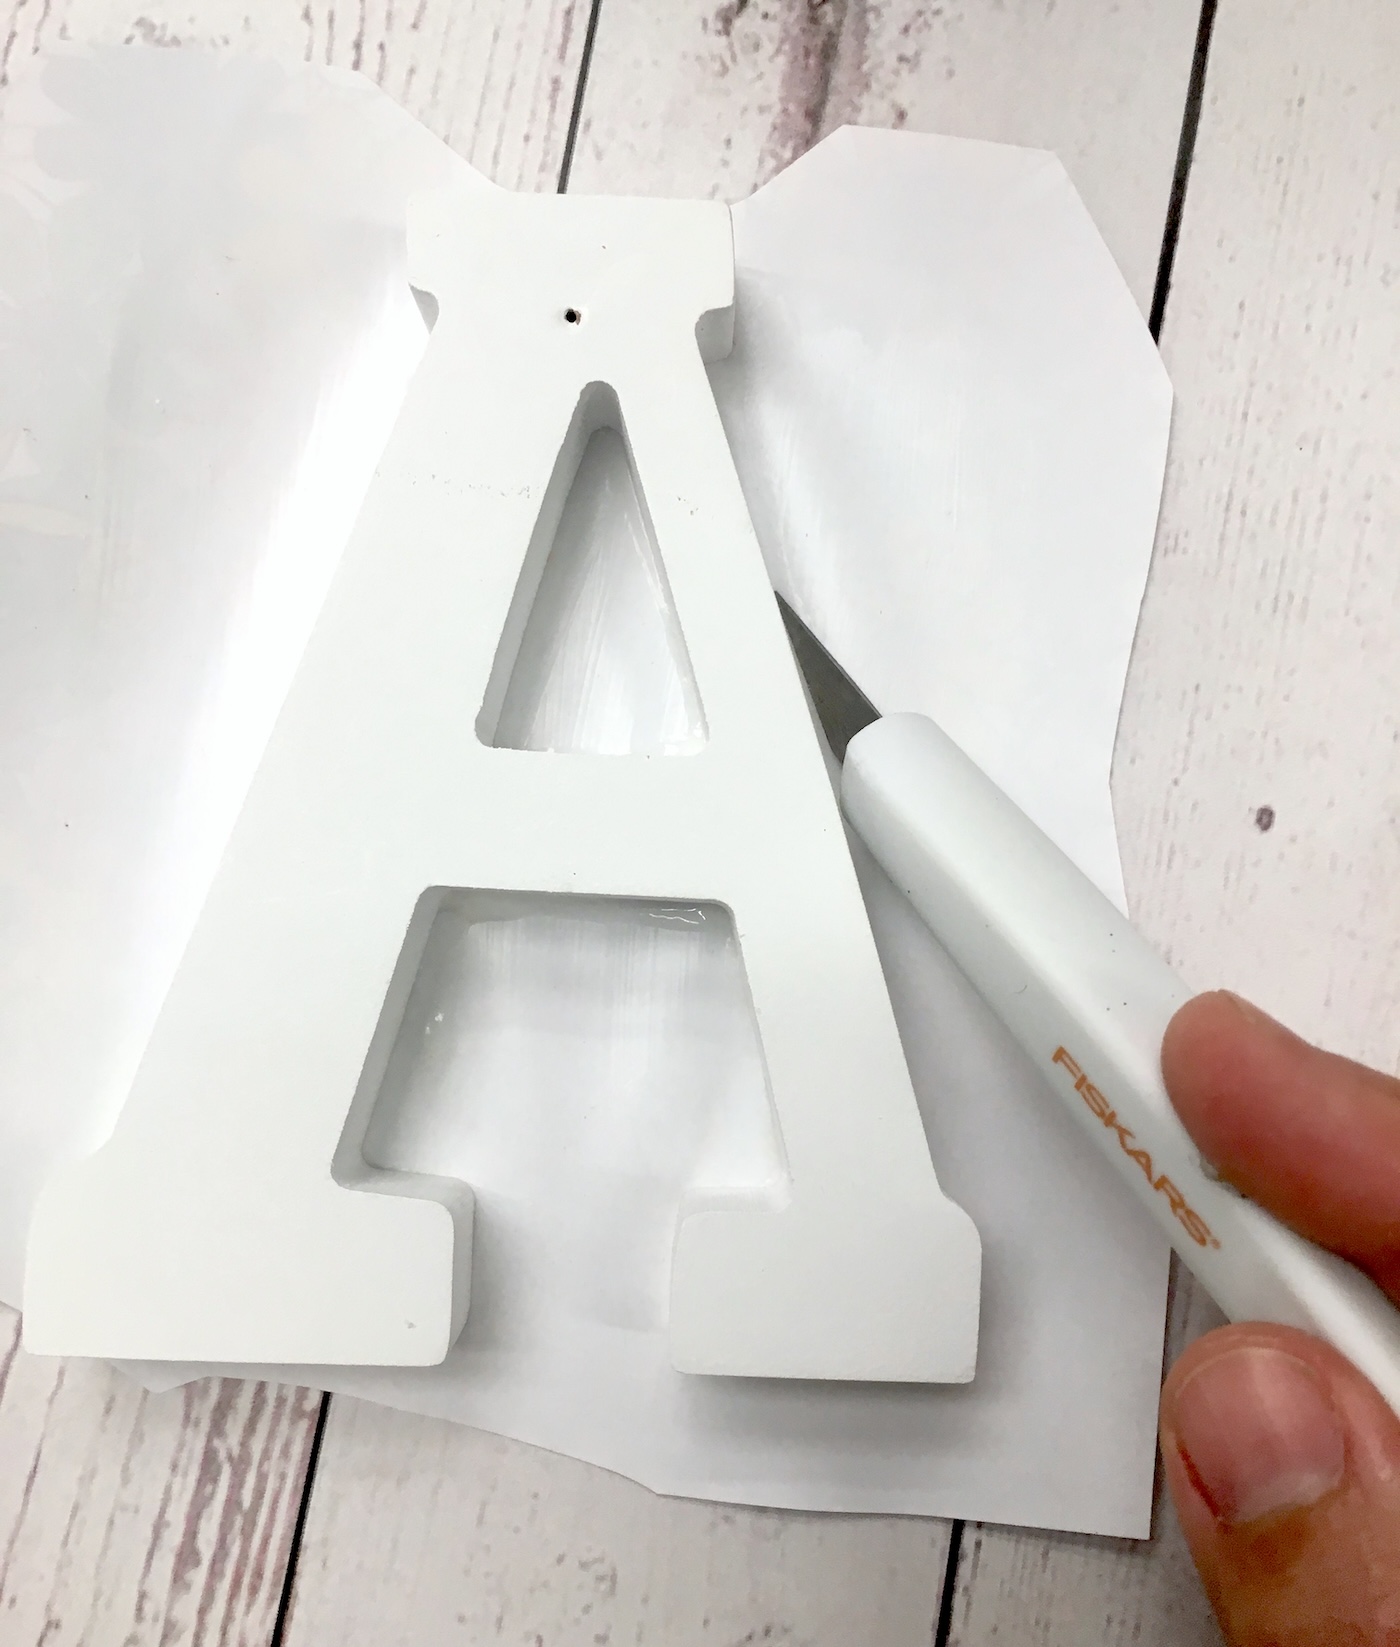
- Trim off the paper carefully using a craft knife. Repeat with the remaining letters.
- Coat the tops of your letters with Mod Podge and let dry. Finish by gluing the letters to the wood plaque, in order. Let dry completely before hanging.
Let me know what you think of this project in the comments! I’d also love for you to check out these other wall art ideas:
Comic Wall Art • Decorative Letters • Decoupage Napkins on Canvas • DIY Love Canvas • Fabric Canvas Art • Image to Canvas • Instagram Mini Canvases • Junk Mail Art • Magazine Collage • Map Canvas Art • Paint Chip Art • Paint Swatch Art • Photo Booth Canvas • Photo Transfer to Canvas • Photo Wall Collage • Plastic Animal Canvases • Poster on Canvas • Wood Plaque Crafts


amazing design of coloring book diy name plaque. Thanks for sharing it.