DIY Wooden Name Plaque
Use wood letters and coloring pages to make a cute name plaque! Perfect for wall art.
Yield: 1 plaque
Cost: $15
Equipment
- Brayer optional
- Copier optional
Materials
- Weathered wood plaque
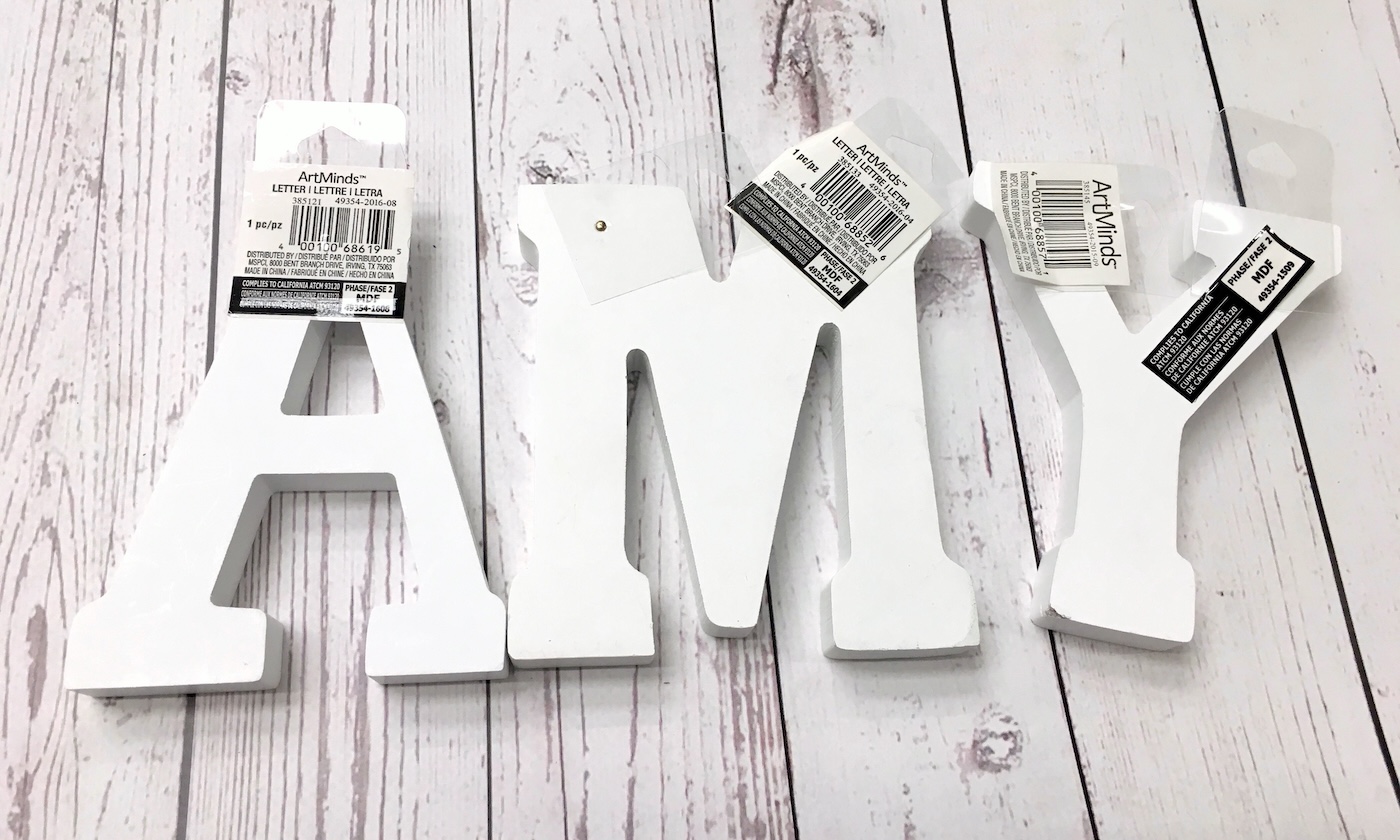
- Wood letters spelling the name of your choice
- Coloring book
- Colored pencils
- Mod Podge Hard Coat
- Craft glue
Video
Instructions
- Grab wood letters in the name or initials of your choice. My name is short and sweet! You'll need to choose a plaque that fits the name based on the length.
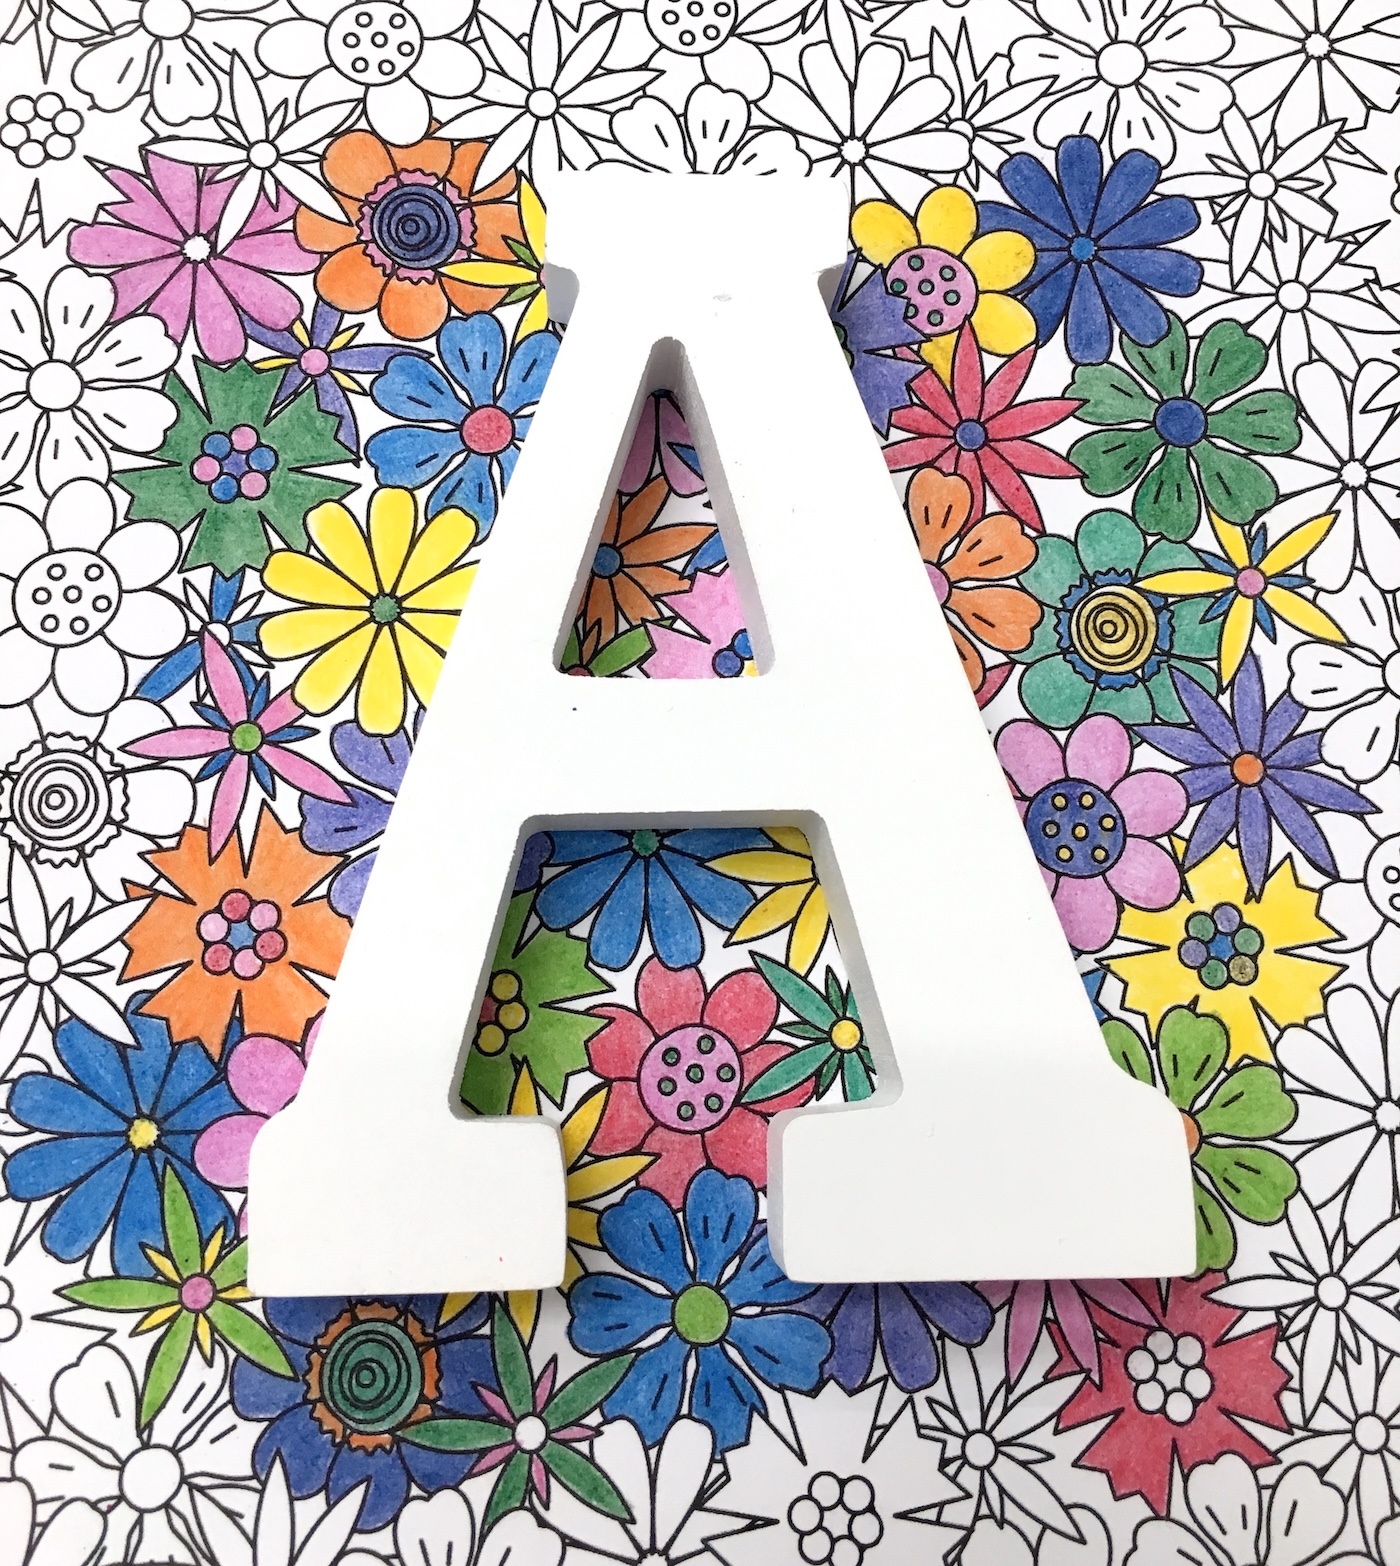
- Begin coloring. You can color the entire page or just enough to cover one of your wood letters. Now – at this point, you have two options. You can color in additional pages and have different designs on your letters, or you can make color copies of the page. I’ll leave that up to you!
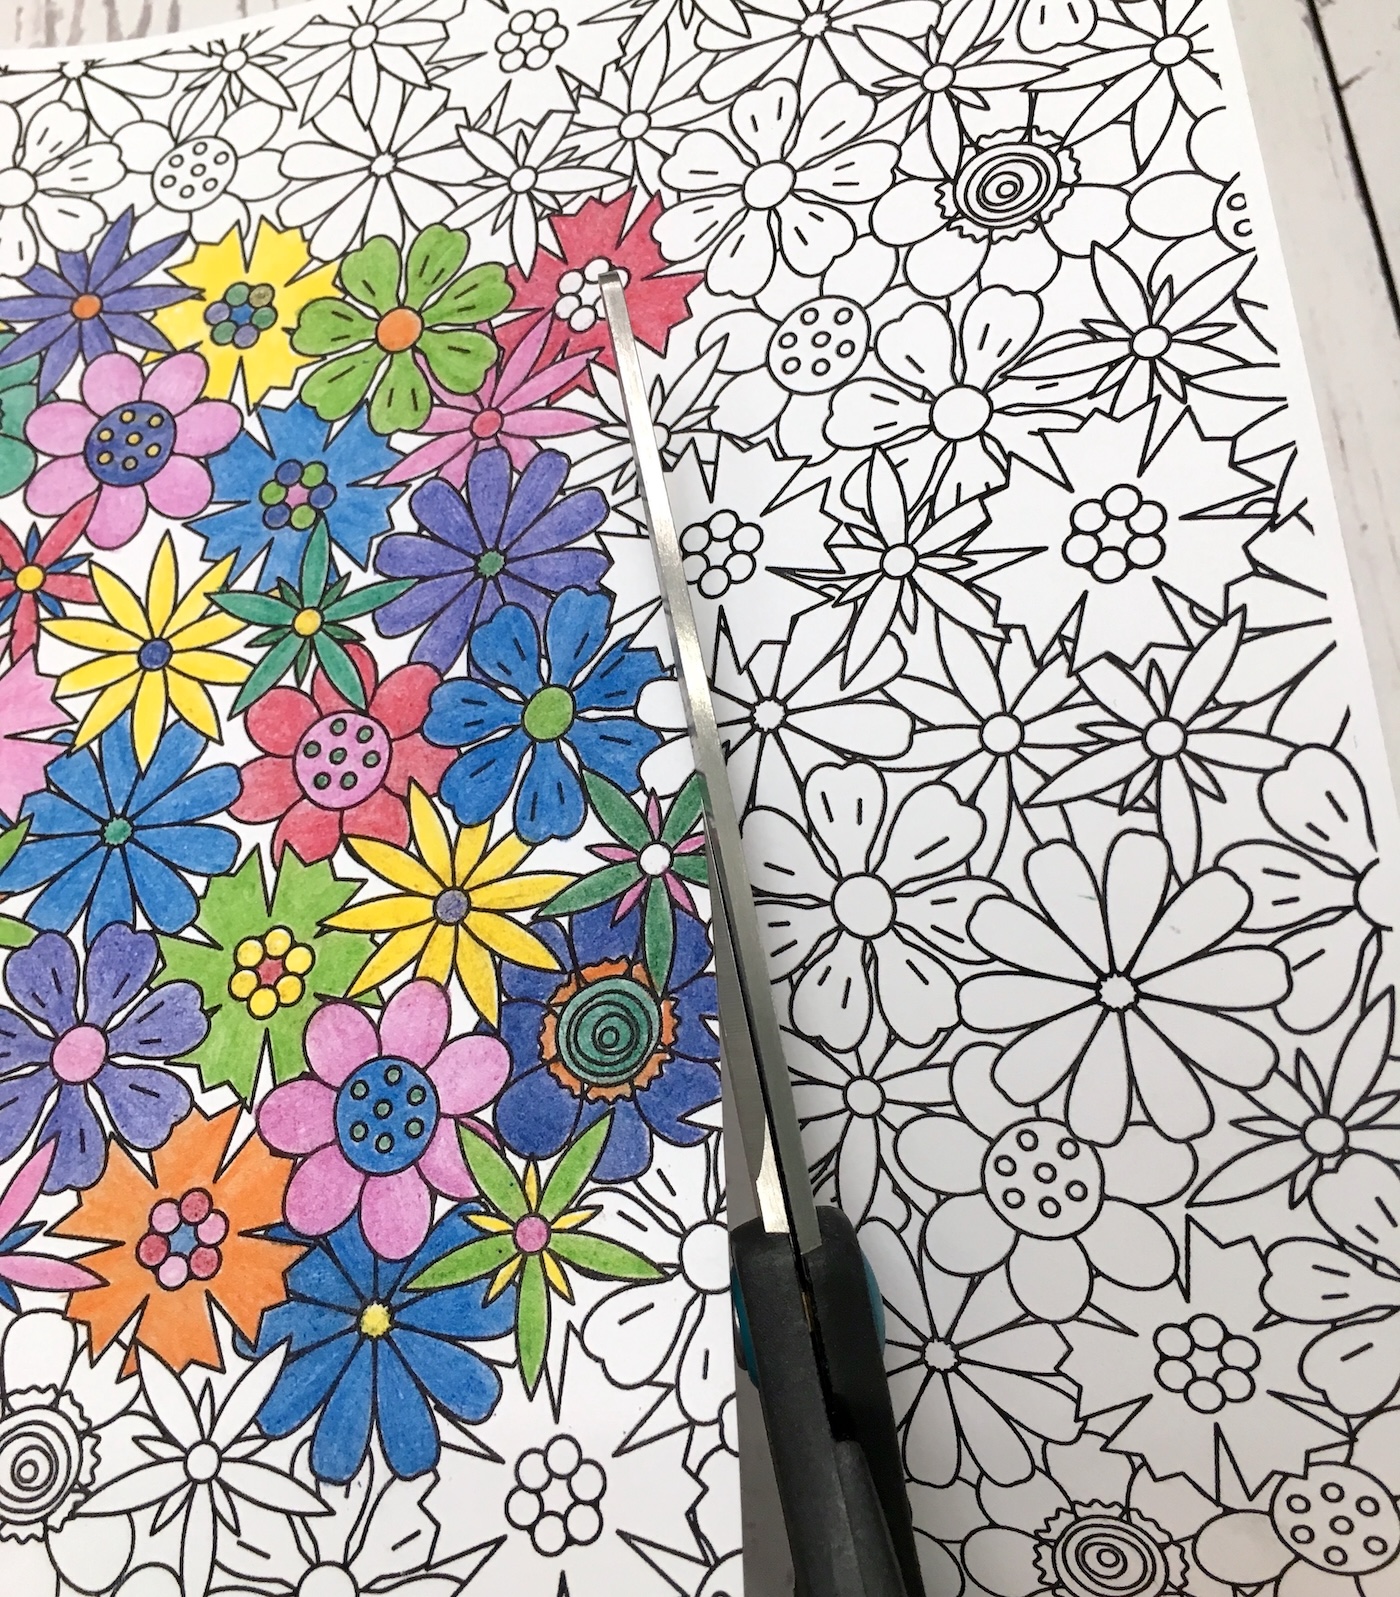
- Trim the design down around the colored area with your scissors.
- Start with one letter at a time. Flip the coloring page over and place a thin layer on the back.
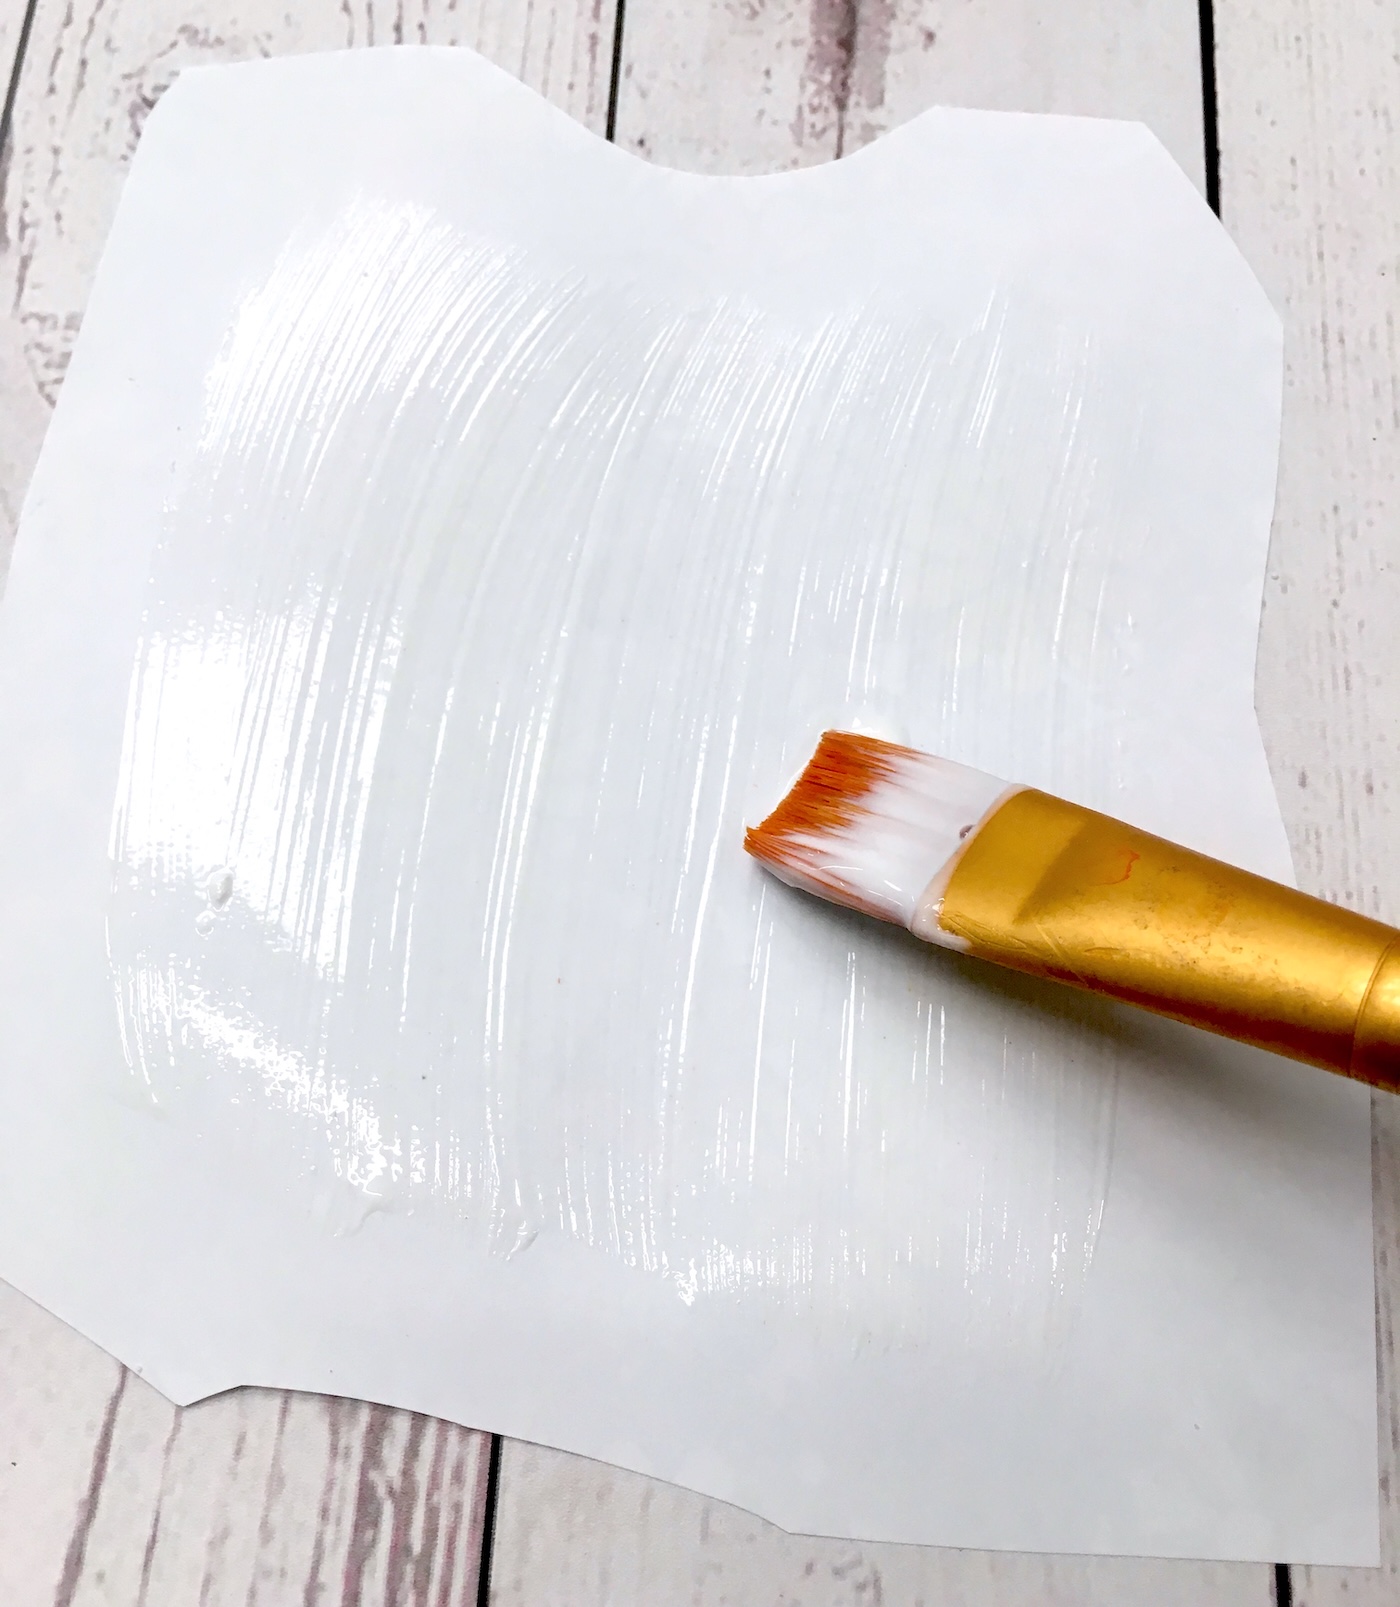
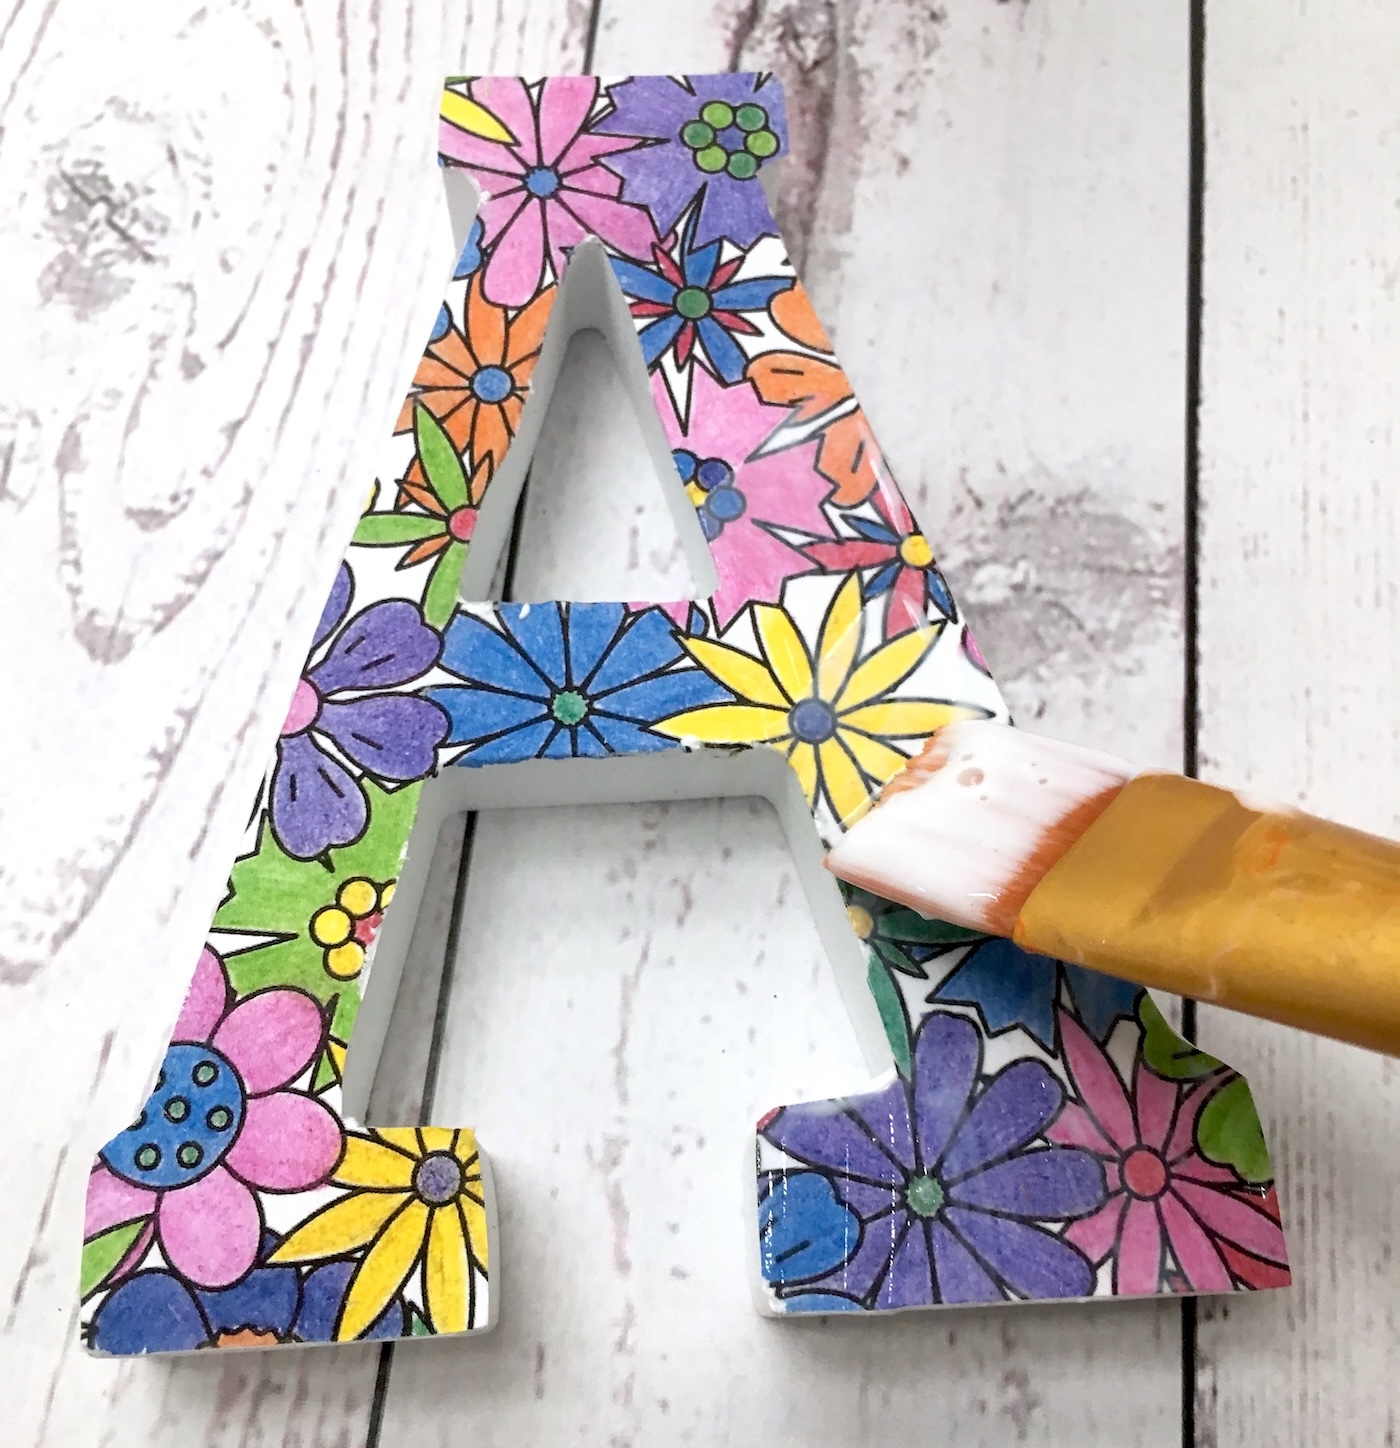
- Place a thin layer of Mod Podge on the front of the letter and place down onto the back of the coloring page.
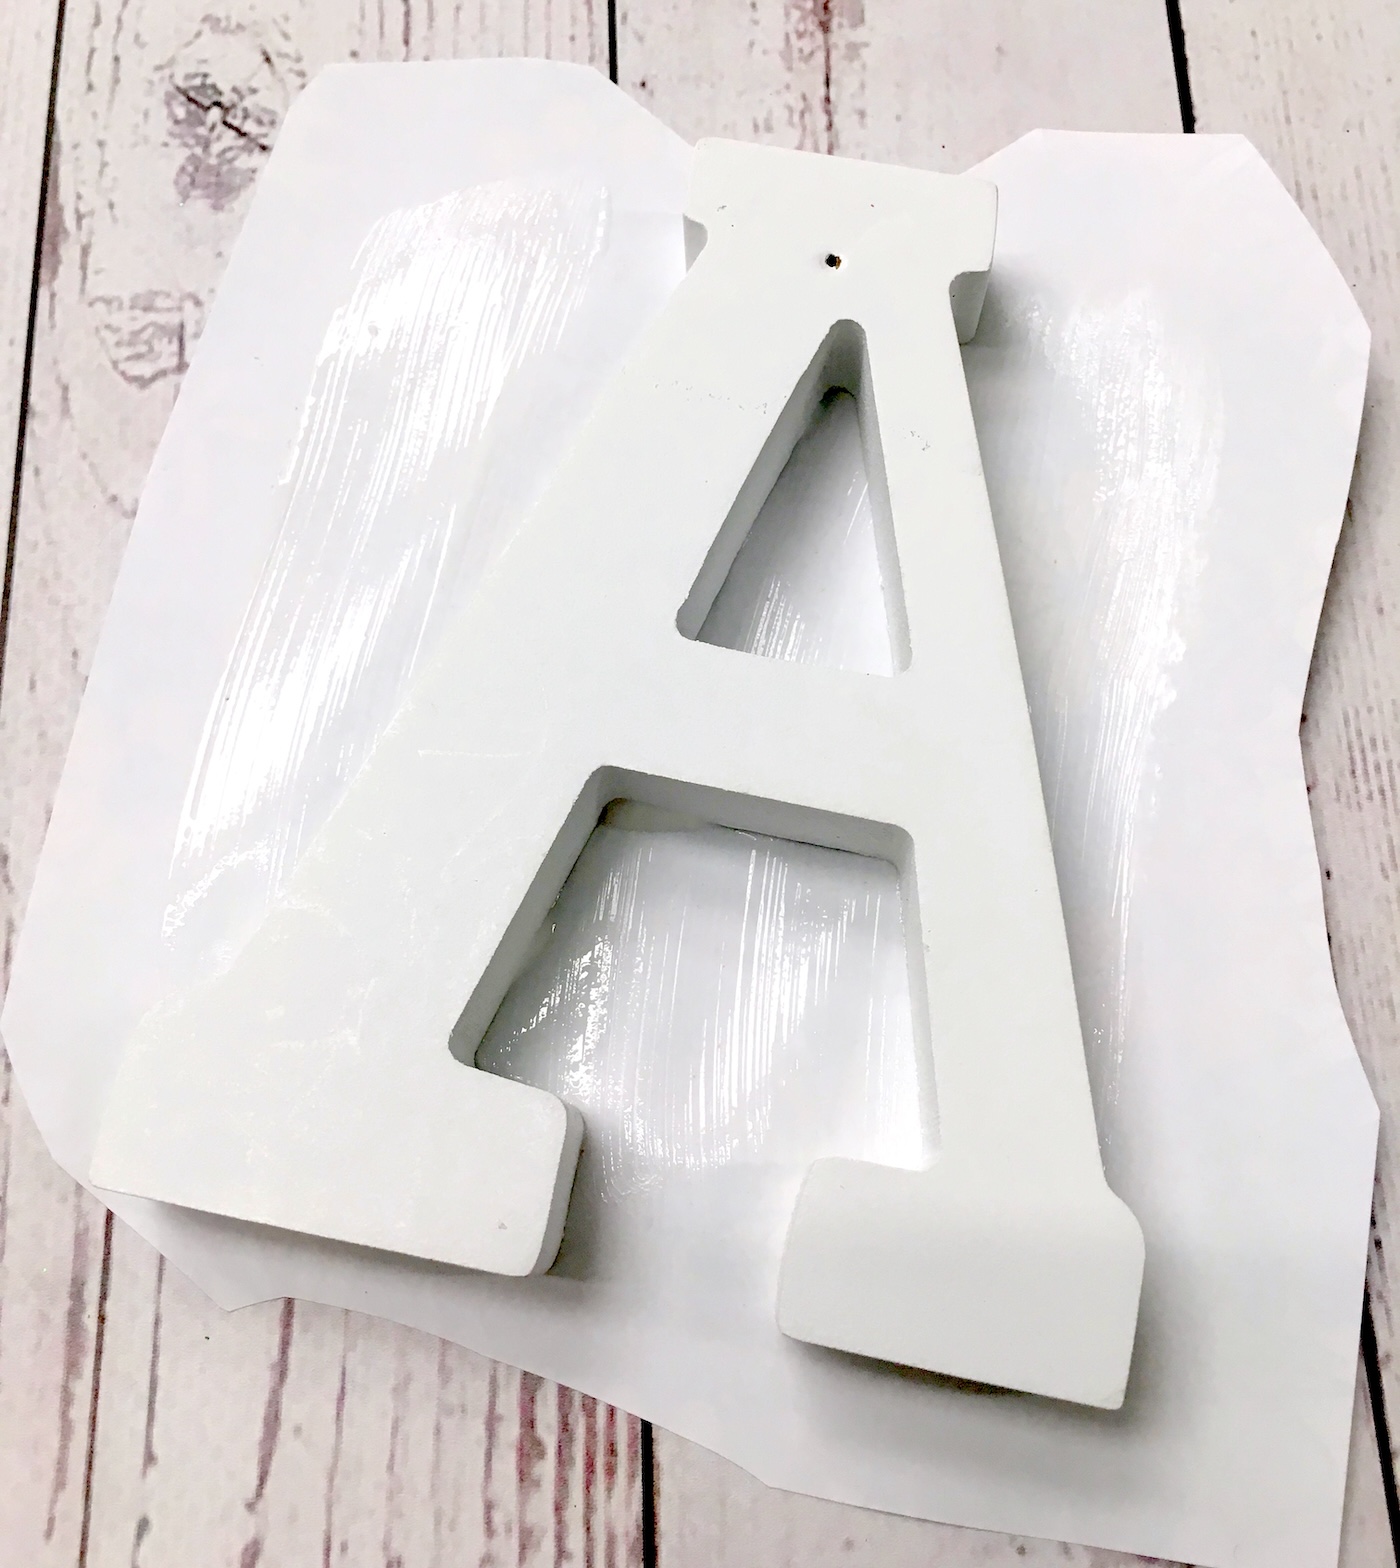
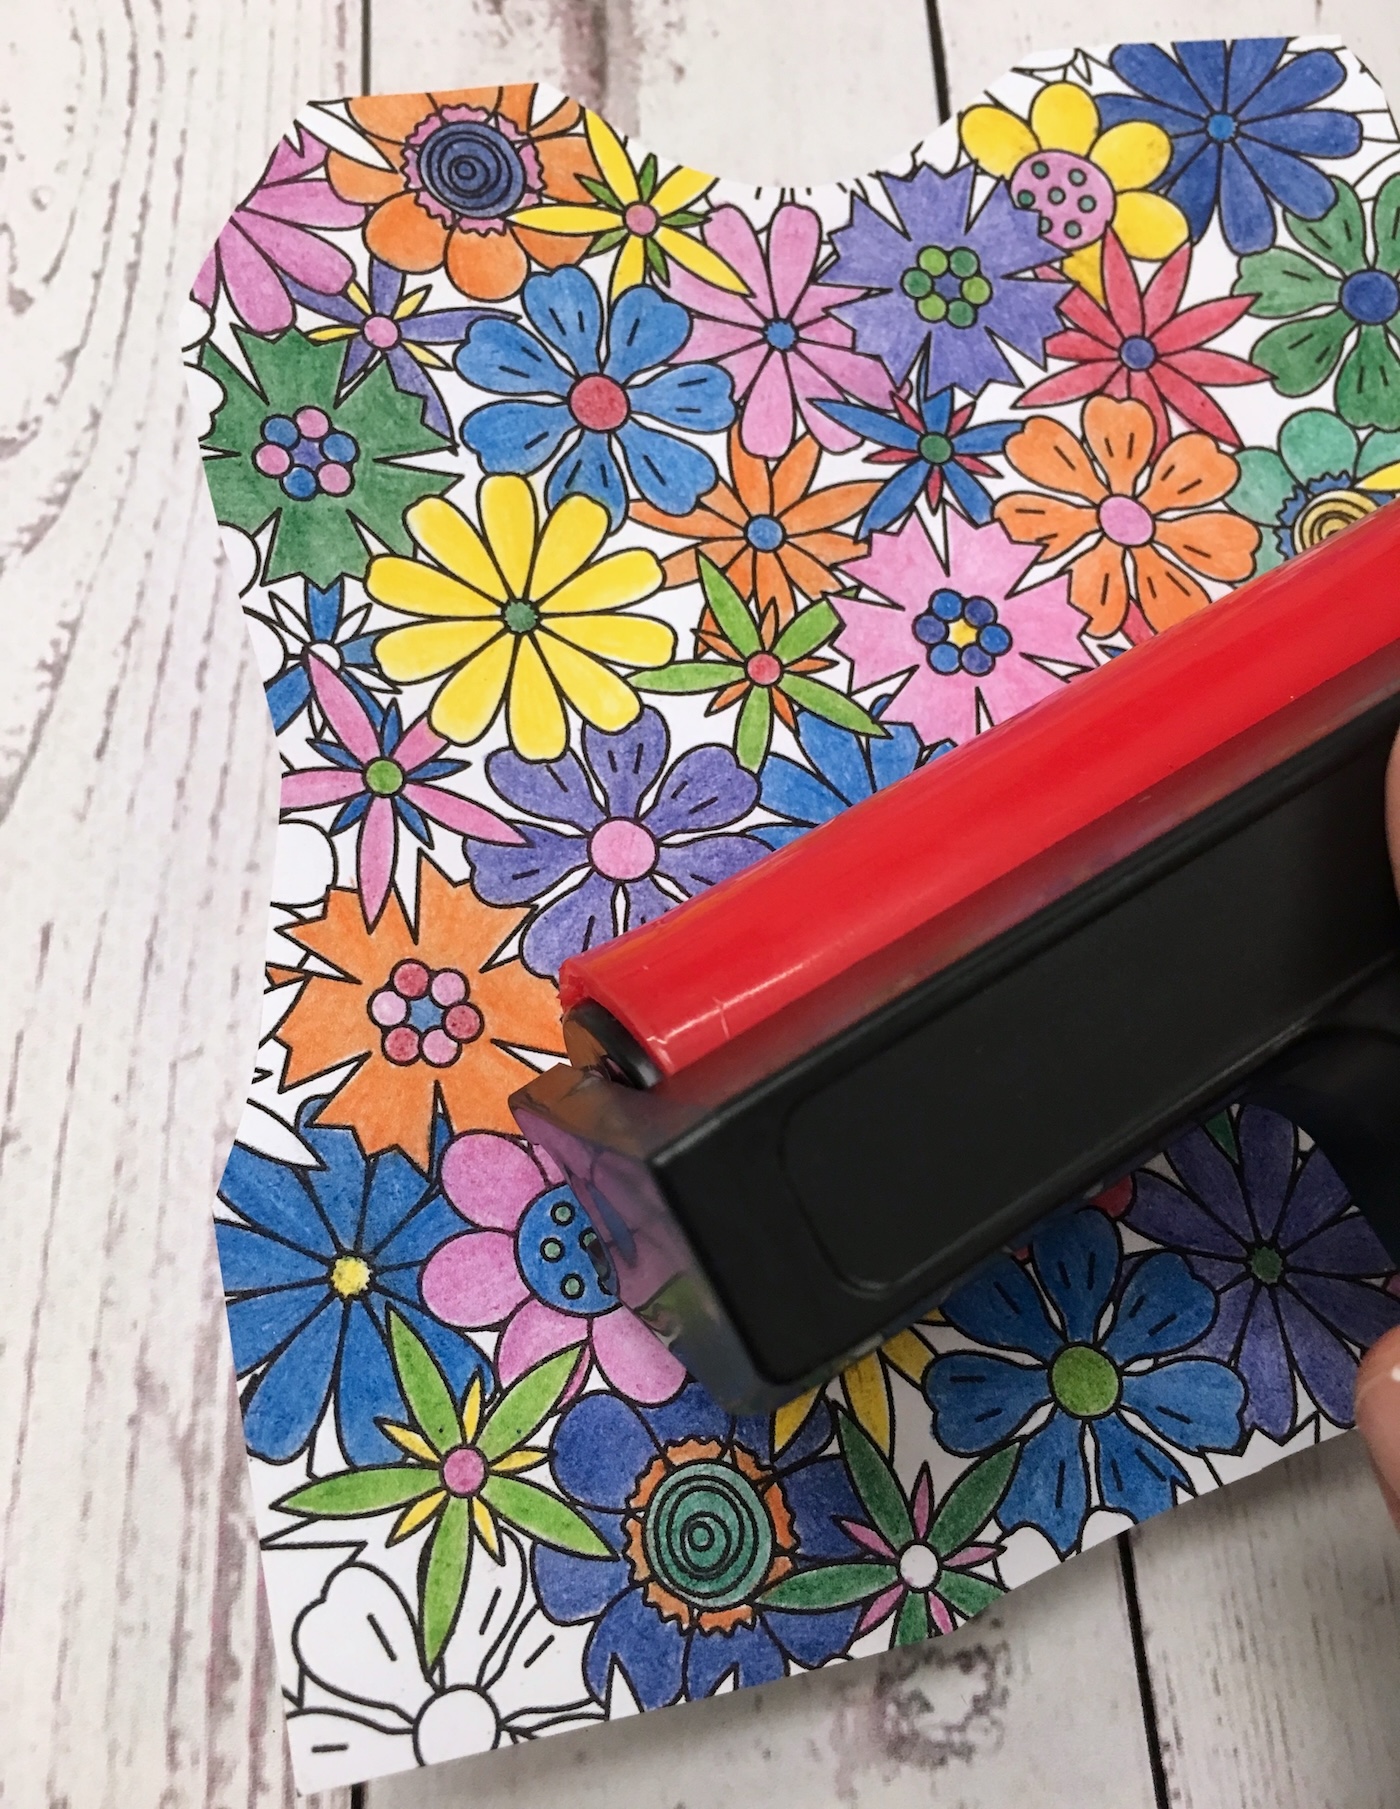
- Turn the letter over and smooth. It’s optional to use a brayer, but I love this one! Let your letter dry for 15 – 20 minutes.
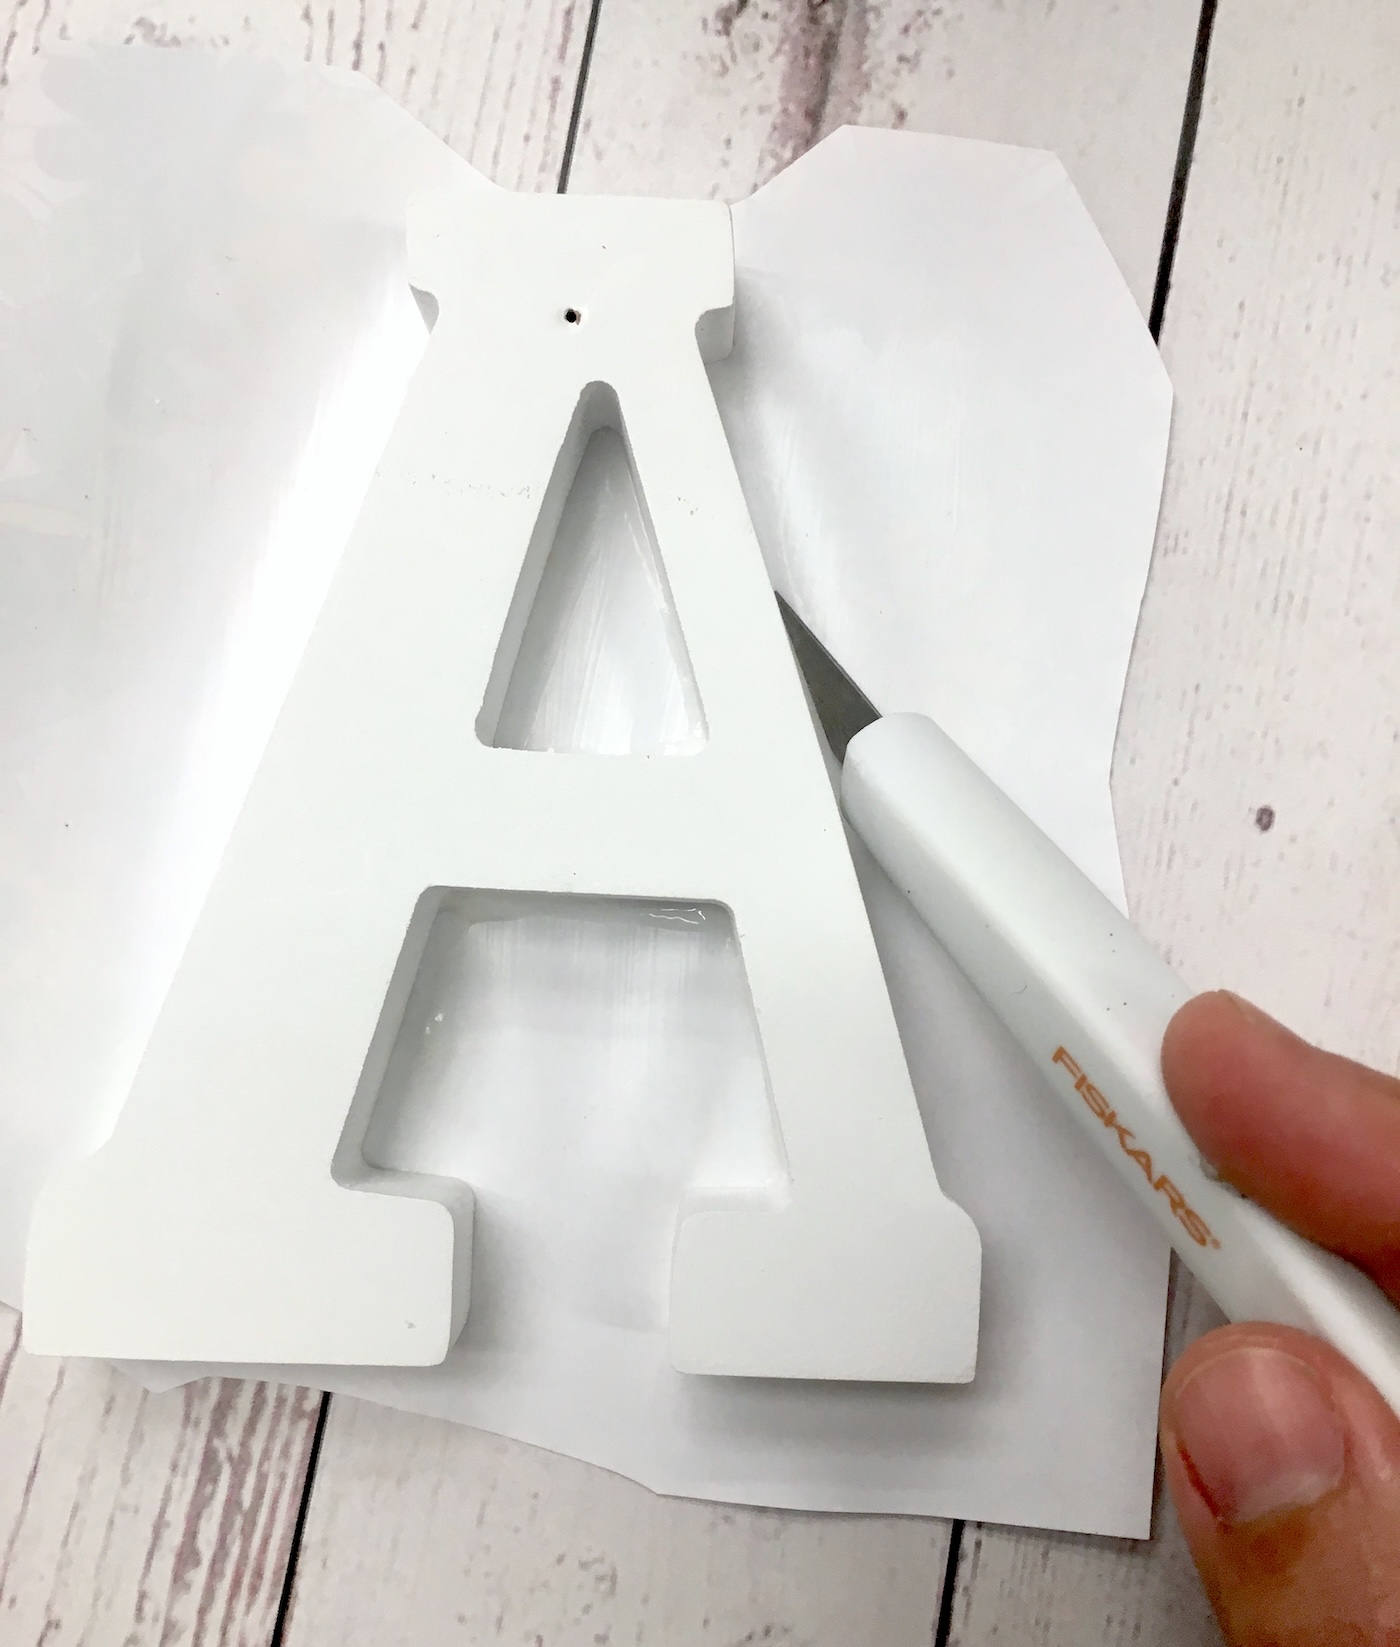
- Trim off the paper carefully using a craft knife. Repeat with the remaining letters.
- Coat the tops of your letters with Mod Podge and let dry. Finish by gluing the letters to the wood plaque, in order. Let dry completely before hanging.