
Use your favorite comic books (or copies) and Mod Podge to make these easy comic book letters! Perfect for budget friendly wall decor.
Skills Required: Beginner. It helps to have some experience with Mod Podge as comic books or color copies of them have the potential to wrinkle.

If you’re looking for budget friendly wall decor, and you love comic books, this is a project you’re going to love: comic book letters!
This superhero craft is so easy to do . . . you don’t have to be a Mod Podge expert to try it.
One thing that may have you hesitating is that you don’t want to cut up your beloved comic books. Well don’t fear!

You can make color copies of your favorite pages (I highly recommend laserjet for no bleeding) and then decoupage away onto wood letters.
This is perfect for anyone that is obsessed with comic books . . . and also likes their own name. Learn how to make this wood craft below.
(see more comic book crafts using Mod Podge!)
Gather These Supplies
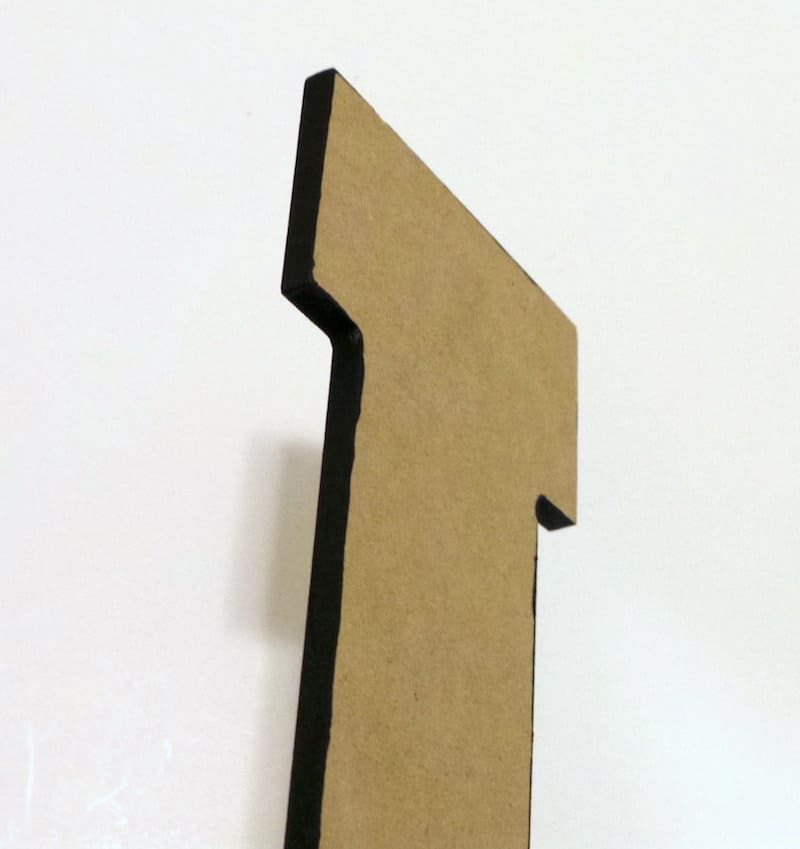
- Wood letters to spell the name/saying of your choice
- Mod Podge Gloss or Matte
- Acrylic paint (to paint the edges of the letters)
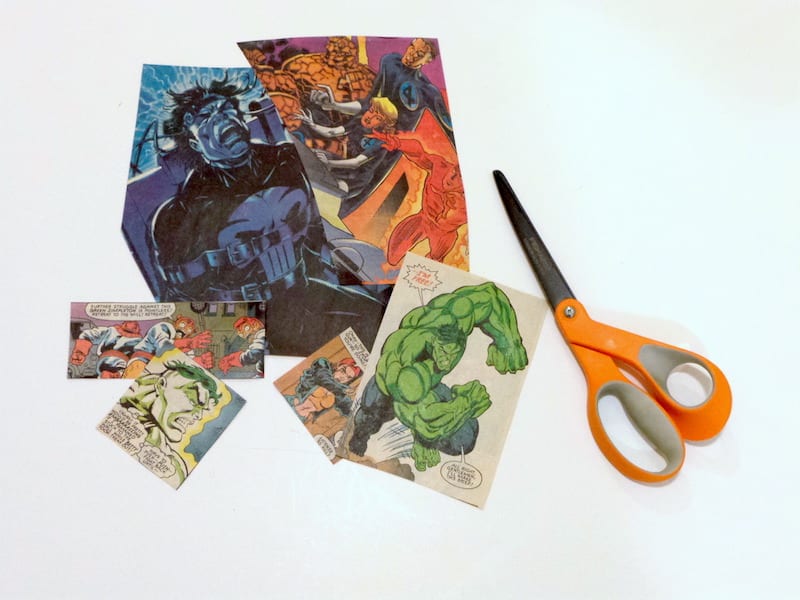
- Comic books or laserjet copies
- Paintbrush
- Scissors
- Craft knife and mat
- Command strips (for hanging)
Once your letters are complete and dry, hang them to the wall with Command strips. They look fabulously nerdy! Get the how to card below:

Comic Book Letters
Materials
- Wood letter(s) to spell the name/saying of your choice
- Mod Podge Gloss
- Acrylic paint
- Comic books or printed laserjet comic book pages
- Command strips
Instructions
- Paint the edges of the wood letters with acrylic paint. Let dry.
- Cut the comic books or color copies into "bite-sized" pieces.
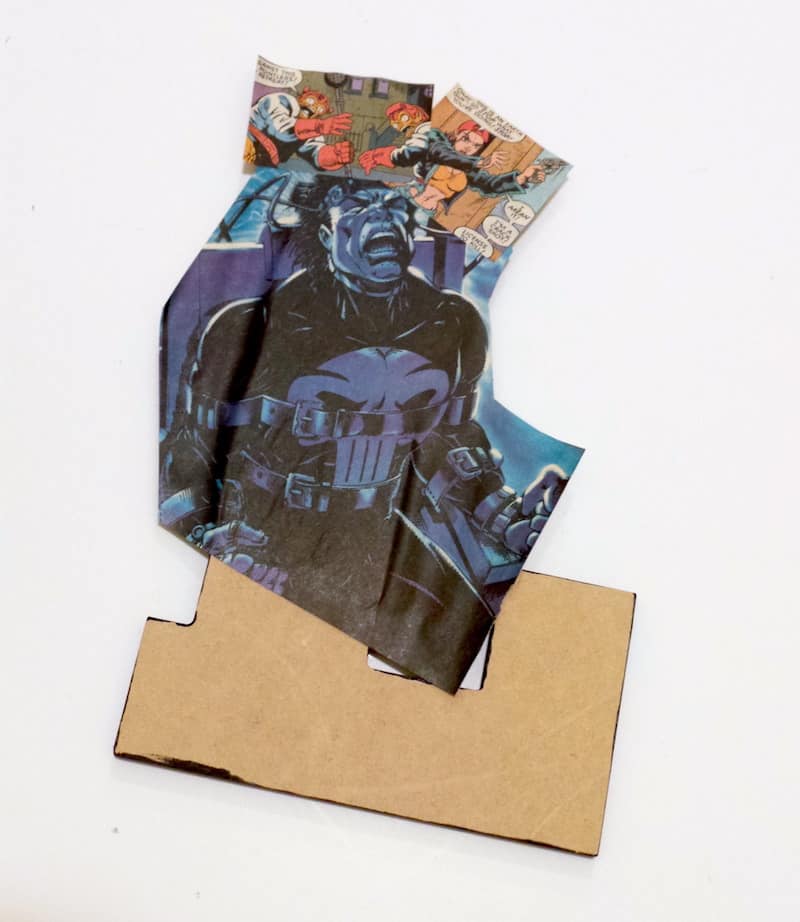
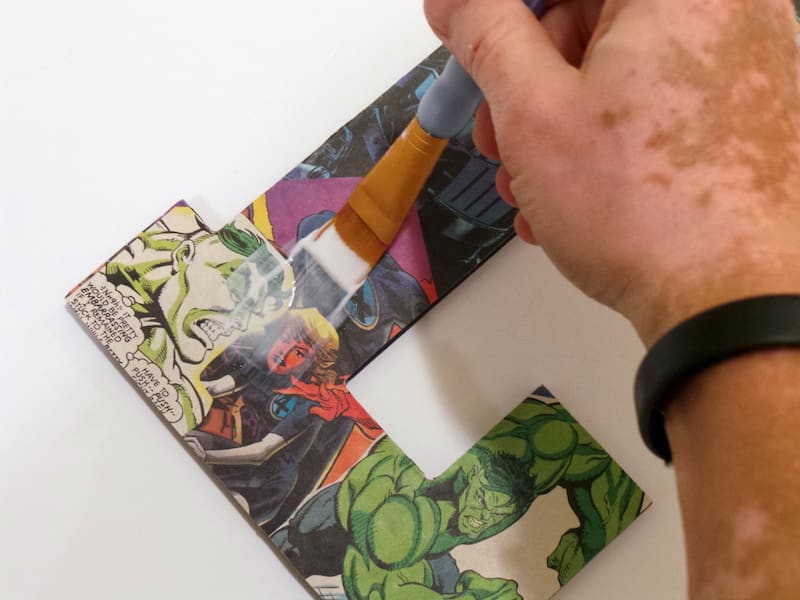
- Add Mod Podge to the back of the comic book pieces and then to the front of the letter. Smooth them down, layering as you go. Let dry.
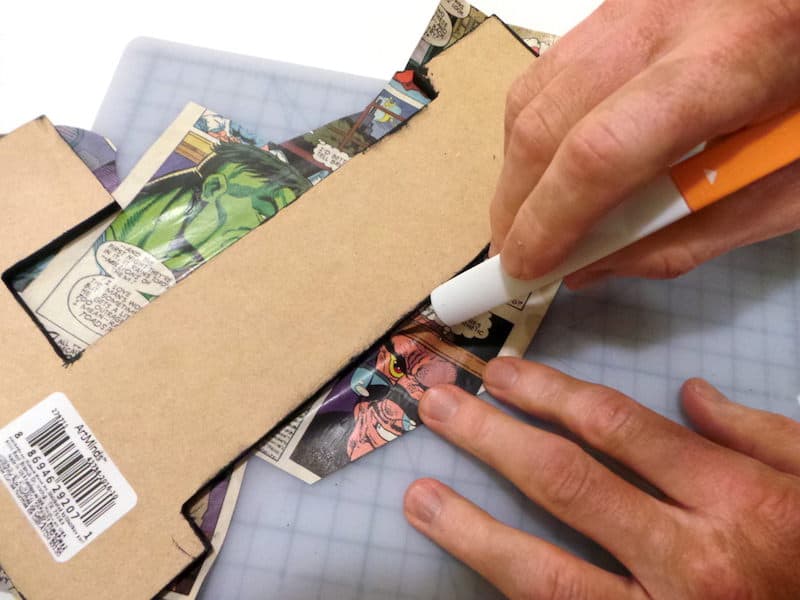
- Flip the letter over onto a craft mat and use a craft knife to trim off the excess.
- Add a coat of Mod Podge on top (or two) to seal your letter. Repeat steps 1 – 5 with the other letters.
- Once the letters are complete and dry, hang them to the wall with Command strips.
If you like this craft leave me a comment! Plus take a peek at these other craft ideas:


So pretty!
This is great! Thanks for the directions. However i only have a inkjet printer. I still want to try it out! ❤
Just spray seal them on both sides and let the printouts dry overnight! You can use a clear acrylic sealer or even hairspray. Mist it on the paper, both sides, then let dry.
I love this and plan to try on my own very soon. LOVE IT!!