
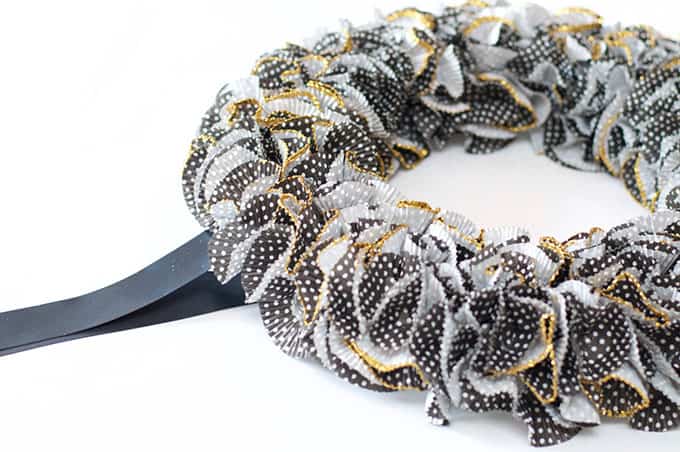
In under a few hours you can have a DIY Halloween wreath made with cupcake liners that will put others to shame. It’s so simple – only four steps.
Halloween is just around the corner and I wanted to get started on a couple projects for the house early. My first project was a cupcake liner Halloween wreath!
Halloween is one of my favorite holidays to decorate around. I try not to go too spooky since I have three little boys. But I do add some spiders and bats around the house (maybe even a skull or two). I wanted to make a new cupcake liner wreath, last year I attempted my first and I LOVED it.
These wreaths are so easy to make (under a few hours), since then I’ve made one for every holiday but giving each one a new spin.
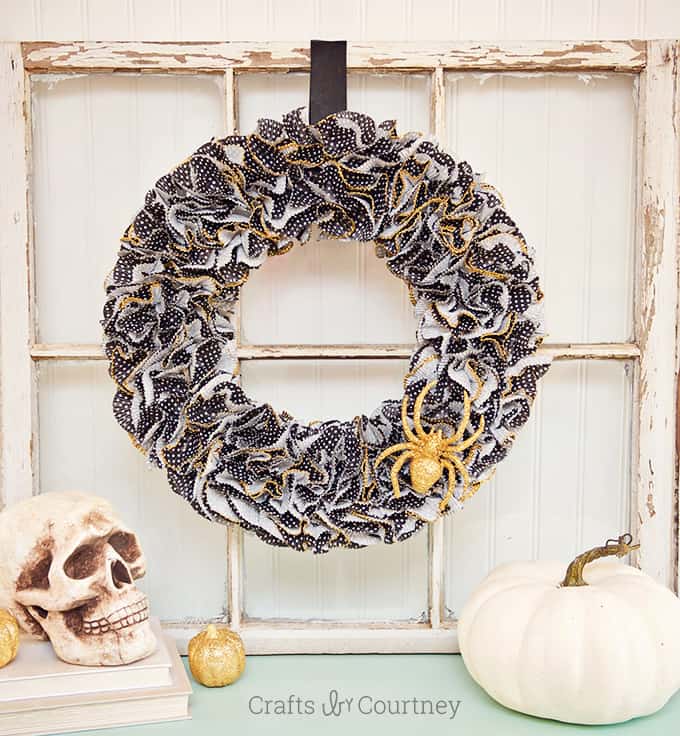
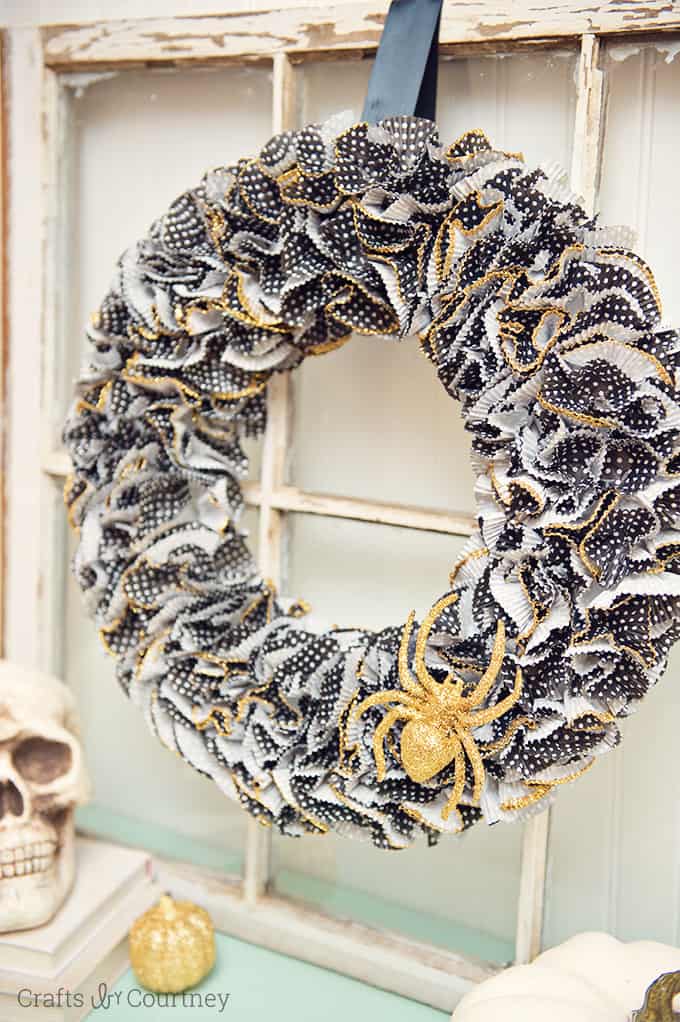
This Halloween wreath looks perfect on my entertainment center. I added a couple more spooky touches to the area and now I’m one step closer to finishing my Halloween decor early.
This time I pulled out my “trusty” Mod Podge to give it a cool glittery effect. Learn how to make this dollar store Halloween craft below!
Gather These Supplies
- Mod Podge Matte
- Glitter
- Foam Wreath Form
- Push Pins
- Ribbon
- Cupcake Liners
One of my favorite parts of this Halloween craft is that it’s a pretty inexpensive project. I usually find my packs of cupcake liners on sale for $1.00 each.
Each package has 100 liners, and I always use about 300 liners for my wreaths. Not too bad for a holiday wreath! Way cheaper then going out and buying one new.
Get the printable how to card below:

Halloween Cupcake Liner Wreath
Equipment
- Wreath Hanger
Materials
- Mod Podge Matte
- Glitter
- Foam Wreath
- Push Pins
- Ribbon
- Cupcake Liners
- Fake Spider
- Craft Glue
Instructions
- Flip a cupcake liner inside out, and then put a push pin through the middle.
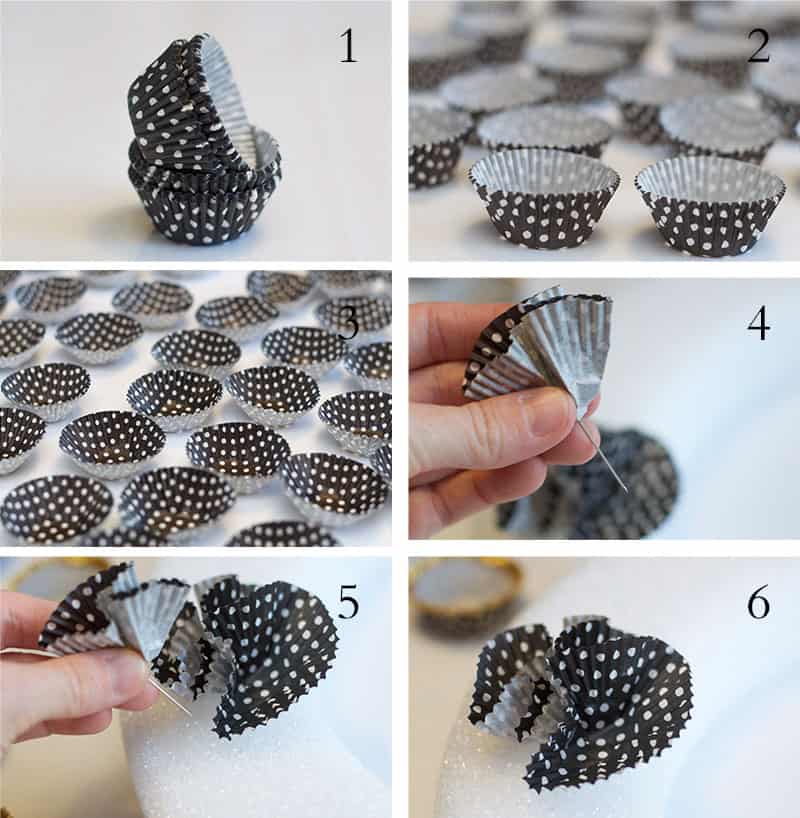
- Fold up the sides of the liner and place it into the foam wreath. Repeat, randomly placing the liners into the wreath form with pins. Do this until the wreath is about half full.
- To add glitter to some of the cupcake liners, fill a bowl with Mod Podge and a bowl with glitter. Place some of the liners' edges into the Mod Podge and then into the glitter. Set aside to dry.
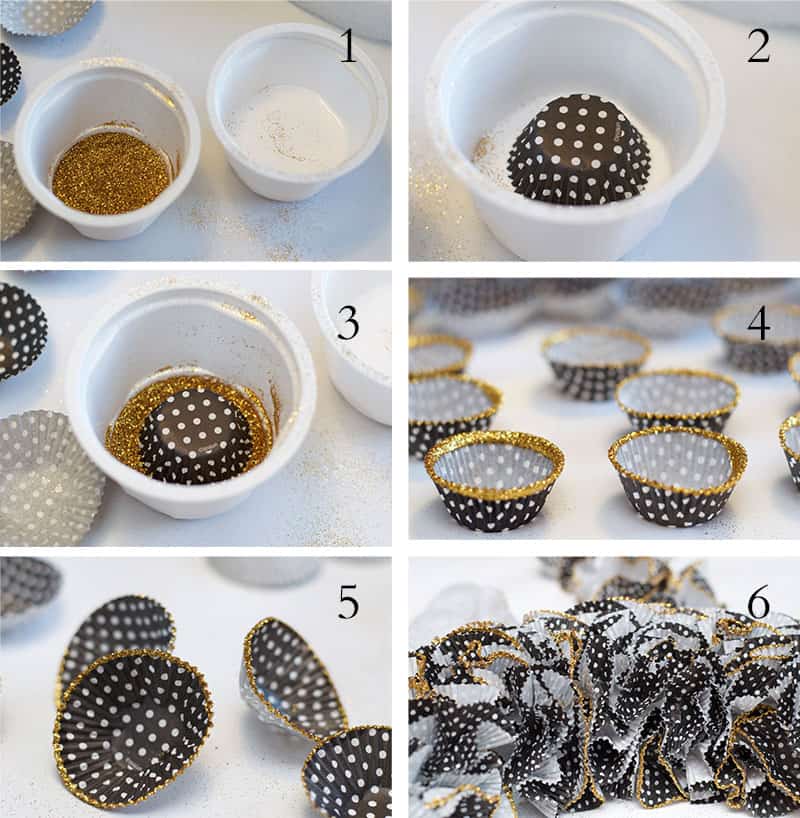
- Once dry, continue to add the liners to the wreath with pins until you’ve filled out the wreath. Leave a little space at the top to add the ribbon.
- Add ribbon with some push pins, then add liners over the top to fill in bare spots.
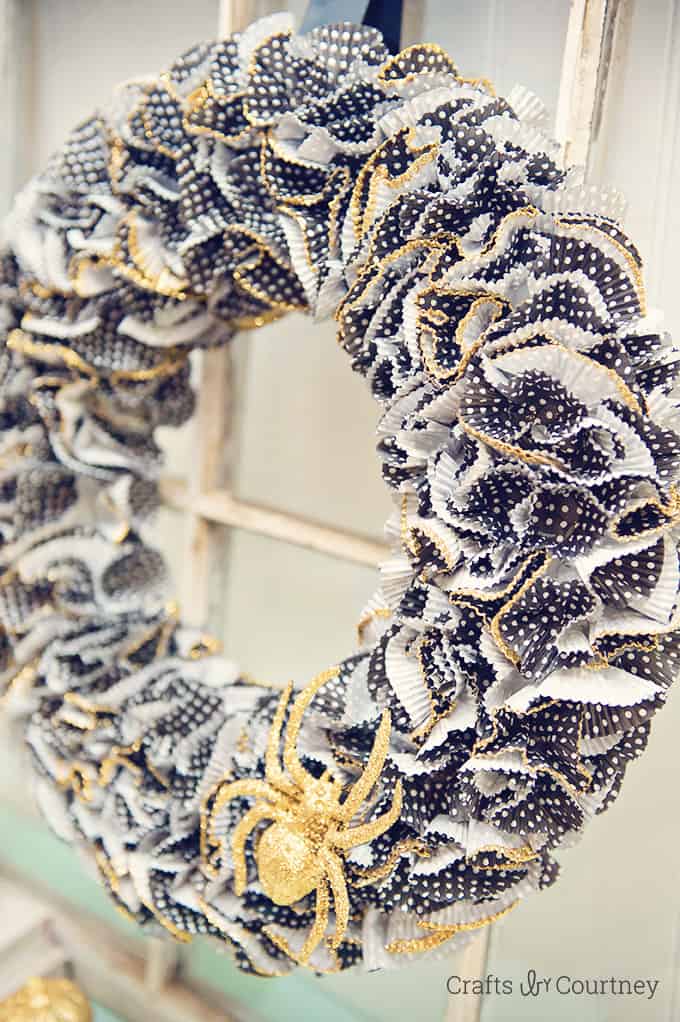
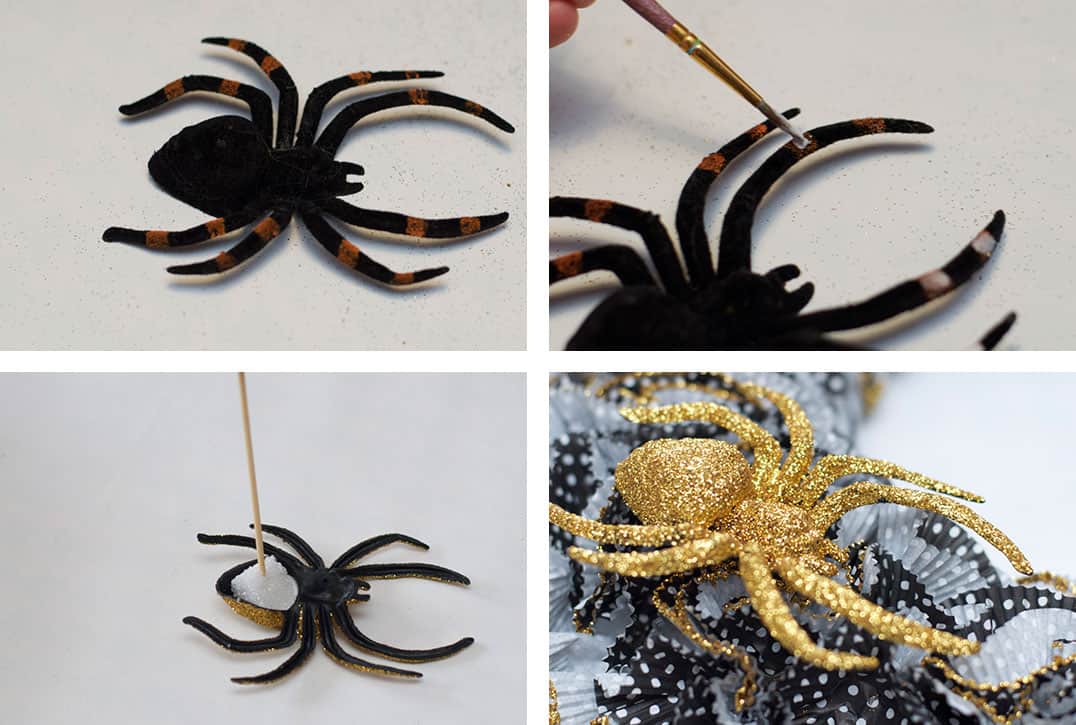
- Cover the fake spider in Mod Podge. Sprinkle glitter over the top and let dry. Touch up any areas with Mod Podge and glitter.
- Let the spider dry completely, then glue a piece of foam inside. Use the foam to pin the spider to the wreath form (so that it stays on).
- Let the wreath dry completely; hang with a wreath hanger.
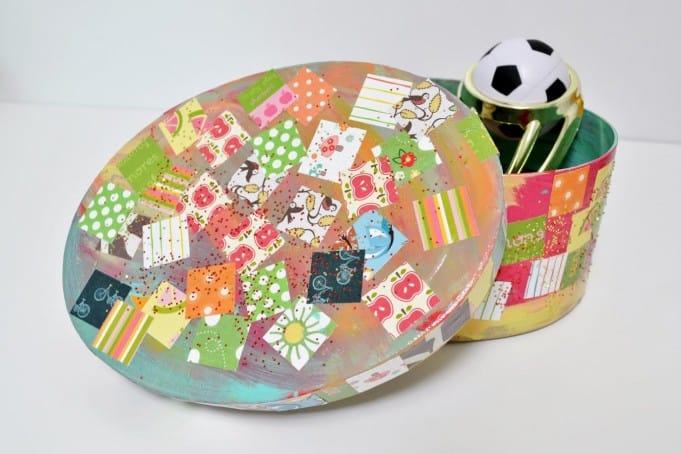
I hope you loved this craft. If you’d like to get more craft project ideas and inspiration, be sure to check out the following posts:
BOO Letters • Button Art • Cheesecloth Ghost • Coffin Tray • Decorating Wood Cutouts • Decorative Blocks • Halloween Ornaments • Mason Jar Lanterns • Mummy Luminaries • Paper Cones • Potion Bottles • Spooky Candle Holders • Spooky Pumpkins • Wall Decor • Window Art • Witch Hat Garland


Ilovit Very Beautiful
what size in diameter is your foam wreath
This post was done a long time ago (and updated) so I believe it was 10 – 12″!
I love this Halloween wreath, especially the gold, glittering edges.
want to try this for Christmas!
Love this and can’t wait to do!!
Oh my! This is so pretty! I love it!
What a great idea! I love the way this turned out. I’m definitely going to be digging through my stash of cupcake liners to make my own wreath. 🙂
This wreath is gorgeous! You did an amazing job!
Paige
https://www.thehappyflammily.com/