Learn to make (and decoupage) unique DIY wood coasters from a downed tree limb! These make interesting home decor or a perfect gift idea.
Skills Required: Advanced Beginner. The only reason I use the word “advanced” is because you’ll need to know how to use a saw for this project. It can be difficult to cut straight wood slices if you’re a novice.
Ever looked at a downed tree limb and thought, “Hey, that could be my next home decor masterpiece”? No? Well, after this project, you just might.
These DIY wood coasters are a creative way to bring a touch of nature indoors while flexing your crafty muscles. Plus, they make a fantastic conversation starter. How many people can say their coasters used to be part of a tree in their backyard?
This project is perfect for anyone who loves rustic decor, appreciates handmade gifts, or just enjoys a good excuse to break out some power tools.
It’s got that perfect mix of rugged and refined—natural wood slices paired with layered, decoupaged designs that add a personal touch.
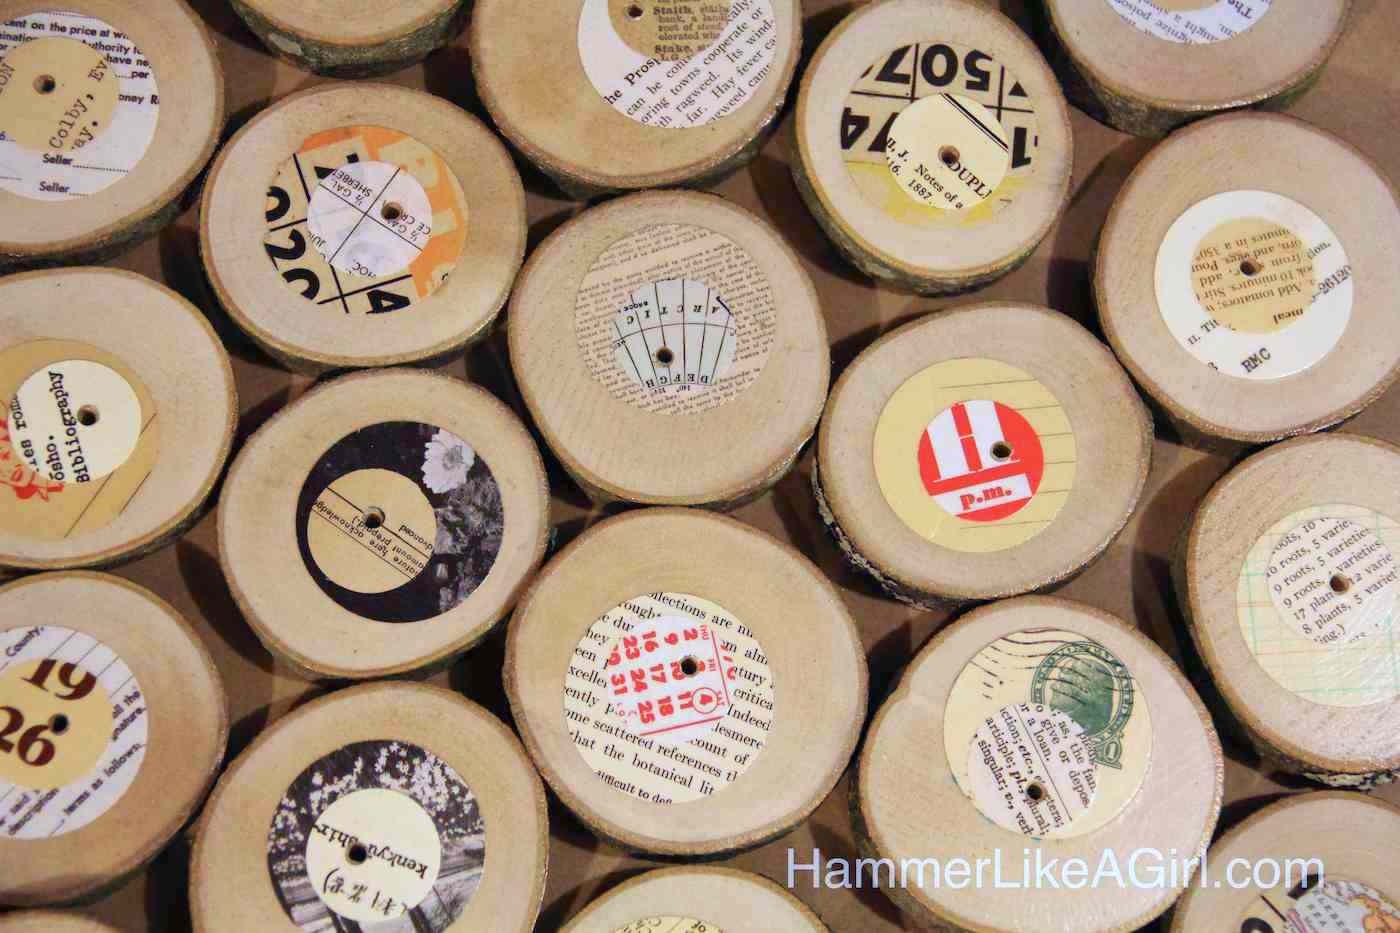
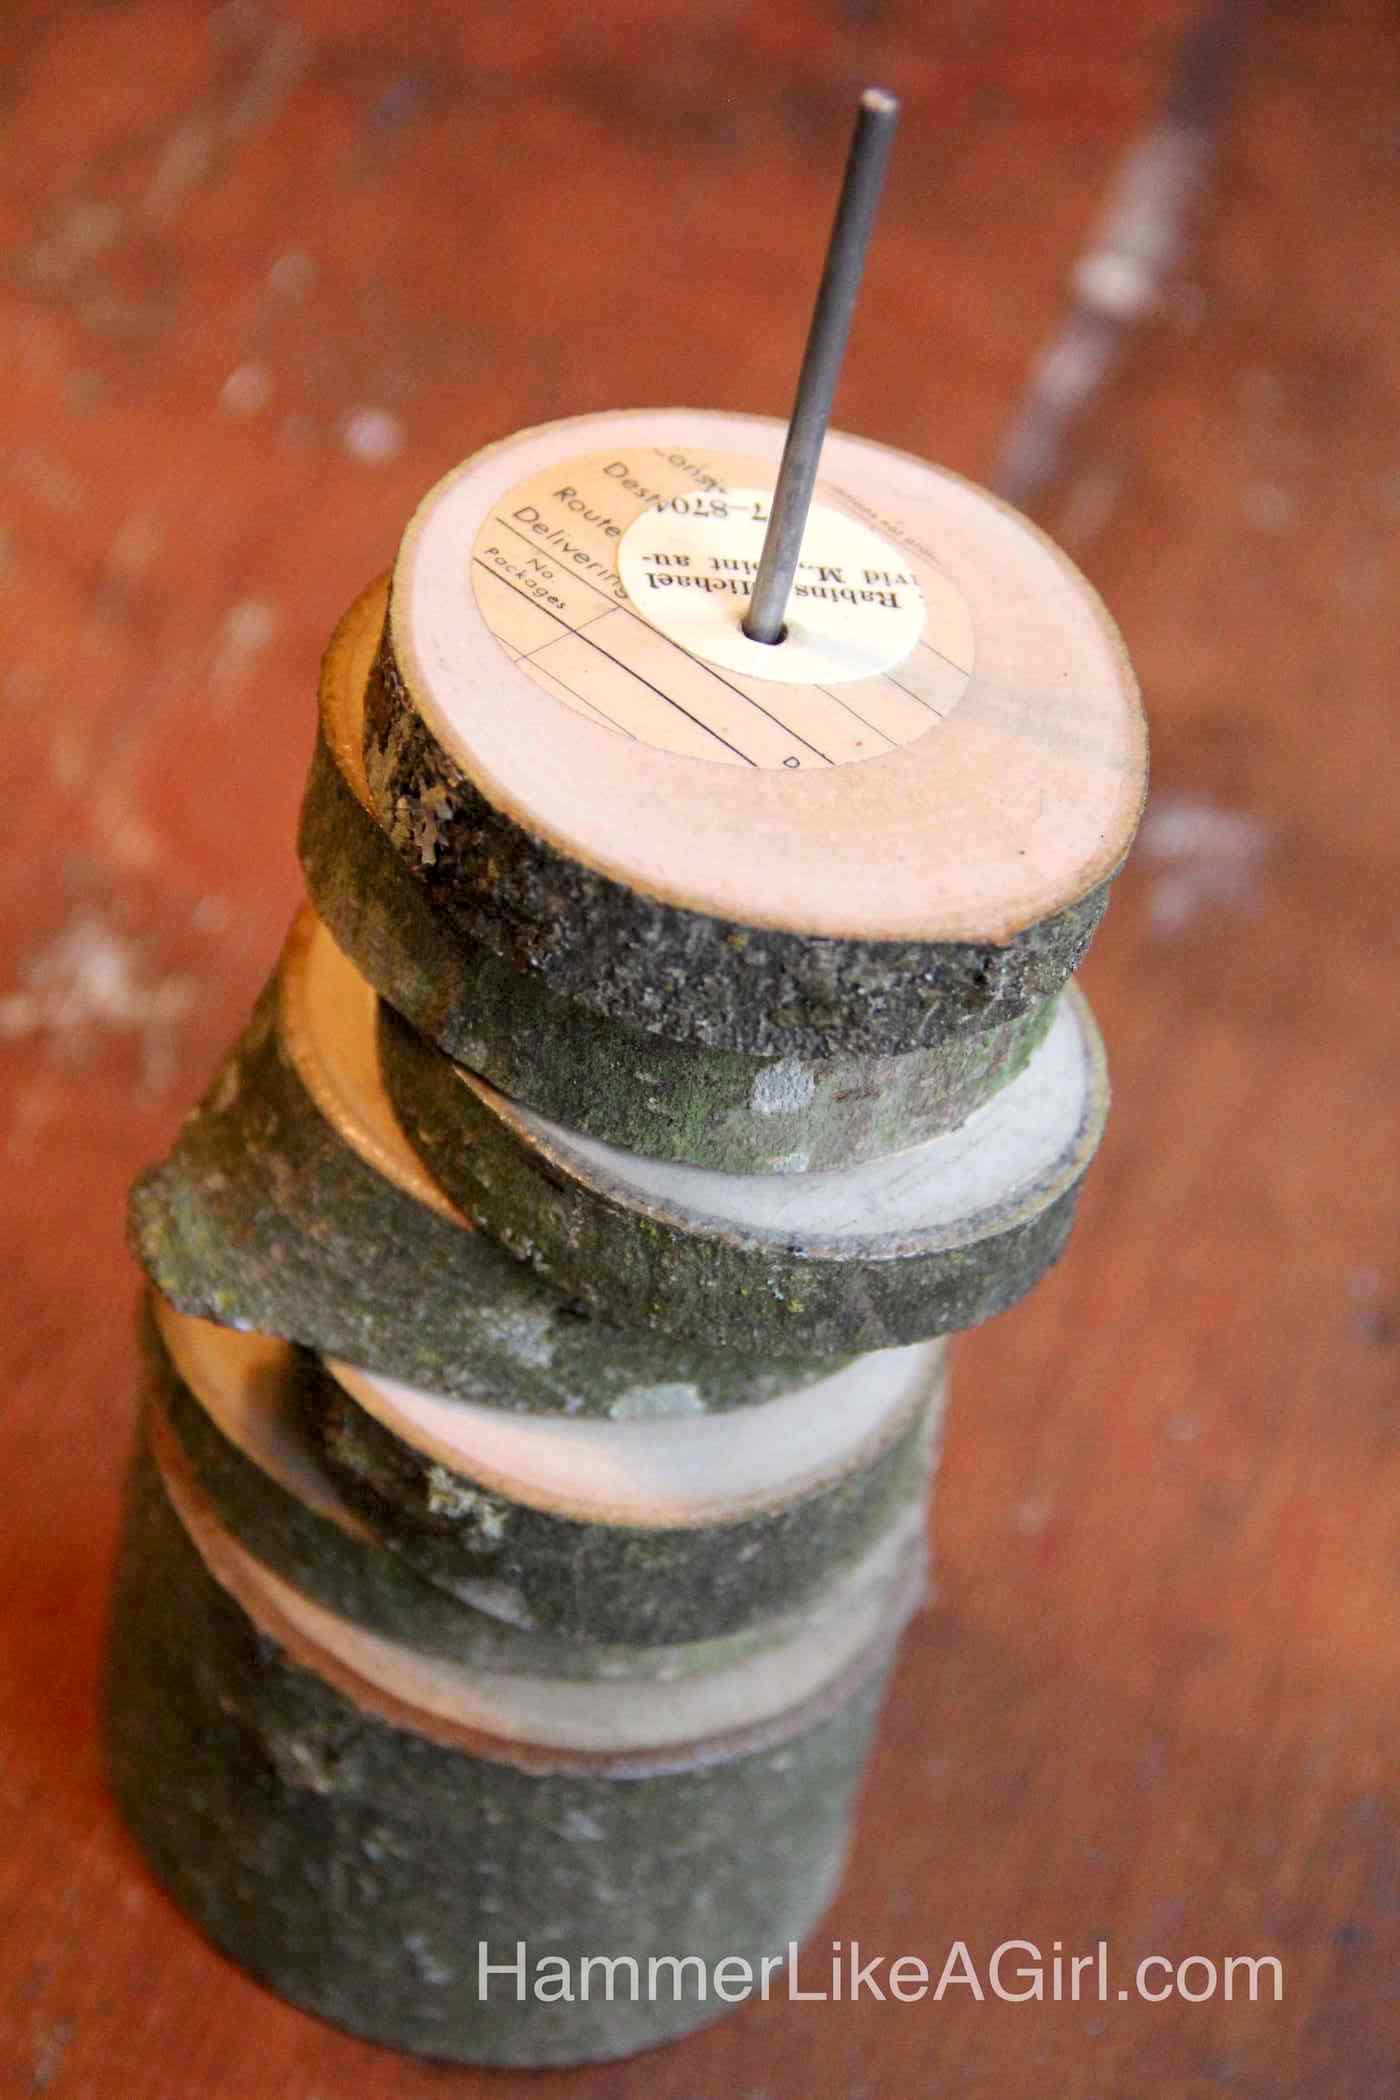
You can go classic with vintage book pages, artsy with colorful patterns, or even sentimental with old maps or meaningful quotes. The end result? A unique set of coasters that look stunning stacked on your coffee table, almost like a mini tree sculpture.
Fair warning: cutting even slices takes a little practice, so if you’re new to saws, take your time. But trust me, it’s worth it! Ready to turn a simple tree branch into a statement piece? Let’s get crafting.
NOTE: Dry time after cutting the branch can take weeks. Make sure to completely read the printable instructions below before beginning:

Make Coasters Out of Wood
Equipment
- Saw
- Sander
- Drill and drill bits plus 1/8" and 3/32" drill bits
- Hacksaw
- Hammer
- Circle punch(es) 2" and 1"
- Hole Punch 1/8"
Materials
- Branch about 4" diameter
- Ephemera
- Mod Podge Hard Coat
- Satin Varathane
- 1/8" steel rod
Instructions
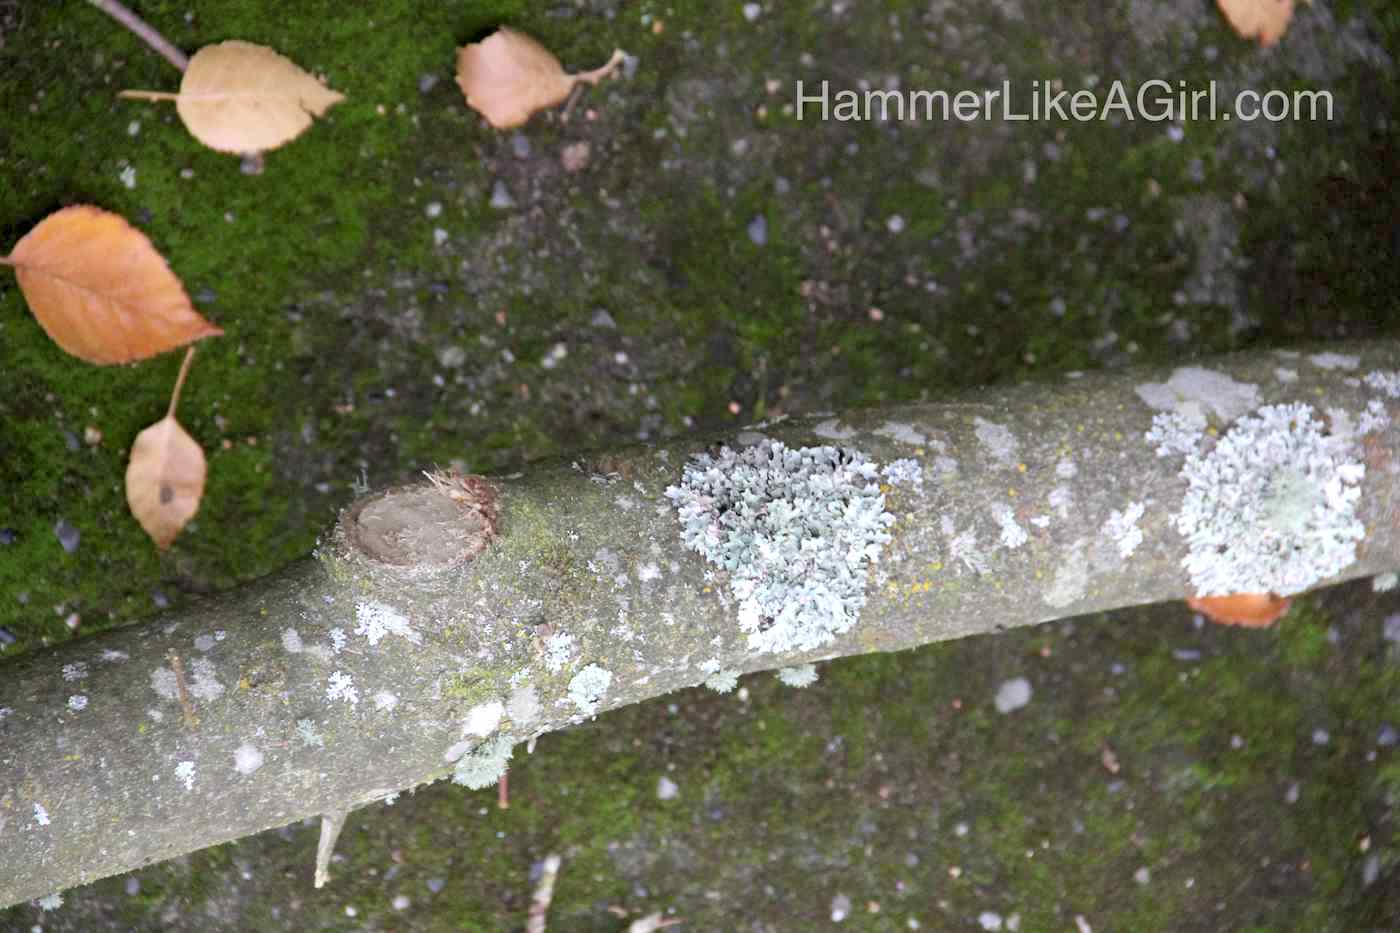
- Find a branch. You're looking for something that is going to have the right diameter, depending on the size you like. I'd recommend at least 4 inches.
- Cut your branch into approximately 1/2" slices using a saw. To make your slices somewhat consistent, mark your width of your cut by putting a piece of tape on your saw.
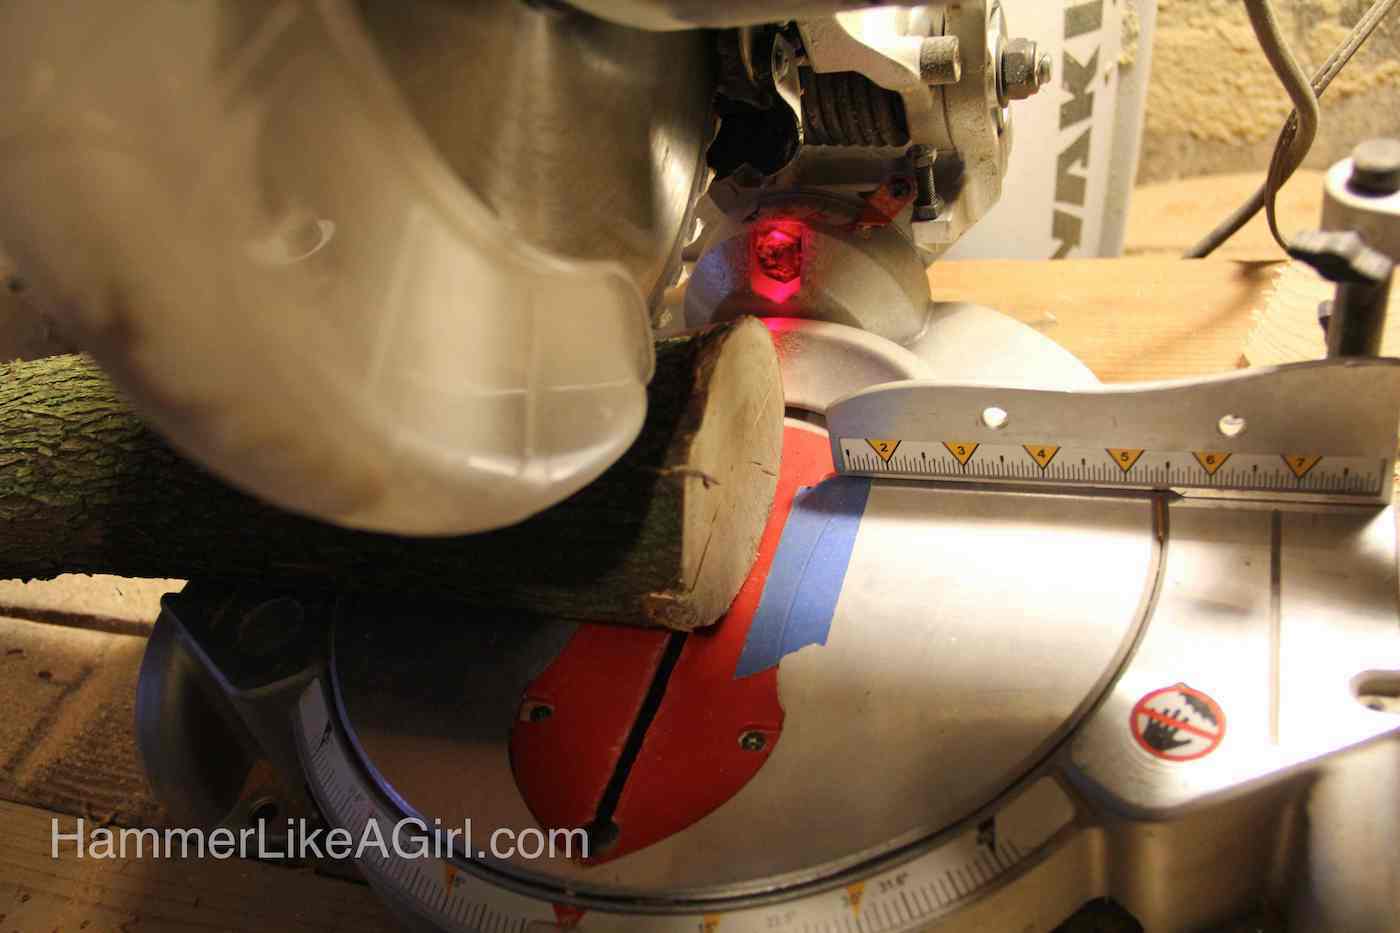
- To make your base, cut one slice thicker than the coasters – around 2" – 3".
- Let your branch slices dry. We put them on a rack for about 2 weeks.
- Drill holes in the approximate center of each slice of wood. Try to vary the placement of the holes slightly; they look better when the edges of the stack aren't perfectly aligned.

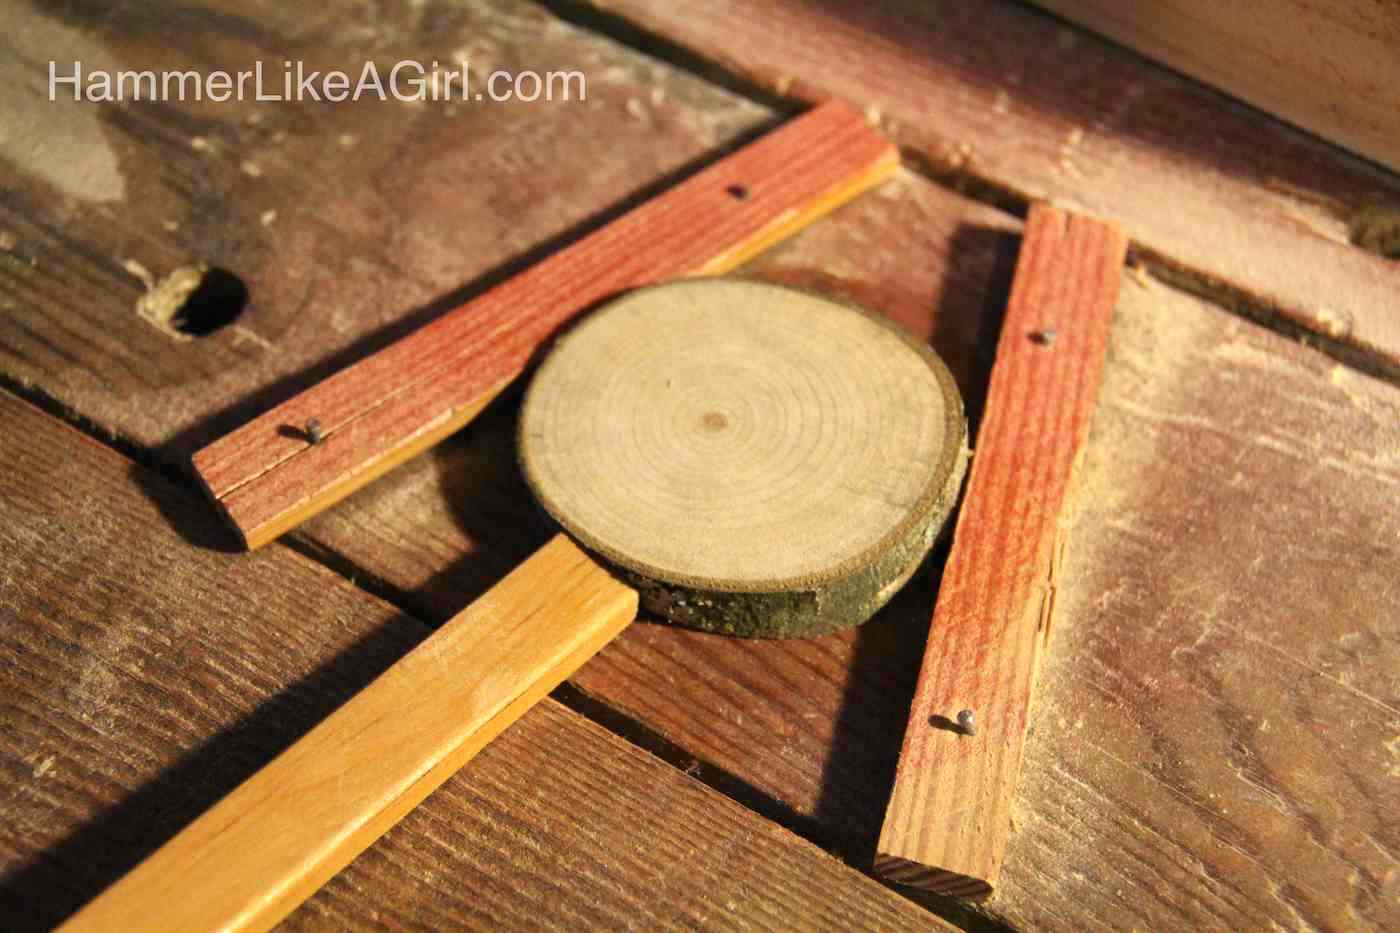
- Sand your wood slices. You can make a simple jig with pieces of wood to hold the slices in place if you're using a sander.
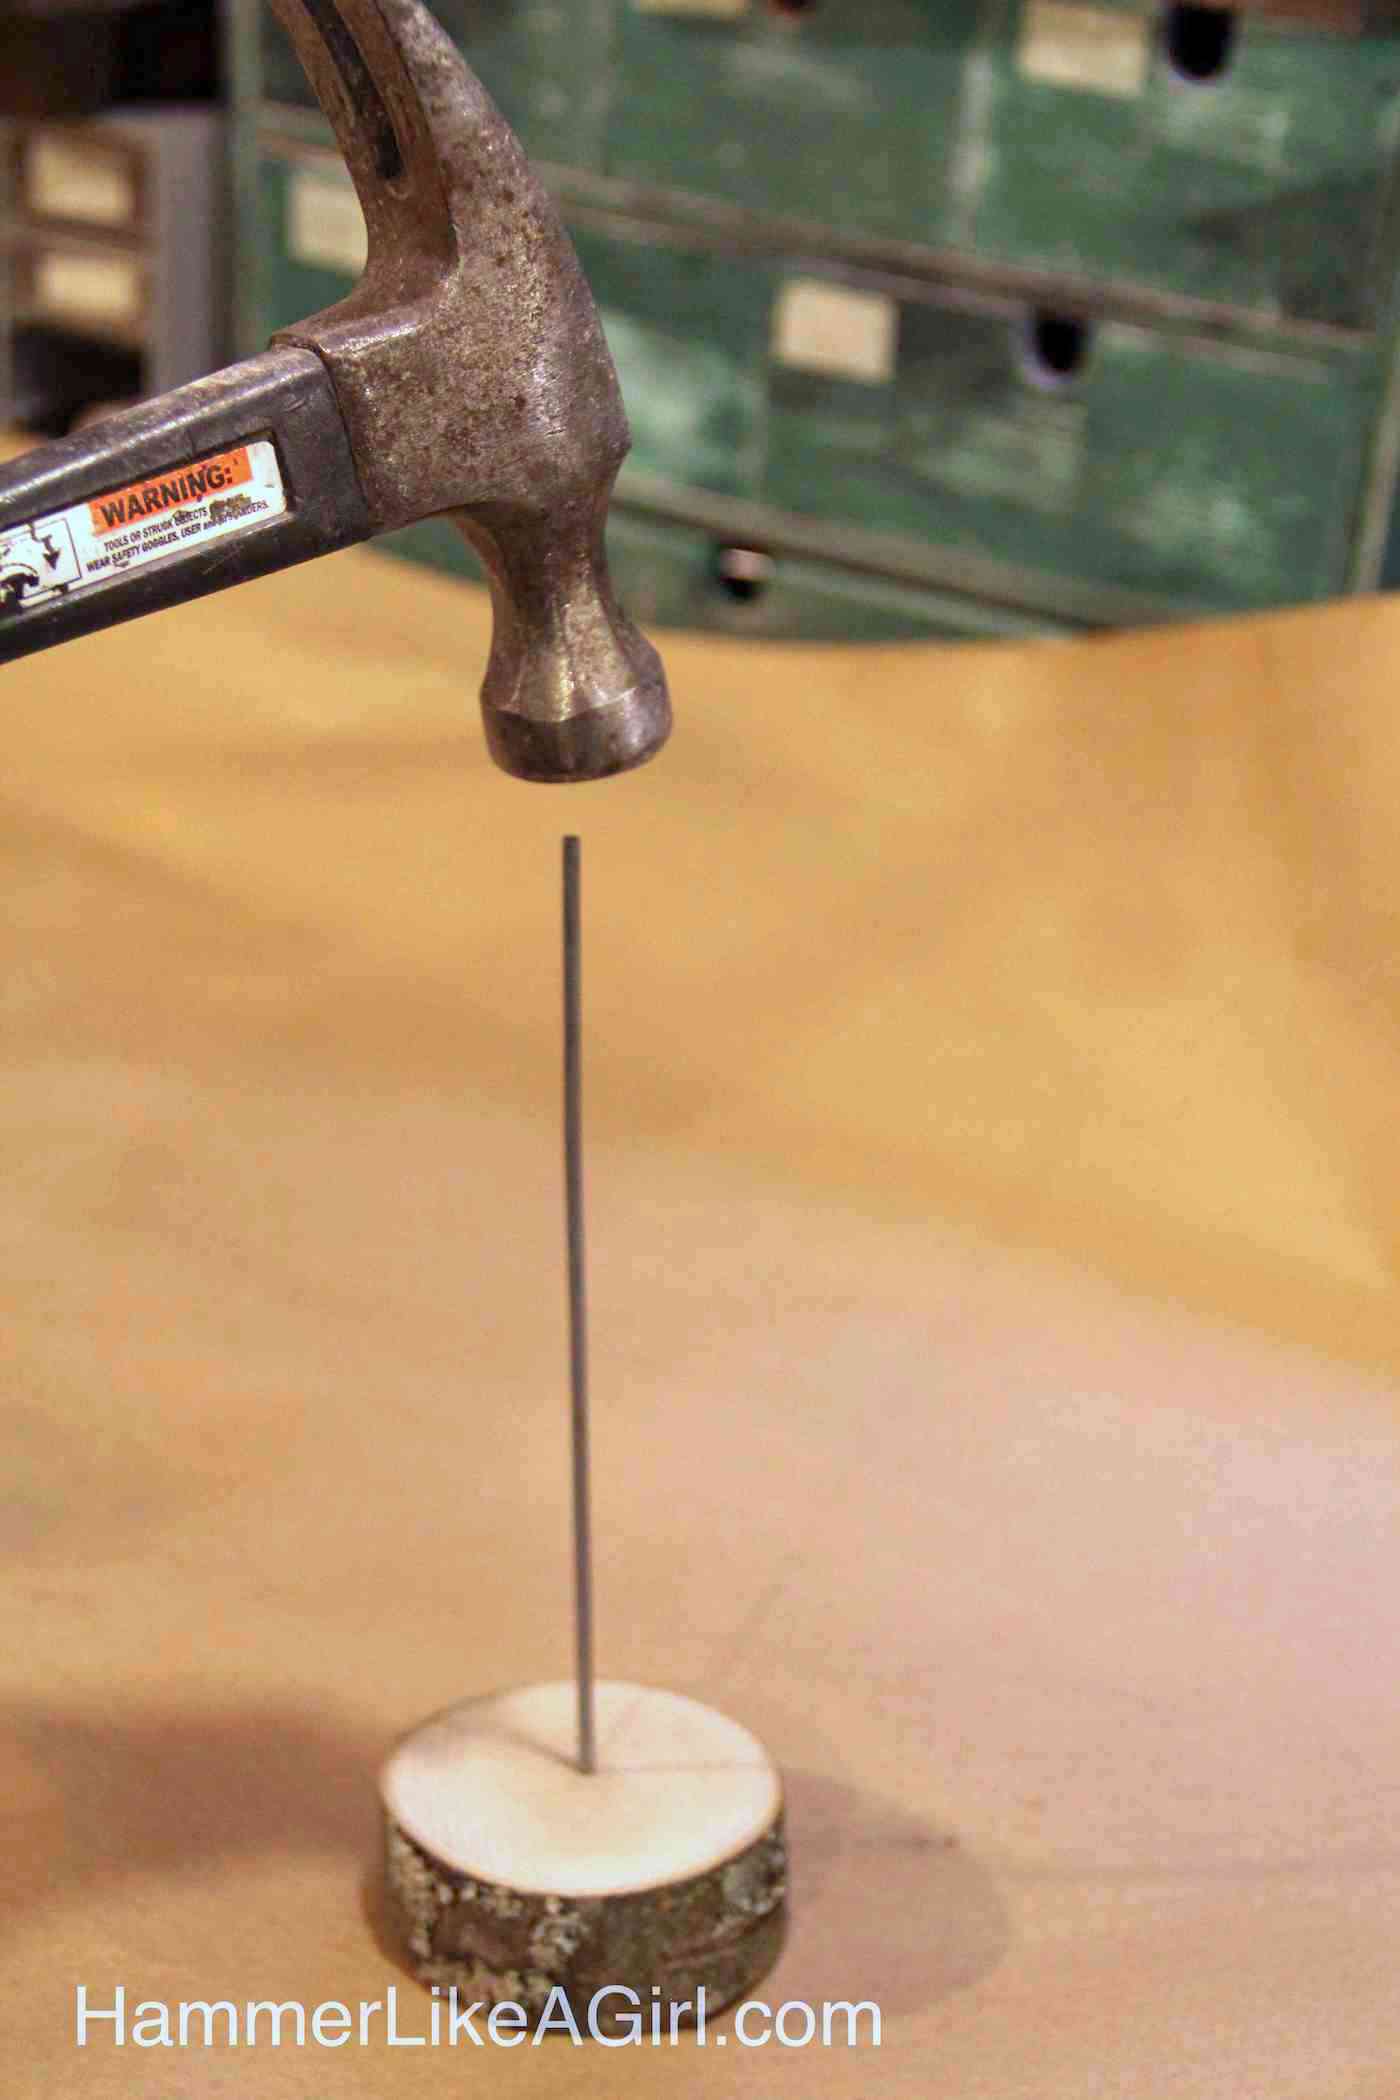
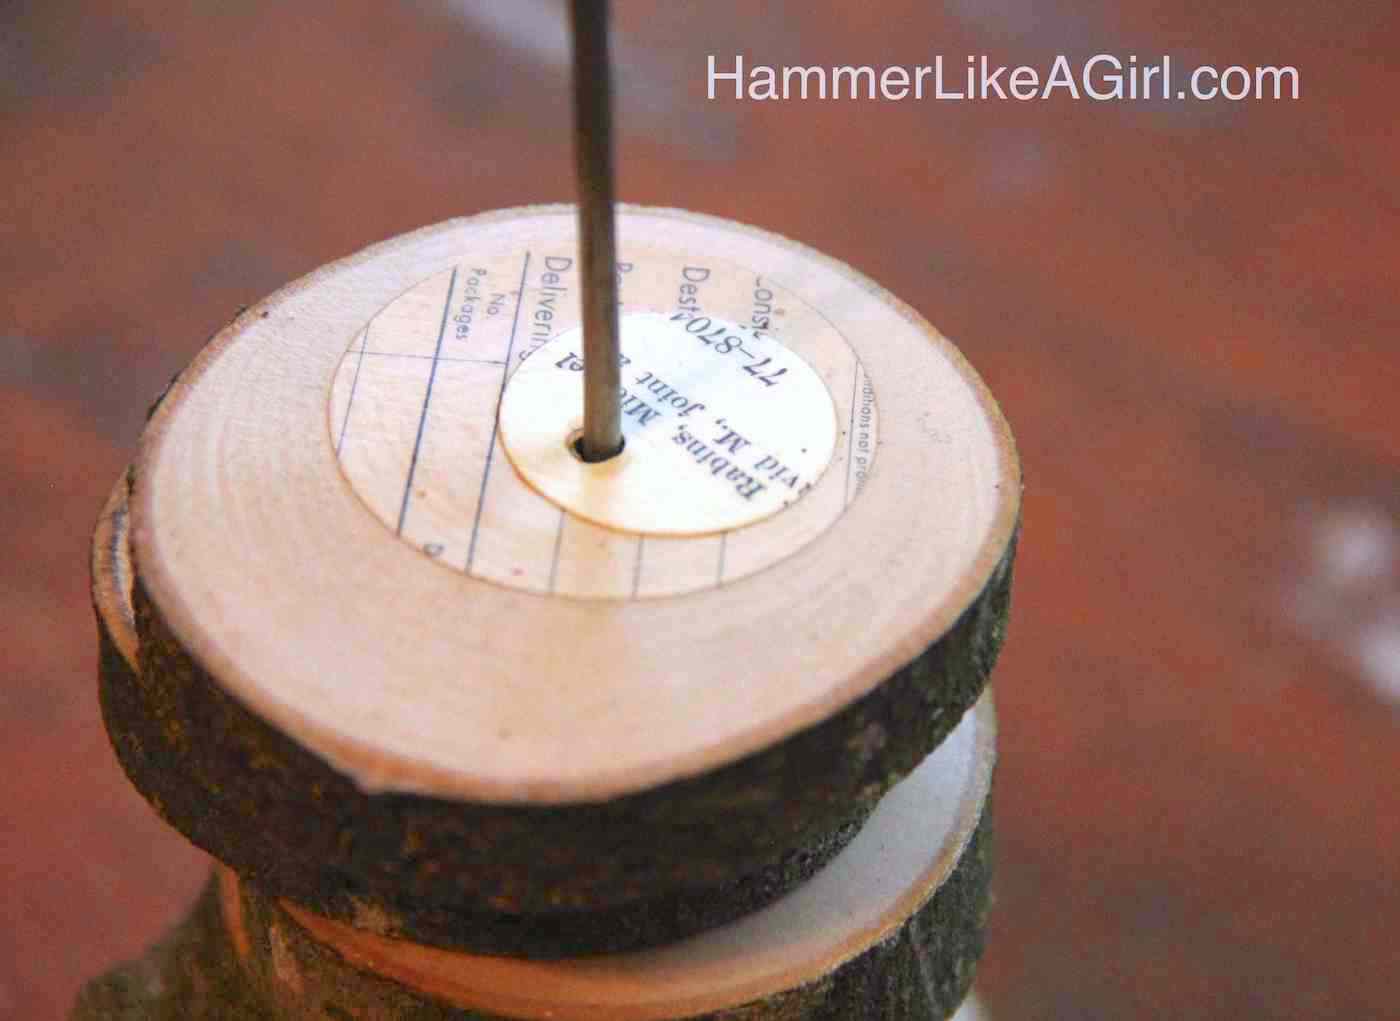
- To make the base, drill a hole with the 3/16" drill bit (slightly smaller diameter than your steel rod) in your base piece of wood. Do not go all the way through.
- Cut your steel rod to correct length with a hacksaw. Use a hammer to pound the steel rod into the base. The fit should be tight.
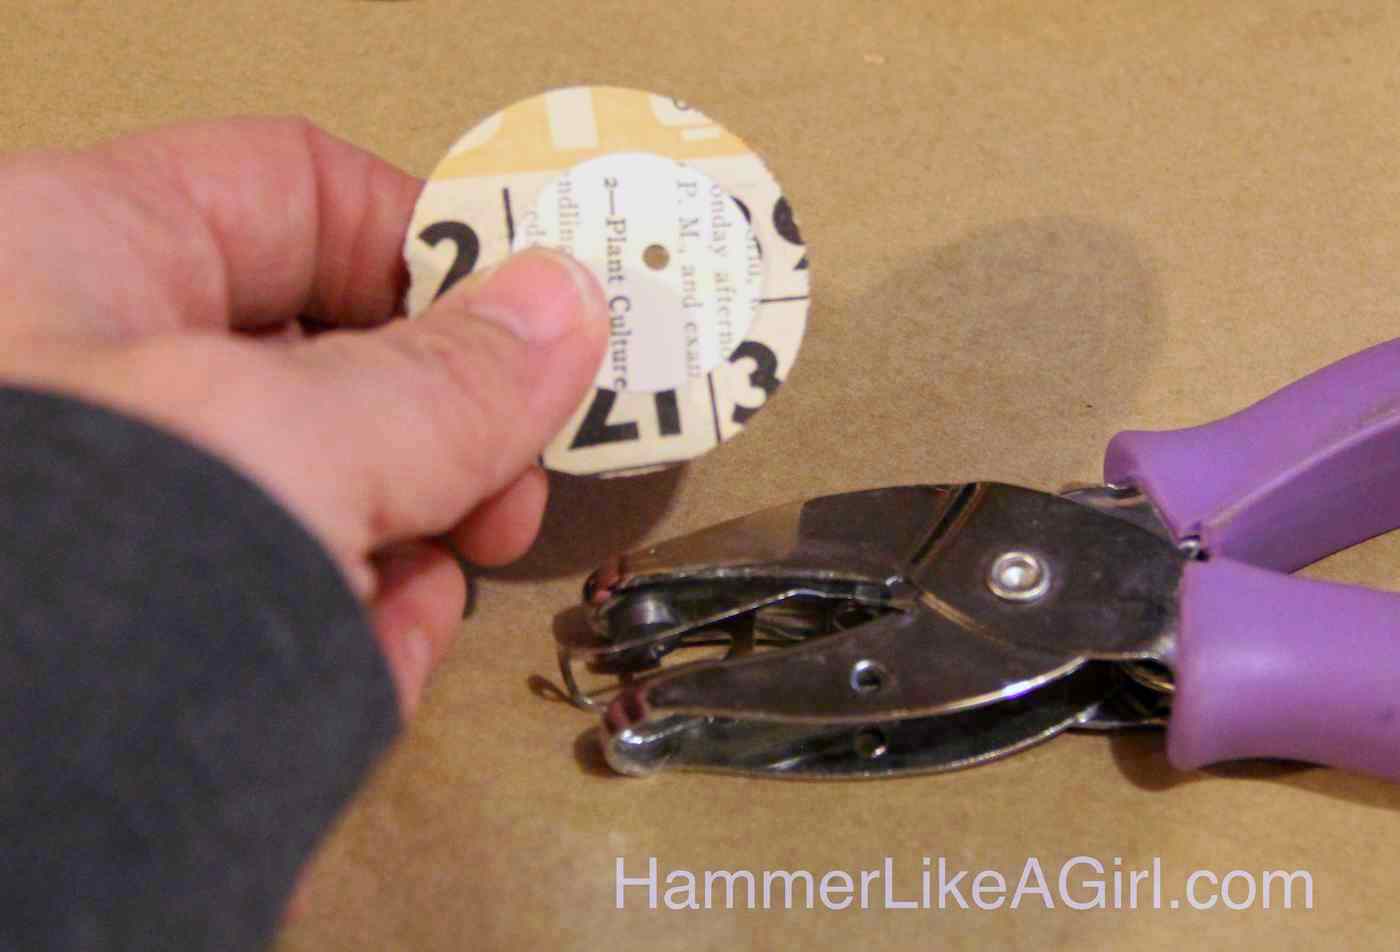
- Punch out a variety of paper options with your 2" and 1" punches and arrange in pleasing combinations.
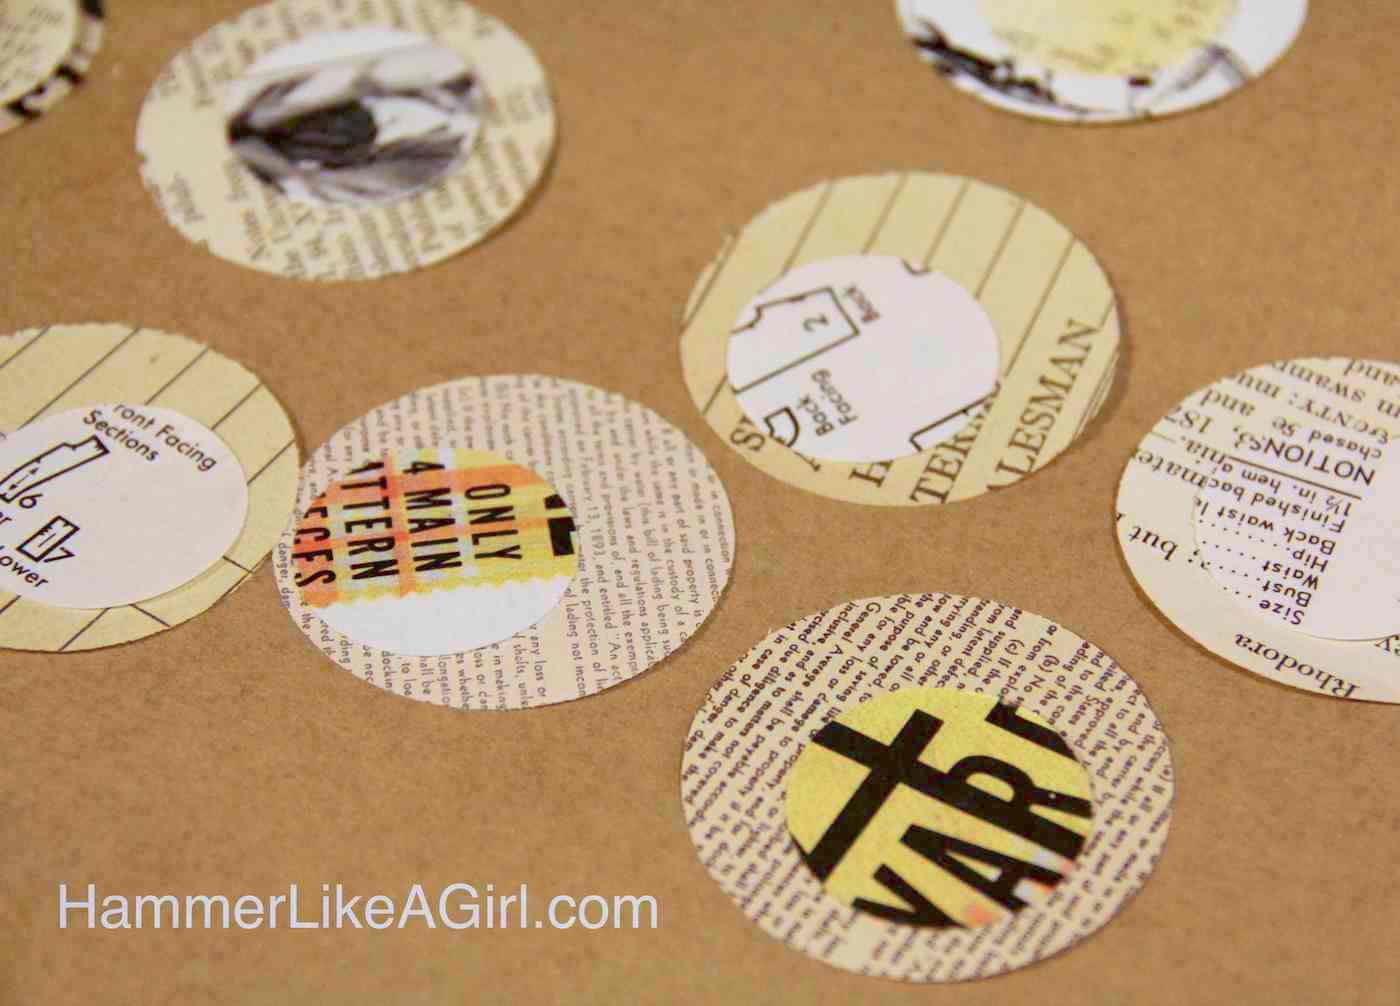
- Use the small 1/8" punch to make a hole in the approximate center of the paired circles.
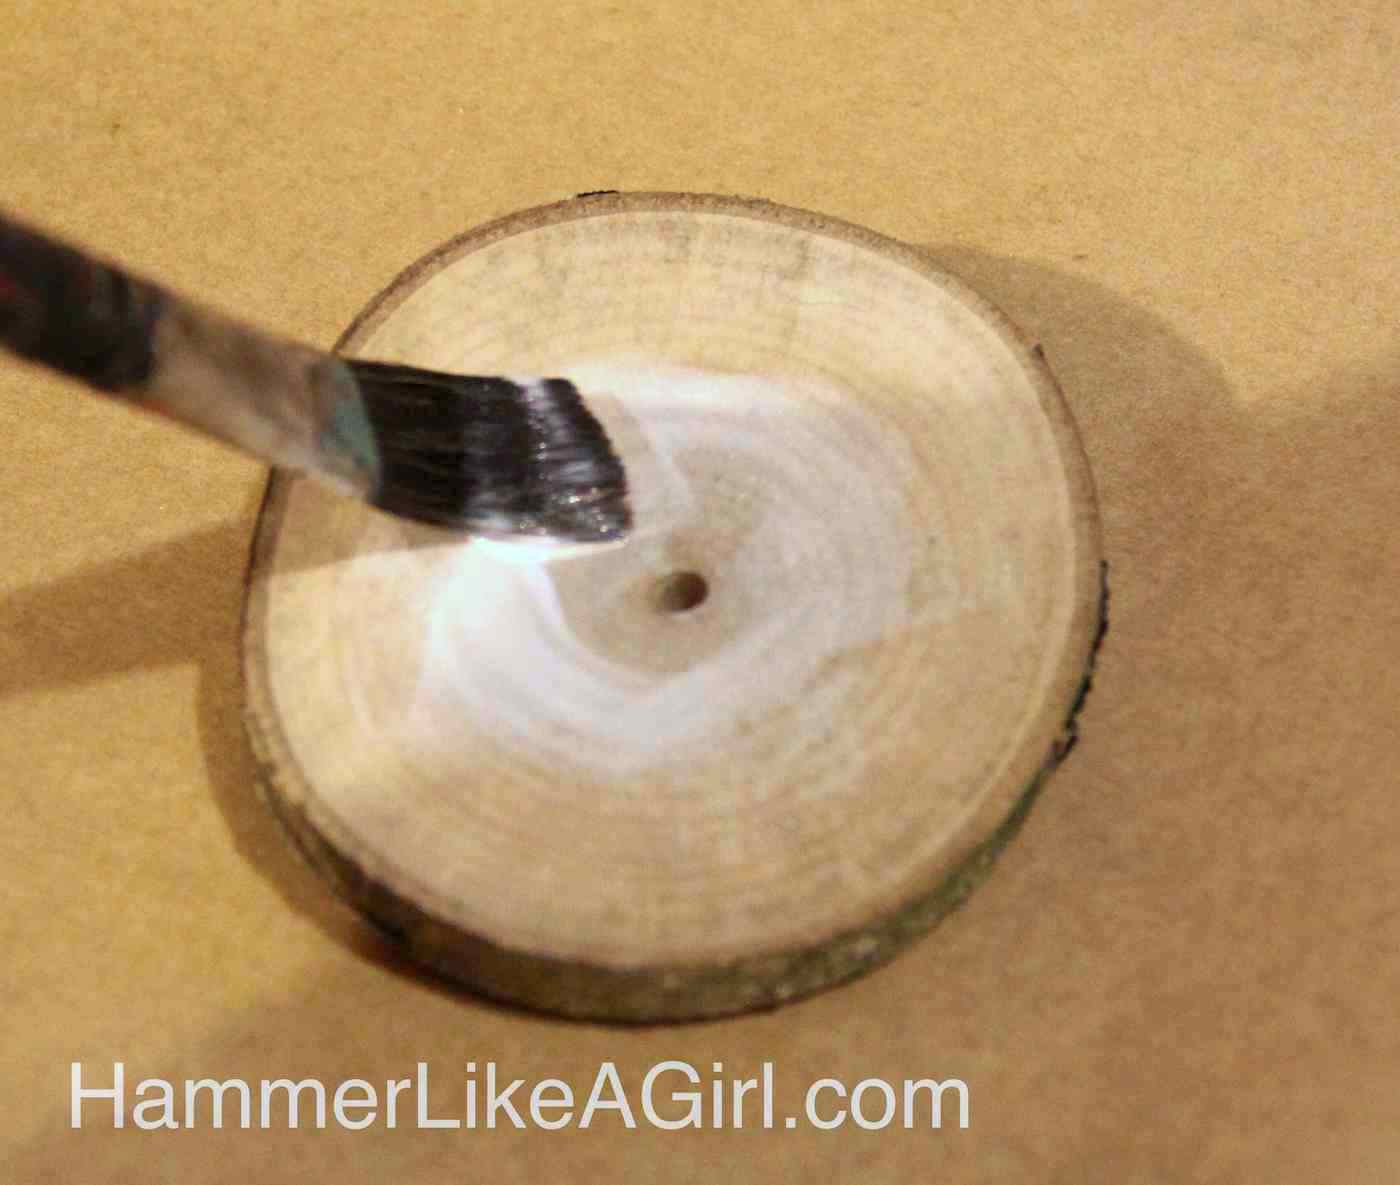
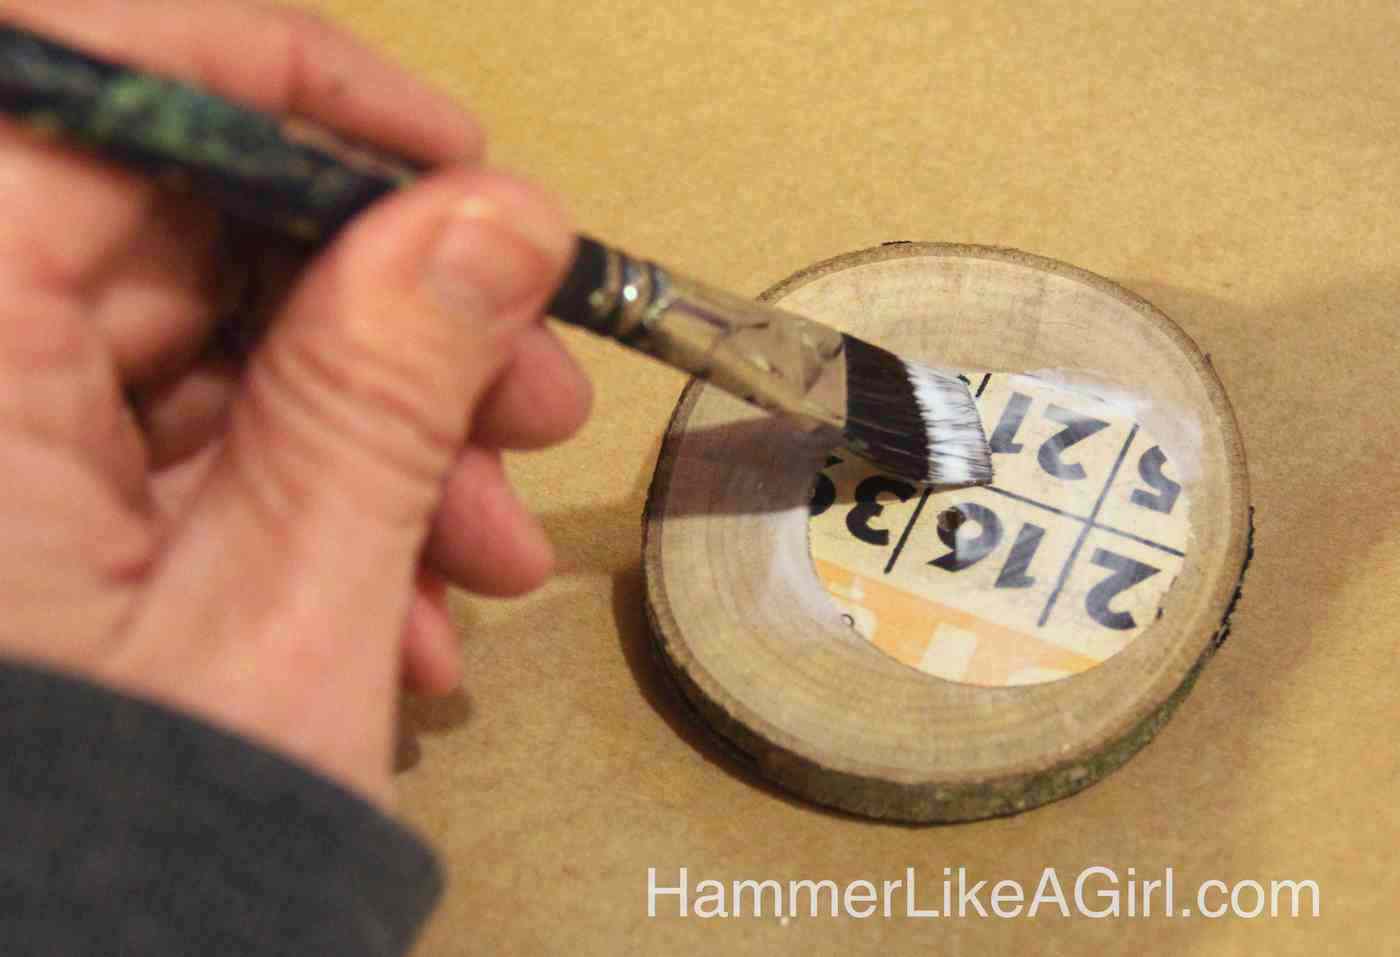
- Brush Mod Podge onto a wood slice. Place the circles down on top of the wood slices, aligning the holes. Apply Mod Podge on top and let dry.
- Apply more Mod Podge, coating the entire surface of the coaster. Let dry.
- Let dry thoroughly and then apply a clear polyurethane coating over the top of the Mod Podge to provide a hard finish.
Notes
Enjoy your new wood coasters that double as art! Don’t forget to visit some of our other coaster projects:
Comic Book • Confetti • Cork • DIY Tile • Glitter • Glitter Resin • Kids Art • Lace • Mod Podge • No Sew Fabric • Photo • Resin • Resin Geode • Scrabble Tile • Wood Slices