
Make adorable DIY garden markers with mason jar lids, Mod Podge Outdoor, and a free printable. Perfect for adding charm to your garden!
Skills Required: Beginner. It helps to have some experience with regular Mod Podge before trying the Outdoor formula (it’s thicker).

When the warmer weather rolls around, it’s the perfect time to dive into outdoor crafts—and nothing gets me more excited than combining my love of DIY with gardening!
By this summer I’m creating a cozy little garden near my condo patio, and of course, it wouldn’t be complete without some charming plant markers to label my herbs and flowers.
Inspired by a project from The Prudent Garden, I decided to make my own garden markers using mason jar lids, Mod Podge Outdoor, and a bit of creativity.
To make things easier, I’ve even included a free printable template so you can join in the fun!

These DIY garden markers are not only functional but also a delightful way to add personality to your garden.
Whether you’re an experienced gardener or just starting out like me, you’ll love how simple and customizable this project is.
Grab your supplies and let’s get started making garden markers that are sure to brighten up your outdoor space!
Gather These Supplies
- Printer (laserjet preferred)
- Presentation paper – 180 gsm min, or white cardstock to print on
- Garden marker lid template (Download)
- Mod Podge Outdoor
- Mason jar lids – one for each marker
- Floral picks
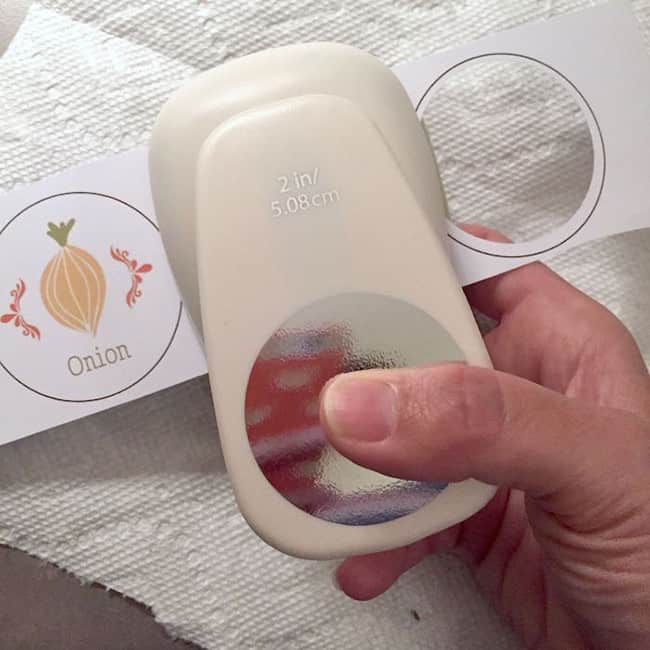
- 2-inch circle punch
- Power punch or hole punch strong enough to make a hole in thin metal
- Scissors
- Paintbrush
Ideally you print your labels out on laserjet – you can also use decorative scrapbook paper. Having said that, if you print labels on inkjet, you’ll want to follow the instructions for sealing here.
I’ve already purchased the plants and can’t wait to get them in the ground and use my markers. They are so fun!
Get the printable how to below:

DIY Plant Markers
Equipment
- Printer and paper laserjet preferred
- Circle punch(es) 2-inch
- Power punch or hole punch strong enough to make a hole in thin metal
Materials
- Presentation paper 180 gsm min, or white cardstock to print on
- Garden marker lid template
- Mod Podge Outdoor
- Mason jar lids one for each marker
- Floral picks
Instructions
- Print out your free garden marker printable on thick paper. Cut into strips and use the 2-inch hole punch to punch the labels of your choice right inside the lines.
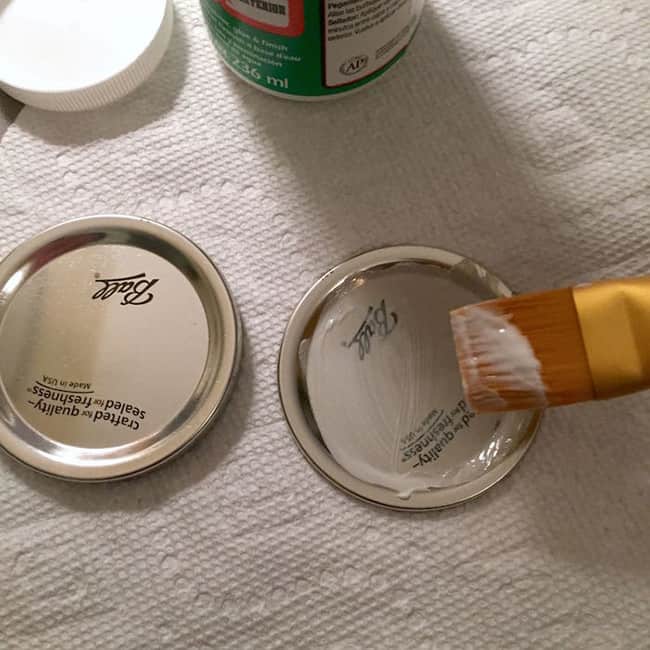
- Place a medium layer of Outdoor Mod Podge on the mason jar lids using the paintbrush.
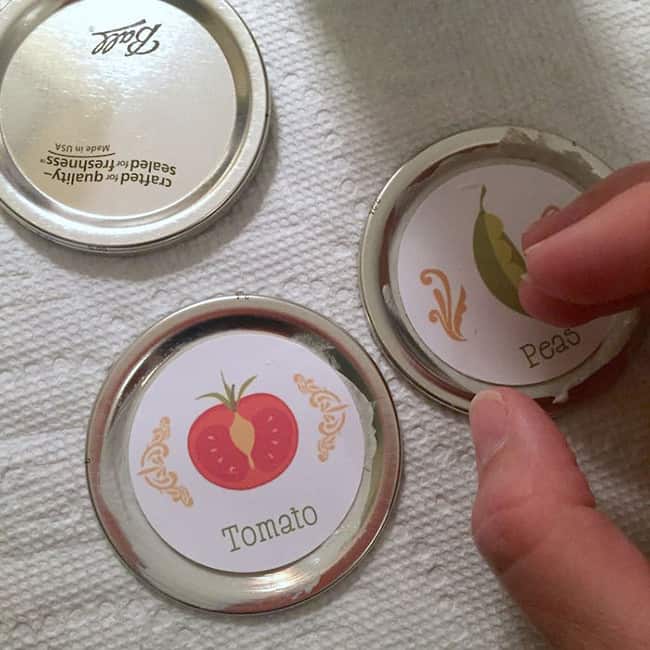
- Press the labels down into the Mod Podge. Smooth and wipe away the excess that comes out the sides. Let dry for 15 – 20 minutes.
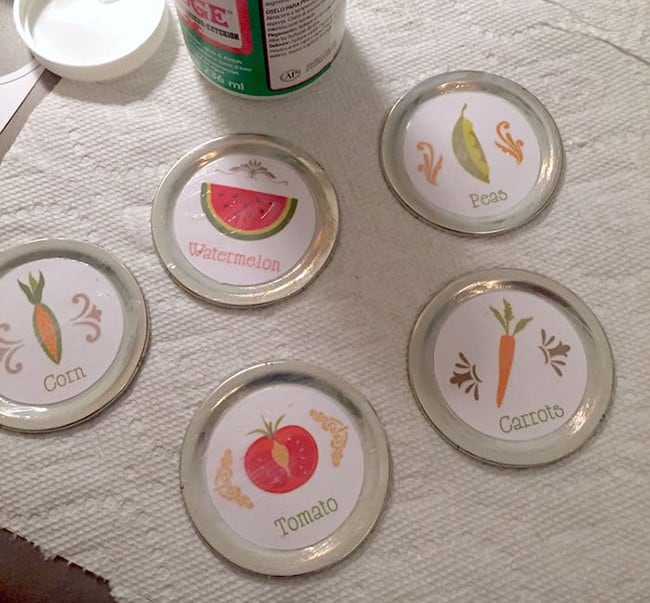
- Give all of the labels a top coat of decoupage medium and let them dry. Then give at least two more coats.
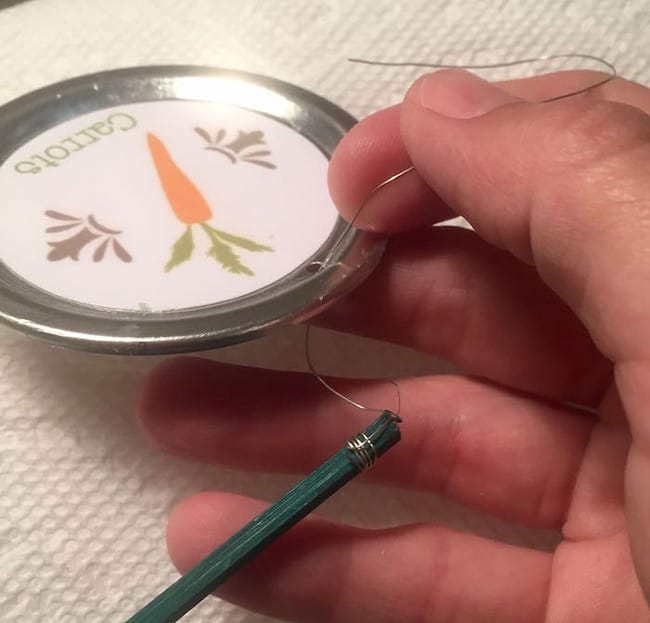
- Use the power punch or hole punch to put a small hole at the top of the plant label. Use the wire from the top of the plant picks to attach the lid to the pick. If the plant picks didn't come with wire, cut a length of wire and wrap to finish.
Notes
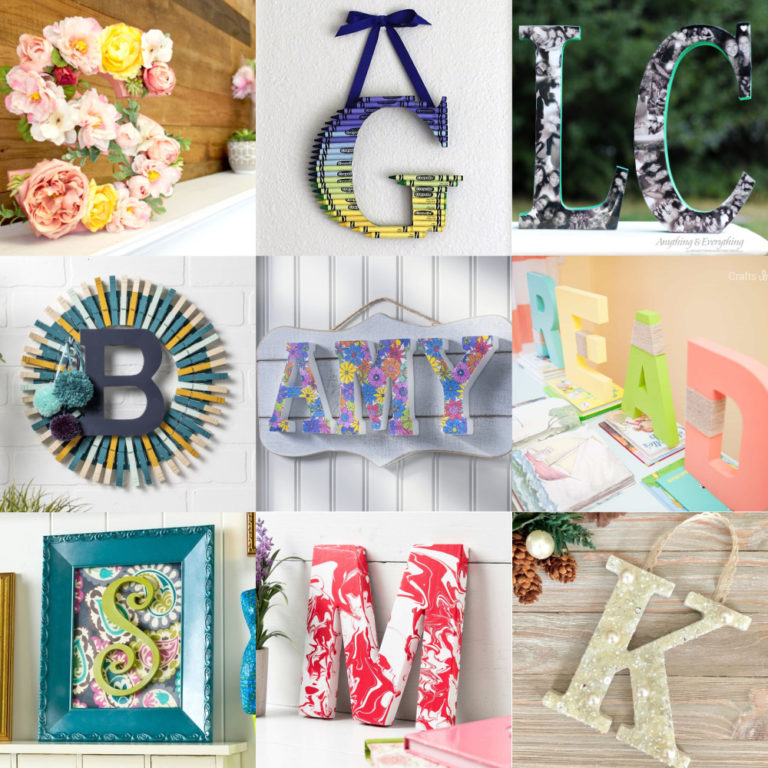
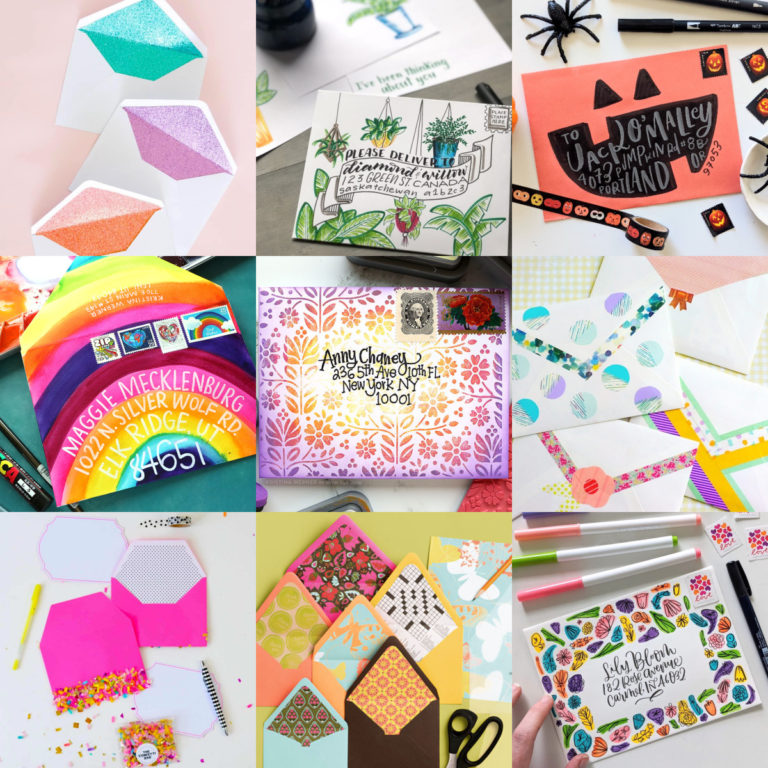
If you enjoyed this tutorial, let me know what you think in the comments! I’d love for you to check out these other spring/outdoor projects:


just found your website and am blown away!
Although I have been doing different types of needlework (incl knitting and crocheting) for a few decades and have heard of Mod Podge (even have a old, old, old jar I think===LOL), I’ve never used it.
That is soon to change………….
Awesome Sharon! I can’t wait for you to try. I’m a knitter myself . . . 😀