Are you excited about washi, but not about the prices? Make your own washi tape with this simple tutorial – you can pick any pattern you like!
Skills Required: None. Even if you’ve never crafted before, you can succeed with this project. You’ll be Mod Podging fabric to masking tape.
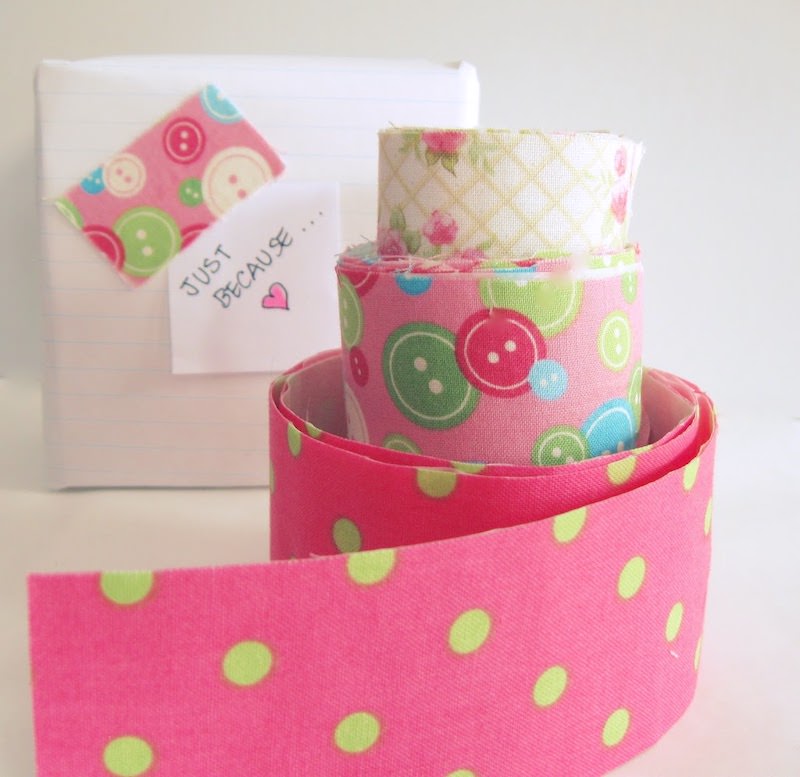
Are you obsessed with washi yet? It seems to be all the rage in the craft world these days, and it’s pretty obvious why. There are so many fun patterns available and project ideas are just endless.
There’s only one problem! Washi tape can get expensive. Not only that, but sometimes you just need a little bit of a pattern or color, so buying an entire roll just doesn’t make sense.
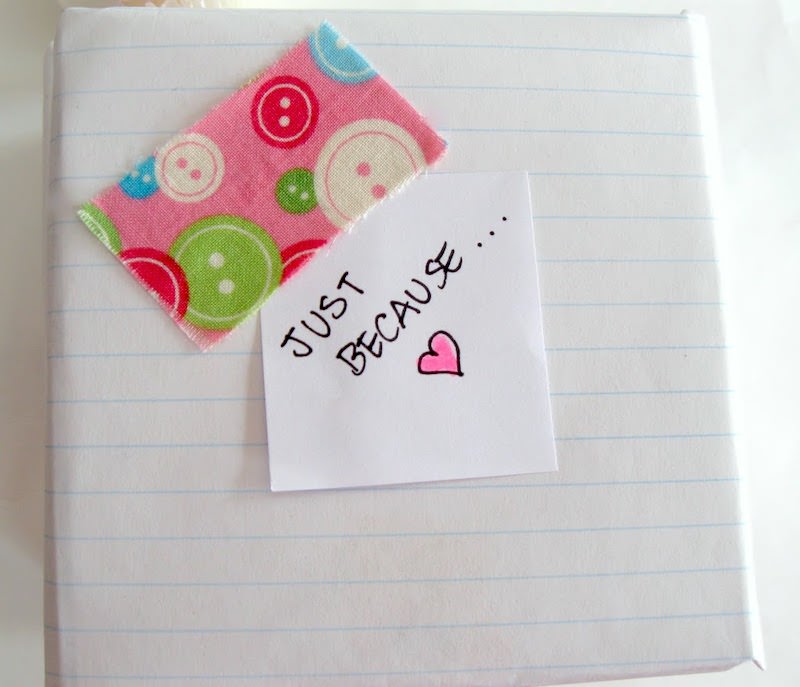
But you know what? Lucy cracked the case! She came up with a super easy way to customize your masking tape with just fabric and Mod Podge.
How much fun would it be to wrap your presents with custom tape? If you’re looking for great crafts for teens or tweens, this is a good one. Kids love this project! This is a craft you can make from home with stuff you probably already have. Get the how-to below.
DIY Washi Tape
Equipment
- Brayer or credit card
- Iron
Instructions
- Wash, dry, and iron the fabric before beginning.
- Place the fabric on wax paper and coat with Mod Podge to prevent fraying.
- Tape masking tape onto wax paper and lightly sand the masking tape. You are trying to remove the sheen and make the surface porous so the fabric adheres.
- Brush a light coat of Mod Podge onto the tape.
- Glue fabric on and smooth out with credit card or brayer.
- Let dry and cut out the strips with scissors. Cut the fabric to trim to the edges of the wax paper. You can cut to any size you like.
- To use the washi tape, peel from the wax paper strips.
Make your own tape at Craftberry Bush
If you enjoyed learning how to make washi tape, you might also like these projects:


