
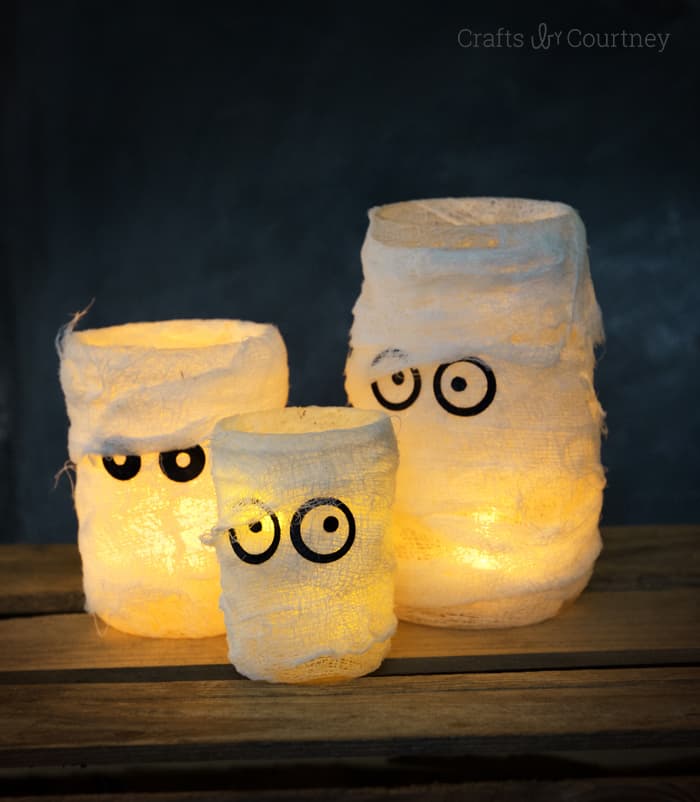
You can make these EASY mummy mason jar luminaries on a budget, in three steps! Both kids and adults will love these Halloween mason jars.
Skills Required: Beginner. You don’t need any crafting experience to make these mummy mason jars! You’re going to wrap a glass jar in cheesecloth using Mod Podge, and then attach eyes cut out of cardstock. This project is so easy that even a child could do it.
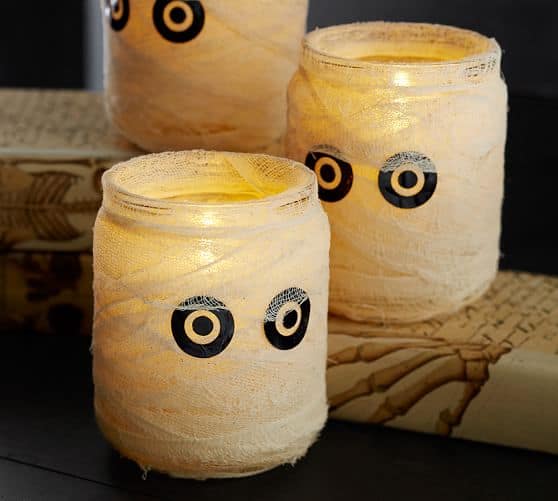
While looking through the Pottery Barn website for Halloween decorations (which I do religiously), I spotted some cute gauze mummy mason jars. I thought they were super cool, BUT they were $25.00 each. YIKES! I knew I could totally make these Halloween lanterns myself.
Here’s a quick look at what Pottery Barn Mummy Luminaries look like. I think they look pretty similar . . . and mine are way cheaper. What do you think?
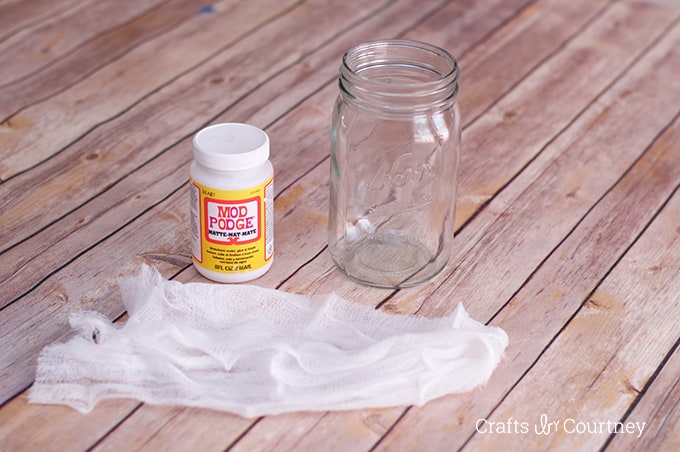
I checked my craft supplies to see if I had some cheesecloth and I DID! This is such an easy project to do, you could even turn it into a Halloween kids craft. I know my boys would really enjoy making one too. So I grabbed some glass jars and Mod Podge to begin.
I really think these Halloween candle holders turned out cool and it’s something I can keep for a long time. Since I had all the materials on hand, it didn’t cost me a thing. Woohoo!
Are you ready to learn how to make this awesome Halloween mason jar craft? Keep reading!
Gather These Supplies
- Mod Podge Matte
- Glass Jars
- Cheesecloth
- Circle Punch
- Black Cardstock
- Foam Brush
Finally, pick up some flameless candles or tea lights and you’re ready to display your Halloween luminaries! They would look perfect on a Halloween mantel, front steps, or even as a night light for the kids (use the LED lights!).
See how easy these mummy mason jars were to make? I had all three done in about 15 minutes. It took me longer to find the cheesecloth than it did to make them.
I have some more really cool Halloween crafts coming up so stay tuned (here’s a spoiler, they’re all gonna use Mod Podge). Get the printable how to for this one below:

Mummy Luminaries
Equipment
- LED tealights
Materials
- Mod Podge Matte
- Glass Jars
- 6 yards Cheesecloth
- 1 sheet Cardstock black
Instructions
- Clean and wash your jars, removing any labels or adhesive. Cut the cheesecloth intro strips.
- Add Mod Podge to the glass, and start wrapping the cheesecloth around the jar. Let dry. Keep layering to get the "mummy effect," letting dry between layers.
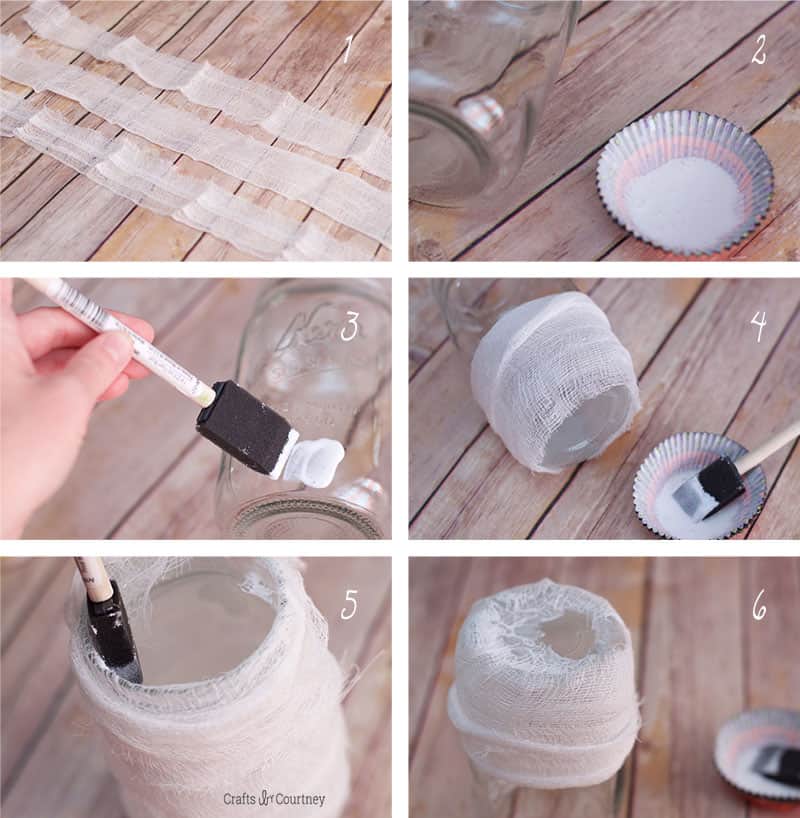
- Apply Mod Podge to the inside lip of the jar and fold the cheesecloth over the rim. Mod Podge down and let dry.
- Repeat with as many jars as you like. Give each jar a final coat of Mod Podge to stiffen the cheesecloth, and let dry.
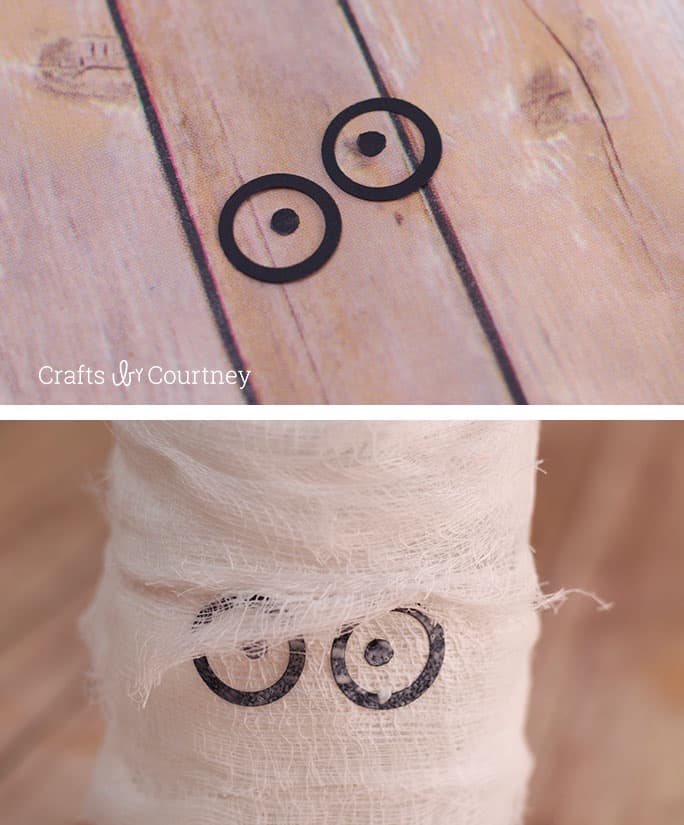
- Use circle punches to cut circle eye shapes out of black cardstock. The small dot was created with a hole punch. Add the eyes with Mod Podge and let dry.
- Pick up some flameless candles or tea lights and you're ready to display your Halloween luminaries!
Notes
- I used recycled jars for this project, and I had everything else on hand. If you need to buy the cheesecloth, it’s about $5.
- If you don’t have black cardstock, you can draw on the eyes with Sharpie. I think the cardstock looks cleaner, however.
If you enjoyed these Halloween luminaries, take a peek at these other holiday crafts I think you’re going to like:
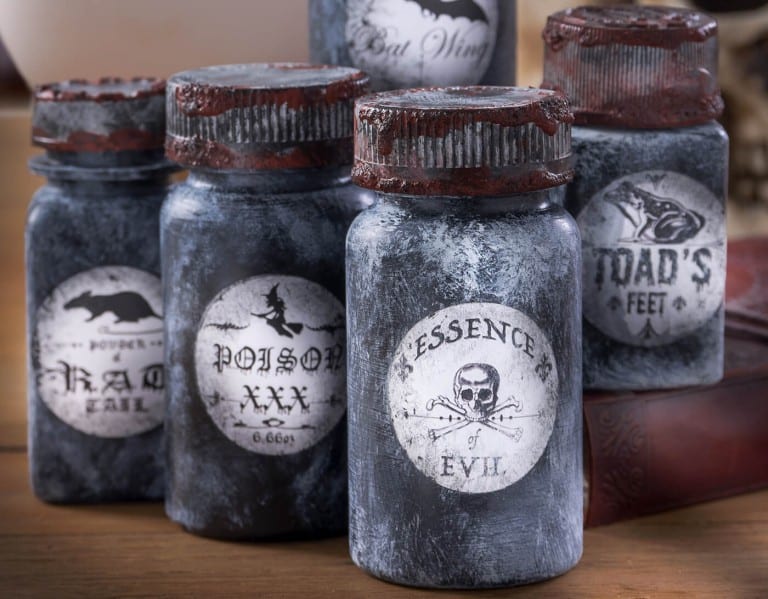
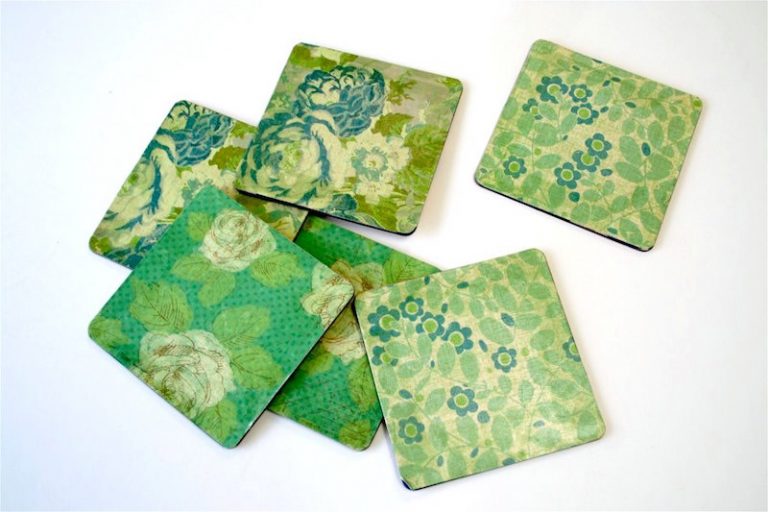
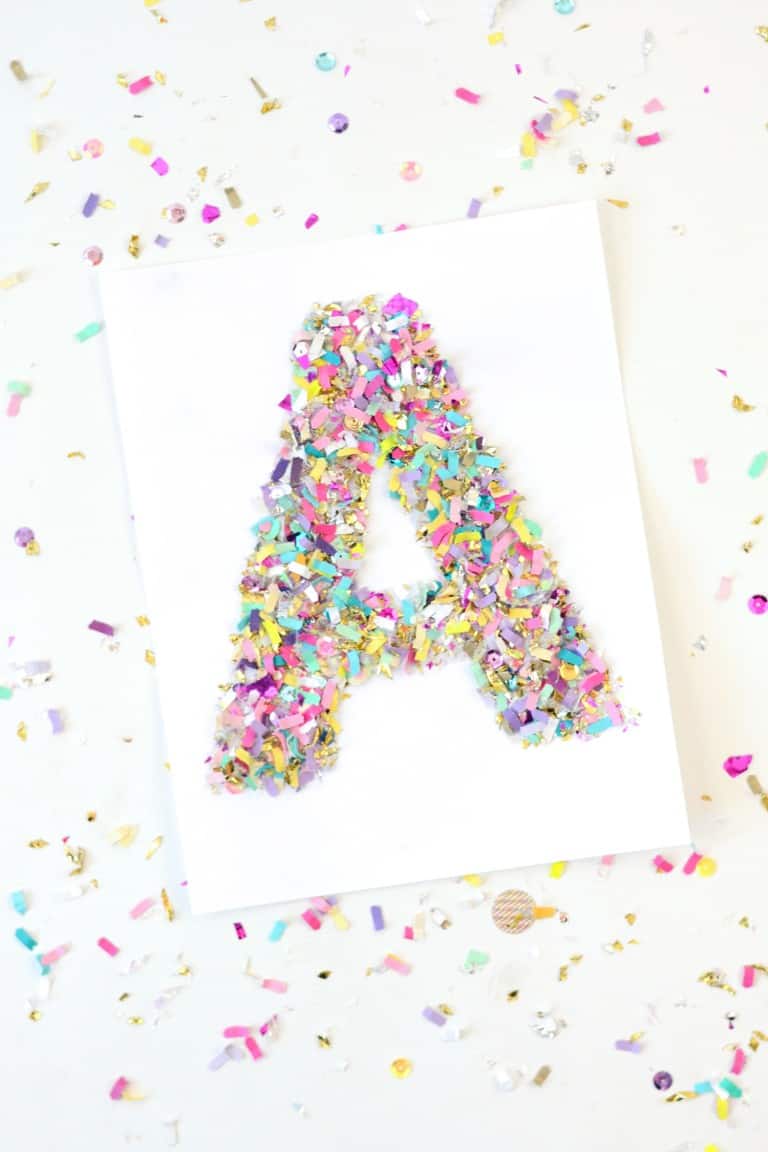
BOO Letters • Button Art • Coffin Tray • Duct Tape Pumpkin • Fairy Garden • Halloween Ornaments • Halloween Rocks • Paper Cones • Potion Bottles • Spooky Candle Holders • Spooky Pumpkins • Witch Hat Garland


Adorable! Do you think the eyes could be painted on before the cheese cloth wrap?
Hmmmm – they might be faint but I think they could be! That would be very spooky 😮
Do like the Mummy jars. Very clear instructions and just spooky enough. Thank you for showing.
Deirdre
Very cute and I like yours better. Not mass produced to sell but made with love to enjoy.
How cute and yours look better. I like your eyes better. This could be done with orange to make pumpkins too.
Carla from Utah