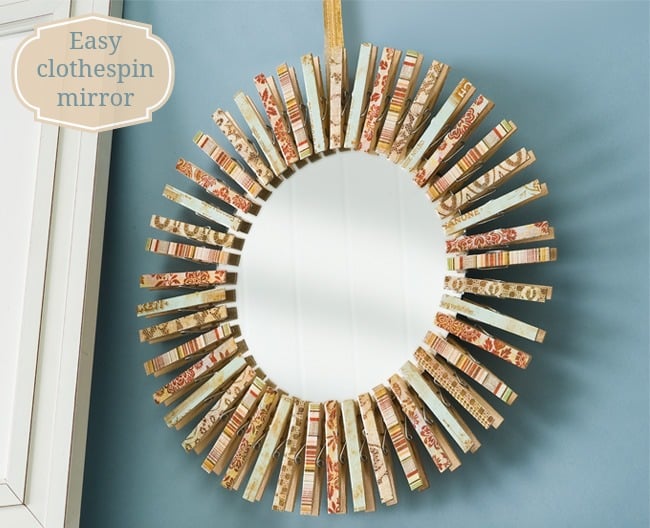
This will be one of the easiest decoupage crafts you’ll ever do – learn how to make a clothespin wreath using Mod Podge and your favorite papers.
I needed a few clothespins for a project once. The thing about clothespins is that you pull two out of the bag to use in a clothespin craft, and then you have an entire bag of wooden pins leftover. So what do you do with them?
Since I don’t scrub my laundry in a washing tub outside (though that might be kind of cool), I have no use for them except for crafts. I decided to buy a small mirror and make something – a clothespin wreath – with a mirror in the center.
This mirror craft is really, really easy, and perfect for those of you that have never used Mod Podge before. Of course you can customize with any papers you like, and change out the clothespins for any season (you could even do front and back with two different designs!). Learn how to make it below.
DIY Clothespin Wreath
Gather These Supplies
- Mirror (optional)
- Mod Podge Dimensional Magic
- Mod Podge Satin
- Wood clothespins – enough to line the perimeter of the mirror
- Scrapbook paper in coordinating patterns
- Ribbon in coordinating colors
- Craft knife and mat
- Ruler
- Pen or pencil
- Paintbrush
- Craft glue
- Scissors
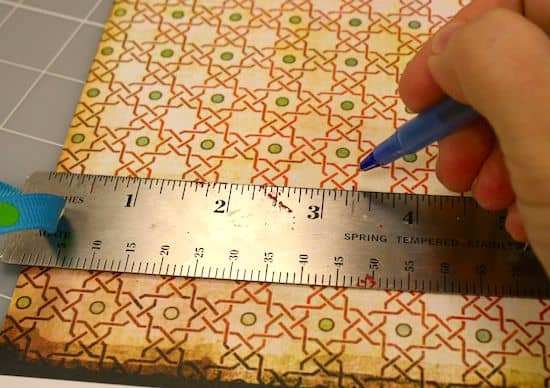
The first step is to measure the length of the clothespins (about 3 inches-ish) and cut a strip of paper that wide.
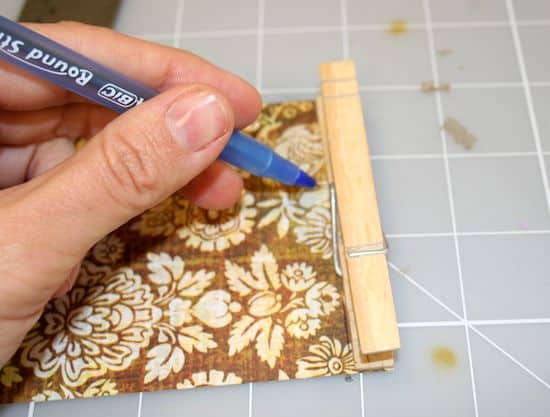
Then you’ll measure and cut scrapbook papers to fit the width of the clothespins. I used four sheets of coordinating scrapbook paper, the craft knife and mat to cut 48 strips to fit my clothespins. Cutting the strips can be tedious, but it’s not hard.
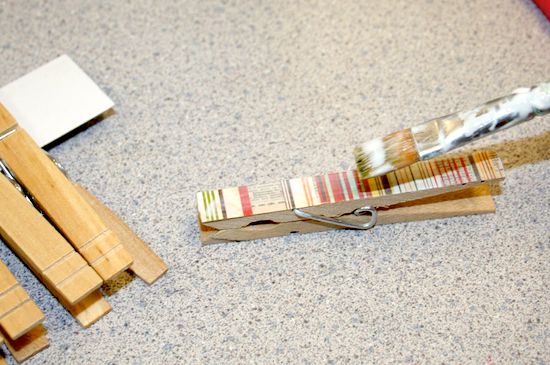
Mod Podge all of the paper strips to the clothespins. Add a medium layer of Mod Podge to the clothespin with the paintbrush, smooth the paper down and repeat. Let dry for 15 – 20 minutes.
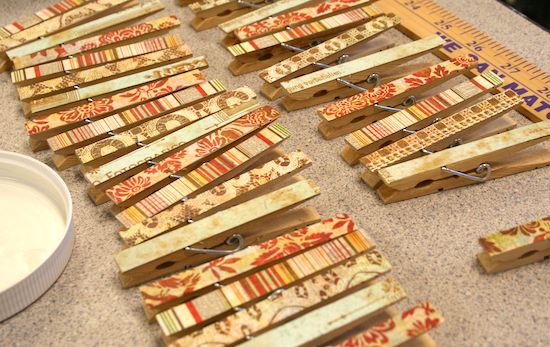
Do this with all 48 clothespins. Add a topcoat of Mod Podge to the top of each clothespin. Let dry.
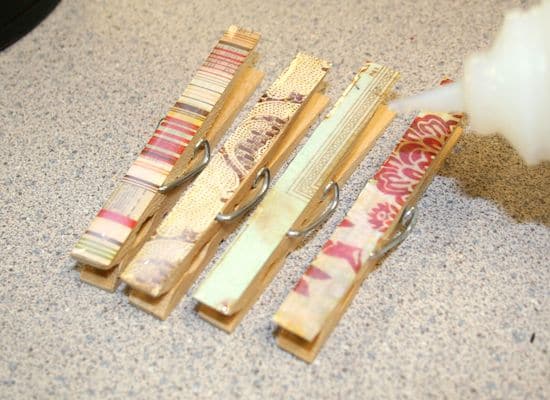
Now this is an extra step, but it makes the clothespins shiny and look like they have enamel on top, so I like it. Add Mod Podge Dimensional Magic to the top of each clothespin and let dry.
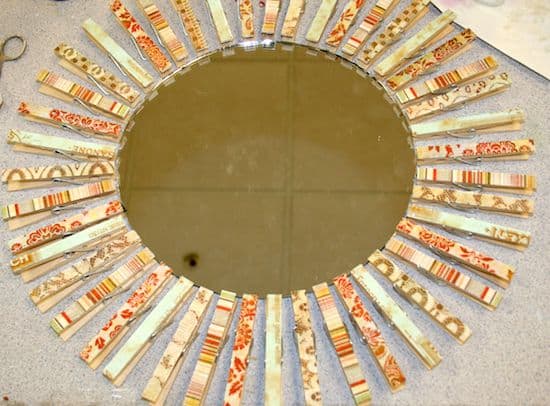
Space the clothespins evenly around the mirror; glue or just clip in place if you want to change them out. Glue a piece of coordinating ribbon to the back of the clothespin wreath mirror as a hanger. You could also use a few Command strips if you don’t want to use ribbon.
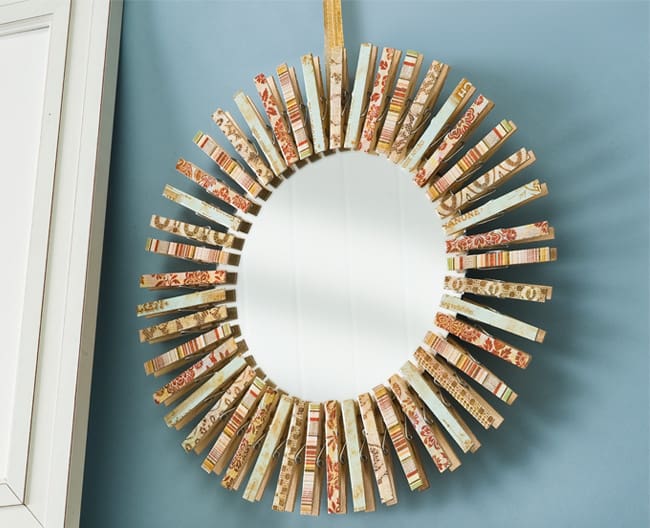
See how easy that was? I think it would make the perfect Mother’s Day gift – I know my mom would love this clothespin wreath!
If you need additional ideas with clothespins, check out these other projects I think you’re going to love:






Seriously, how is the mirror considered optional. You do not offer suggestions for an alternative surface to use.
Because you don’t need anything in the center. It can just be a wreath to hang on the wall. Or you can put a mirror there. 🙂
How large was your mirror?
I’m not 100% sure as this project is older – I believe 6″. I bought it from Michaels.