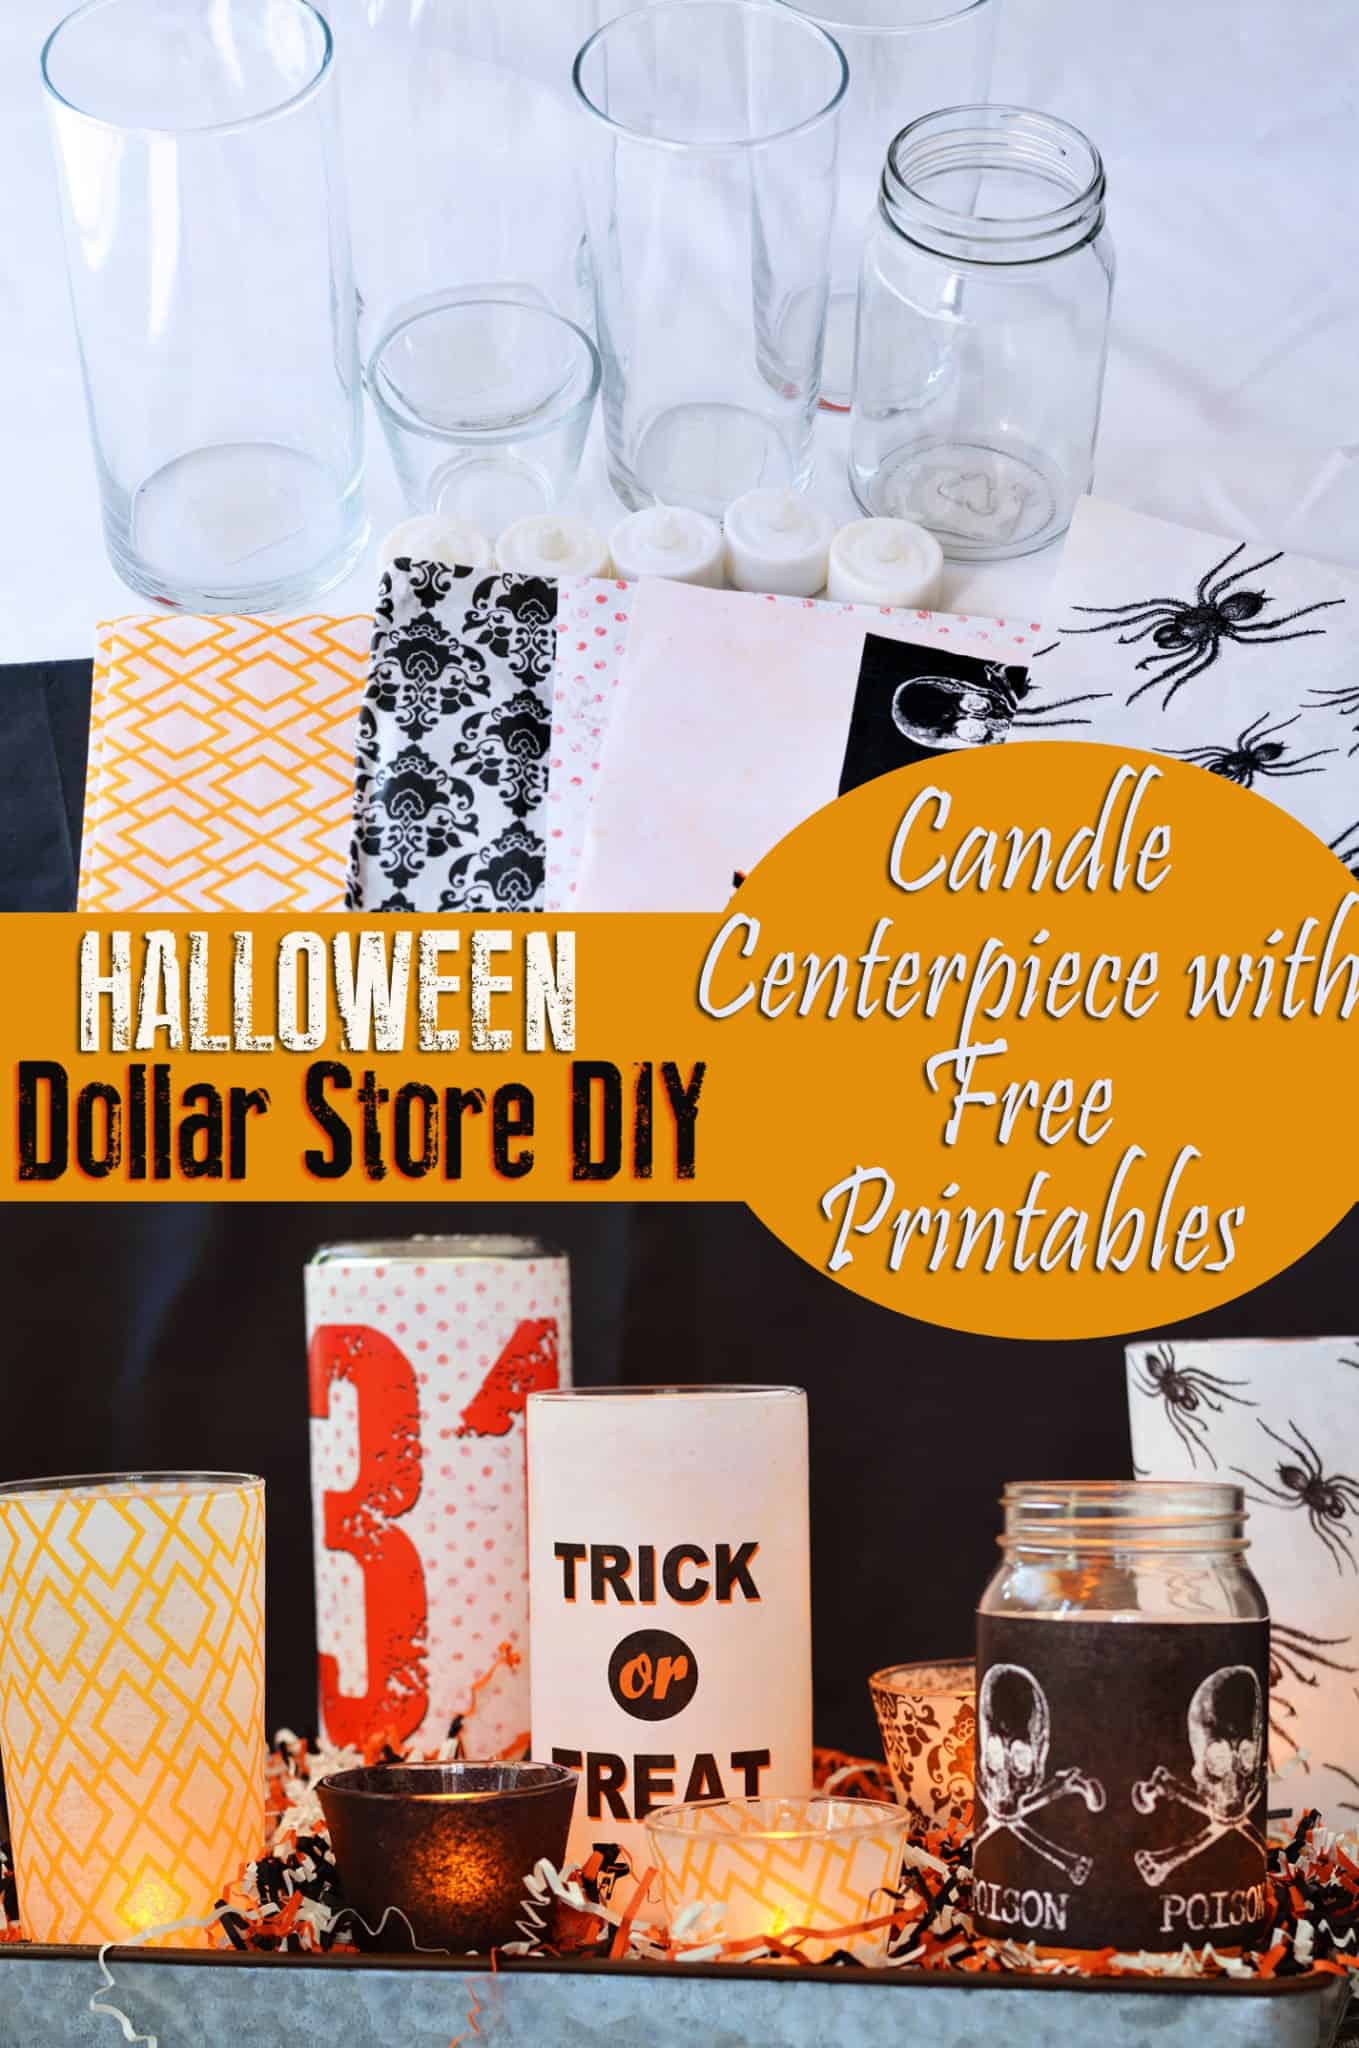
Make a Halloween centerpiece in four simple steps! These Halloween candle holders are so easy, and budget friendly too. Perfect for last minute holiday decor.
Skills Required: Beginner. I recommend having a little experience with Mod Podge to minimize wrinkles. At least do a test first if you’ve never tried decoupage.

Hi, it’s David from Cheltenham Road back with one final “I’m-in-a-pinch” Halloween craft.
See, I am a last-minute sort of guy. Despite the best of intentions, I’m often throwing things together in a bit of rush (kind of like taxes . . . oops). I find that my best ideas come from being a bit under pressure.
I know I needed some last minute DIY Halloween decorations for a get together, so when the time came, I challenged myself.
My challenge with this Halloween centerpiece was to keep it easy, quick, and (key for me) inexpensive. I hope this tutorial will be useful for you either now or, if you’re more together than I am, next year!
Halloween Candle Holders
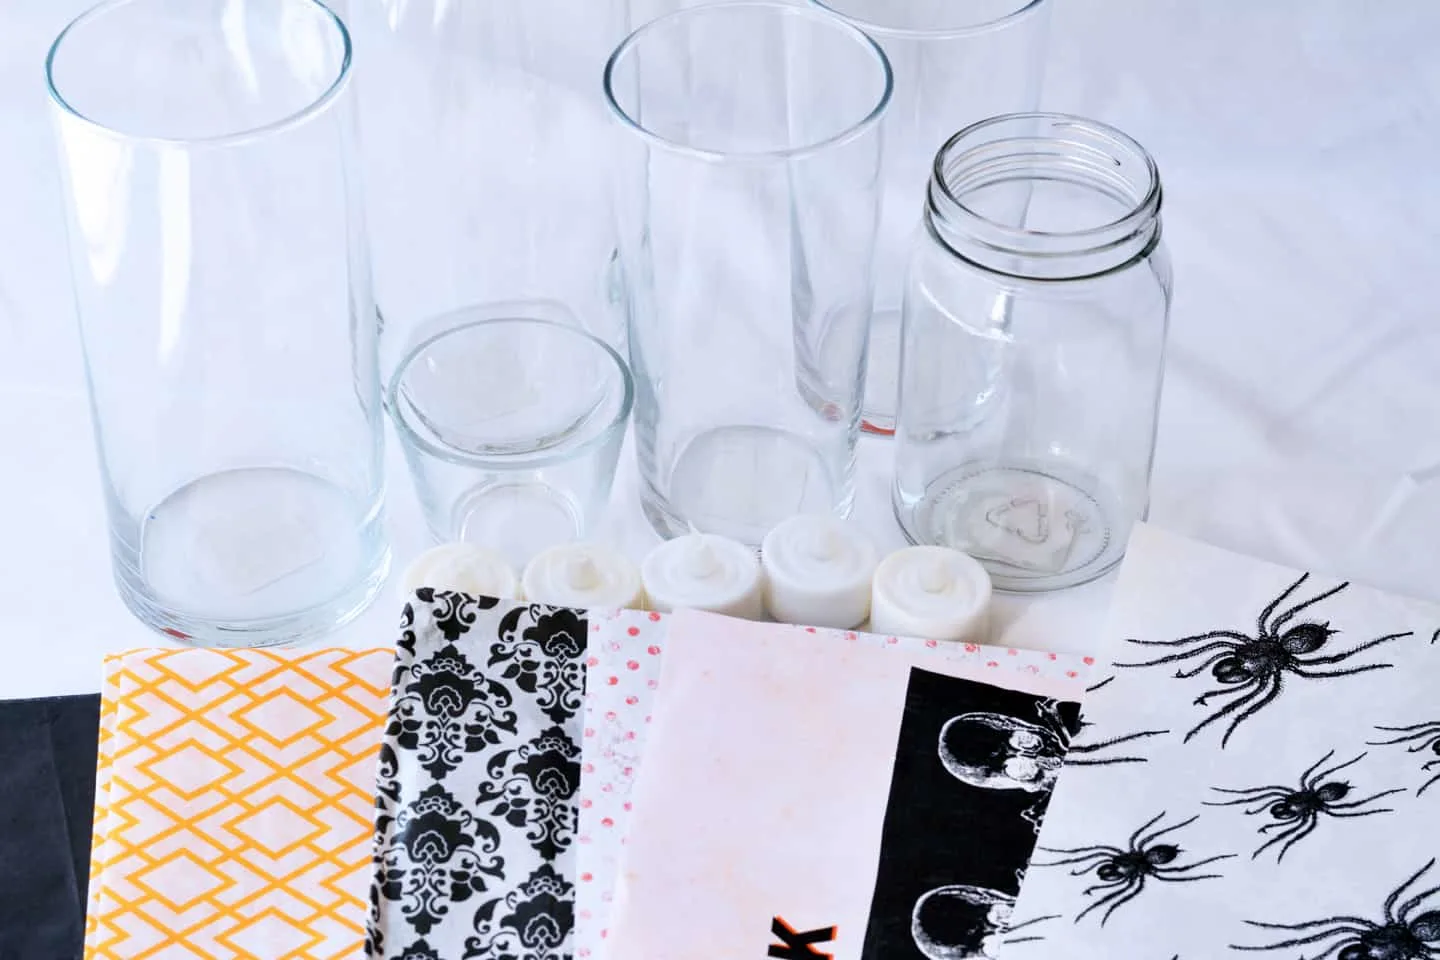
This Halloween centerpiece is made up of five individual candle holders. To get my supplies, I ran to the dollar store for glass candle holders, tissue paper, and electric tea lights. Sometimes you can find Mod Podge at the Dollar Tree too!
Keep in mind that you can grab jars from the recycle bin as well to add a little interest in shape and size to your centerpiece. You’re really going to enjoy making these Halloween lanterns.
Paper, Tissue Paper, or Napkins
I recommend using a variety of materials for your Halloween centerpiece. Choose between napkins, tissue paper, or regular printed paper. I came up with a few designs of my own that you can download at the bottom of this post.
In addition to buying napkins and tissue paper with Halloween designs on them, you can print on tissue paper using my designs (it should be laserjet though). Your Halloween candle holders will look snazzy no matter what you choose!

Gather These Supplies
- Dollar store candle holders and vases
- Tissue paper
- Matte Mod Podge
- Graphic printouts (made on a laser printer or copier)
- Electric tea lights
- Foam brush (not shown)
- Craft knife (not shown)
- Scrap wood for risers (optional)
- Scissors
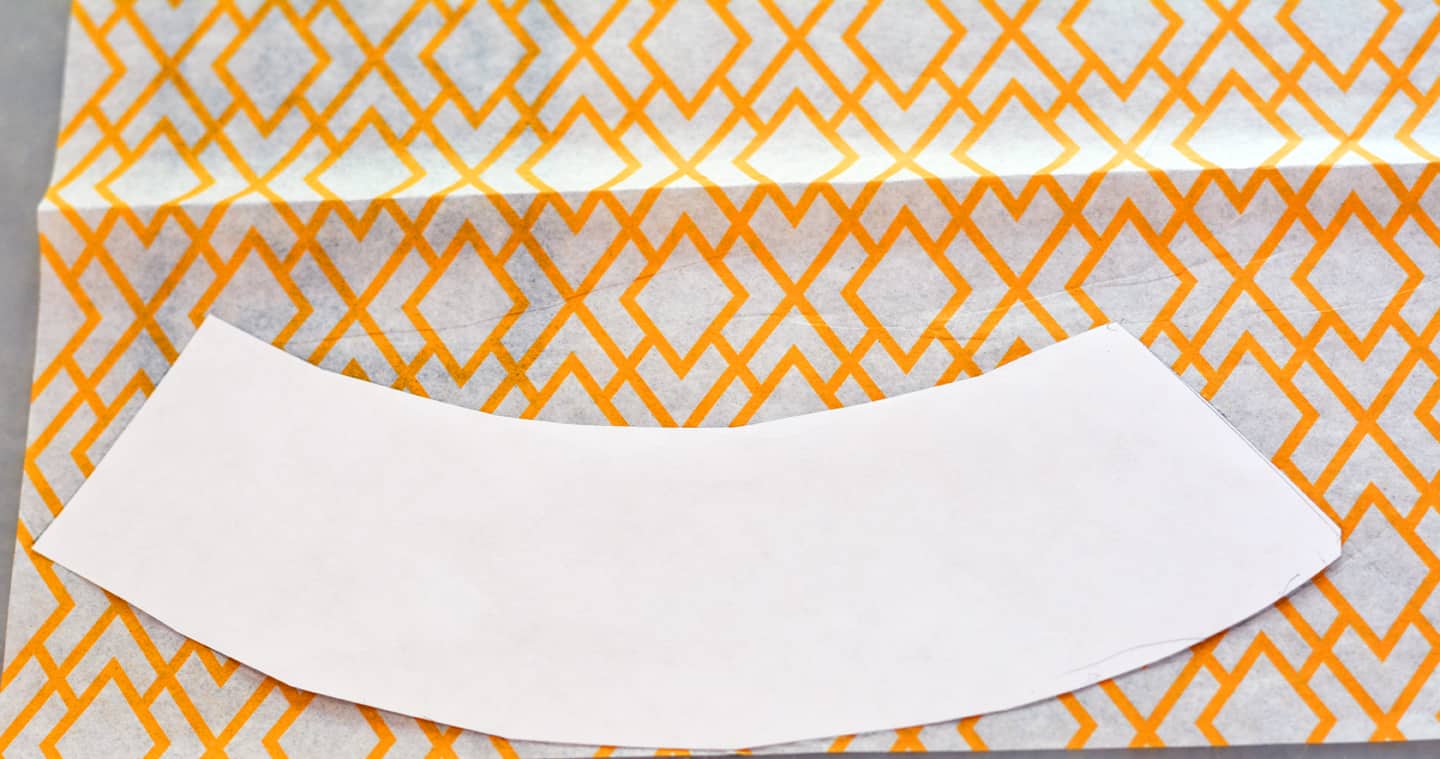
Make Patterns
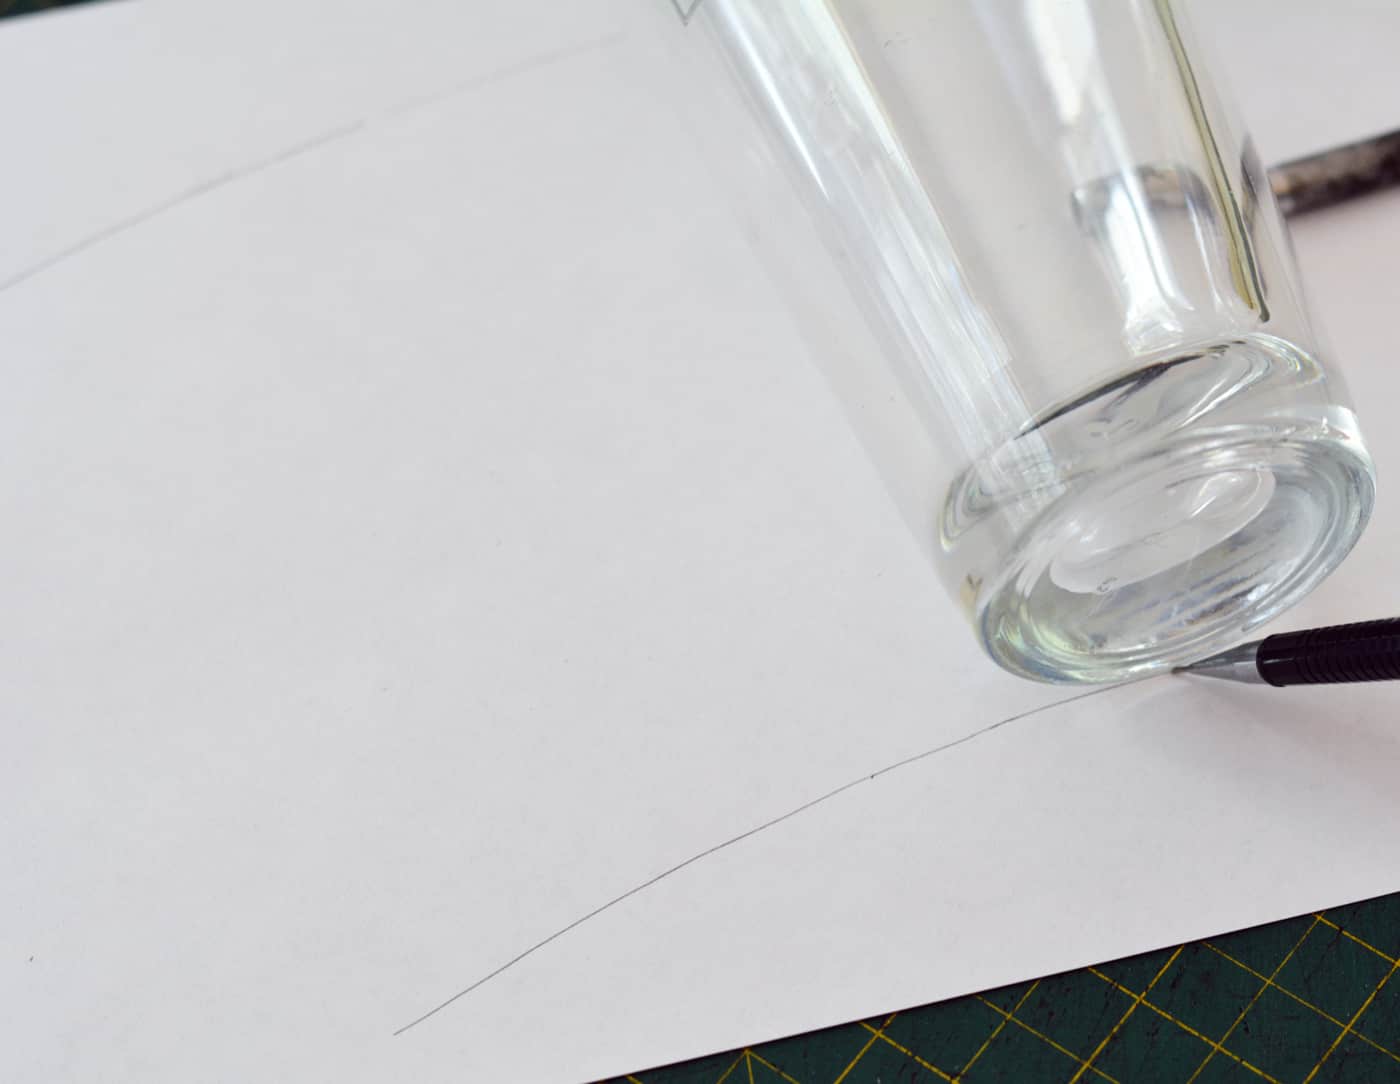
Some of my candle holders had slightly tapered sides, so I needed a pattern for the paper. If you try to decoupage the paper on without a pattern, you can get wrinkles. Making a pattern is very easy – here’s how!
Use a piece of tape to mark your starting point on the candle holder. Place the candle holder on a good sized piece of paper.
Slowly roll the holder over the paper and trace the top and bottom edges as you go until you reach your starting point again.
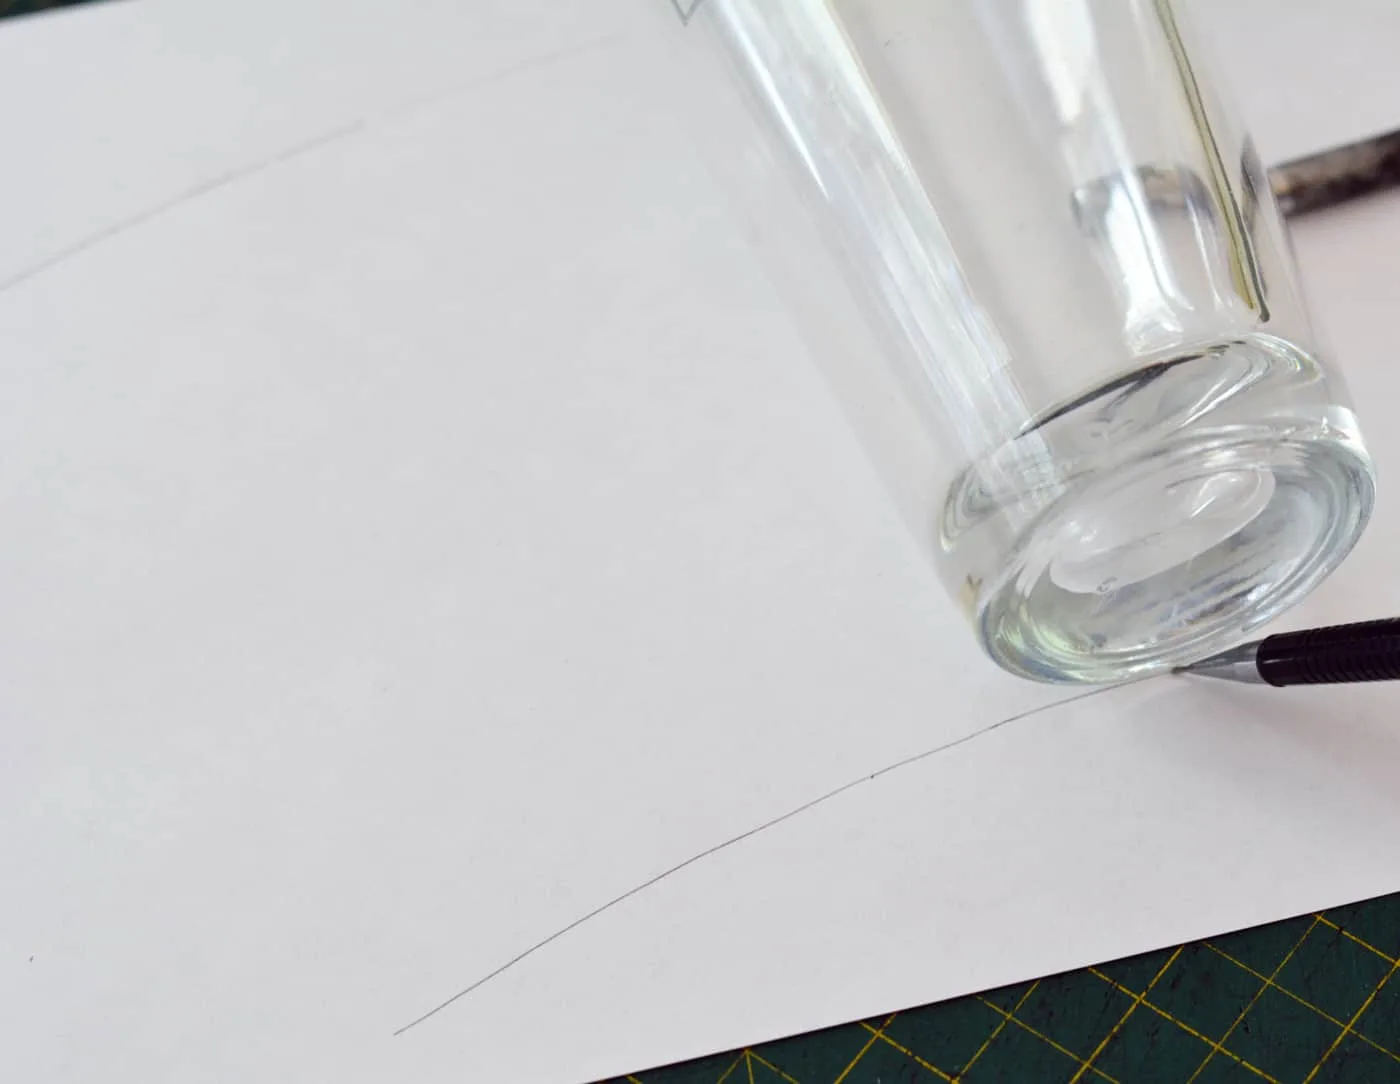
Cut the Paper
Cut out the pattern out with scissors and you’re good to go.
For the holders with tapered sides I used my pattern to cut the paper. For the vessels with the straight sides, I printed and cut my paper to size.

I’ve always been wary of using tissue paper with Mod Podge – it just seemed so thin – but I thought I’d give it a shot and it was surprisingly easy.
Apply the Tissue Paper to the Glass
To achieve the same look, use a foam brush to apply the Mod Podge to the tissue paper . . .
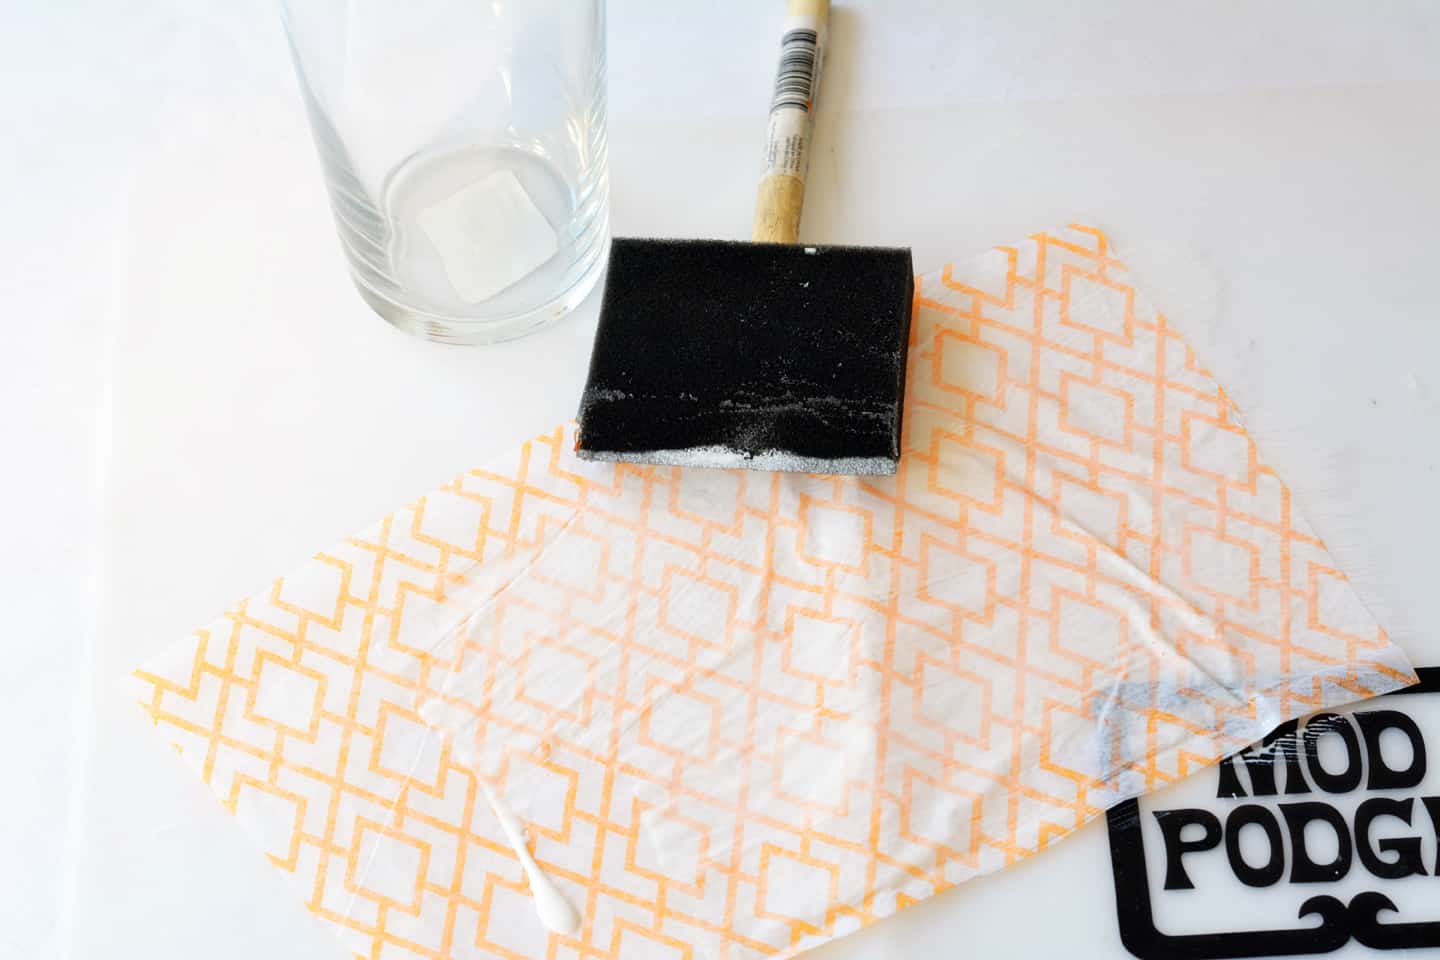

and then smooth the paper into place on the candle holder.
Tissue is on the fragile side, but I didn’t have any trouble with tearing.
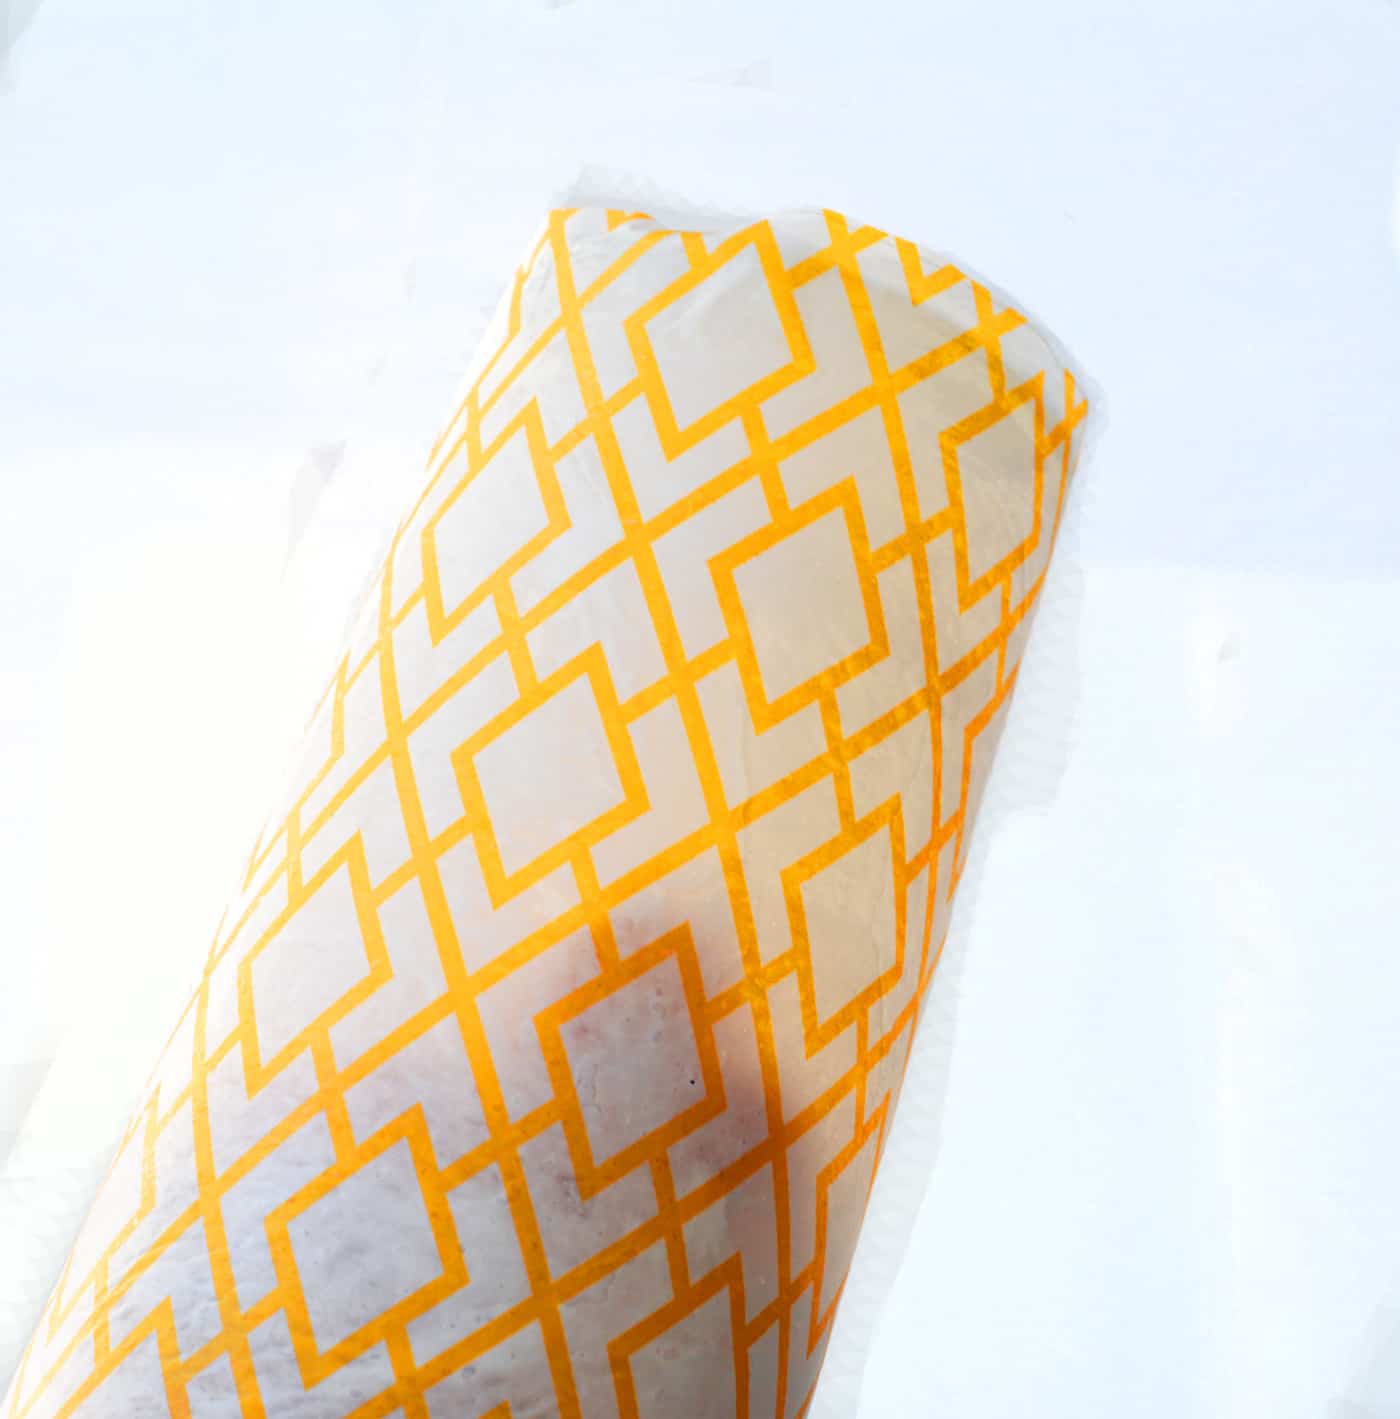
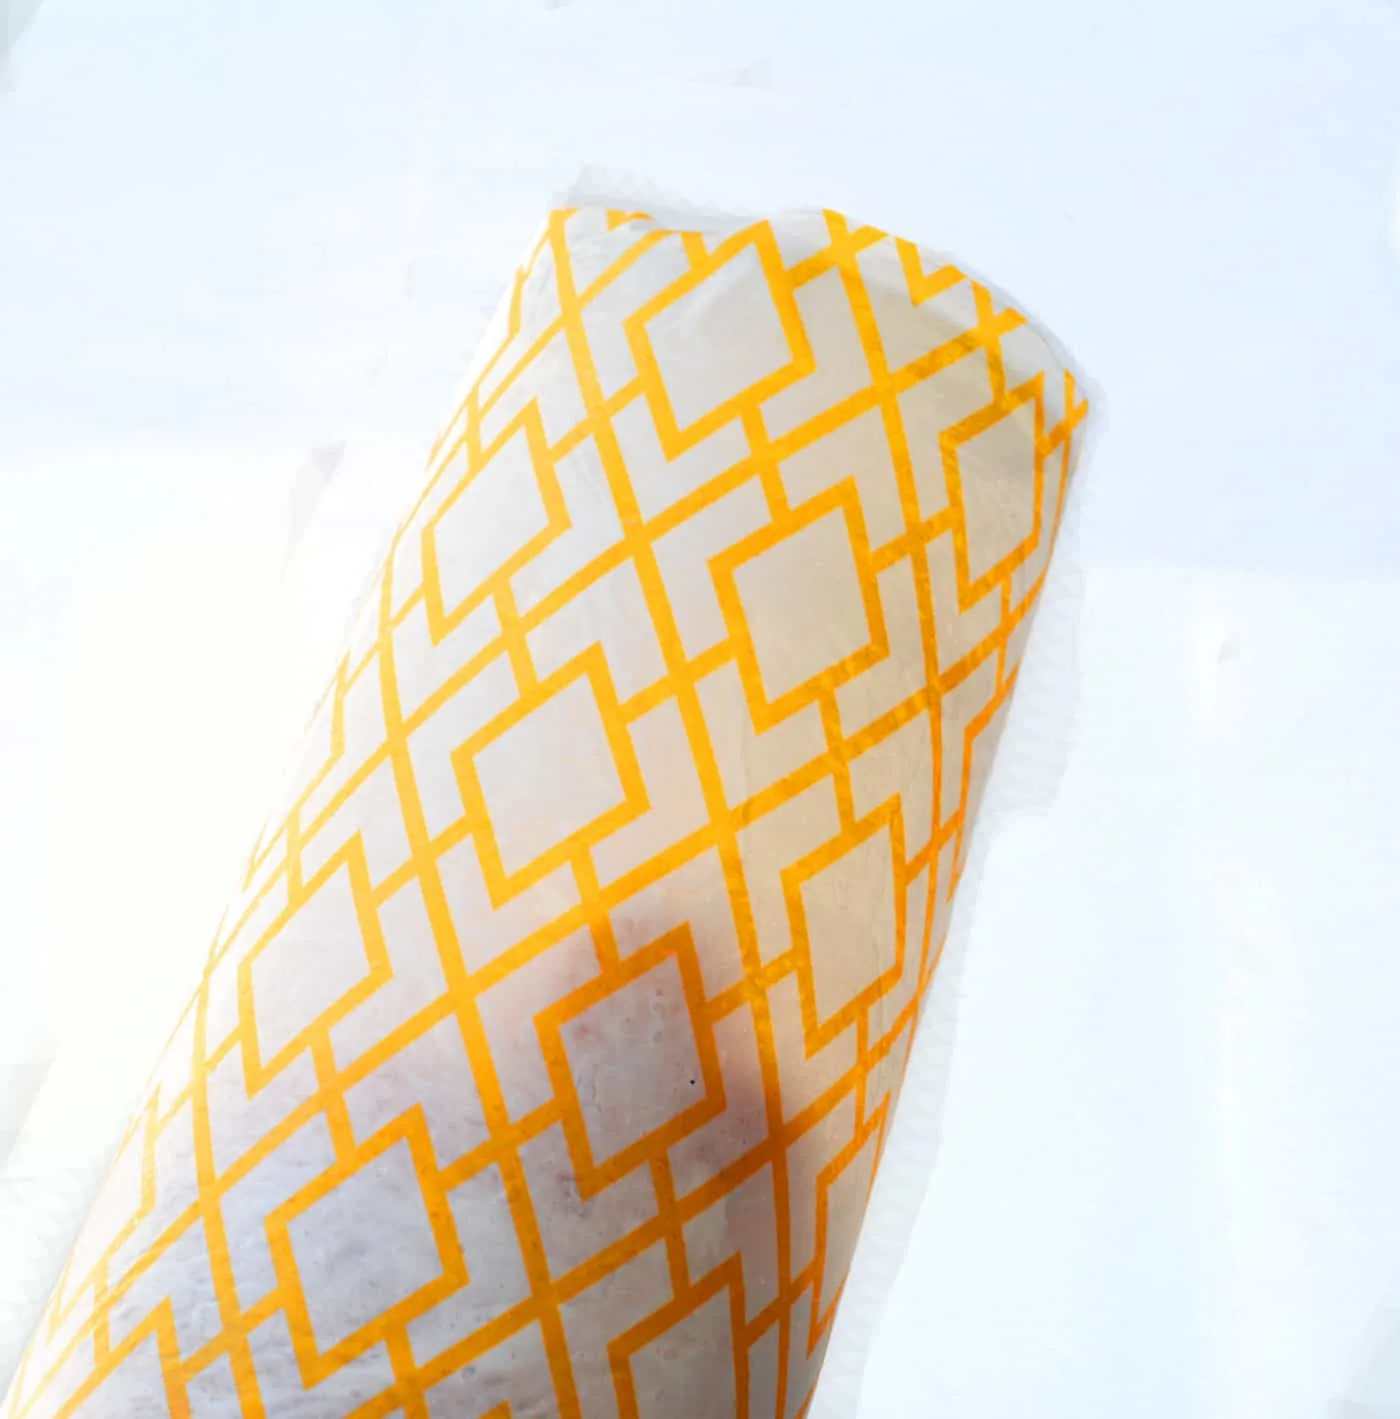
Wrinkles are a bit inevitable but, in this case, I think they add to rather than detract from the overall look of my Halloween centerpiece.
Trim and Seal
Once the containers are dry, use the craft knife to trim the bottom. Follow the same method with the remaining candle holders and set them aside to dry.
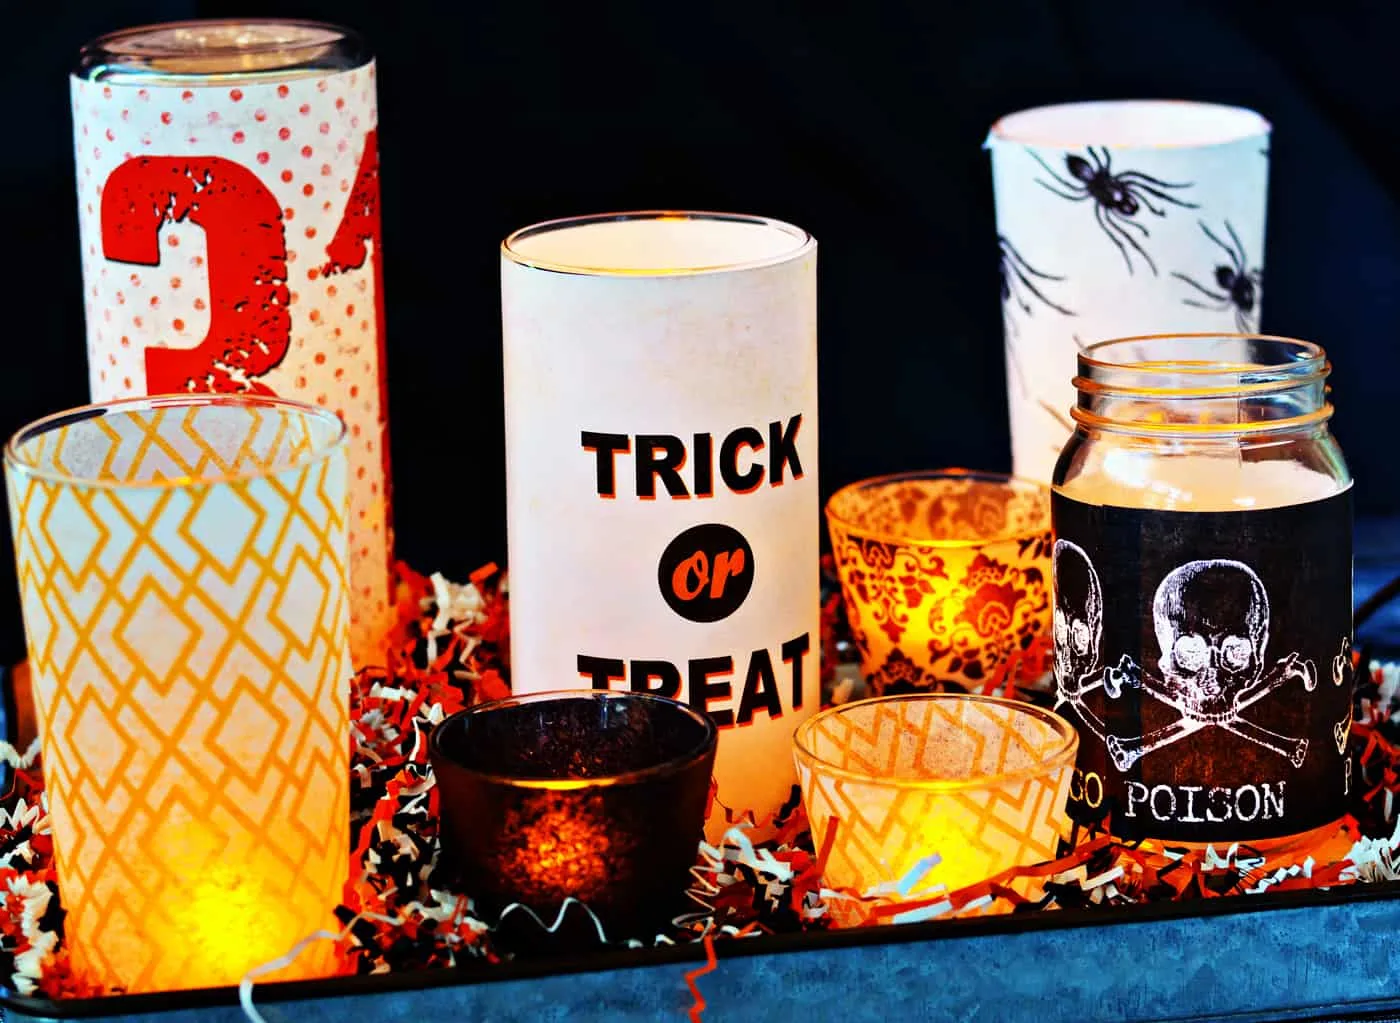
Give each container a sealing coat of Mod Podge Matte and let dry. After adding some battery powered tea lights, I had a little Halloween centerpiece!

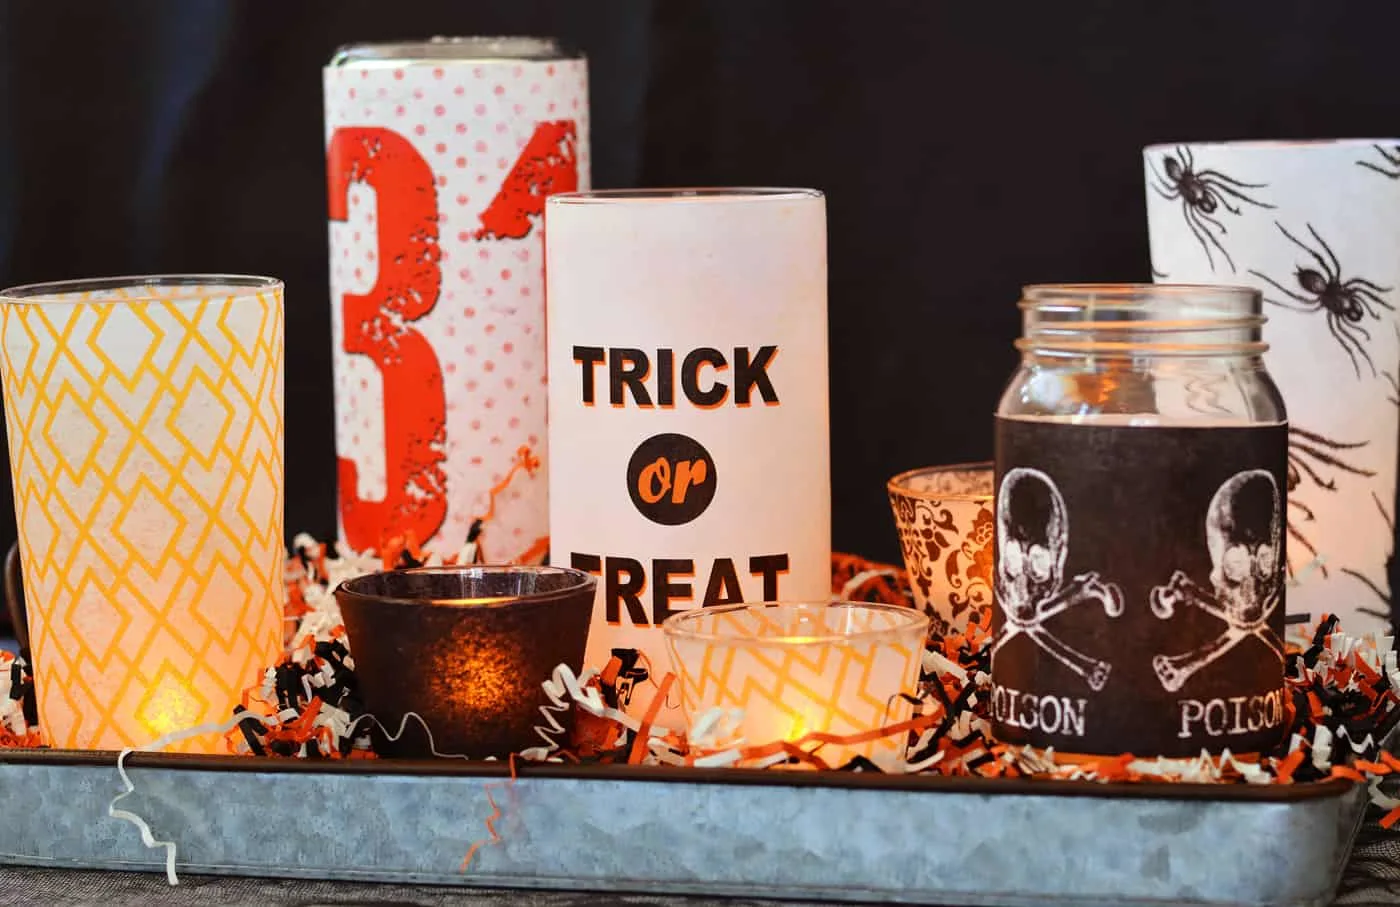
Whether on a tray or a mantle, I think this Halloween centerpiece makes a nice addition to any holiday decor.

If you’re keen to use the graphics I designed for your Halloween centerpiece, you can download them by right clicking on the links and then saving the PDF:
Have a great Halloween everyone!
Halloween Candle Holders


Learn how to make Halloween candle jars and holders using Mod Podge! This is easy and great for making at the last minute.
Materials
- Dollar store candle holders and vases
- Tissue paper
- Matte Mod Podge
- Graphic printouts (made on a laser printer or copier)
- Electric tea lights
- Scrap wood for risers (optional)
Tools
- Foam brush
- Craft knife
- Scissors
Instructions
- Clean any glass containers using mild soap and water; let dry.
- Print out designs on paper using a laserjet printer. You can also use Halloween themed napkins and tissue paper.
- Trim your paper and tissue paper to fit the containers using your scissors.
- To apply the tissue paper to the container, use a foam brush to apply the Mod Podge to the tissue paper. Smooth the paper into place on the candle holder.
- Use a similar method to apply the paper printed designs to the candle holders. Add Mod Podge to the paper and to the glass - smooth the paper onto the glass.
- Let all of your glass containers dry for a few hours. Once the containers are dry, use the craft knife to trim the bottom.
- Follow the same method with the remaining candle holders and set them aside to dry.
- Give each container a sealing coat of Mod Podge Matte and let dry. Add battery powered tea lights and group your containers to make your centerpiece.
Notes
If you have any tapered containers, grab a piece of paper, pencil, and tape to make a pattern.
If you enjoyed making these candle holders, I hope you’ll check out our Halloween crafts for adults. I’d also love for you to check out these other holiday ideas:
Paige
Wednesday 28th of October 2015
These are such great and easy center pieces!
Paige https://www.thehappyflammily.com/