Make your fall sparkle with this DIY acorn decor! These glitter acorns are easy enough for a kid to make, and are so pretty in an autumn display.
Skills Required: None. Even if you’ve never Mod Podged before, you can make this project. You’ll be painting and applying decoupage medium mixed with glitter.
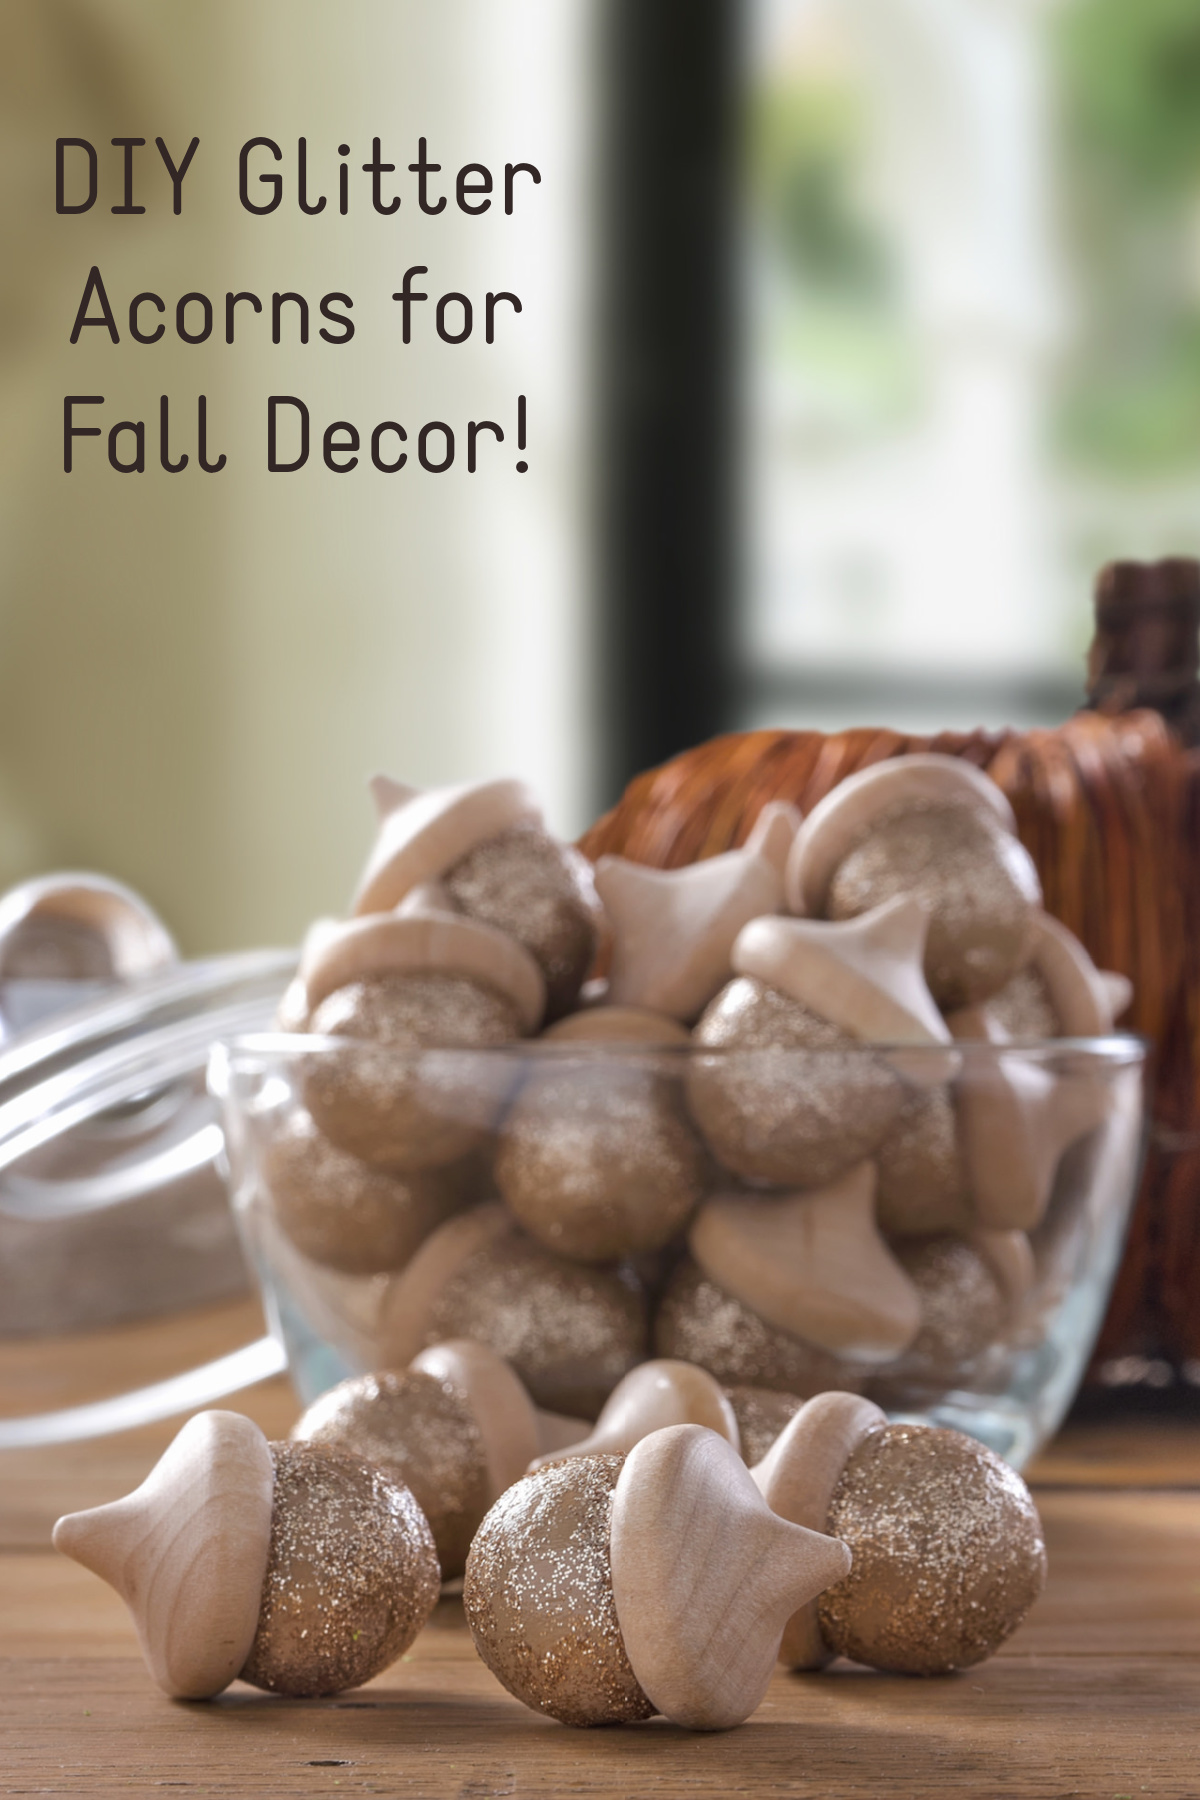
Have you ever thought about using an item from the ground outside in your fall decor? What about the almighty acorn? They are one of my FAVORITE surfaces to use for fall, and I love that they can be used through Thanksgiving as well.
And of course, I love how budget friendly acorns are. When you collect them from the ground, they are completely free. It doesn’t get any better than that! Add some glitter? Life changing.
Autumn Acorn Decor
Before I share my acorn decor, I’m going to answer a few commonly asked questions about this project. If you want to set yourself up for glitter acorn success, keep reading. Otherwise you can scroll down for the tutorial.
Glitter and Mod Podge Ratio
There’s no “correct” ratio for the amount of Mod Podge and glitter you should use for this project. I typically like to start with about 1/8 cup Mod Podge and about half a small container of glitter. I don’t make a huge batch because I can always make more and I’m trying to avoid waste.
Glitter – I find that the fine or extra fine glitters work the best, though you can really use any kind. The chunky isn’t as good for small surfaces like acorns.
Mod Podge – you can use any formula. I used Gloss, because in my mind the most shiny formula is the best. I feel that Matte or Satin would dull the glitter too much.
To answer another question you’ll certainly have, the Mod Podge only dulls the glitter slightly. Any acrylic based product will. You can see from the final photos though, my glitter acorns are still quite sparkly.
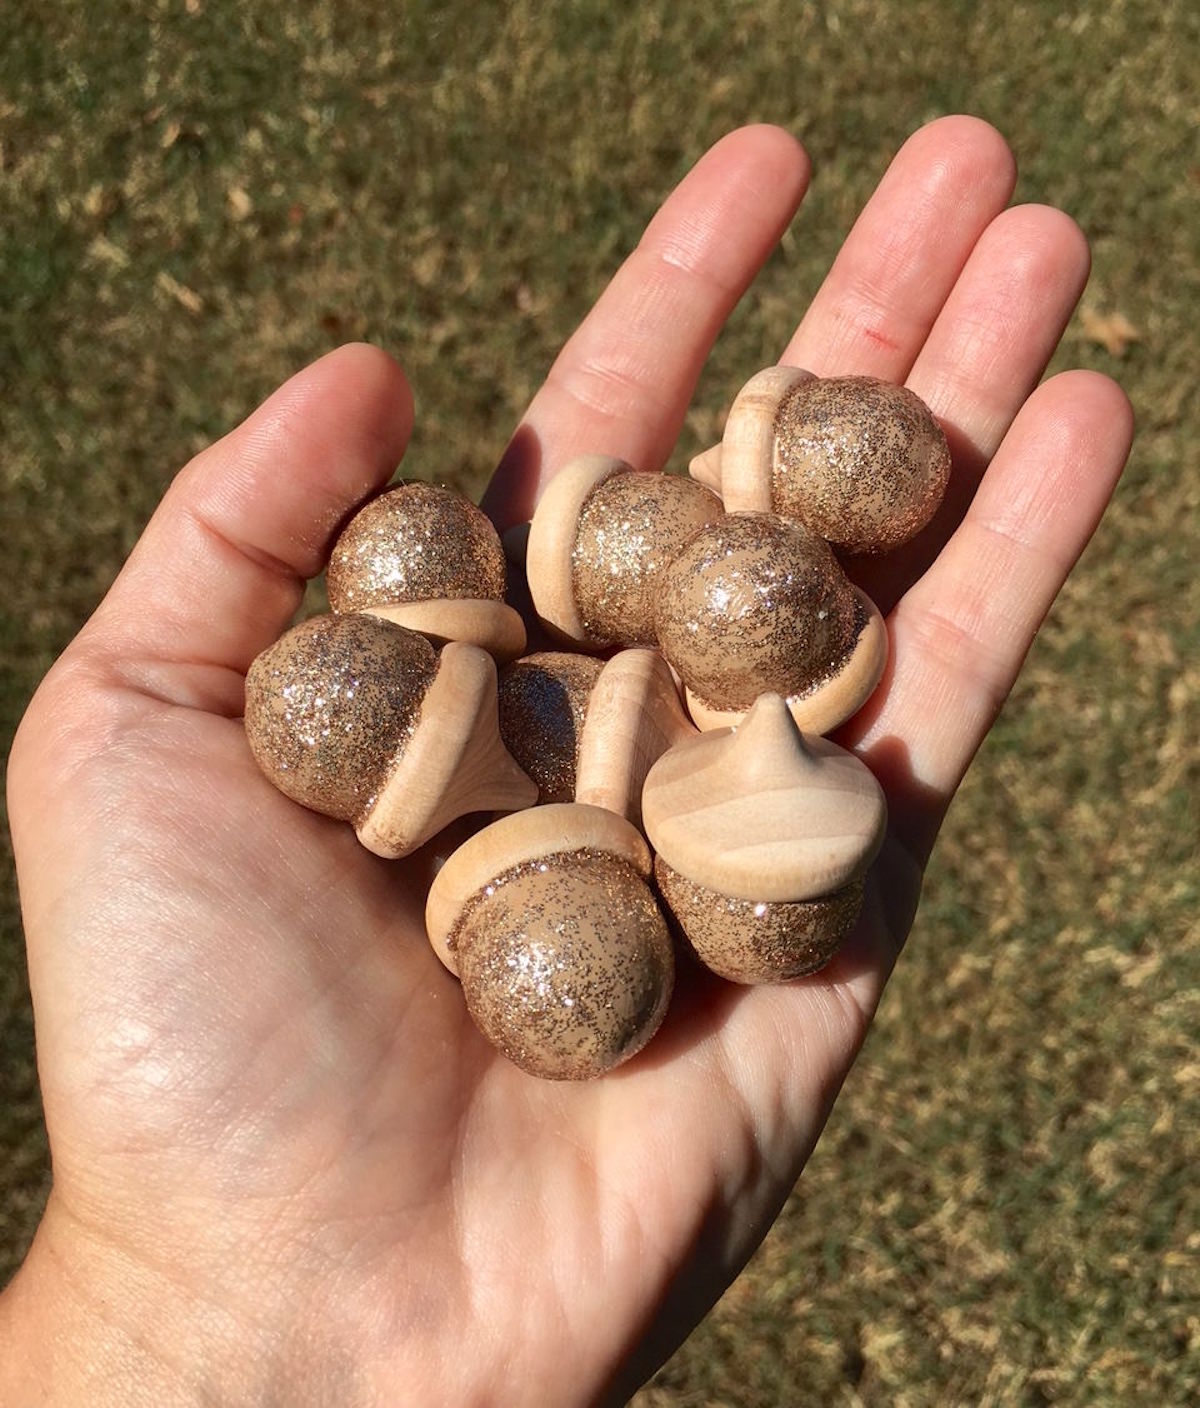
Acorn Decor – Real or Fake?
You can use either real or fake acorns for this acorn decor. If you use real acorns, you definitely need to make them. Find out how to dry acorns the right way so that you don’t have any issues with “beasties.”
I never realized that (some) acorns have worms inside of them that are still there when they’ve fallen from the tree. You don’t want them in your house, so BAKE the acorns before using them for crafts.
Now – you might be in a warm climate and no acorns have fallen yet, or maybe there are no oaks where you live. It’s okay! You can use unfinished wood acorns instead. I purchased mine online from Amazon.com.
DIY Glitter Acorns
Gather These Supplies
- Real or unfinished wood acorns
- Mod Podge Gloss
- Glitter in your favorite color
- Acrylic paint to match the glitter
- Paintbrush
- Silicone craft mat or wax paper
- Mixing container for the glitter and Mod Podge
Your first step if you collected acorns from the ground will be to clean and bake them. Little worms can hide in acorns, and you don’t want them coming out while you are crafting! Learn how to dry acorns for craft projects.
Clean any dirt or debris off of your acorns and place them in a single layer on a cookie sheet. Bake them at 175 degrees (or the lowest setting) for 1.5 – 2 hours, turning every 30 minutes. This will completely dry them out.
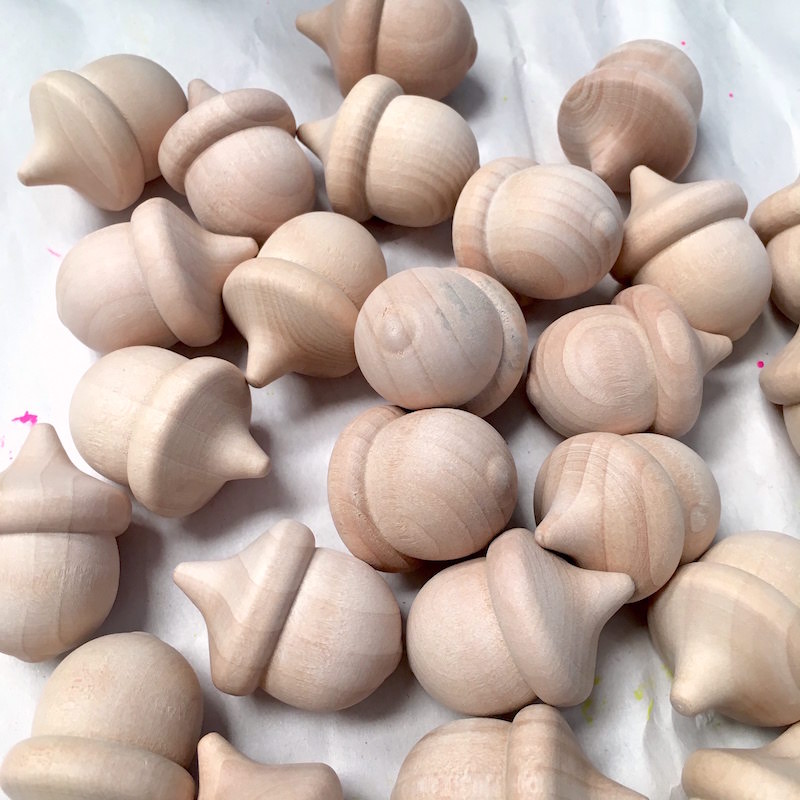
If you purchased unfinished acorns, you’re ready to go.
Use your acrylic paint to paint the base of your acorns in the color that matches your glitter. This step is important so the glitter doesn’t look splotchy and so that your acorn base looks consistent.
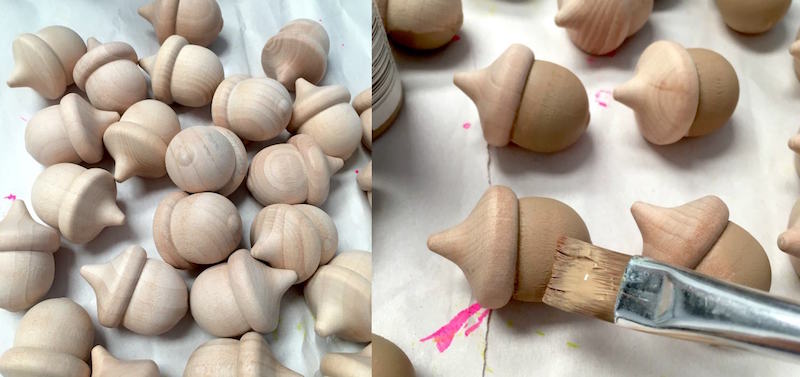
Tip: Paint your acorns on one side, let dry, then flip and paint again. I didn’t paint the tops because I like the natural look of the top of an acorn, including on the unfinished wood ones!
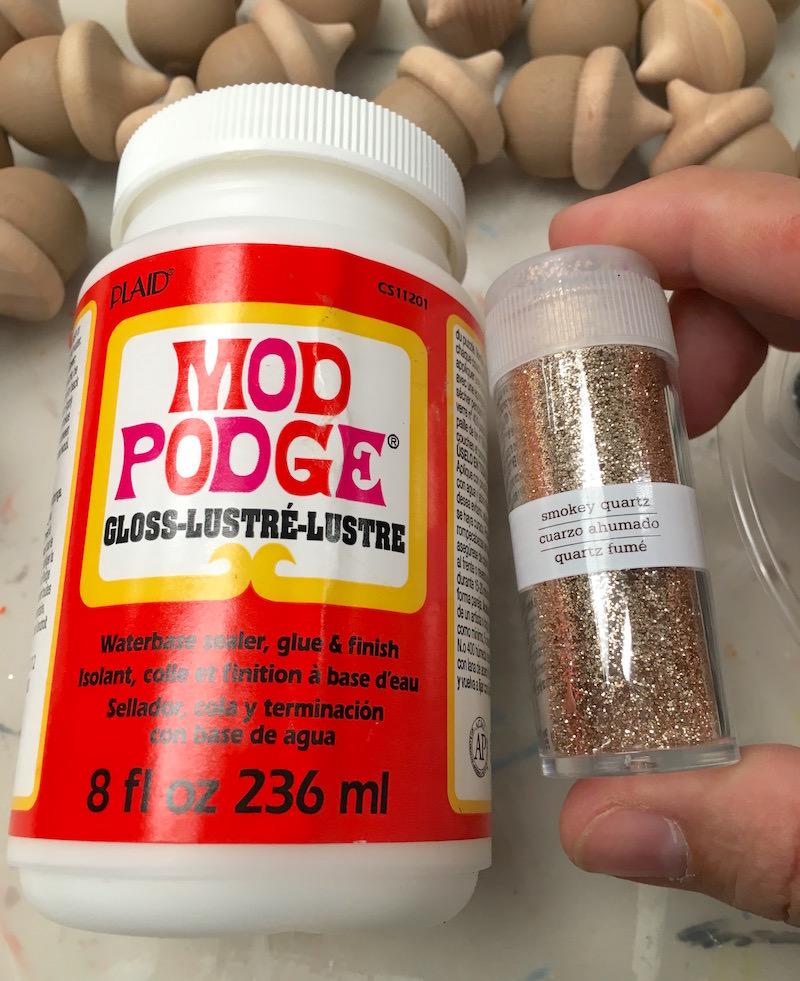
I have a unique, no mess way for you to apply the glitter! You’re going to need your glitter color and Mod Podge Gloss.
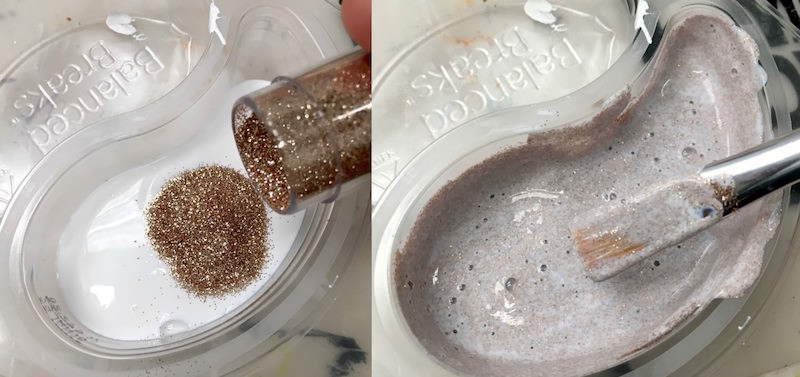
I poured about 1 – 1.5 ounces of Mod Podge into the side of a recycled snack container. They made perfect paint trays! Then I added ½ the container of glitter and stirred. You’ve made your own glitter paint with no mess application!
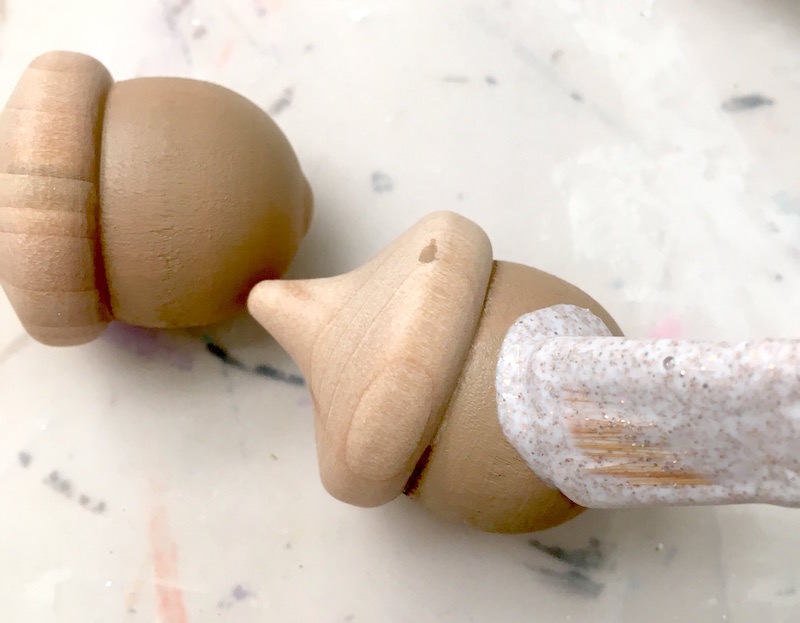
Apply this paint to the acorns as you did the paint; apply to one side, let dry, then flip and apply to the other. I did this several times and let my acorns completely dry before displaying.
I should note that I applied the glitter with a paint brush as shown above, but another good way to apply it is with a spouncer. Just don’t go over the same area – you’ll just spounce the glitter right back off.
With this glitter and Mod Podge, you’ll want to accumulate several layers rather than gooping it on. Go with a medium-thin layer, let dry, and then do another layer. You can keep adding as much as you like until your glitter acorns are as blingy as you want them to be.
Tip: apply the glitter paint to the acorns on a clear silicone mat or wax paper so that the Mod Podge doesn’t stick.
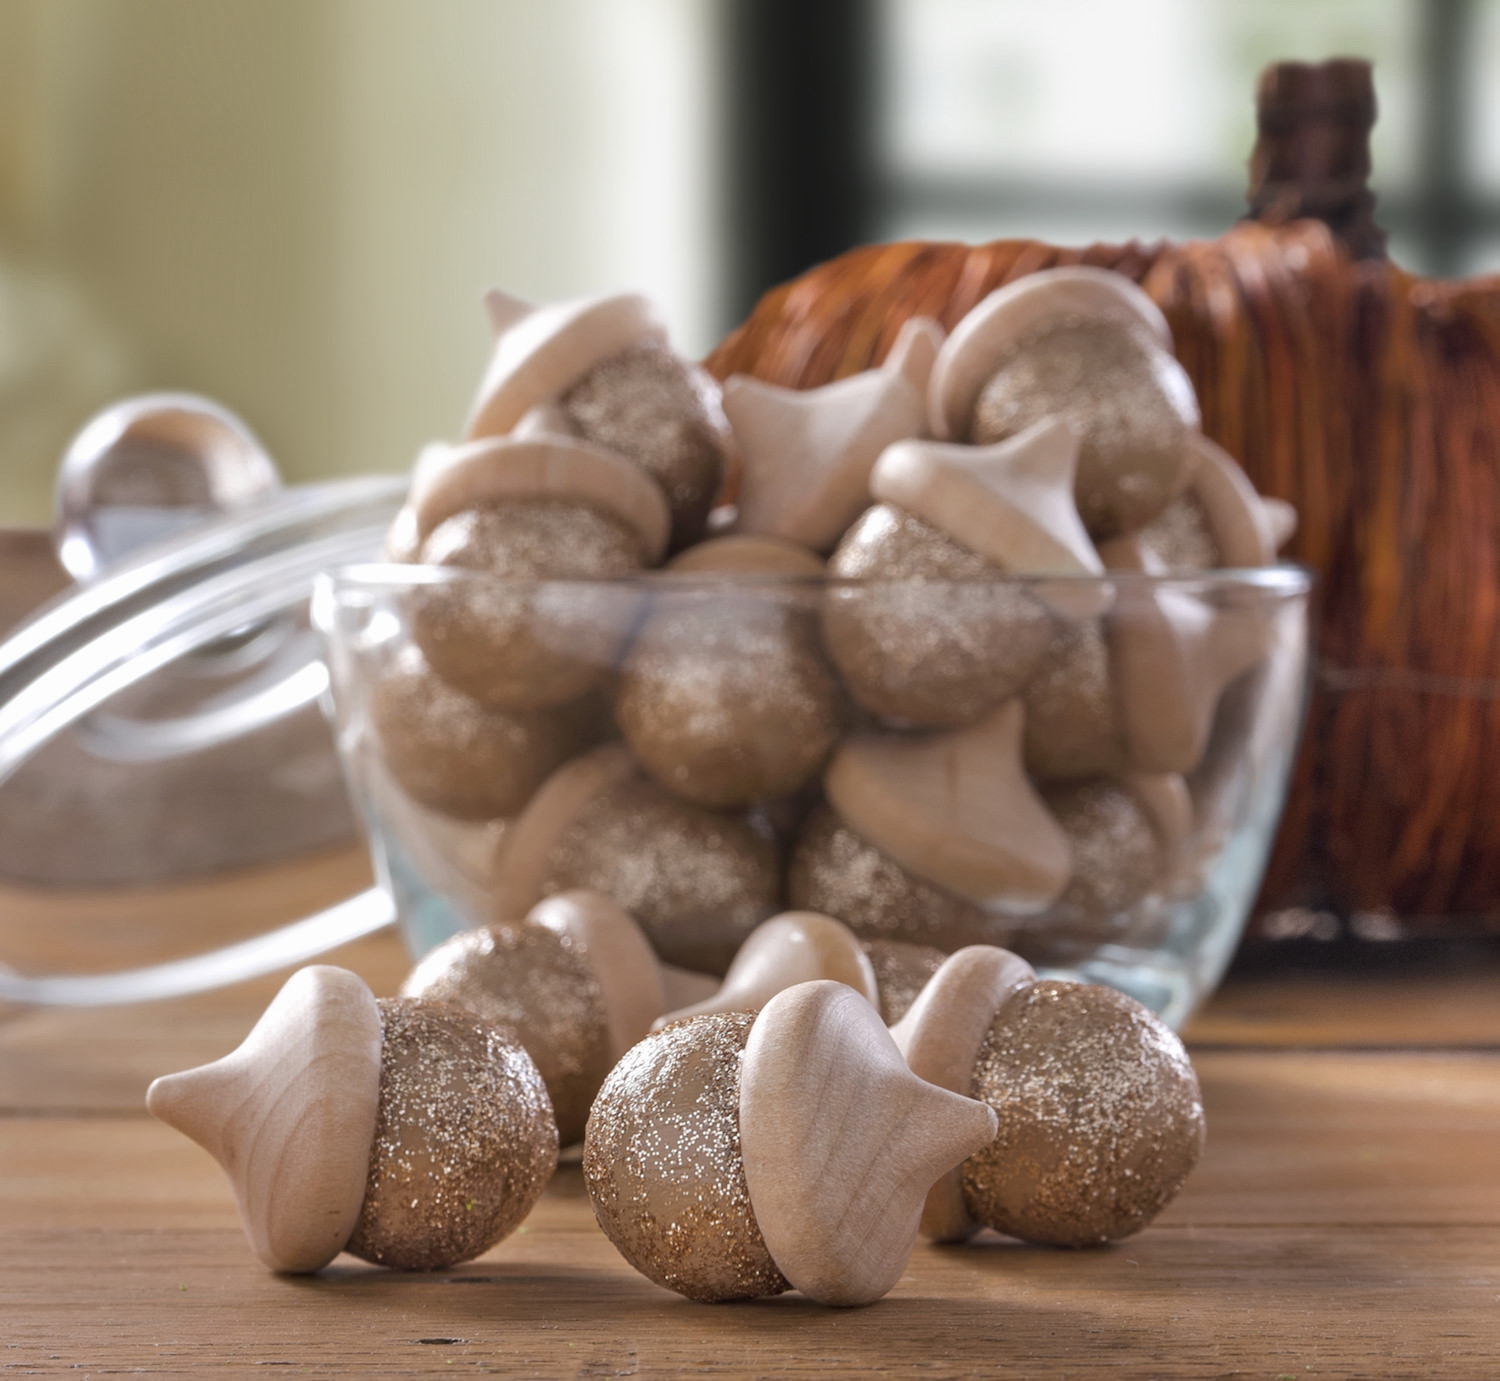
I LOVE my glittery acorn decor! You can use ANY color of glitter you like. Neutrals are big right now, but don’t be afraid to go bold and bright! Display these in containers on mantels or coffee tables, or even use them in a Thanksgiving centerpiece on the table.
If you like these glitter acorns, you might also like my painted acorns! I’d also love for you to check out these other ideas:




I love this! I’ve never seen wooden acorns before. That subtle touch of colour works so well! Any excuse for autumnal crafting is good by me. 🙂
-Mike, http://www.thecraftygentleman.net
Mike!! Thank you for the kind comment. Love your blog!!
I will definitely use acorns in my fall decor. I’m even gonna try some colored acorns like you did and I’m going to do multiple colors. Will send you the pics when it’s done. Thanks for the inspiration. Keep up the great work and keep the mod podge crafts coming. Love em!!!
Thank you so much and I can’t wait to see the project!!