Make a fun project for summer! These beach letters would look perfect on your mantel – and are very easy to assemble with Mod Podge.
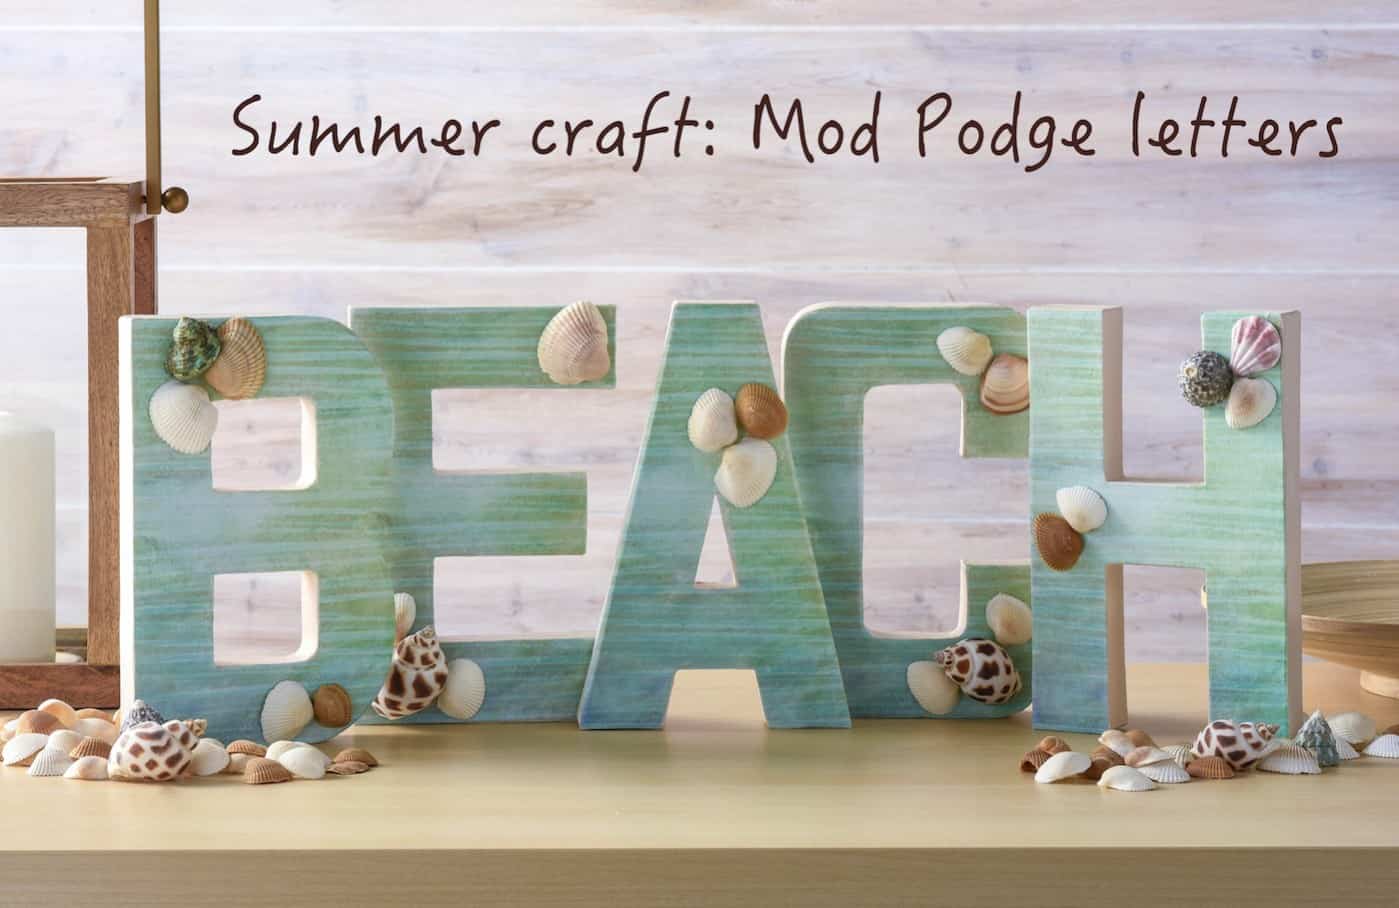
Are you a beach guy or gal? I have so many friends that love getting down to the shore for the summer – they head out as soon as it turns hot!
To celebrate warmer weather, I decided to make a simple Mod Podge craft that would look great on a mantel or a side table in a summer vacation home: DIY letters!
Or maybe you’d just like to bring a little bit of that beach feel indoors? This beach decor is the perfect project for you! There are seashells involved too. Keep reading to learn how to make these letters.

Beach Letters
Supplies:
- Paper mache letters spelling “BEACH”
- Mod Podge Satin
- Scrapbook paper or printed paper
- Acrylic paint in cream
- Bag of seashells
- Hot glue gun
- Paintbrush
- Pencil
- Scissors
- Craft knife and mat
- Brayer (optional)
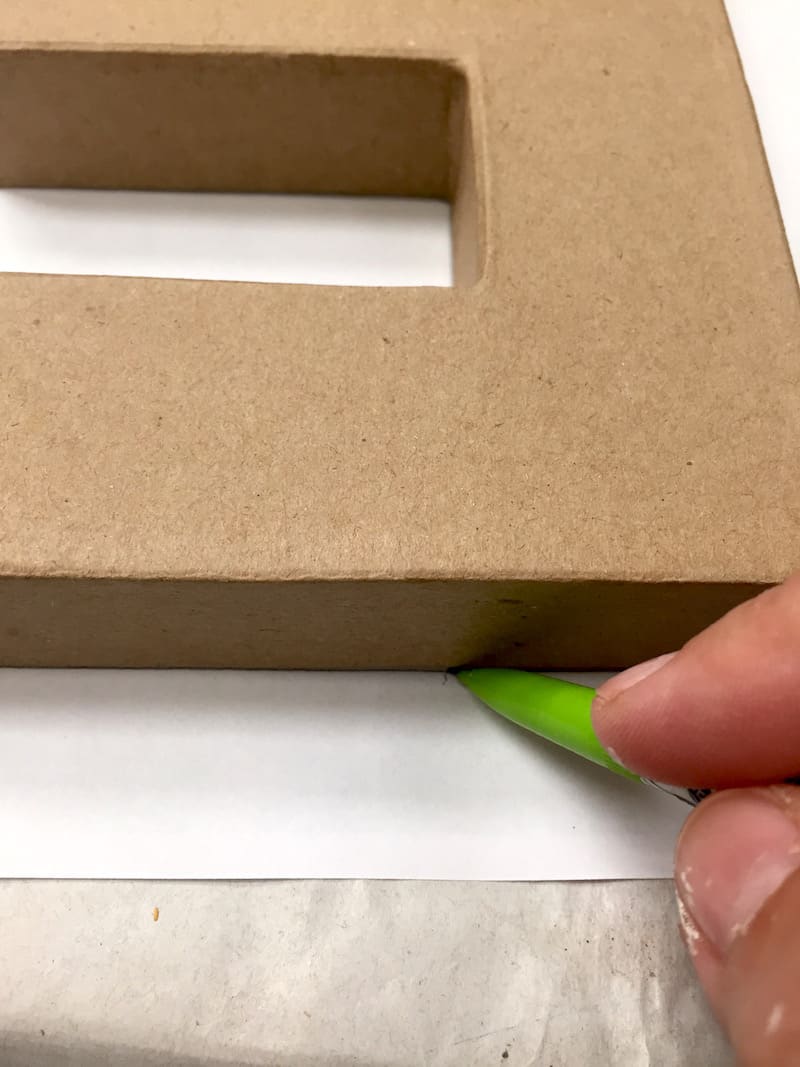
I found a cool paper pattern online and printed five sheets for “BEACH.” Place each letter face down on the back of the paper (not on the patterned side) and trace with a pencil. Any themed scrapbook paper works as well.
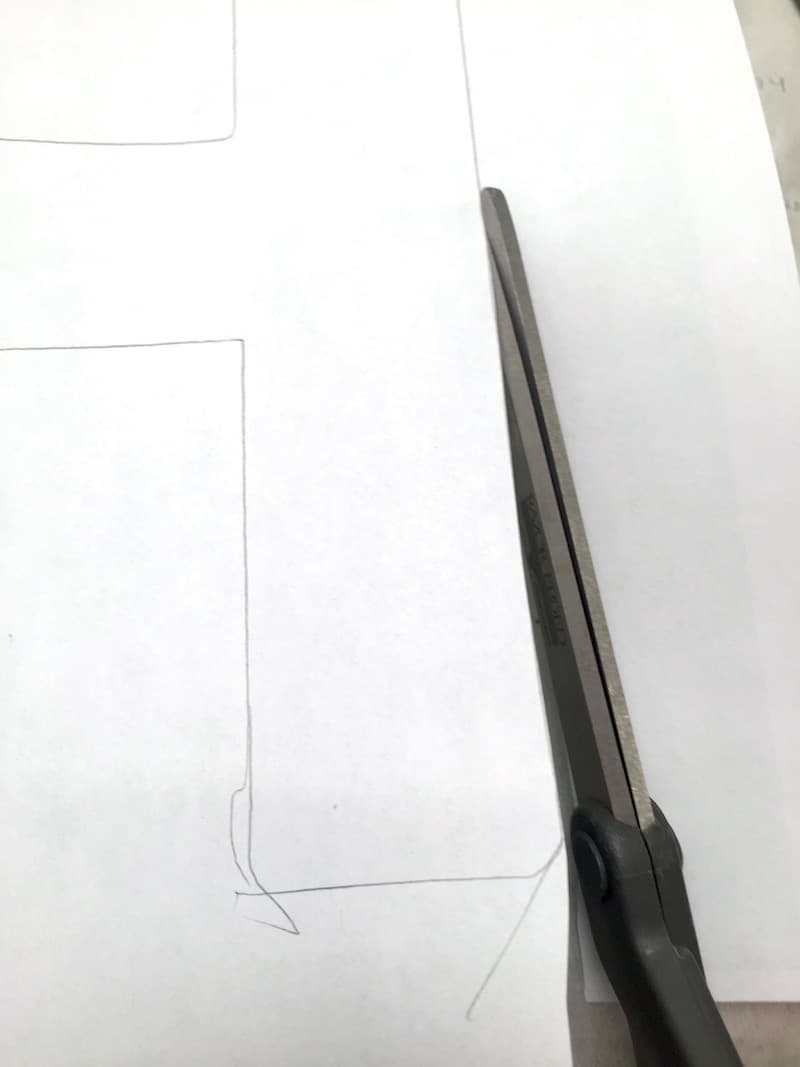
Cut out each letter with the scissors – trimming out any small areas with the craft knife and mat. Set your paper cutouts aside.
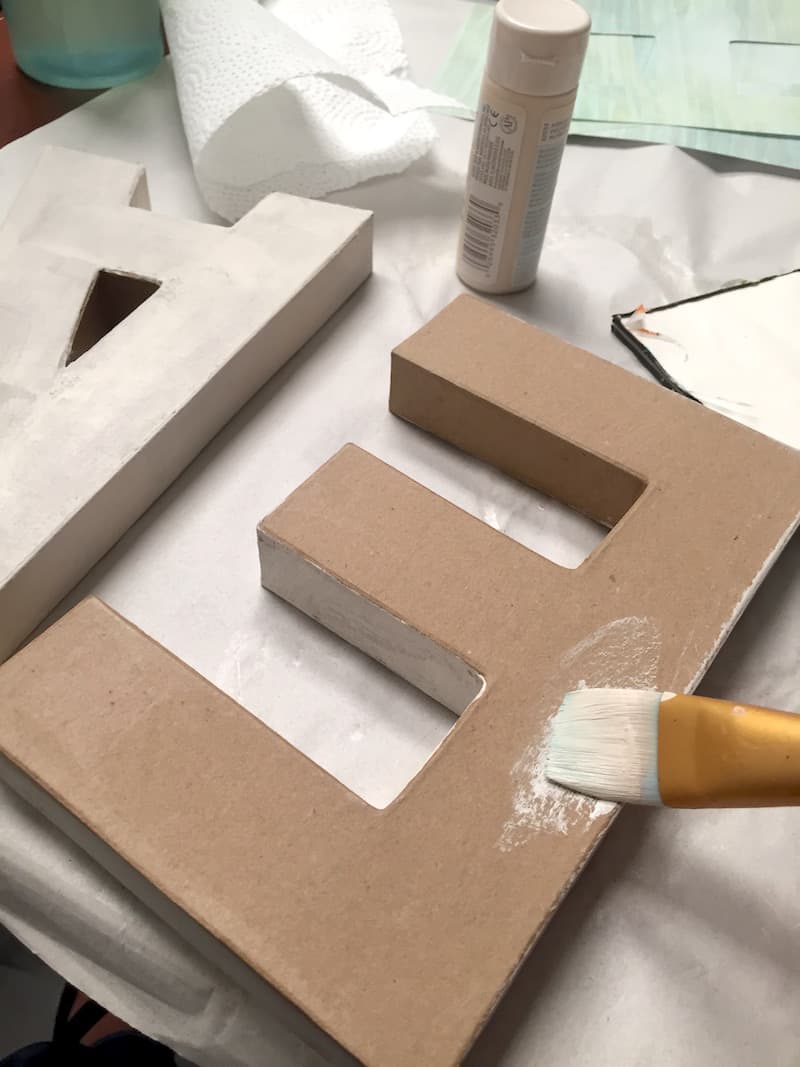
Paint each letter with several coats of acrylic paint. Use a light color such as a cream or a white (whatever light color coordinates with your paper pattern). Let dry.
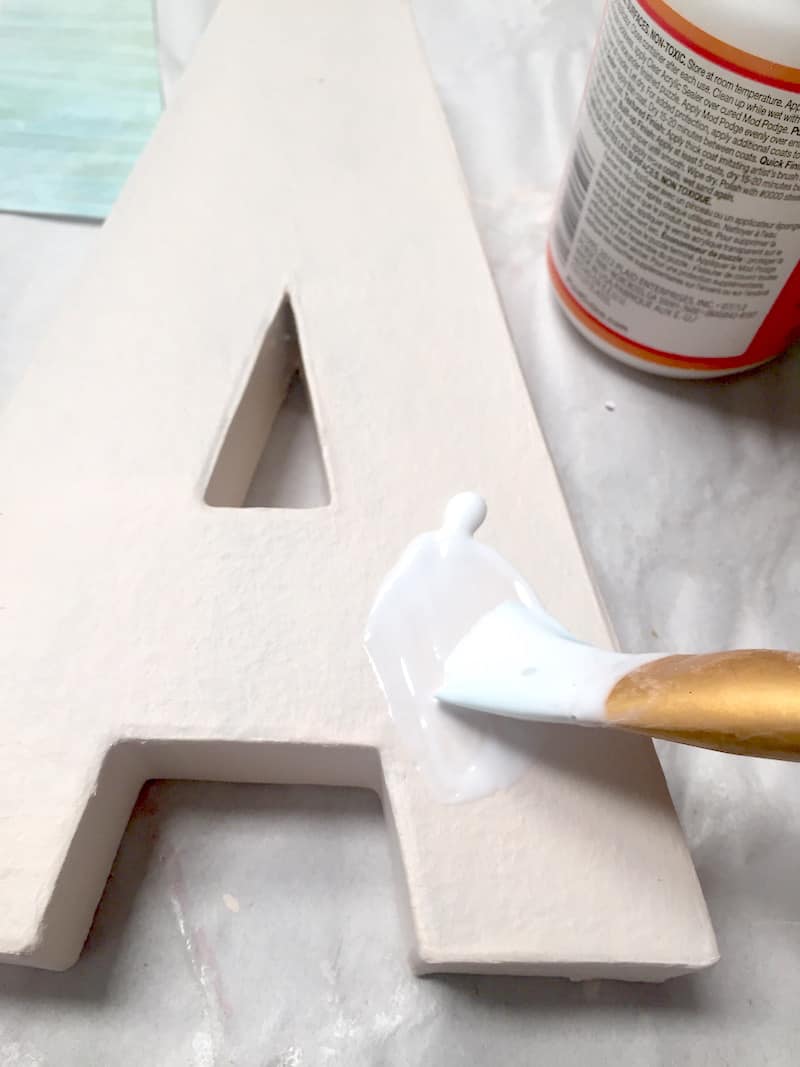
Working one letter at a time, paint a medium layer of Mod Podge on the top of the letter. Make sure to coat the whole thing.
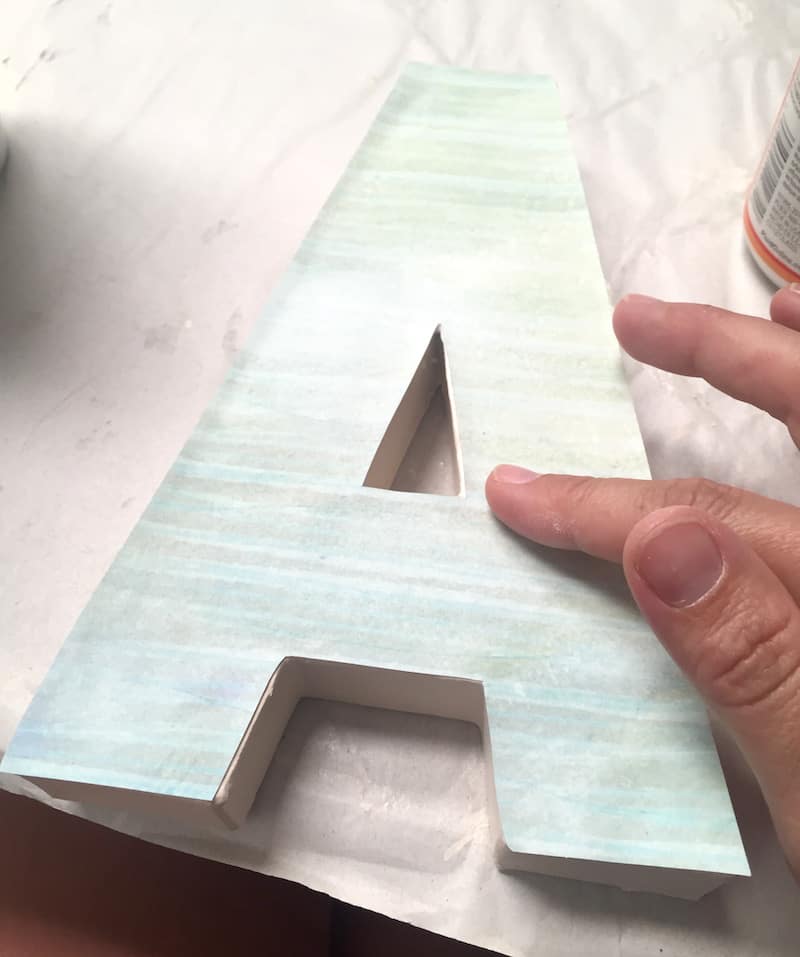
Place your paper cutout down on the top of the letter and start smoothing immediately, being sure to get all of the bubbles out of the paper.
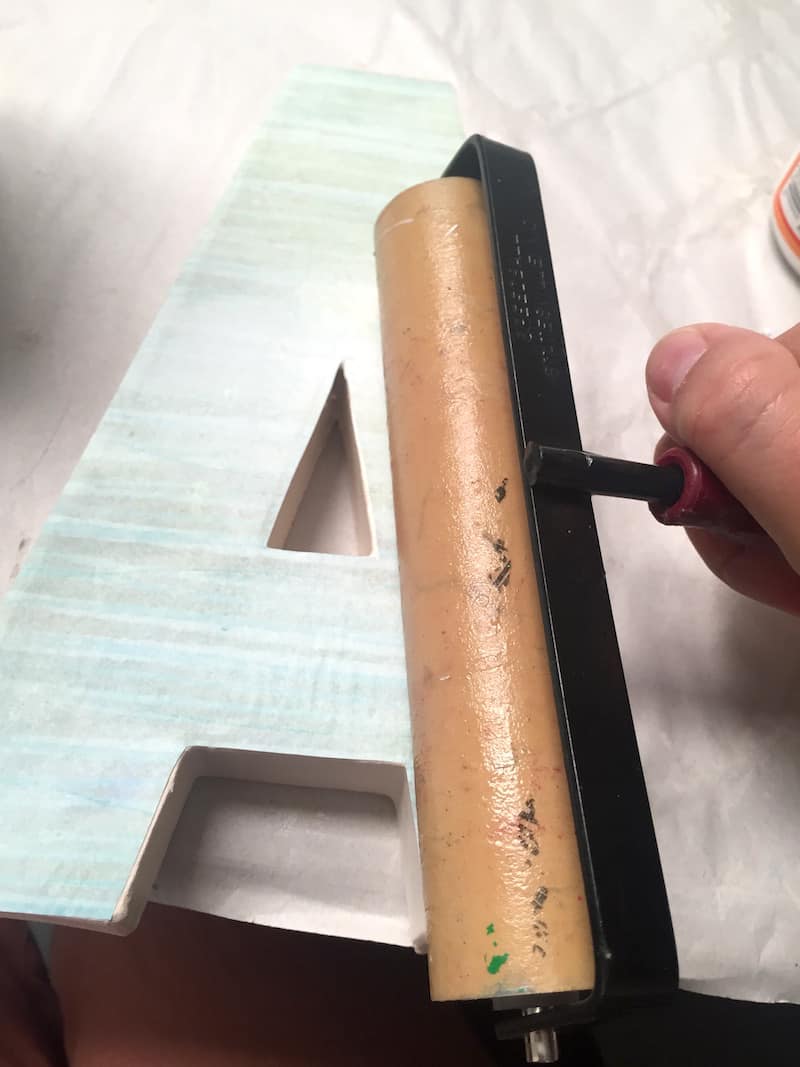
You can use your fingers, but I really love using a brayer to help me smooth! I’ll let you decide.
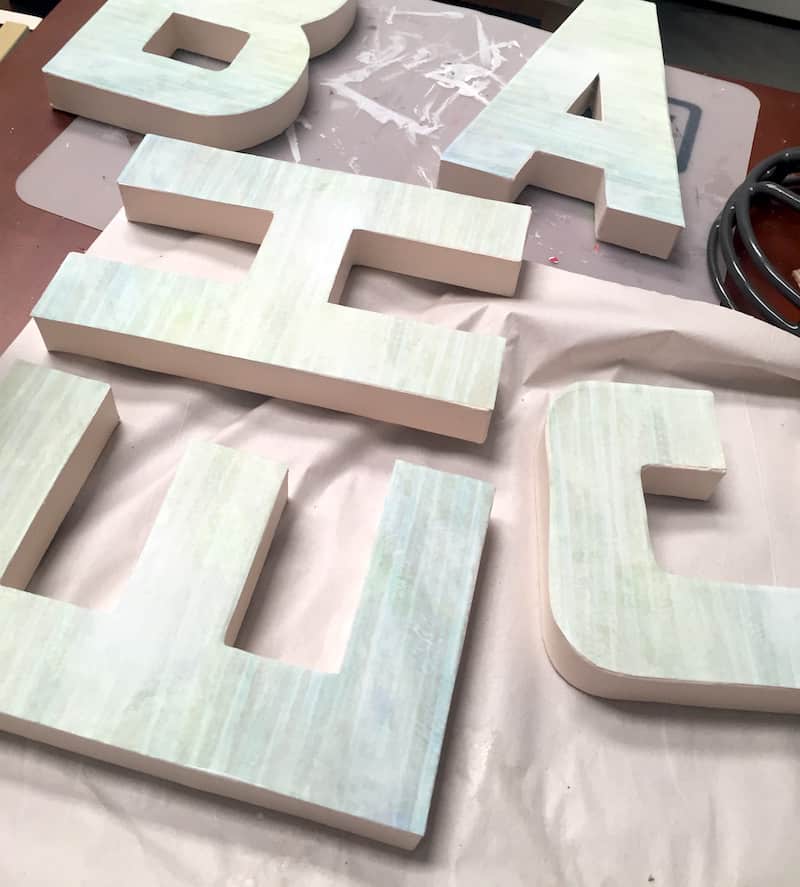
Repeat with the remaining letters – applying all of the papers on top and letting dry for 15 – 20 minutes.
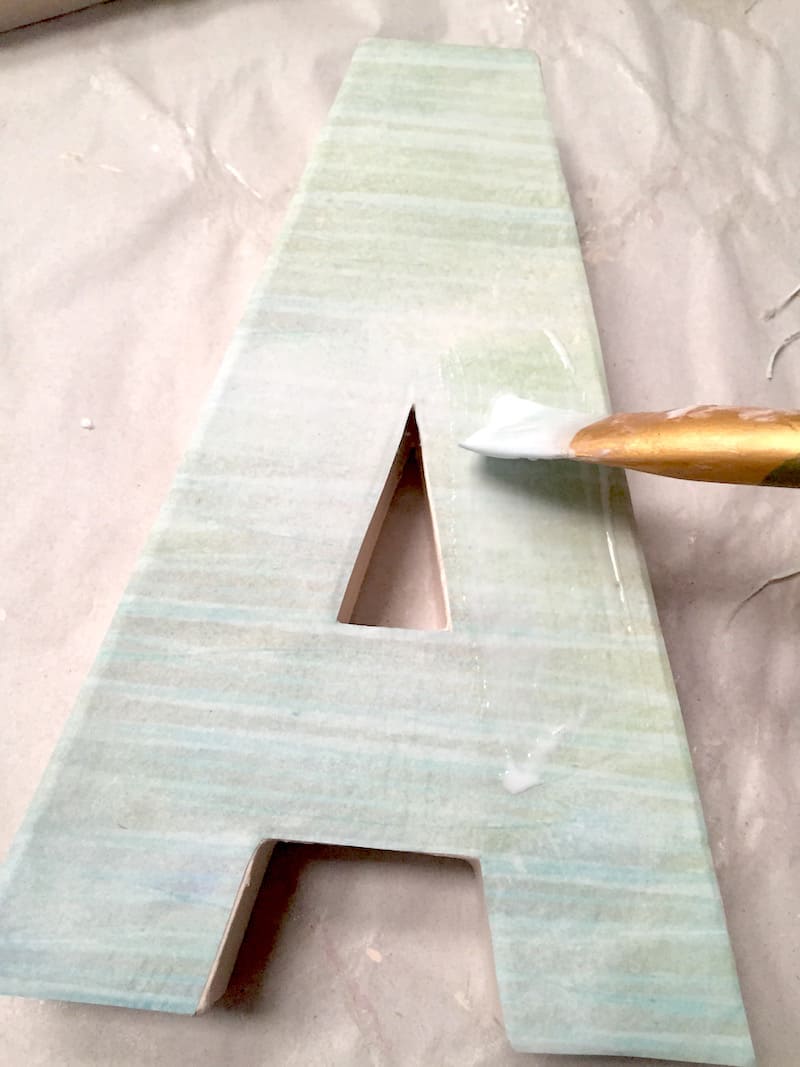
To finish your letters, coat all of them with several coats of Mod Podge and let dry.
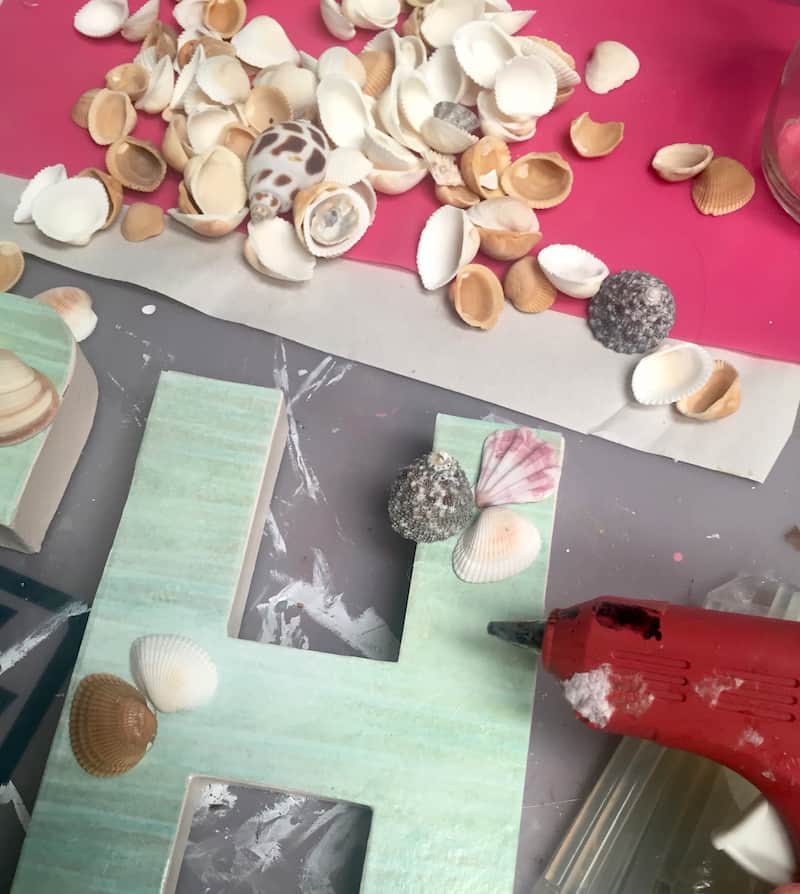
Finish the project by choosing various seashells and randomly placing them on the letters. Hot glue them down.
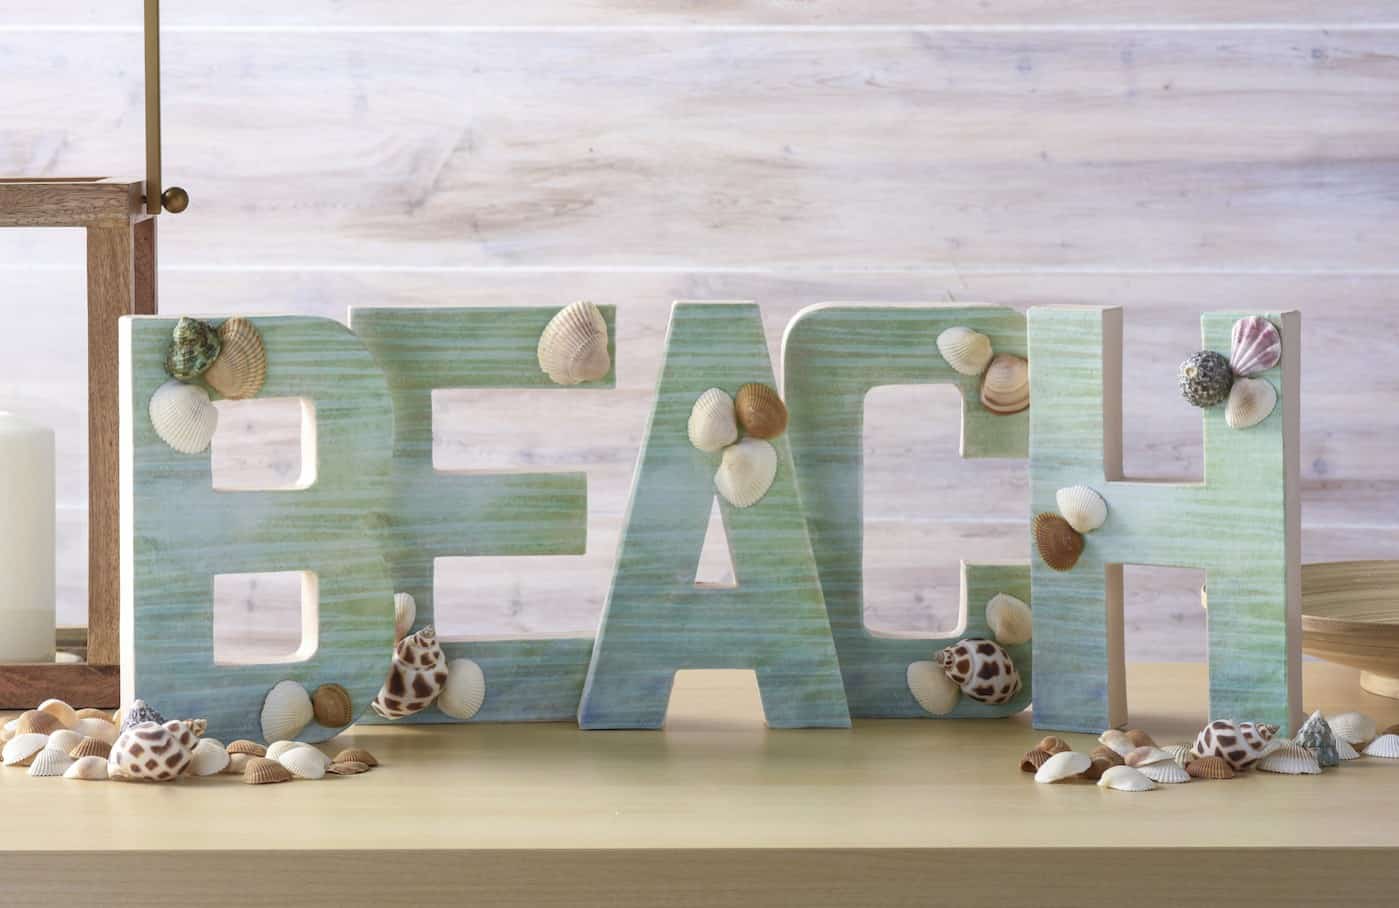
These paper mache letters stand up by themselves. They make a great display for a beach house or a summer mantel!
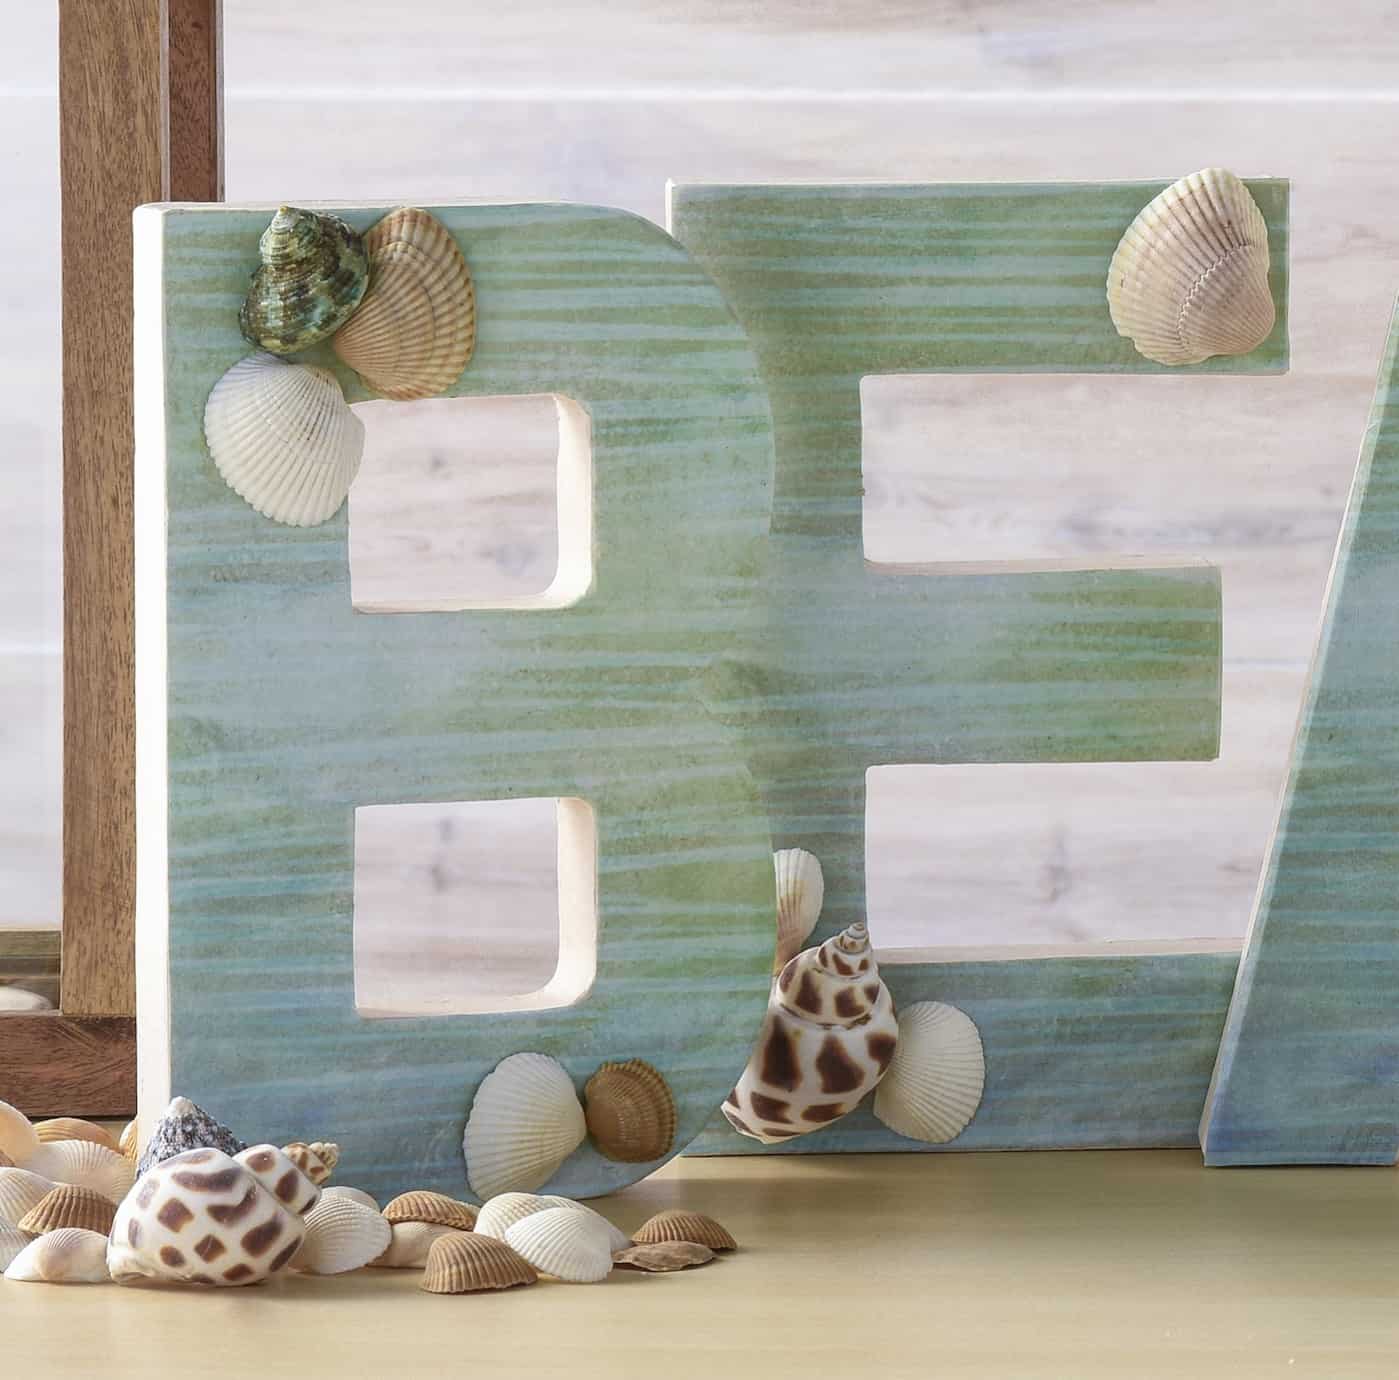
Here’s a closer look – I love my beach craft! These DIY letters are my new favorite craft. At least for today . . .
If you like working with letters in your crafts, check out these comic book letters or this letter wall decor. I’d also love for you to check out these other beach-y themed ideas!




I’ve seen similar projects but, I like the paper you chose for this. Reminds me of a rainy day at the shore.