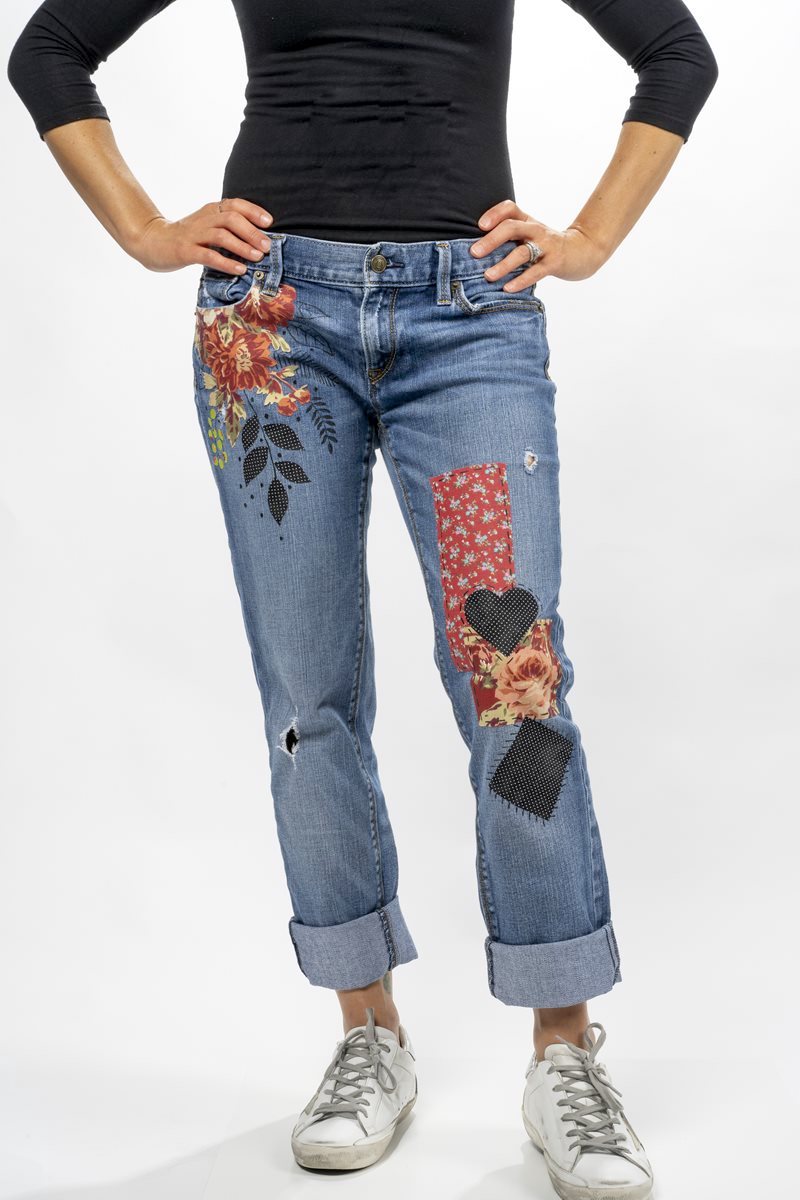
Make DIY patchwork jeans using fabric and Mod Podge! Grab some pretty fabrics and paint and an old pair of denim for this fashion project.
Skills Required: None. Even if you’ve never crafted before, you can decorate denim using this method. Since it’s no sew, you don’t need any technical skills to complete it. There’s also a video in the post to show you how it’s done.

You’re going to laugh, but I have a vice. A vice that, in my twenties, I never imagined I’d have. I love purging, cleaning out closets and drawers, and generally getting rid of stuff. Yep! It’s almost an addiction if I’m being honest.
Okay, maybe “addiction” is extreme.
But to me, there is nothing like the feeling of dropping off a bunch of stuff at the Goodwill. I just feel lighter when I drive away, both mentally and physically. Have you ever experienced anything similar or am I just crazy?
I can’t be the only one.
There is a bit of a process to deciding what stays and what goes before a donation trip. Because the thing is, I like recycled crafts. If something can become a craft surface out of the pile, I’m in. I love repurposing items!
Which – finally – brings me to this fashion craft: DIY patchwork jeans.

Patchwork Denim
You can make your own patchwork denim in three easy steps! You’re going to cut the patches, then Mod Podge them to the denim. Then you’ll add fabric paint as an accent. This step is optional but it’s a nice touch!
You’ll find that you can do this on any kind of denim: jeans, a jacket, purses, a hat . . . anything you like. This method works for all type of denim.
The only jeans you might want to avoid are the really stretchy jeggings. This is essentially a patch that won’t stretch when Mod Podged (there’s a little give, but not much). That means the jeans will stretch a lot and the patch won’t at all, which could be weird. It’s up to you!
Mod Podge Formula to Use
For this project, you’ll want to use Fabric Mod Podge. This formula is made to attach fabric to fabric and allow it to be washable. This formula is stronger than regular Mod Podge.
Fabric to Use
I recommend using a cotton or cotton blend for your DIY patchwork jeans. You can even cut up other denim to make the patches! Keep in mind that Mod Podge tends to darken fabric slightly.
You also won’t want to use anything too sheer or textured: felt, fleece, tulle, nylon, or anything similar to this is not a good choice. It just doesn’t stick well with a decoupage medium.
Are you ready to learn how to make these patchwork jeans? Check out the instructions below and take a peek at the video for a visual.
Gather These Supplies
- Jeans – prewashed, dry without fabric softener
- Mod Podge Fabric
- Fabric – 1/4 yard coordinating
- Fabric paint – black
- Scissors
- Pencil
- Wax paper or silicone mat
- Paintbrushes
To begin, wash both the jeans and scrap fabric (or denim, etc). You’ll want to dry but not use fabric softener. It can put chemicals into the denim that keeps acrylic product from sticking depending on the type.
Cut the Patches
Figure out how you are going to organize the fabric onto the jeans. You can cut the fabric into shapes (heart, stars, or just squares). Or cut out a graphic! Trace the fabric lightly with the pencil on the back of the fabric to make your shapes.
Cut around the pattern you just drew, leaving a 1/2″ extra border around the edge. If there is a specific graphic in the fabric that you are cutting, just leave a border around the design.
Loosely cut around the design or pencil lines, remembering your 1/2″ border.
Apply the Patches
Place the fabric patches onto wax paper and apply a thin coat of Fabric Mod Podge around the edges only. You’re going to go about 1″ all the way around, over the pattern lines. Let dry and cut out.
Apply a thin coat of Mod Podge to back of fabric and smooth onto your jeans. If it is over a hole, you might want to stick some wax paper into the pant leg so that it doesn’t stick to the back. Let dry.
Note: Feel free to layer fabrics! Let dry completely (overnight).
Paint the Patchwork
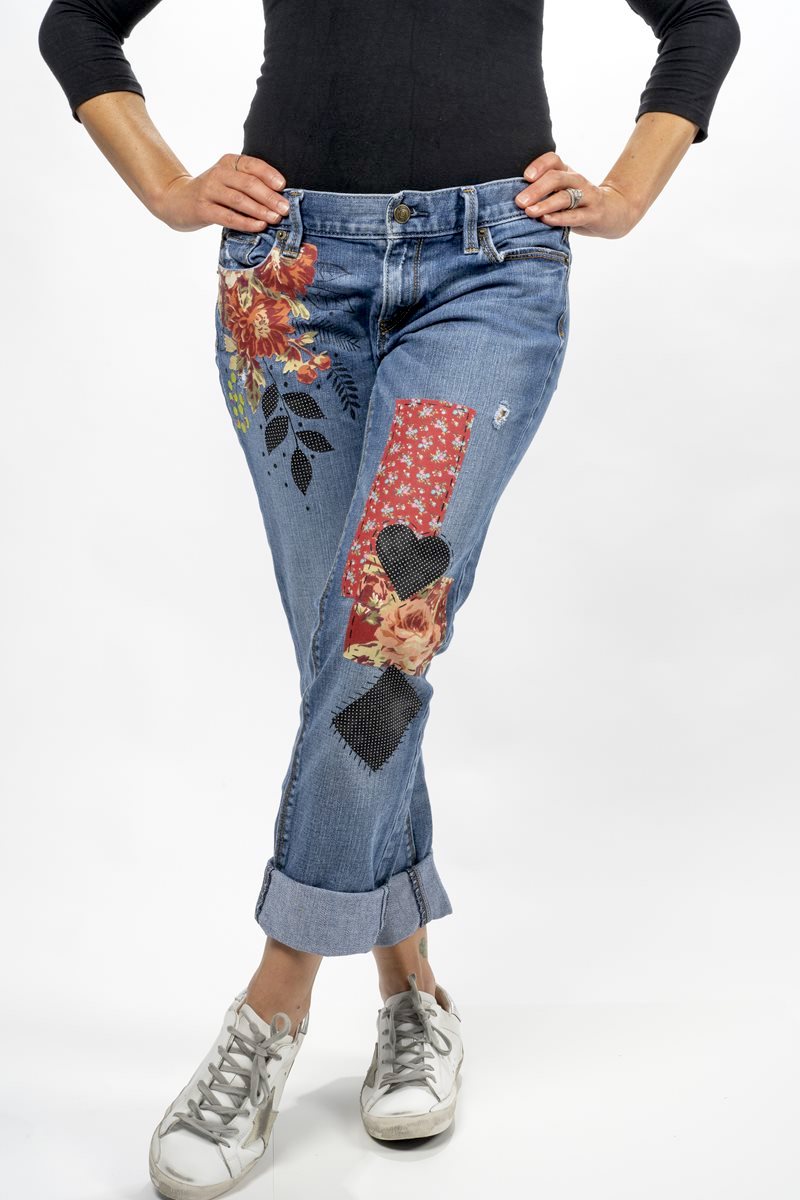
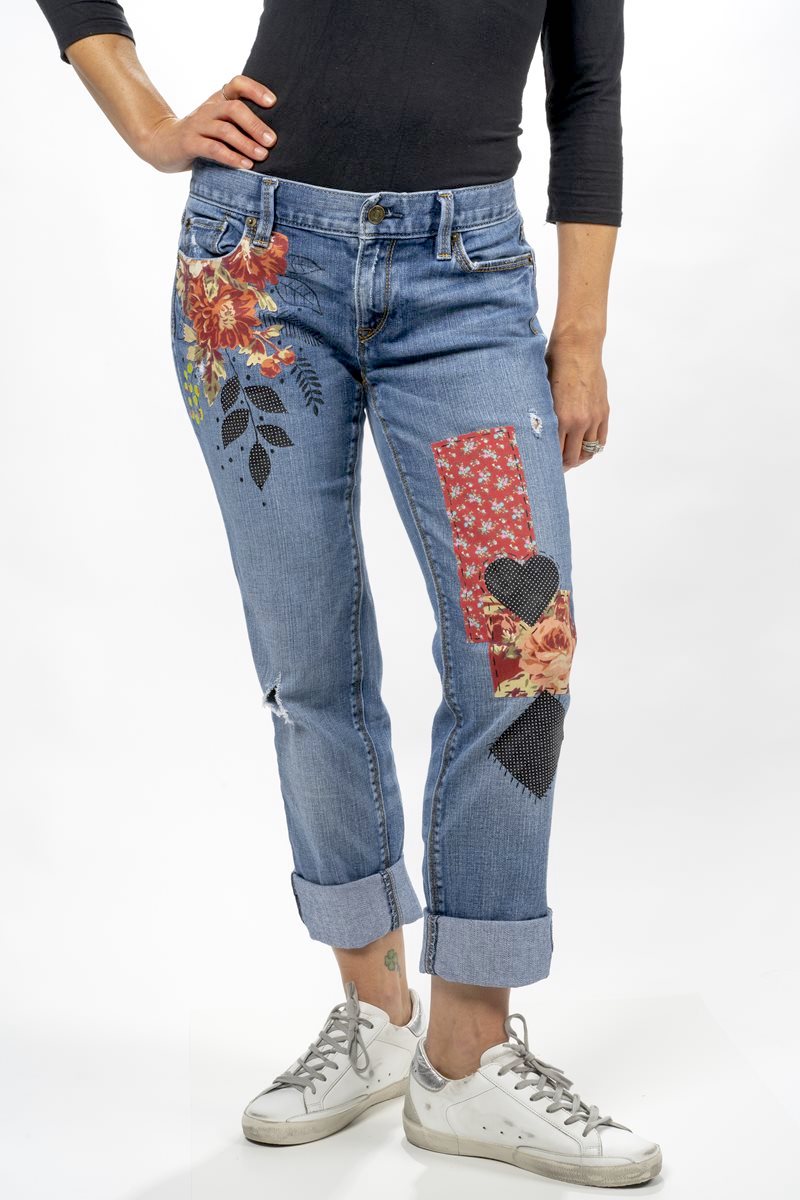
Using a small liner brush to accent the fabric patches with stitch marks. You can also add stems and leaves as shown in the finished photo. Let dry.
Heat set with a warm iron (or whatever the instructions are on your fabric paint bottle).
Once your DIY patchwork jeans are done, you can wear them! Well, when they are dry. When you wash them, I advise you to turn them inside out and do cold water. This is just so your creation lasts as long as possible!

How do you feel? You pulled something from the Goodwill bin and now you have something new to wear. Are you ready to get the printable how-to? Check it out below.
DIY Patchwork Jeans
Equipment
- Wax paper
Materials
- Jeans prewash if new
- Mod Podge Fabric
- Fabric paint color of your choice
- Fabric coordinating scraps
Video
Instructions
- Wash and dry the fabric and jeans without using fabric softener.
- Cut the fabric into shapes (you can use the pencil to draw a pattern). Cut around the pattern with scissors, leaving a 1/2" border.
- Place the patches into the wax paper and apply a thin coat of Fabric Mod Podge to the edges only. Let dry. The cut out.
- Apply thin coat of Mod Podge to back of fabric and smooth onto jeans. Let dry.
- Using small liner brush to accent fabric areas with stitch marks and stems and leaves as shown. Let dry.
- Heat set with warm iron. Wash inside out and line dry.
Notes
If you enjoyed these patchwork jeans, I’d love for you to take a peek at these other fashion ideas here on the blog:


The Jean project is great but the patches didn’t stick that well. So I ended up sticking them on.