
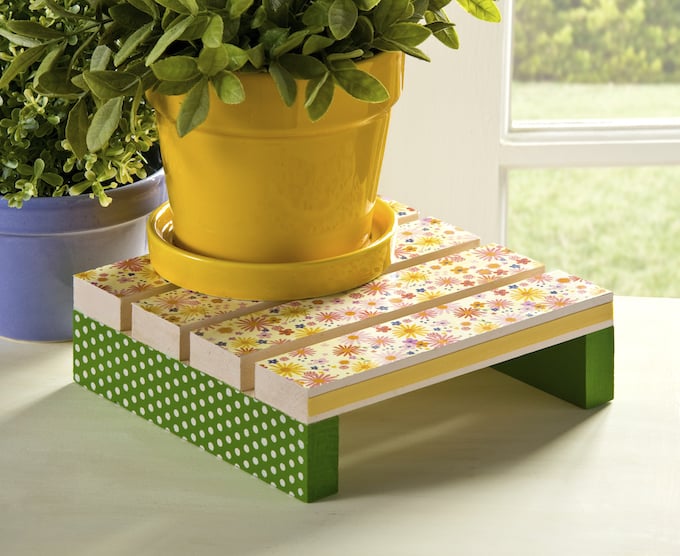
Learn how to decorate a simple wood plant stand from the craft store using paper, decoupage medium, and adhesive stencils – AND it’s waterproof!
The wood stand I used in this spring craft is one of those items that in my craft stash for a while. And by “one of those items” I mean the wood plant stand. I got all caught up at the craft store and, in a frenzy of throwing things into my cart, this guy jumped in.
I realized if I wanted to make it into a proper plant stand that I would need to use some Outdoor Mod Podge, along with other supplies of course. So I dug around and made it happen!
And I even got to use my Mod Podge adhesive stencils, so that was thrilling too. Here’s how I did this wood craft.
Decorate a Plant Stand
Gather These Supplies
- Wood plant stand
- Mod Podge Outdoor
- Adhesive stencil – Dots
- Acrylic paint – get a multi-surface or outdoor type
- Scrapbook paper
- Stencil tape
- Craft knife and mat
- Ribbons
- Scissors
- Mod Podge Spouncers
- Paintbrushes
- Craft glue
- Ruler

Measure the wood slats on the top of your plant stand. Using the craft knife and ruler, cut out enough paper to cover the slats (I used four strips). Set the paper aside.
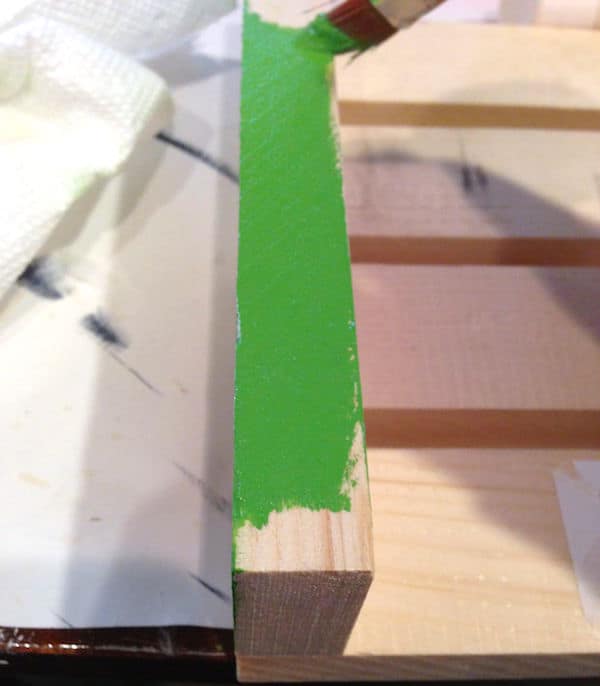
Paint the top of the plant stand with warm white and the base with green. Paint several coats and let them dry. You don’t absolutely HAVE to use the outdoor paint, but I highly recommend it.
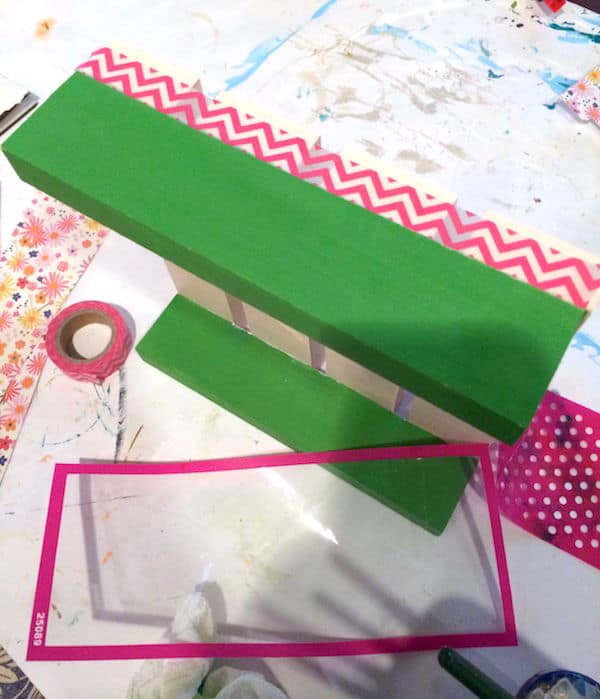
Apply the polka dot peel n’ stick stencil to one side of the plant stand, taping off any areas that you don’t want paint to get onto. I just used washi tape as my “stencil tape” – and I smoothed down the stencil thoroughly.
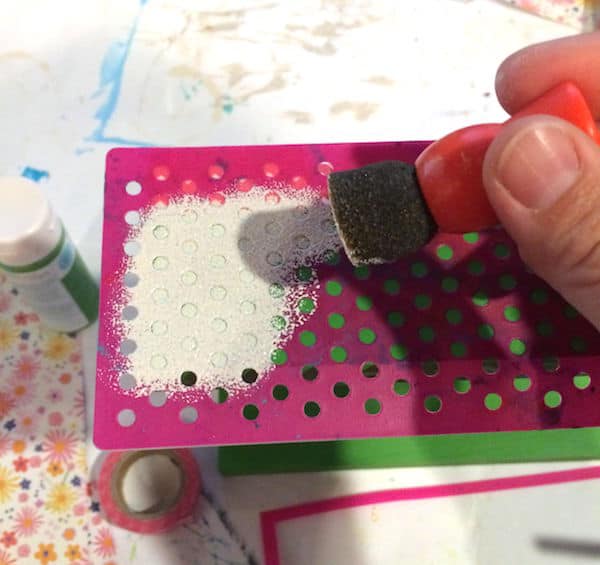
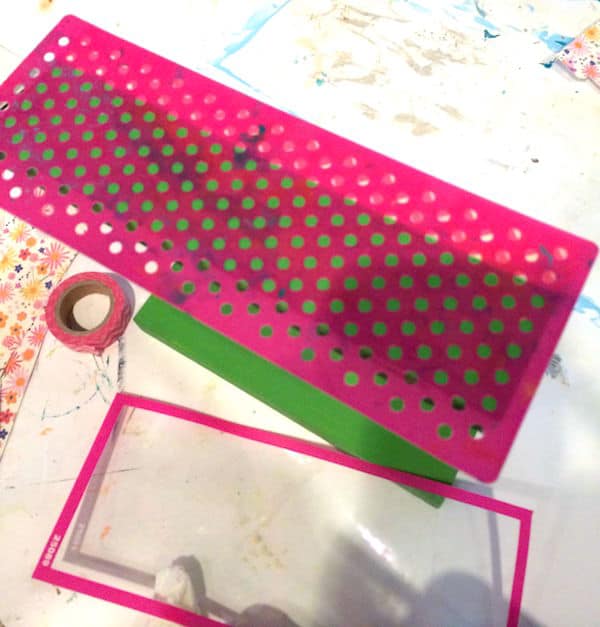
Use a spouncer to apply the warm white paint to the stencil. Peel up the stencil immediately, wash and return to the backer sheet.
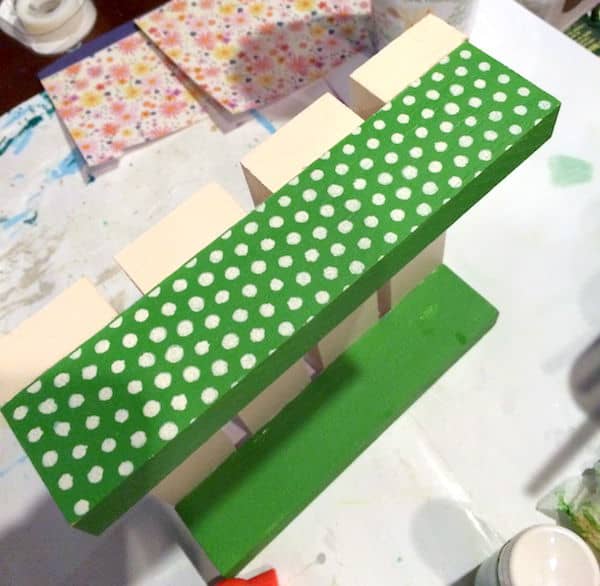
Let the paint dry on the stand and repeat on the other side.
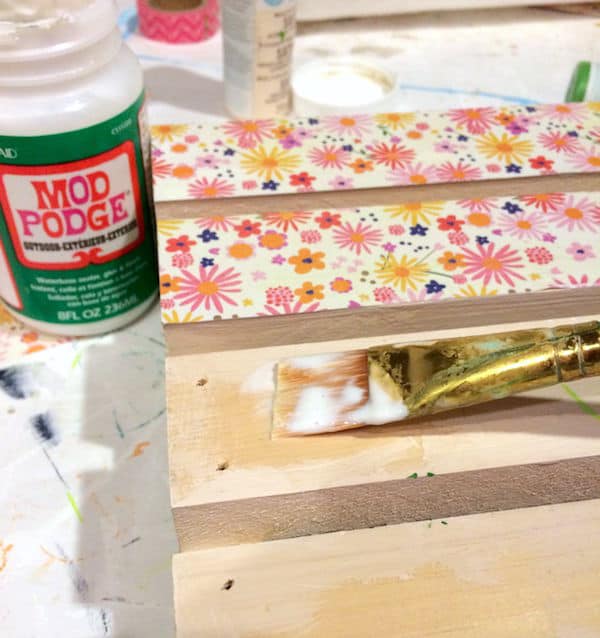
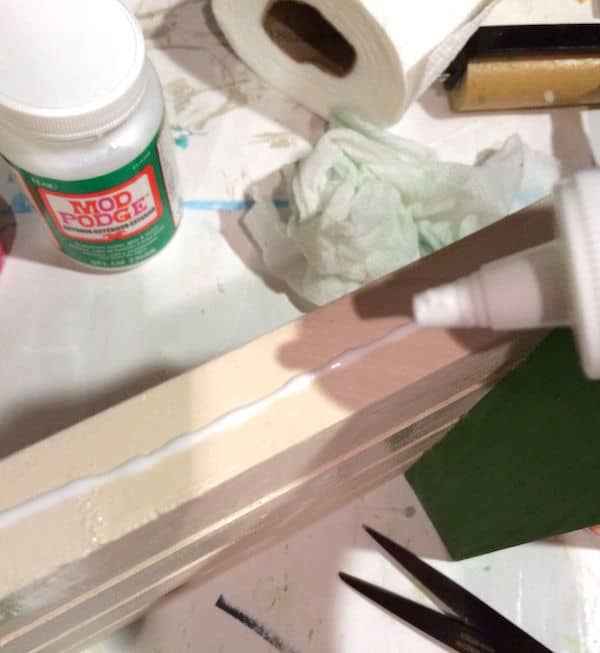
Apply the strips of scrapbook paper to the top of the plant stand using Mod Podge Outdoor. Let dry for 15 – 20 minutes, then put on a top coat. Let dry.
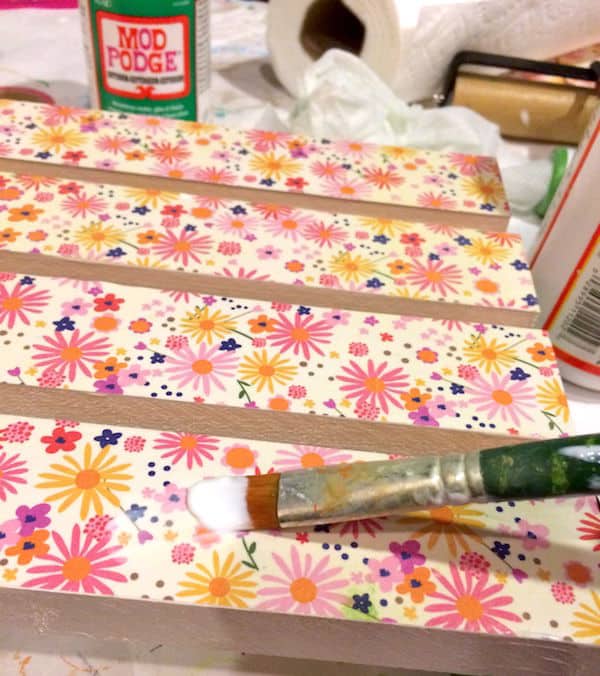
Give your plant stand several coats of Mod Podge Outdoor, letting them dry in between.
Finish it off by adding ribbon to the ends with craft glue.
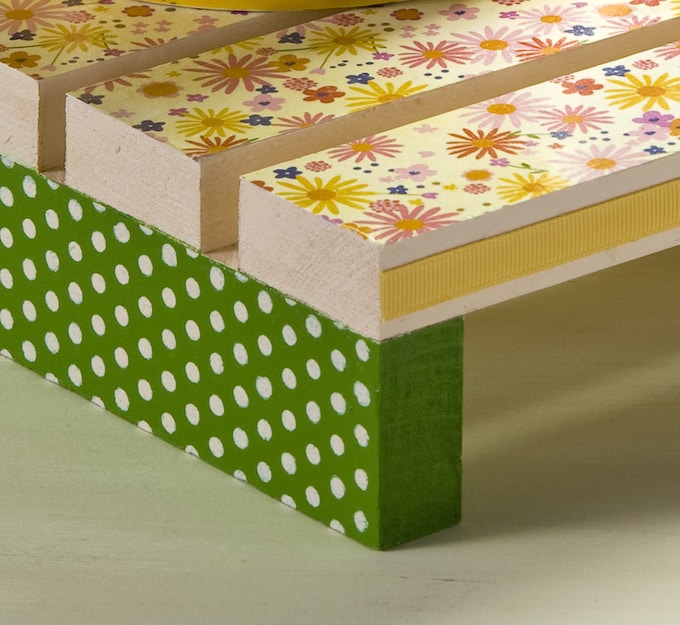
You’re all done! The only thing to remember – water can get on the slats and your project will be fine, you just don’t want it to pool there for too long. Wipe it away so your project doesn’t get damaged.
Have fun and happy spring! If you enjoyed this idea, I’d love for you to check out these other cute projects:


Cute! The peel n stick stencils are such a good idea.
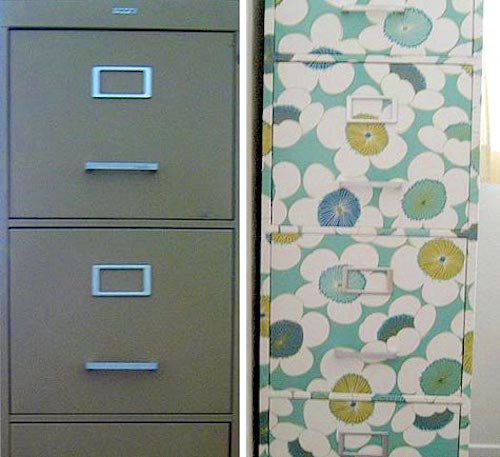
What a cute plant stand! Love all the bright colors and the different patterns.
Hi Amy,
I want to make some outdoor planters for my patio and I need them to be waterproof when finished. You mentioned to use a final sealer, however, you did not mention what. I live in the Seattle Area (rain forest) and have also lived in sunny AZ. Would really appreciate it if you would be so king and give me some suggestions, I have no idea what kind of finish would be waterproof. Love your ideas. Thanks,
Sam
Hi Sam! I live in Washington too, outside of Portland! So I am right there with you. Thompson’s WaterSeal is the kind of product you want. But there are products like this too: https://www.homedepot.com/p/Olympic-WaterGuard-11-oz-Clear-Multisurface-Waterproofer-Spray-55548XIS-54/306321404
Depending on how many you make and how much you need, I would get one of these two products. 😀 Thank you for the kind words!