
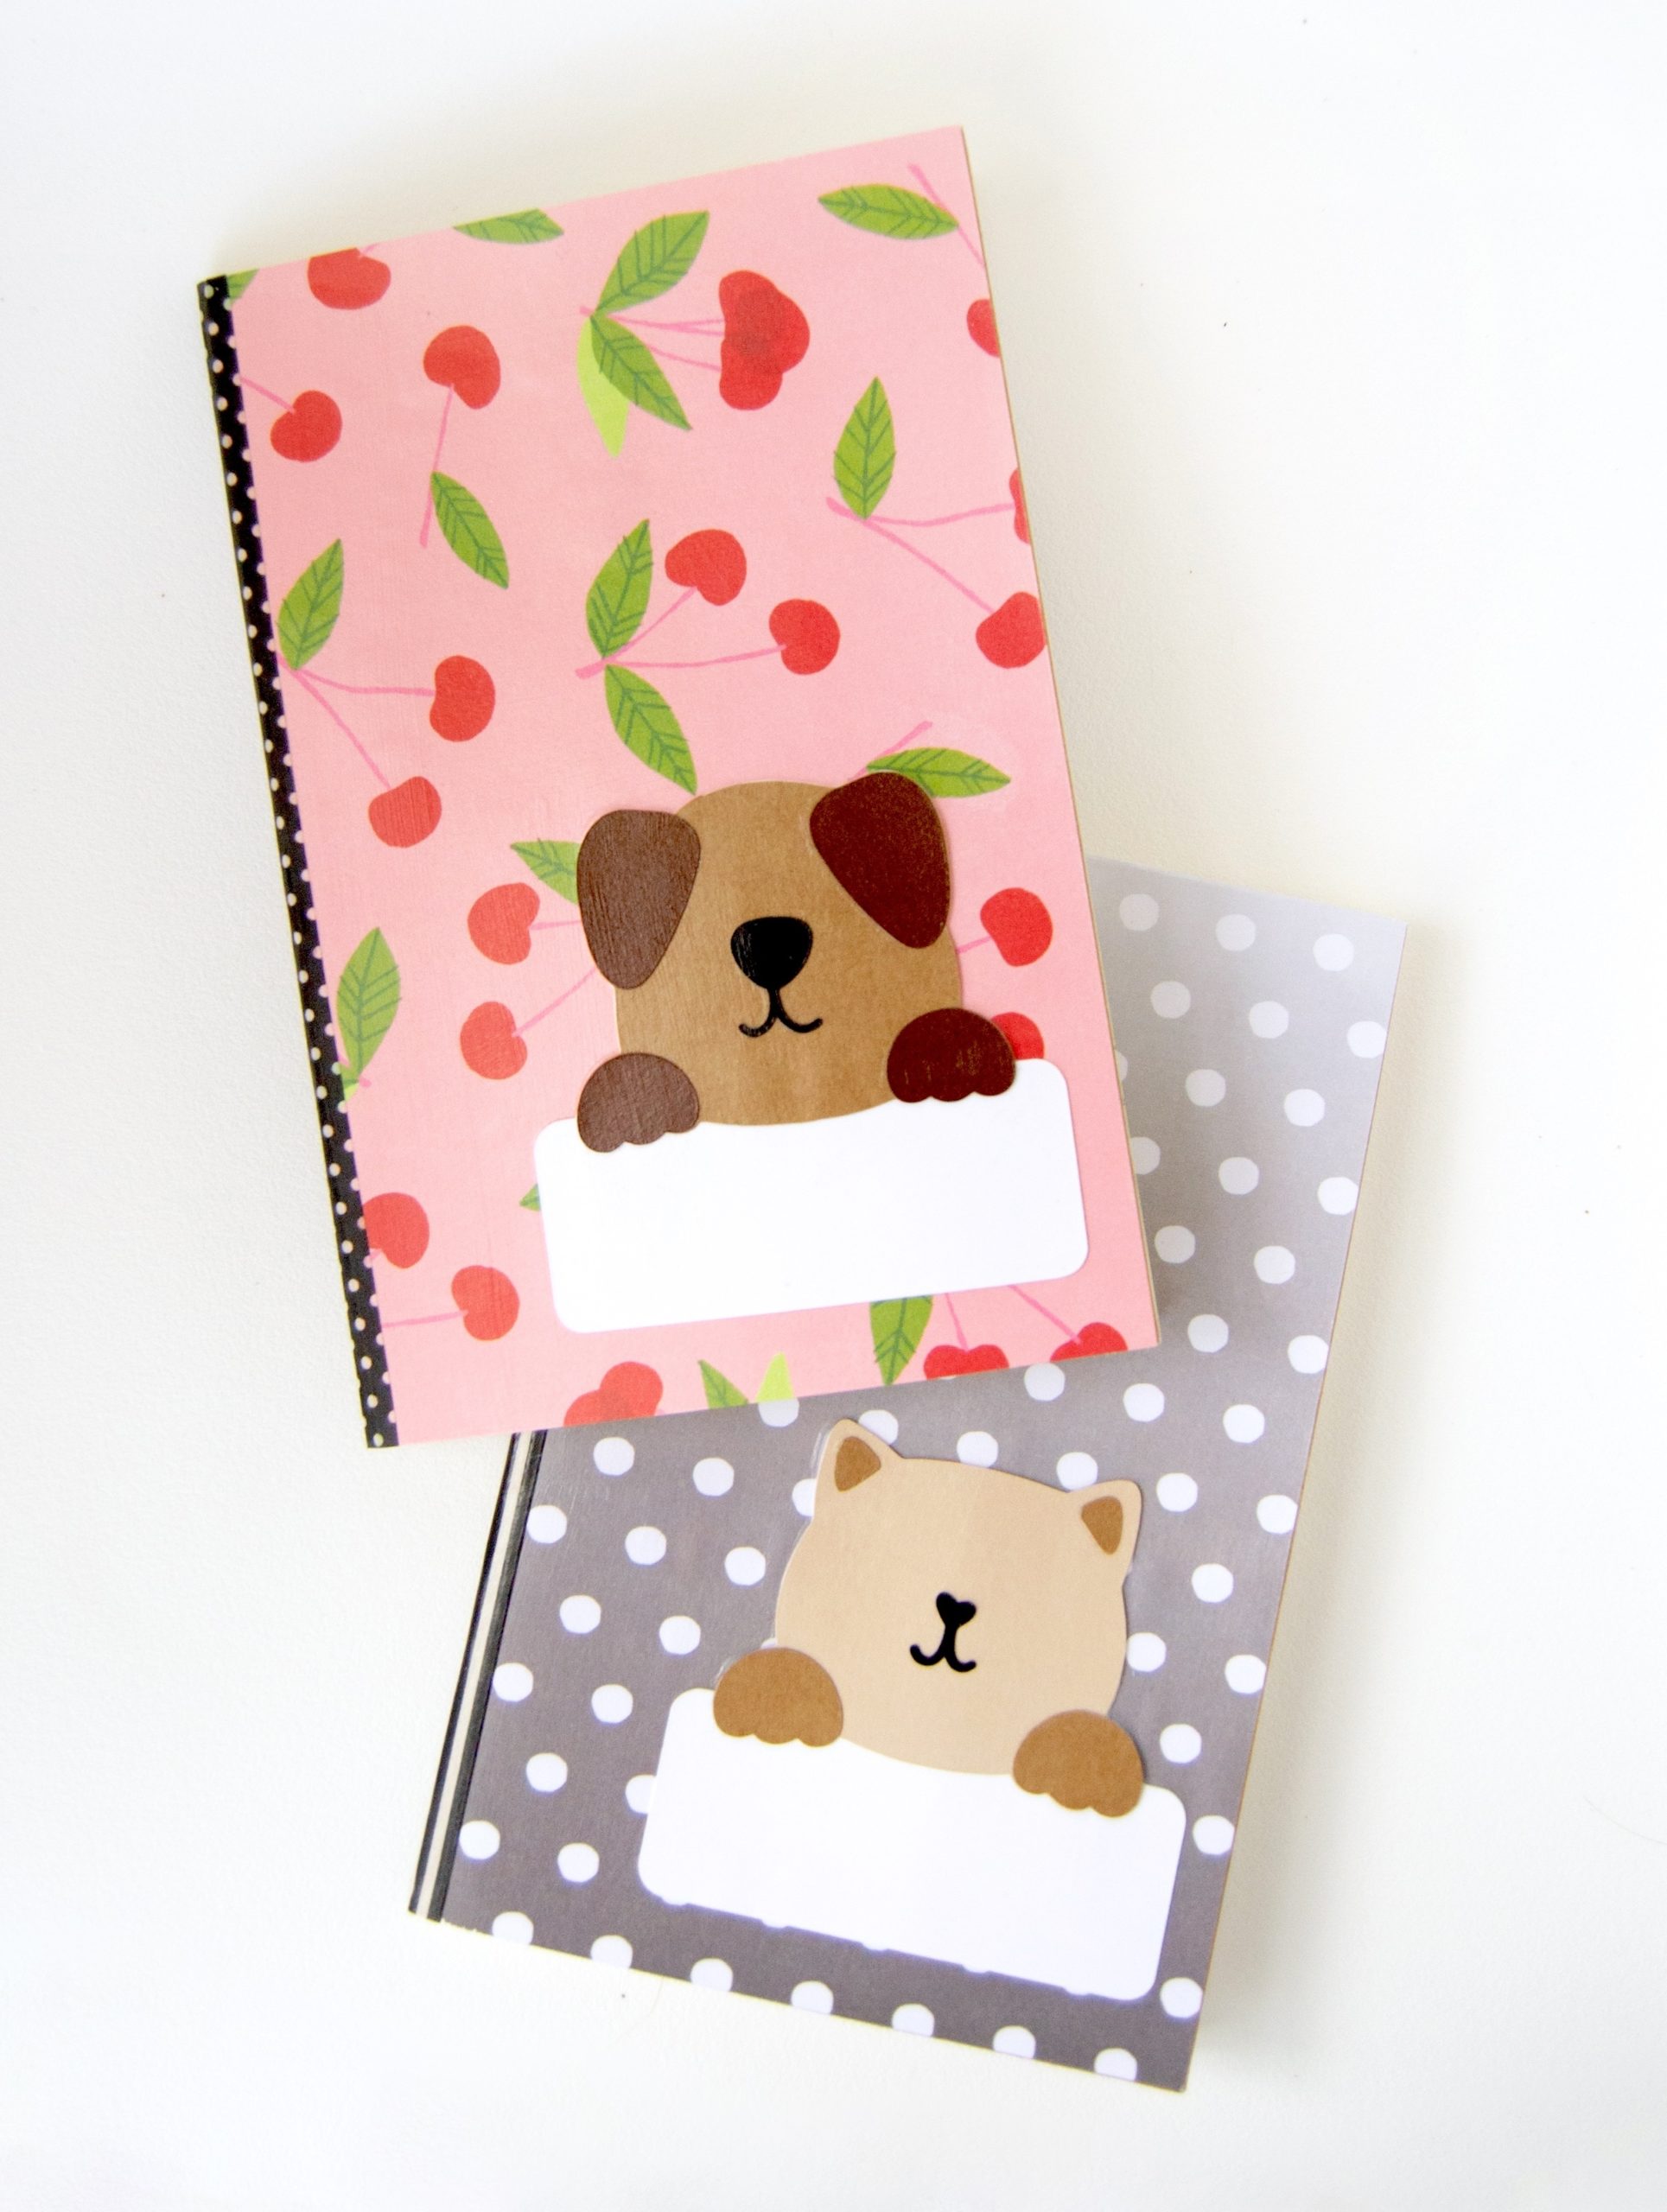
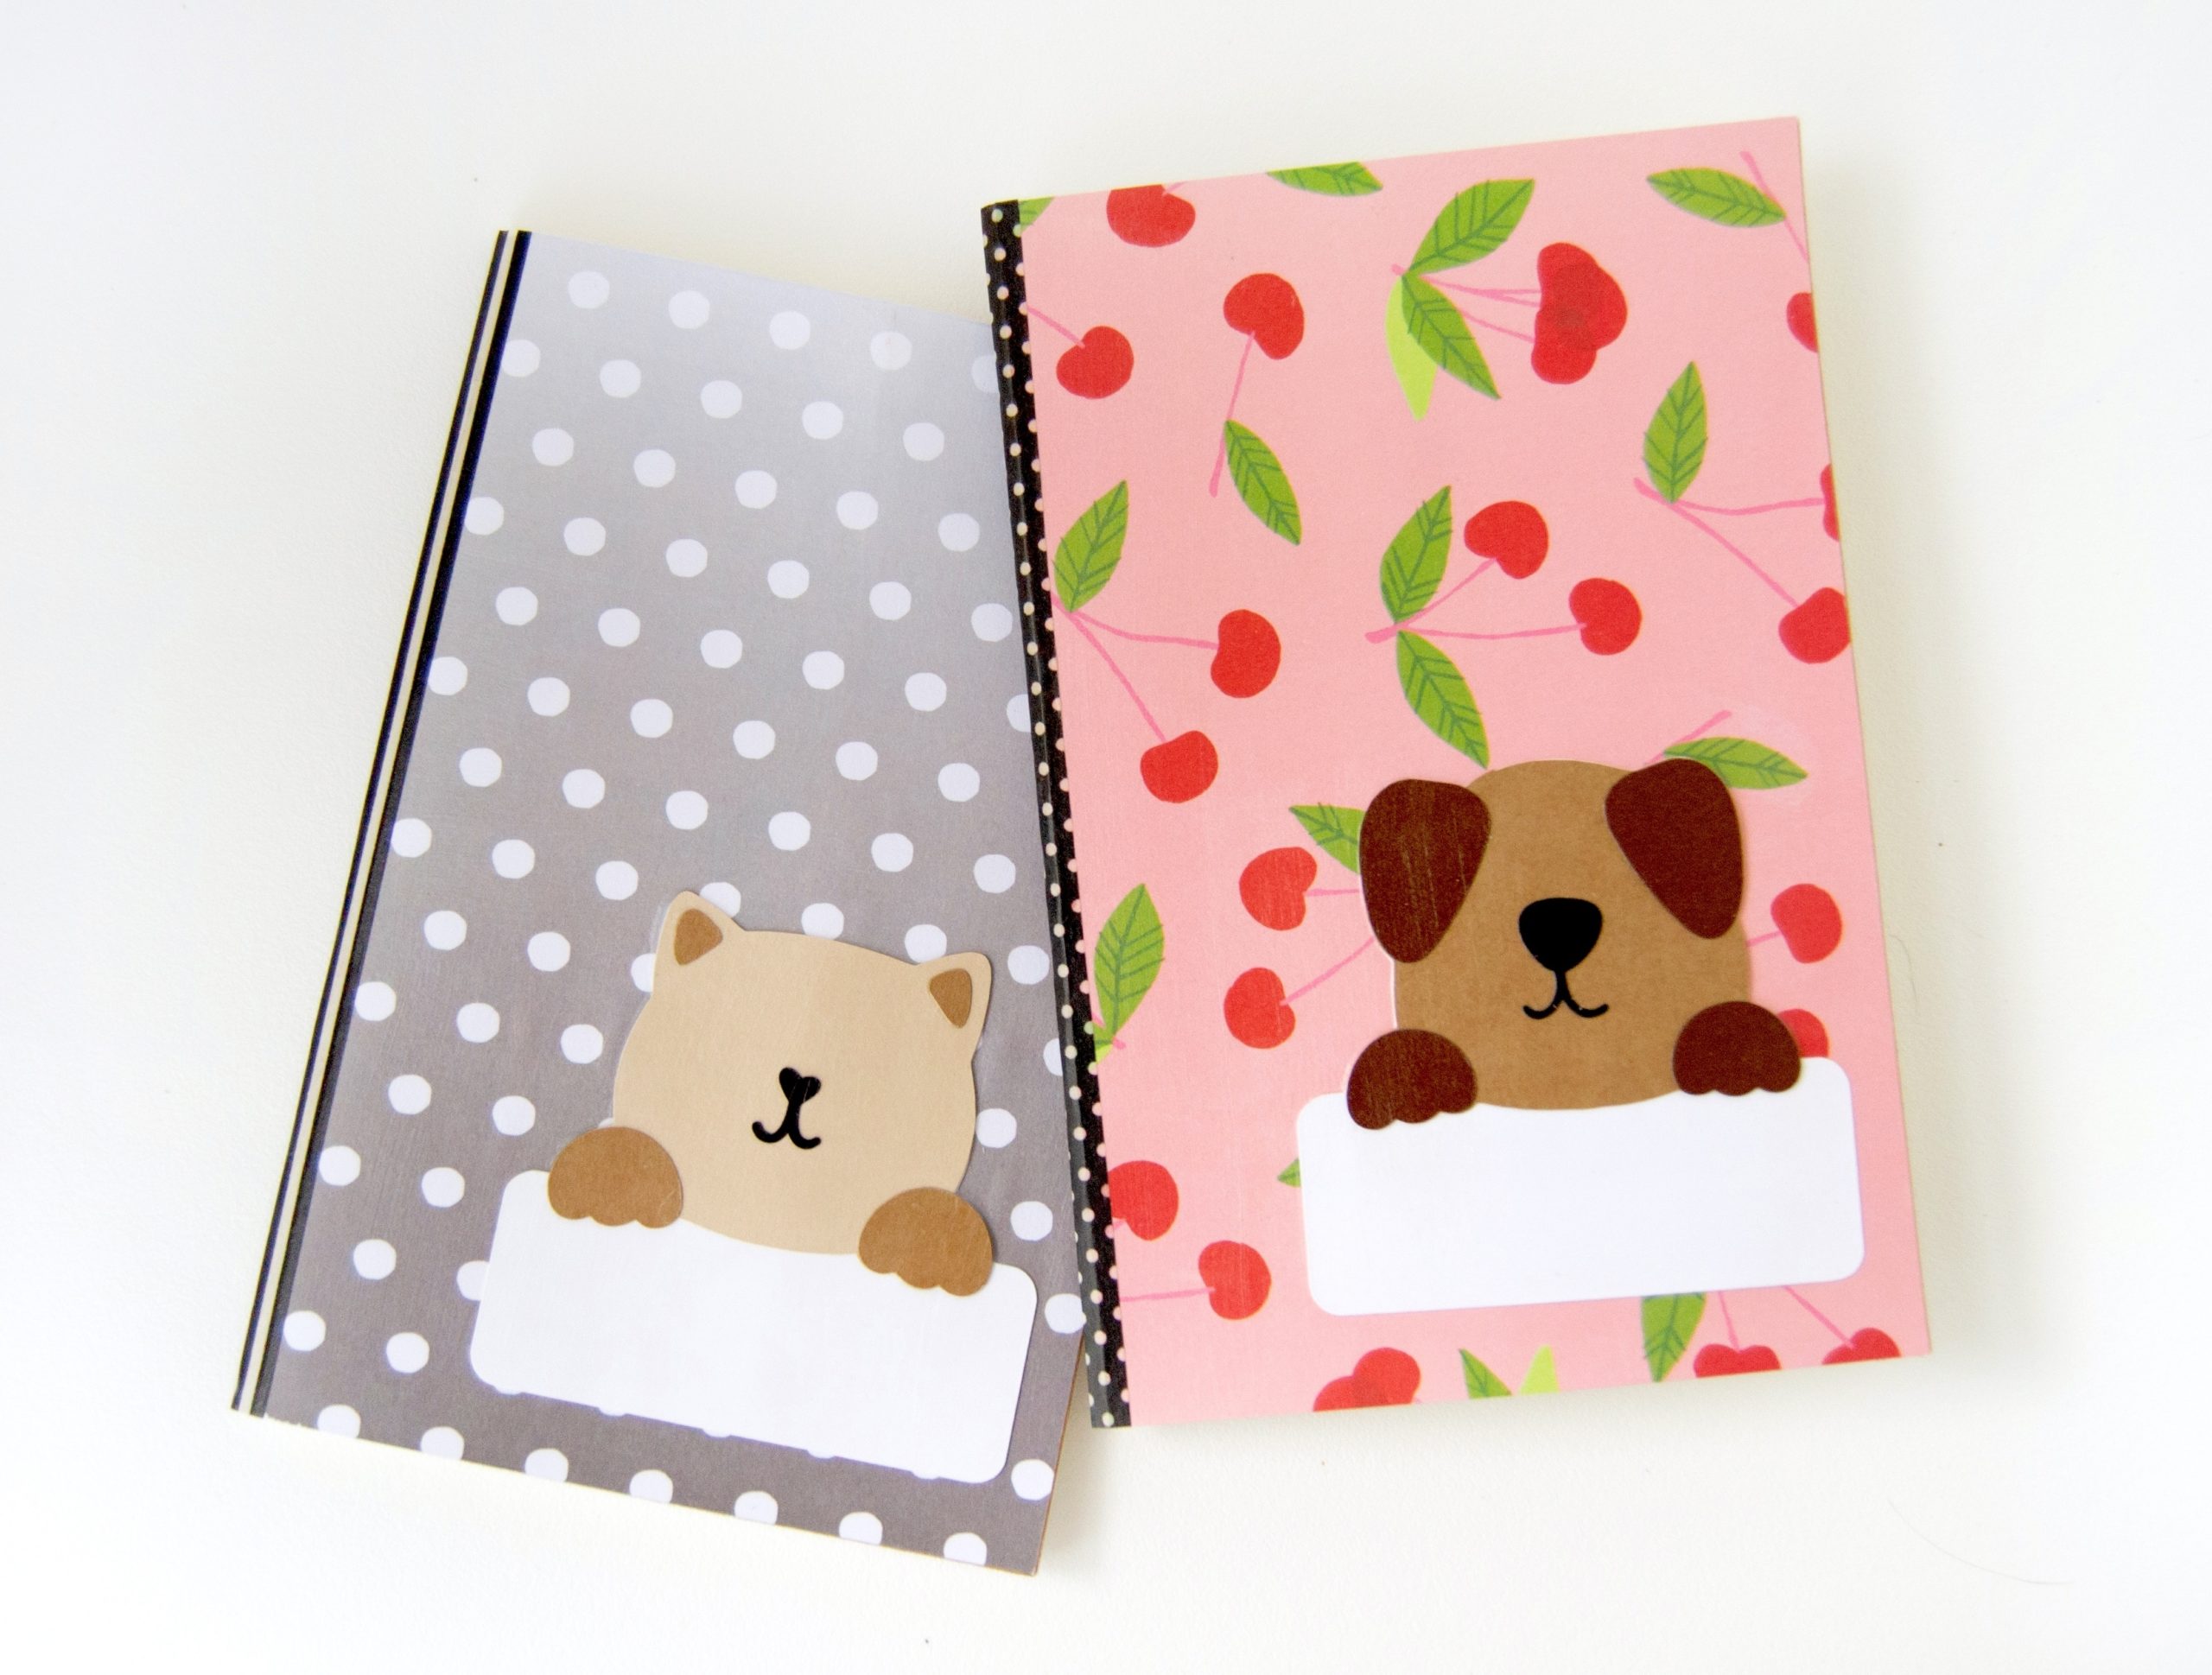
Transform your stationery with this easy DIY notebook cover guide! You can personalize any notebook with simple materials and techniques. Perfect for planners, journals, and handmade gifts.
Skills Required: Beginner. It helps to have experience with Mod Podge to avoid wrinkles. Thicker paper is easier to decoupage than thinner paper, so just keep that in mind.

Have you ever stared at your stack of plain, uninspiring notebooks and felt a creative itch? Maybe you’ve thought, “Surely, there’s a way to jazz these up without breaking the bank or needing the skills of a professional artist.”
Well, fellow easy craft enthusiasts, you’re in luck! Today, we’re journeying into the colorful world of notebook personalization with a project that’s as fun as it is functional.
Say goodbye to bland covers and hello to your next favorite crafting session with a DIY notebook cover tutorial using none other than the crafting MVP, Mod Podge.
Why settle for a store-bought design that doesn’t quite capture your unique style or the message you want to convey? With just a few materials – some decorative paper, a brush, and our trusty Mod Podge – you can transform any ordinary notebook into a masterpiece that screams ‘you.’
Imagine pulling out a notebook out of your purse or school bag that not only serves its purpose but also reflects your personality, interests, or even your mood at the moment you created it.
Whether you’re an experienced crafter or a newbie eager to dip your toes into the crafting world, this tutorial is designed to ensure you come out the other side with something you’re proud to show off.
But why stop at notebooks? Once you master this technique, you’ll see potential covers everywhere—journals, planners, sketchbooks, you name it.
And let’s not forget the endless possibilities for personalized gifts. Who wouldn’t love to receive a beautifully crafted notebook, tailor-made just for them?

So pick out some eye-catching paper and let’s get started on creating a notebook cover that not only stores your thoughts but also showcases your creativity.
Stay tuned, and let’s unleash some crafting magic together! First, here’s what you’re going to need.
Gather These Supplies
- Notebook(s)
- Scrapbook paper – or other decorative paper
- Cardstock – if desired for accents
- Washi tape
- Mod Podge – formula of your choice
- Paintbrush
- Ruler
- Scissors or craft knife and mat
- Parchment paper or wax paper
- Acrylic spray sealer (optional)
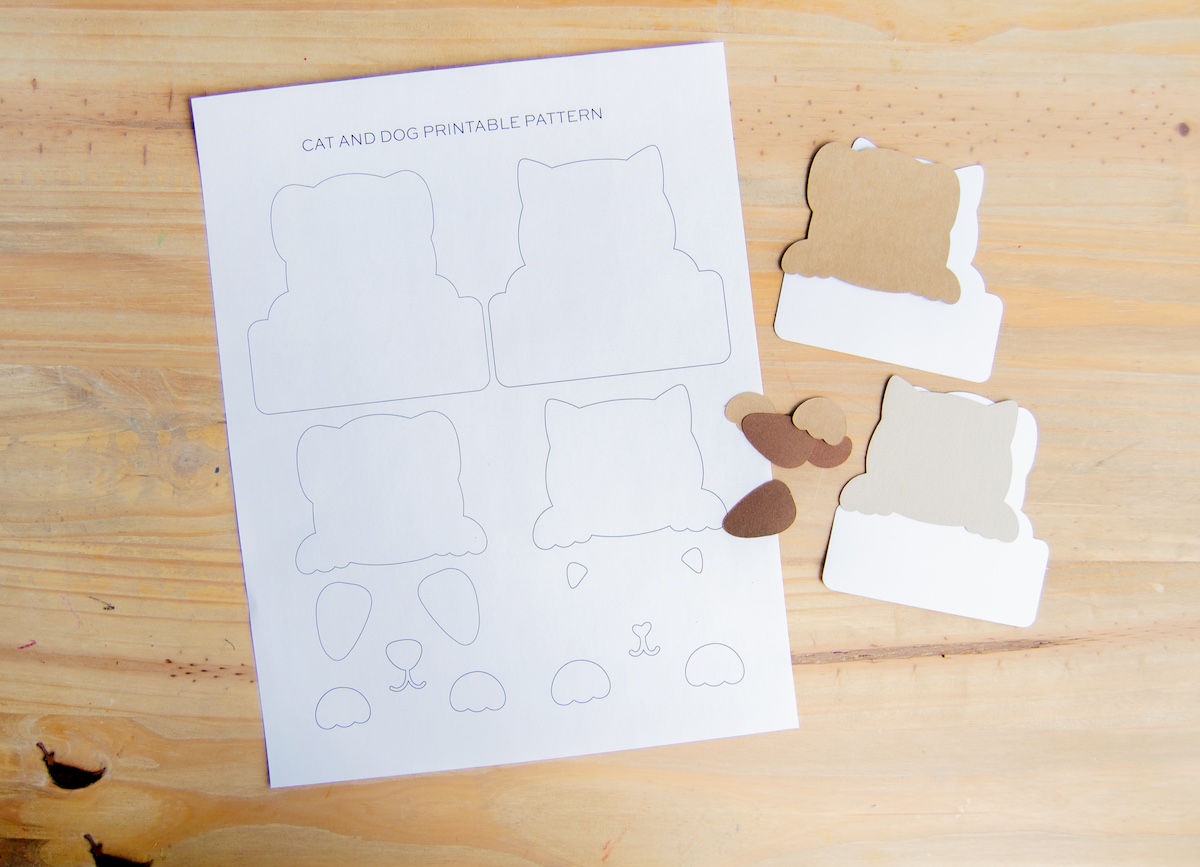
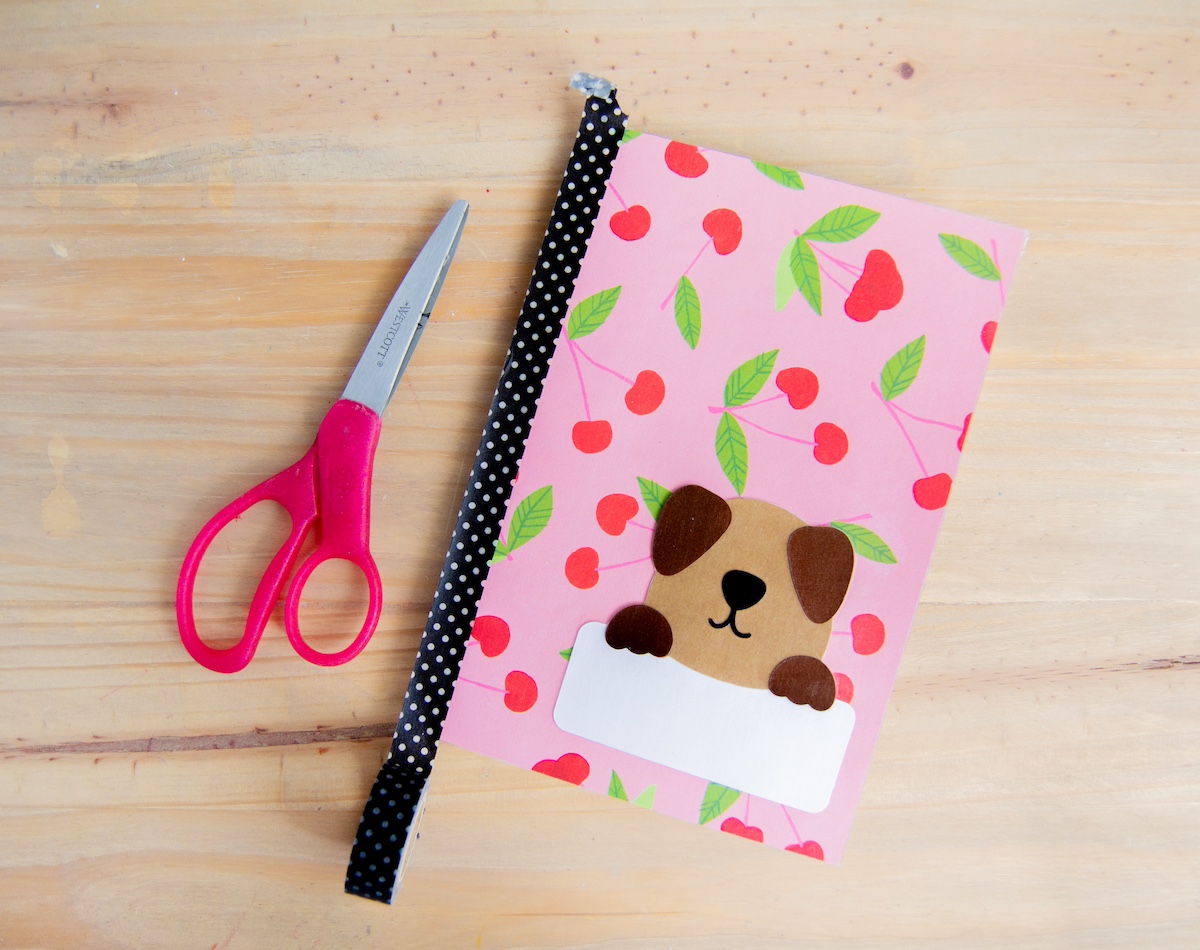
FREE PRINTABLE & SVG TEMPLATES – a free template is provided to make the dog and cat cutouts from the photos! Grab the free printable PDF here and the SVG file here (for die cutters).
Tips and Thoughts for This Project
This craft is easier with thicker papers. Working with thinner papers takes some Mod Podge experience. If you want to use them, it might make more sense to use paper napkin decoupage (which works the same on paper as wood).
If you Mod Podge paper onto a thinner notebook cover, you might find the cover to buckle a bit with the moisture from the Mod Podge. After you decoupage the paper down and while the paper is drying, you can weight the notebooks with something heavy (like books or a heavy pot).
Some washi tapes are stickier than others. If you find that it isn’t sticking on the binding, you can Mod Podge it down.
Now that you know how to decorate a notebook cover, you can take over the world! Or at least, you can Mod Podge it.
Get the printable how to for this craft below:

DIY Notebook Cover
Equipment
- Scissors or craft knife and mat
Materials
- 2 Notebooks
- Scrapbook paper or other decorative paper
- Cardstock if desired for accents
- Washi tape
- Mod Podge formula of your choice
- Parchment paper or wax paper
- Clear acrylic spray sealer optional
Video
Instructions
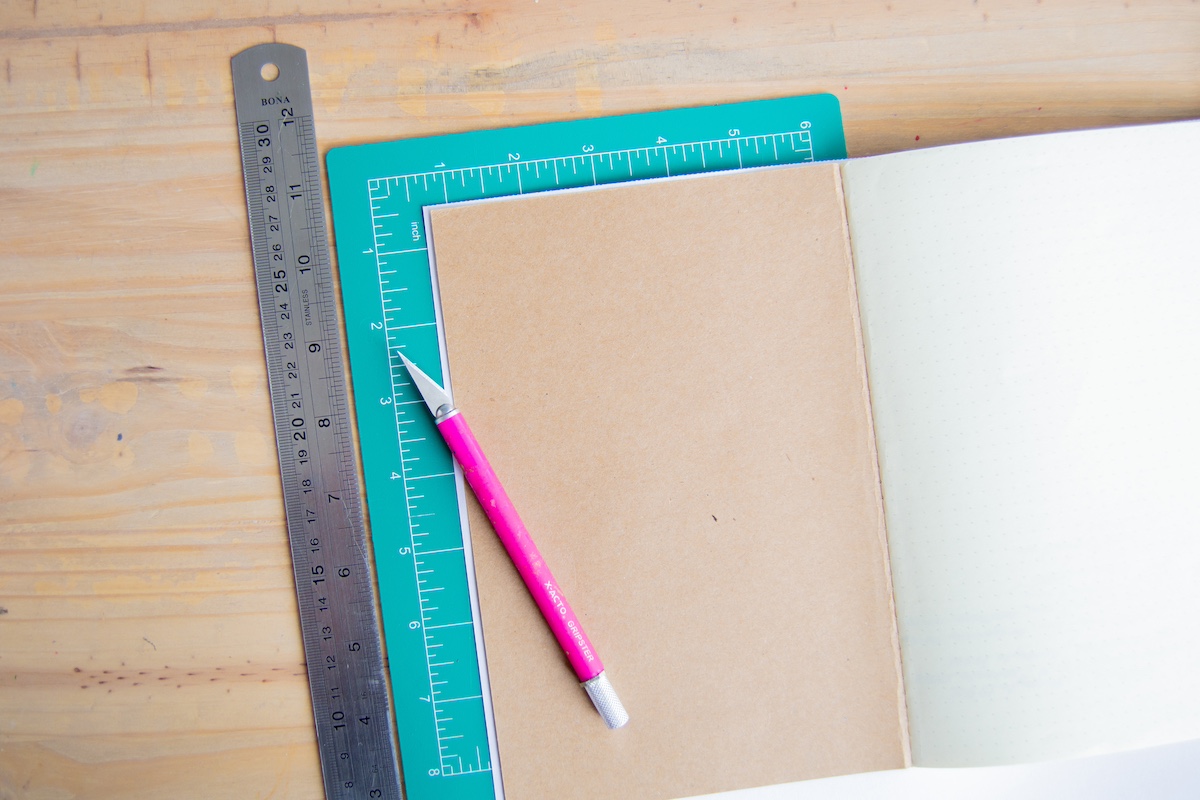
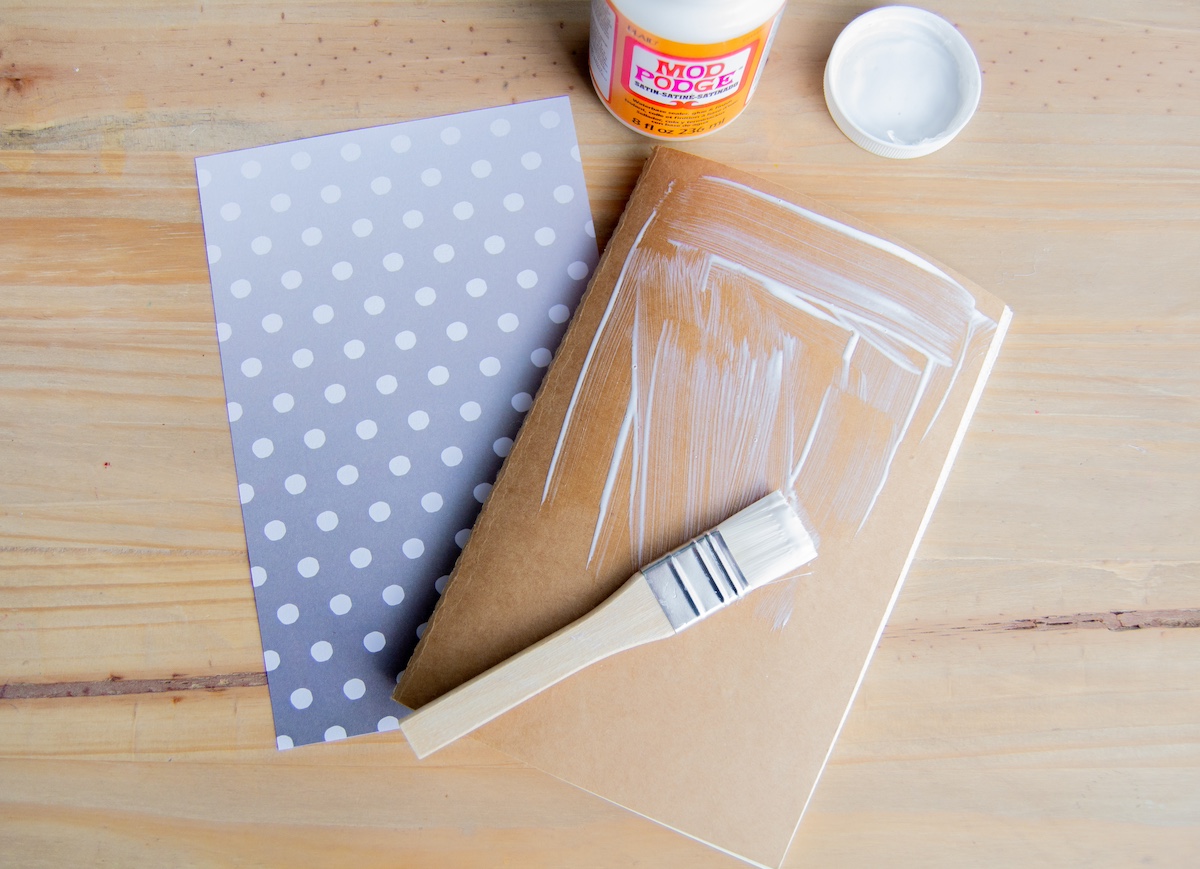
- Cut your paper to the size of your notebook's cover, using the ruler to help you measure out the correct size.
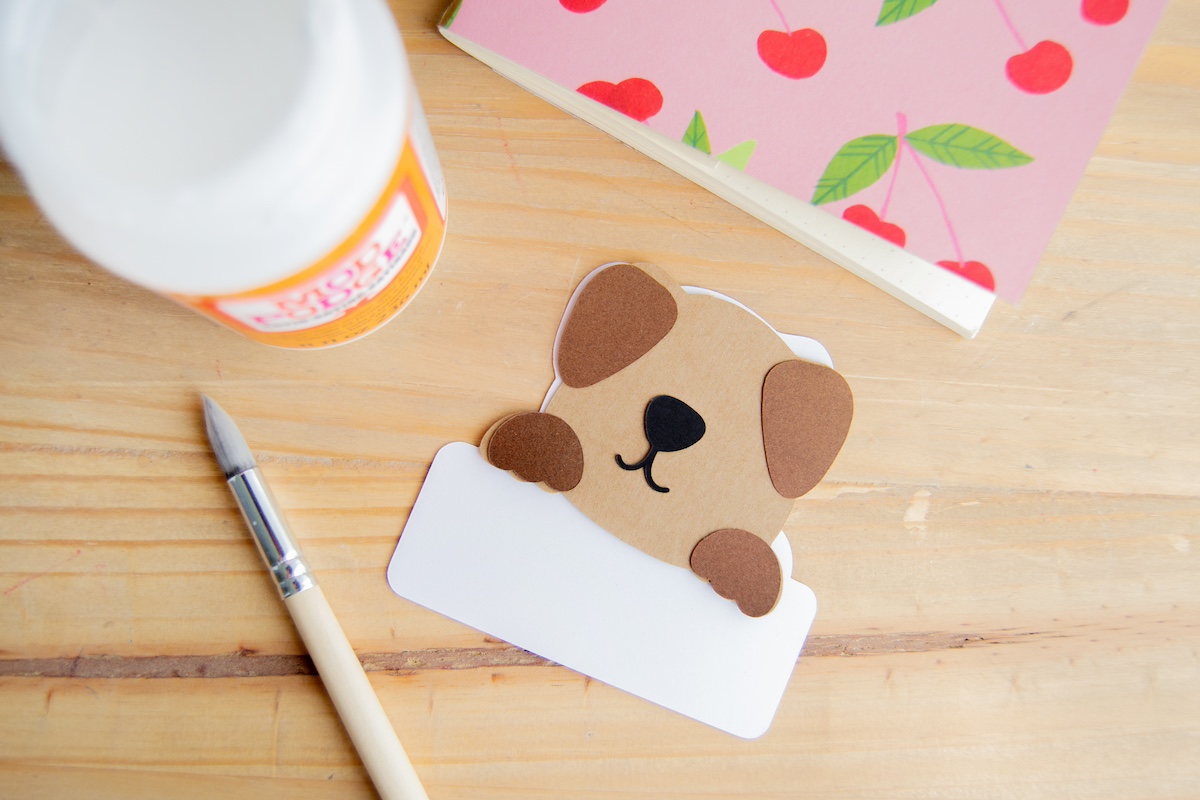
- If desired, cut any smaller shapes to decorate the front using scissors and the cardstock. Set aside.
- Place wax or parchment paper underneath the cover. Apply Mod Podge to the front of the notebook with a paintbrush. Carefully line up the paper on your notebook, and smooth it into place, wiping away any Mod Podge that comes out the sides. Let dry 15 – 20 minutes.
- Assemble any die cuts for the front of the notebook, using Mod Podge to stick them together. Let dry.
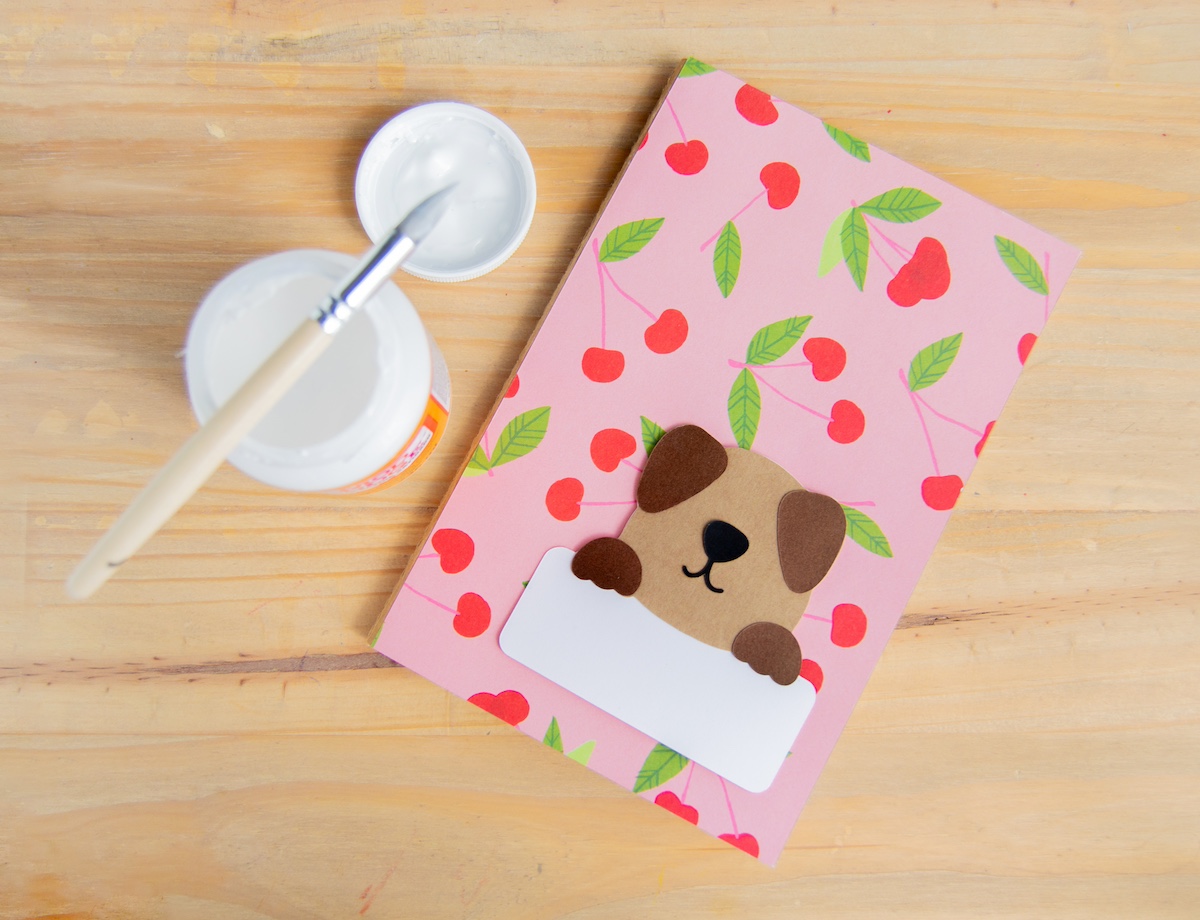
- Use Mod Podge to glue the die cuts to the front of the notebook. Let dry.
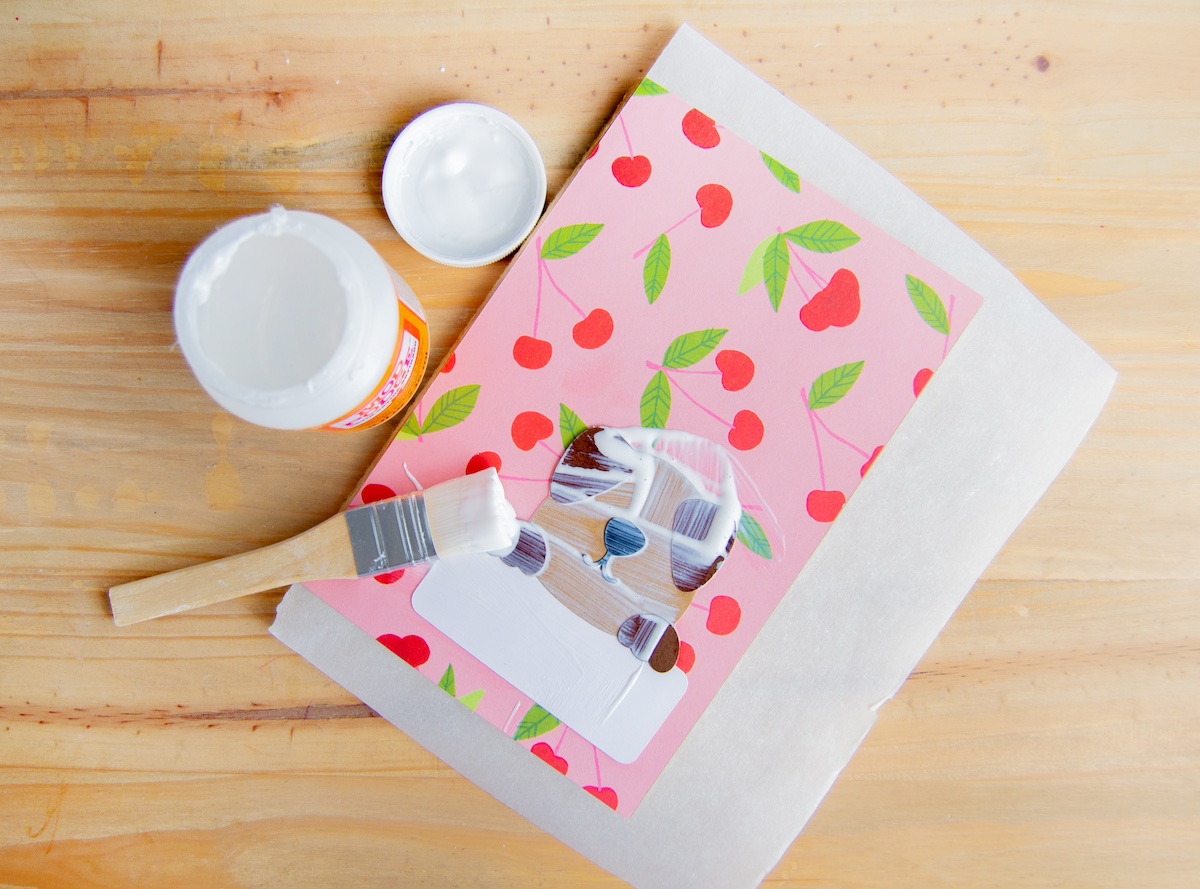
- Seal the front of the notebook with a coat of Mod Podge and let dry. Spray with acrylic spray if desired to reduce tackiness until fully cured.
- Use washi tape to add to the binding of the notebook. If you find it's not sticking, seal it with Mod Podge.
Did you enjoy this craft idea? Let me know in the comments! I’d love for you to check out these other posts:


I do not understand why you had to put another layer of Mod Podge over the outside of the notebook?…
What a great makeover. Wish I would have seen this before I made a travel book for a friend.
I will have to check the store next time I get out. 🙂
Just love this idea. Great!