
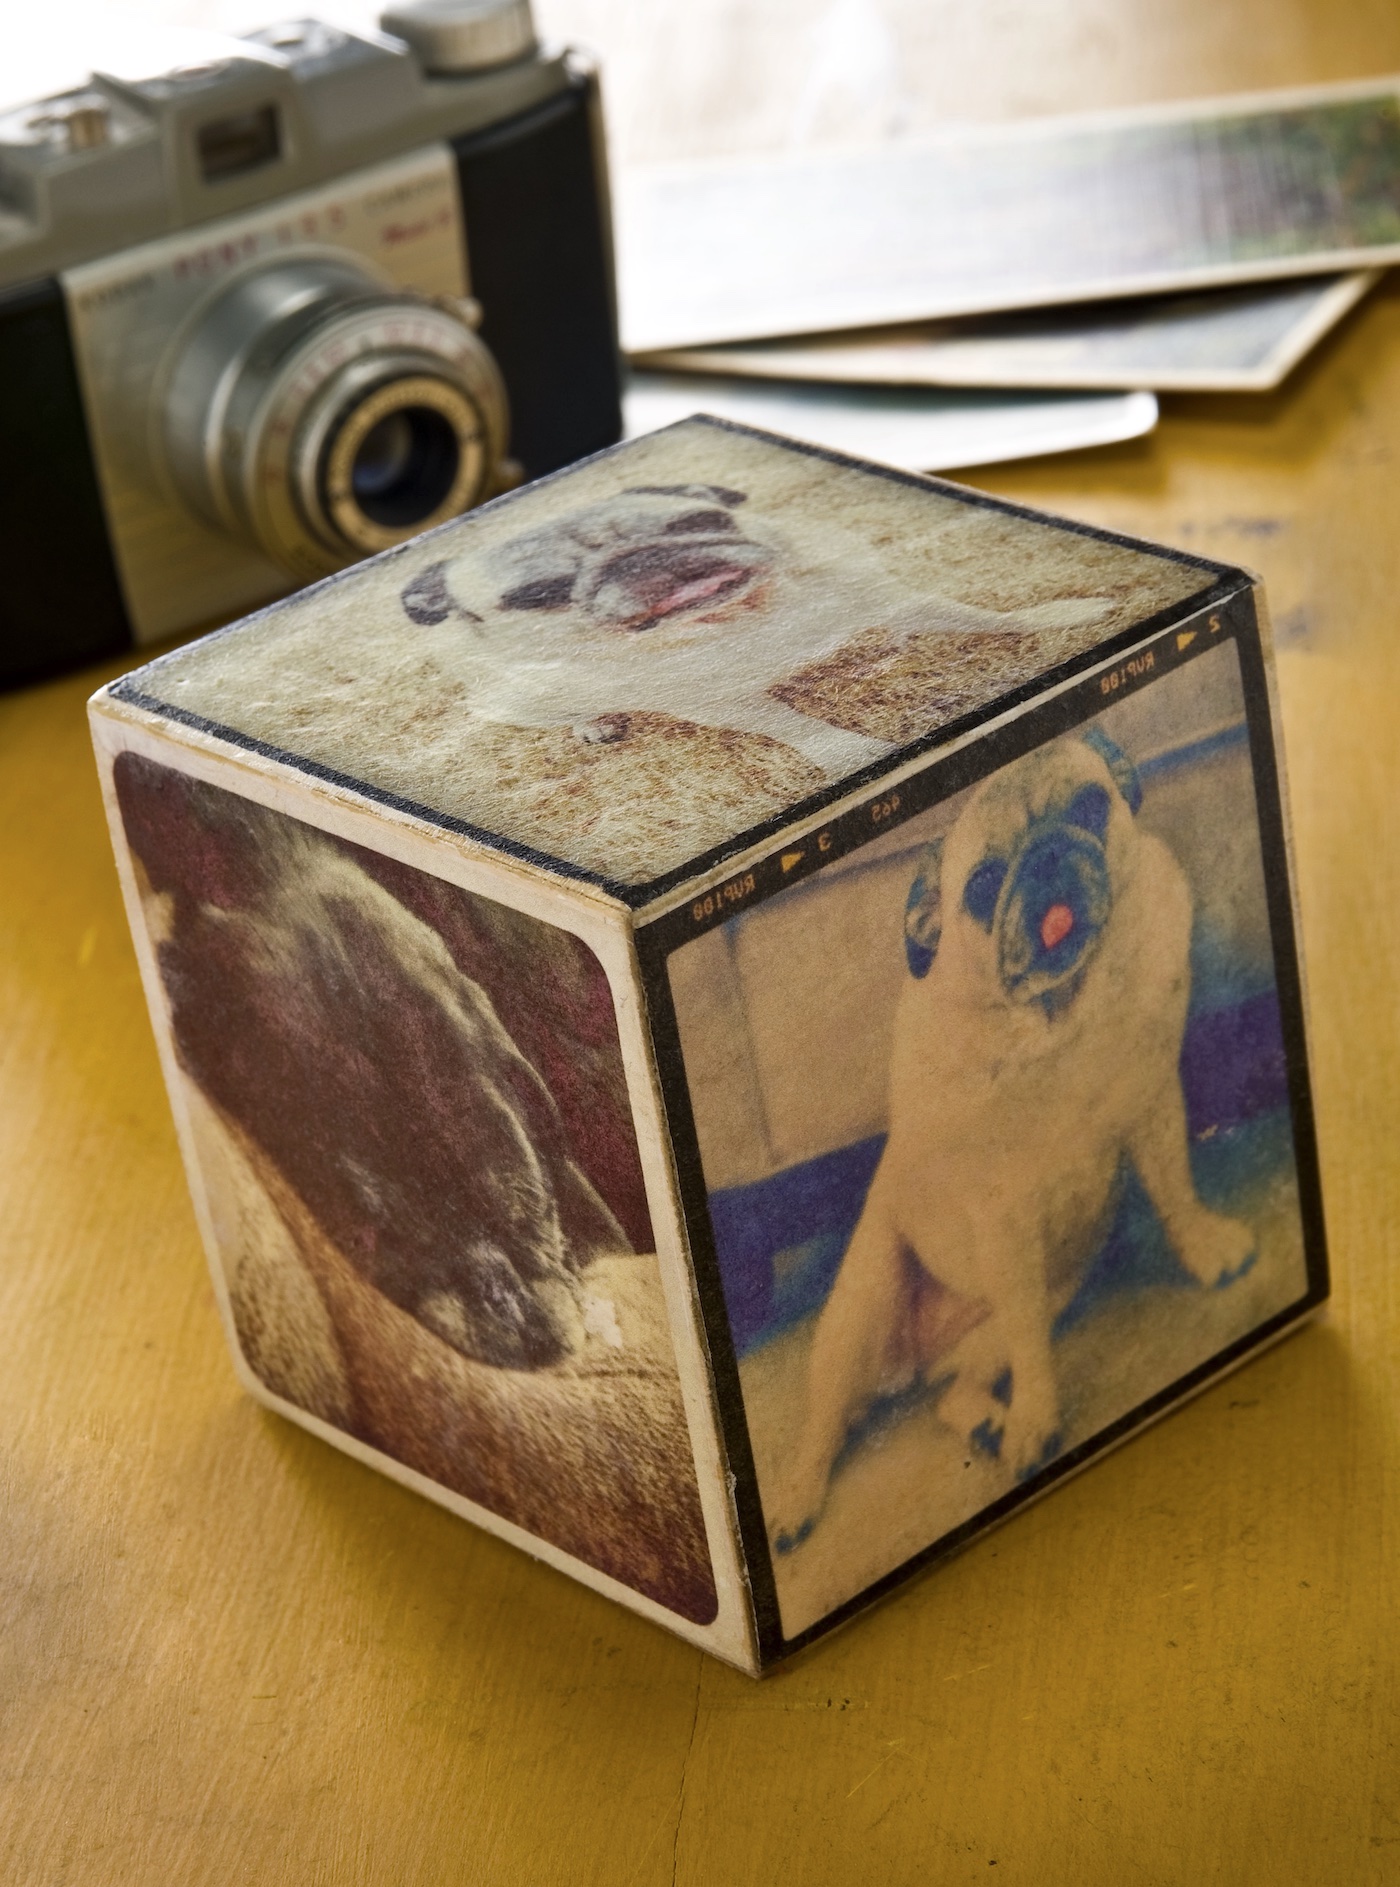
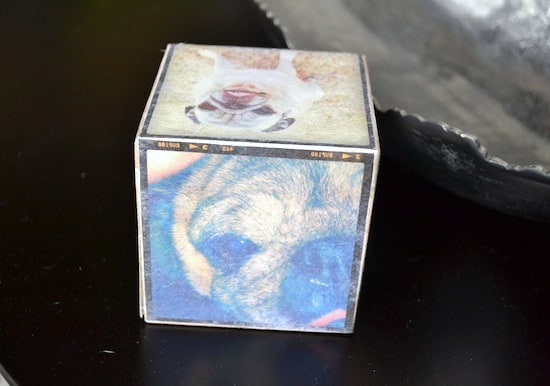
Use your Instagram images to create this easy wood photo block! You’ll use Mod Podge photo transfer medium to make it happen.
Skills Required: Intermediate. It definitely takes some practice to do a Mod Podge photo transfer. You’ll be applying images to all six sides of a wood block using the medium. I recommend you try on a piece of scrap wood or dollar store wood item first.
If you’ve been around this blog for any length of time then you know that I love my pugs – and if you follow my Instagram stream then you really know that I love my pugs.
So I made this Mod Podge photo block so that everyone who visits my loft will know just how much my piggies mean to me.
It’s especially important because I have so many pictures on Instagram of my Nellie, who passed away in 2012 (and I still miss her!).
This photo block is so, so easy to make and would make a great gift . . . and it uses Mod Podge photo transfer medium. Which is a blast to use.
It’s proudly being displayed on my bookshelf. I love that this makes a great gift . . . and I was also thinking, a fun end of summer craft too. To capture vacation memories and photos!
Here’s how this photo transfer to wood is done!

Photo to Wood Block
Equipment
Materials
- 1 Wood block(s) 3 1/2" square
- Mod Podge Photo Transfer Medium
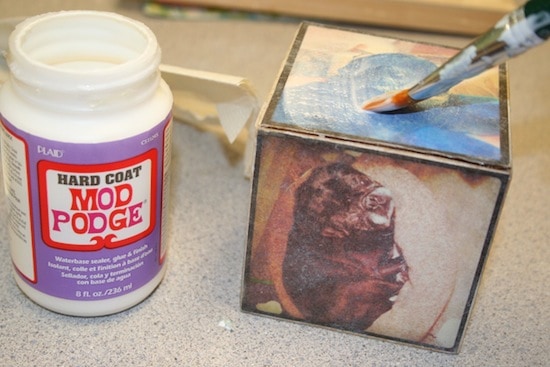
- Mod Podge Hard Coat
- Silicone craft mat
- 6 Instagram photos printed out on a dry toner printer
Instructions
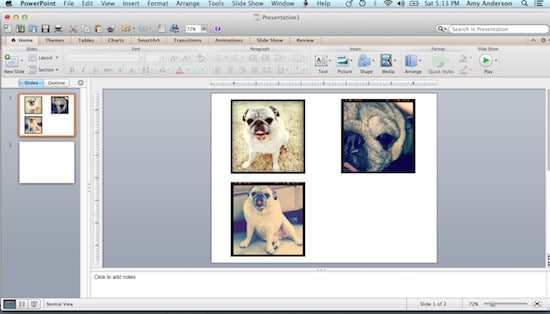
- Print out the photos on a dry inkjet or laserjet printer. Make sure they are sized to fit the block.
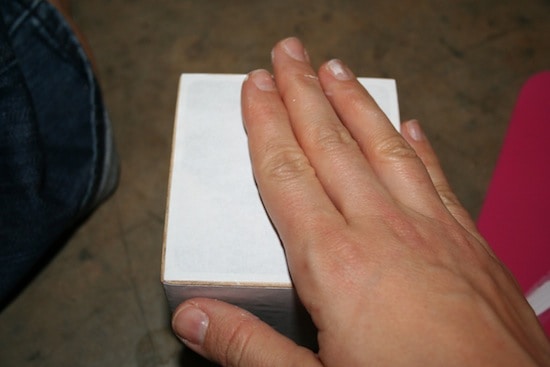
- Working one image at the time, use the sponge brush to apply photo transfer medium to the front of the photo – obscuring it completely.

- Smooth the image down carefully onto the block. Wipe away any excess that comes out the side. Repeat with the remaining five sides and let this dry for at least 24 hours.
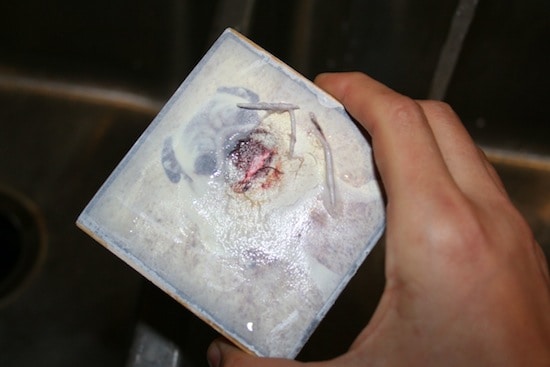
- When the 24 hours have passed, wet the block on one side. Rub lightly to remove the paper. Let the image dry and repeat on the remaining sides.
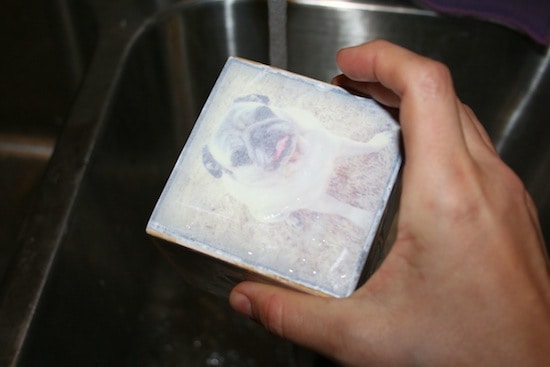
- After removing the top layer of paper, let dry a little and then repeat. It's better to rub gently and repeat the wetting process several times than to rub too hard and rub the image away.
- The finished block will end up looking slightly faded and vintage-y – this is normal. Add a layer of Mod Podge Hard Coat to darken the photos and seal the block. Let dry completely before displaying.
Notes
Let me know if you have questions in the comments! Plus check out these other photo transfers here:
Breakfast in Bed Tray • Christmas Napkins • Family Reunion Centerpiece • Inkjet Transfer • Photo Keychain • Photo Pillows • Photo Transfer to Canvas • Transfer Paper to Fabric • Transfer Photos to Fabric • Transfer to Glass


Hi Amy! This is such a neat idea! I also want to try this on my own but couldn’t figure out where to get the wood block square that you’ve used. Can I ask where you got it? Thanks!
Hi Xin! I got it from Michaels.
Can I photo transfer my T- shirts using Mod Podge Gloss? Or I need to use the photo transfer medium, specifically? Thanks!!!
Hi Janymk! There are some tutorials out there with photo transfers using Gloss – but I don’t know how to do it on fabric (you’d have to Google a tutorial to see if you can find one). But the photo transfer medium specifically works on fabric 😀
Do you use photo paper to print the photos, or regular paper-or even cardstock…..that is the only part I was unsure of, otherwise I cannot wait to do this project, we actually have 6 pets, perfect for this project!!
Hi Amy! I just used regular paper! My printer is a dry ink printer though – if yours is inkjet, you’ll need to follow the instructions here:
https://modpodgerocksblog.com/learn-how-to-mod-podge/
What is considered a dry ink printer?? I have a inkjet and a photosmart printer. Thanks!
Hi Katrina! I don’t know how to find out if yours is a dry inkjet – but my HP is. I would honestly do a test.
Great tutorial! I love your little block! Your pug is just too stinkin’ cute!
Fab idea Amy! thanks so much for sharing on Craft Schooling Sunday! xoxoxoxoSara