
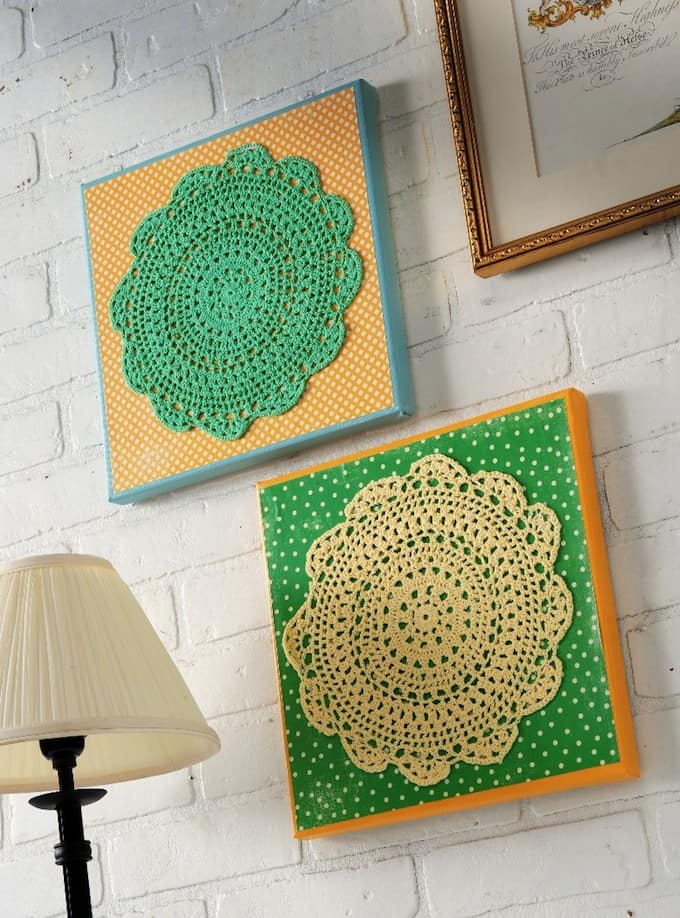
Doilies aren’t just for sitting on the table under a teacup – turn them into doily wall art using Mod Podge, scrapbook paper and canvases.
Skills Required: Beginner. The most difficult part of this project is decoupaging the paper to the canvas without wrinkles, so pay close attention to that part. Even that is relatively easy!
I’ve been wanting to make doily wall art for a long time, especially after I saw this doily art by my friend Jen.
My only problem was that I didn’t have any old doilies, and I didn’t want to use white ones. So I had to wait for the perfect situation to come along for my decoupage idea, and it did!
I found colored doilies in the $1 bin at Michaels this past week. Then I found the perfect paper to match this canvas idea in the scrapbooking aisle. My doily art was born. Here’s how to decoupage your own.
Gather These Supplies
- 12″ x 12″ canvases
- $1 doilies
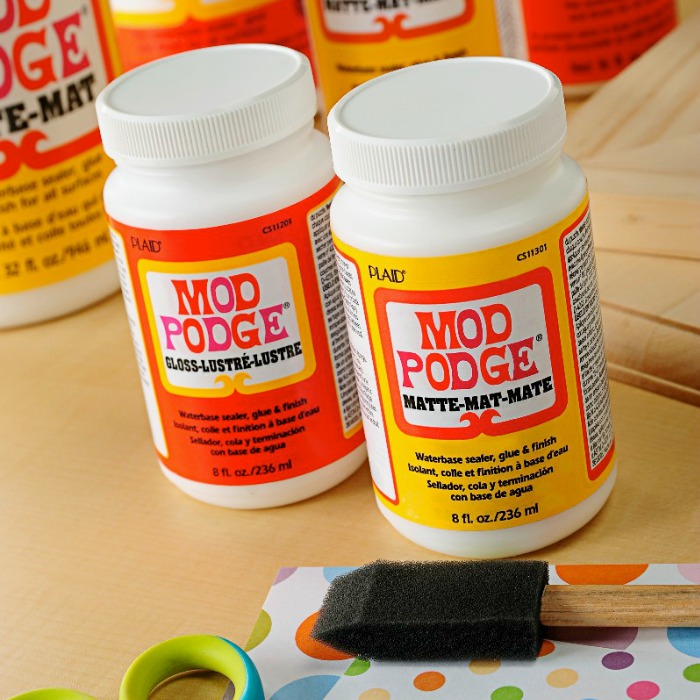
- Mod Podge Satin (or any Mod Podge formula)
- FolkArt paint – Sky Blue, Turner’s Yellow (or coordinating colors)
- Scrapbook paper – I used Making Memories Spring paper
- Craft knife and mat
- Paintbrush
Hang your doily wall art in a special place. I love my new wall decor, and it’s perfect for spring! The doilies came in pink or purple too, so head to Michaels and get your doily on. Here’s the tutorial below:

Doily Wall Art
Materials
- 2 Canvas(es) 12" x 12" square
- 2 Doilies
- Mod Podge Satin
- Craft paint coordinating colors
- Scrapbook paper
Video
Instructions
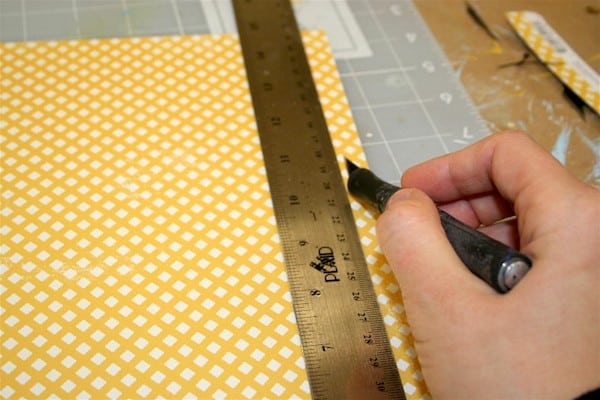
- Trim the paper down to fit the canvases, so a little bit of color will show around the edge. Use the ruler and craft knife to size the paper to approximately 11.5". Set aside.
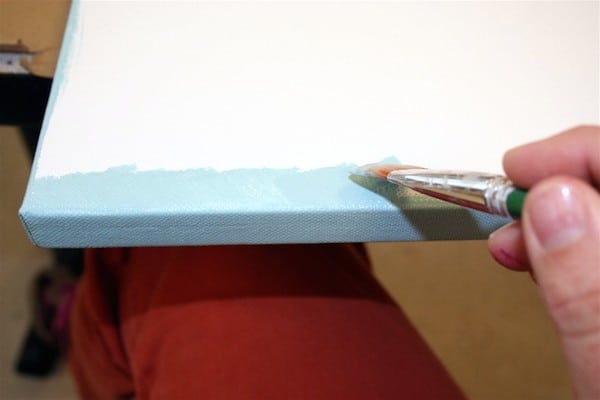
- Paint the edges of the canvases with coordinating paint colors. Give several coats and allow to dry.
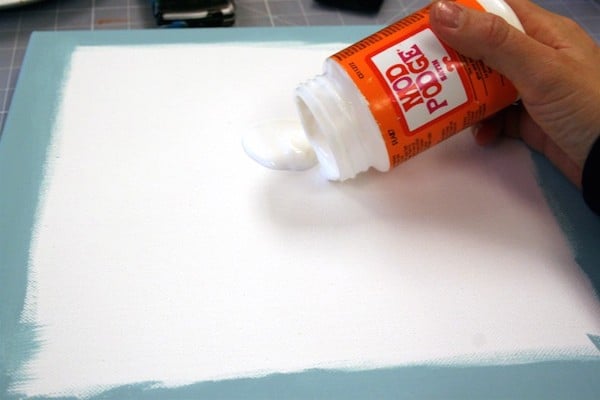
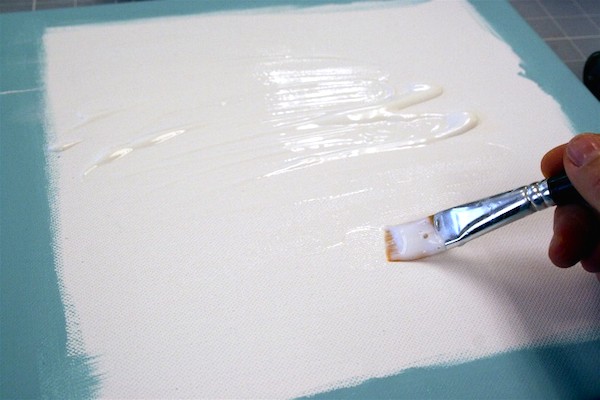
- Pour a bit of Mod Podge into the center of the canvas and spread out a medium layer. Work quickly and get the corners well.
- Lay the paper down and smooth thoroughly – wipe away any Mod Podge that comes out the edges.
- Canvas is flexible, so turn the canvas over and smooth on the backside as well. Allow to dry for 15 – 20 minutes.
- Repeat with your second canvas.
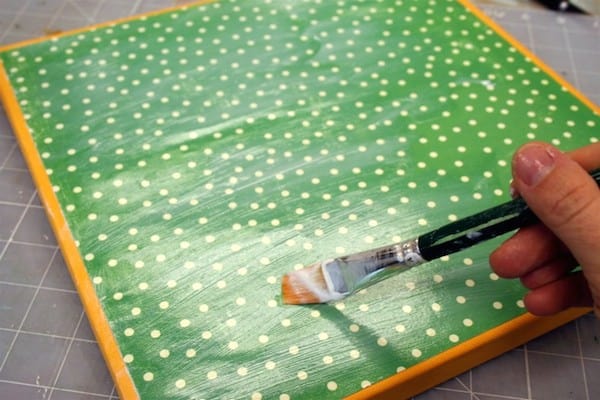
- Decoupage over the top of your paper; coat the sides of the canvas as well. Allow to dry and then give a second coat. Allow to dry.
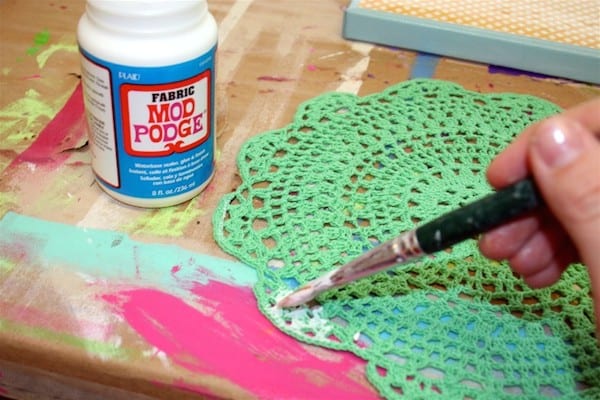
- Add some Mod Podge to the back of the doily.
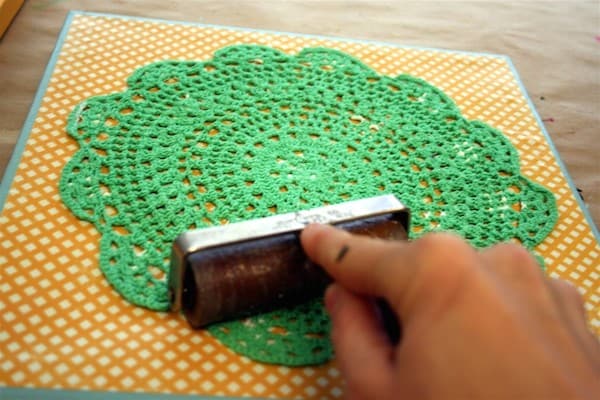
- Place the doily onto the canvas and roll out with a brayer (if you have one) to get it to stick. If you don't have a brayer, use your hands and prepare to get messy. You'll see the Mod Podge through the doily, but don't worry – that will dry clear. Let dry 24 hours before hanging.
Like this wall art with doilies? Let me know in the comments! Here are some other craft projects you might enjoy:


Hello Amy, thanks to you I am now ready to mod podge my doilies on my acrylic painted canvas.
What do you put over the doilies to protect them from dust etc?
I was wondering if you draw something on piece of paper if you could use mod podge to transfer to a wood plank or plastic?
Thanks for the great idea I’ve got quite a few vintage doilies that belong to my great-grandmother and I don’t want to set them out on the table but I didn’t know what to do with them now I know what I’m going to do with them it’s going to look awesome. Awesome idea.
Thank you Tammy! Enjoy!
Instead of covering the canvas with paper, can I cover it with fabric? Then do I cover the fabric with the mod podge and follow the remaining directions? Thanks.
thank you for sharing this tutorial. I have doilies made by my great grandmother and wanted to share with my sister, this will be the right direction only adding glass to it.
What a fun idea! I have several doilies from my grandma that are just sitting in drawers. I need to turn them into artwork like this!
This doily wall art is fabulous. I loved the color combination. This is perfect for home decor or you can gift also.
these are adorable!
i inherited a bunch of vintage doilies and have been trying to figure out what to do with them.
thanks for the idea.
xo