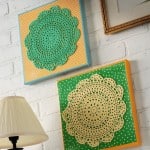
Doily Wall Art
Doilies aren't just for sitting on the table under a teacup - turn them into doily art using Mod Podge, scrapbook paper and canvases.
Yield: 2 canvases
Cost: $22
Materials
- 2 Canvas(es) 12" x 12" square
- 2 Doilies
- Mod Podge Satin
- Craft paint coordinating colors
- Scrapbook paper
Video
Instructions
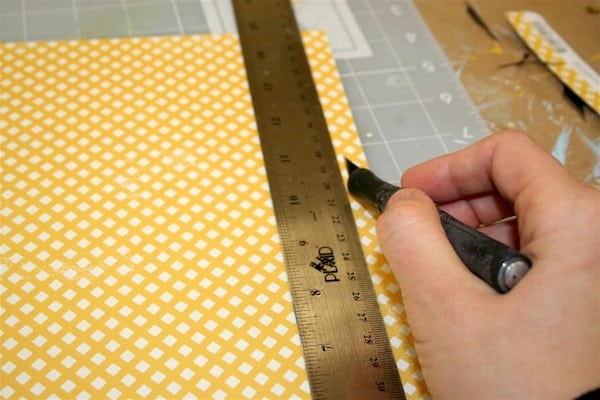
- Trim the paper down to fit the canvases, so a little bit of color will show around the edge. Use the ruler and craft knife to size the paper to approximately 11.5". Set aside.
- Paint the edges of the canvases with coordinating paint colors. Give several coats and allow to dry.

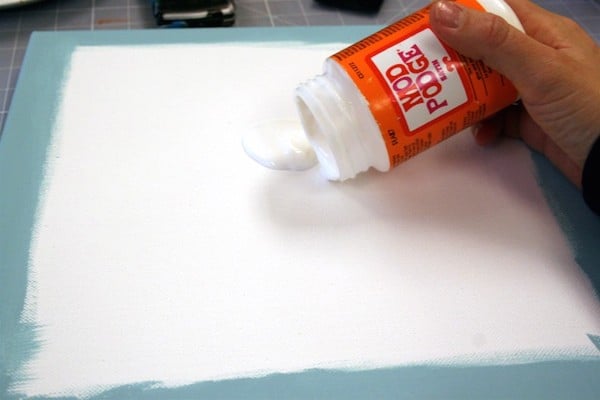
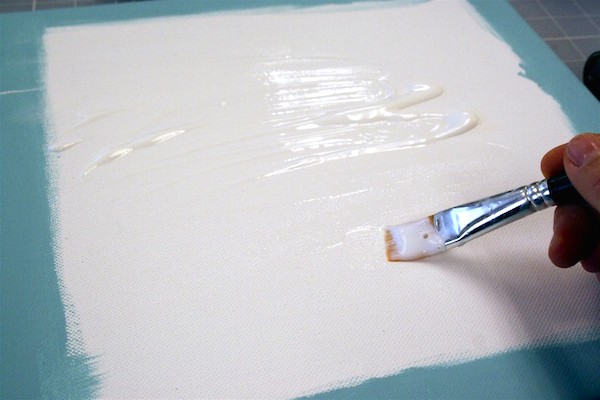
- Pour a bit of Mod Podge into the center of the canvas and spread out a medium layer. Work quickly and get the corners well.
- Lay the paper down and smooth thoroughly - wipe away any Mod Podge that comes out the edges.
- Canvas is flexible, so turn the canvas over and smooth on the backside as well. Allow to dry for 15 - 20 minutes.
- Repeat with your second canvas.
- Decoupage over the top of your paper; coat the sides of the canvas as well. Allow to dry and then give a second coat. Allow to dry.

- Add some Mod Podge to the back of the doily.
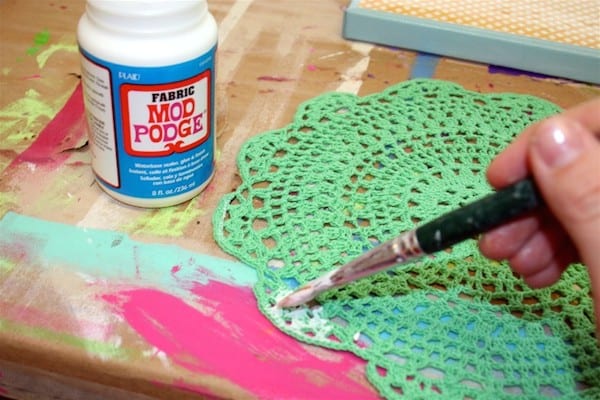
- Place the doily onto the canvas and roll out with a brayer (if you have one) to get it to stick. If you don't have a brayer, use your hands and prepare to get messy. You'll see the Mod Podge through the doily, but don't worry - that will dry clear. Let dry 24 hours before hanging.
